mksr_0204_new

This project is excerpted from <a href="http://www.makershed.com/products/making-simple-robots" data-lazy-srcset=
Making Simple Robots
(Maker Media 2015).
On sale now.” width=”180″ height=”180″> This project is excerpted from Making Simple Robots
(Maker Media 2015).
On sale now.

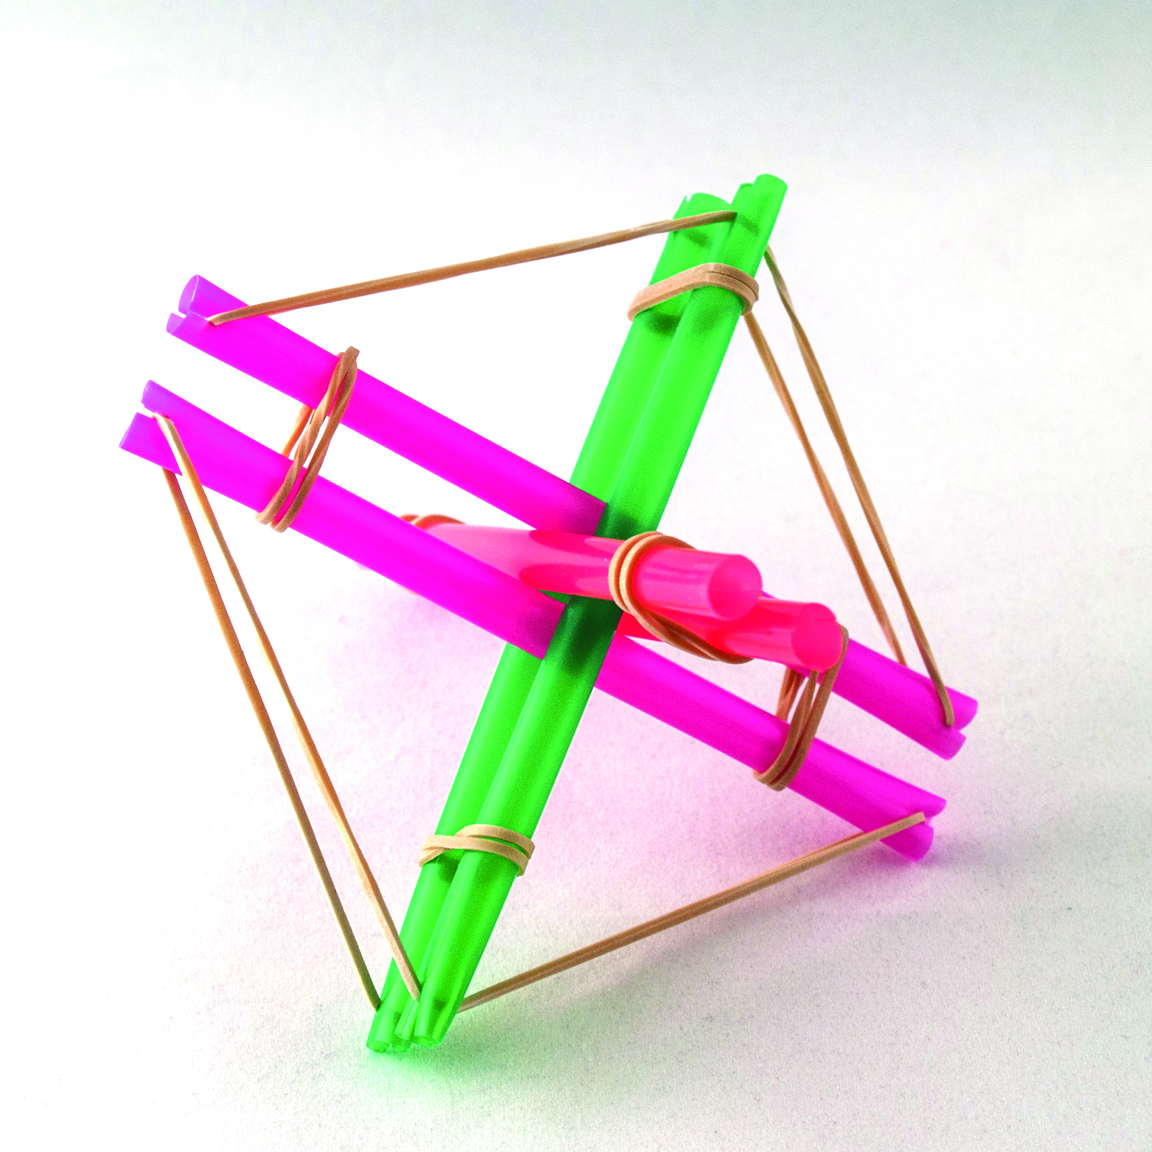
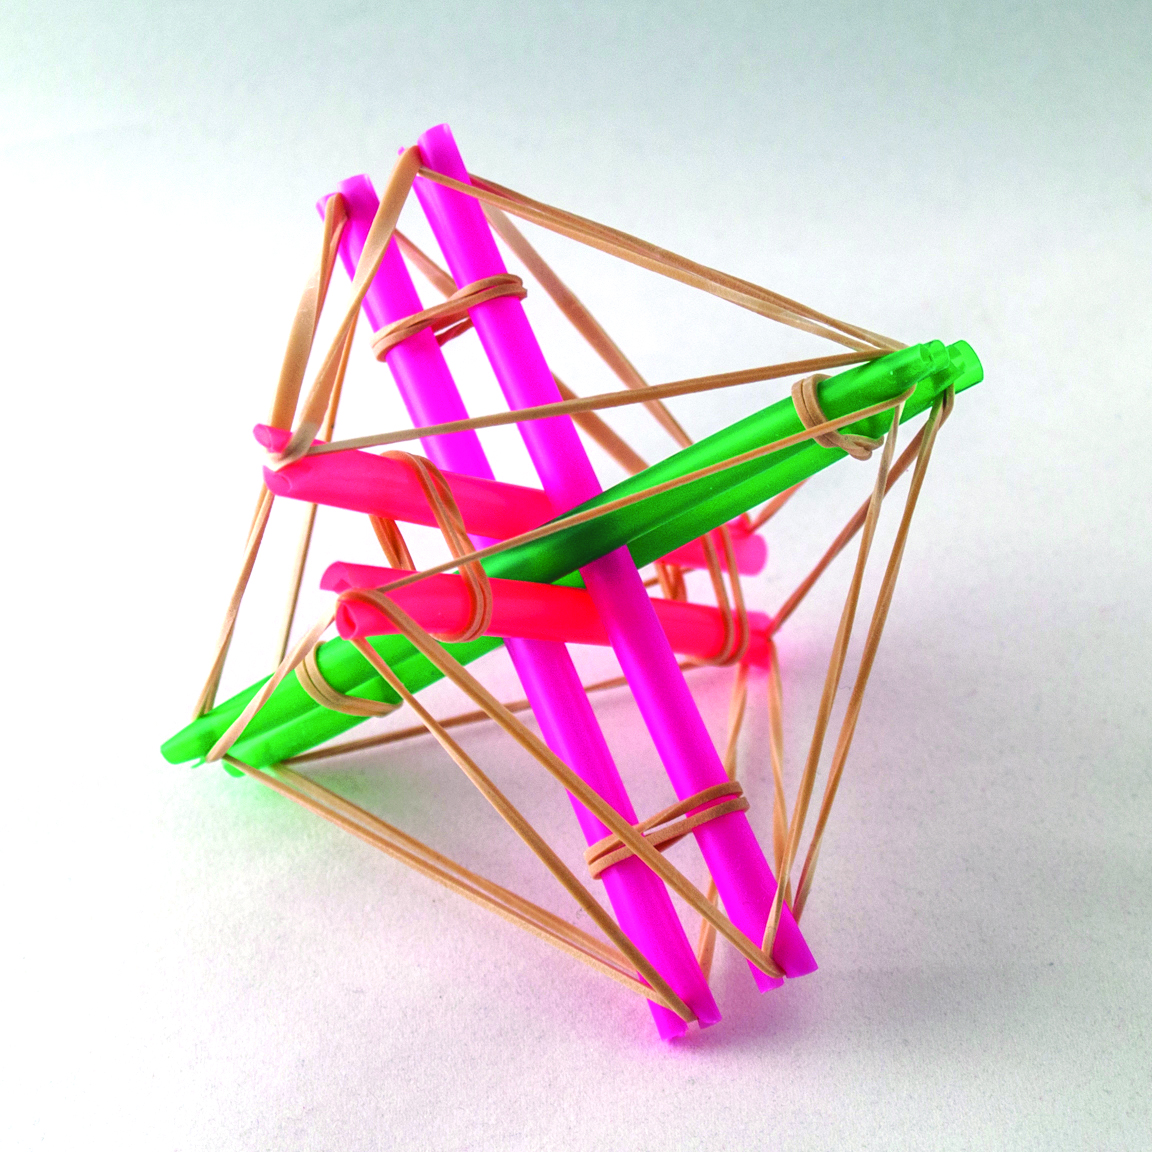
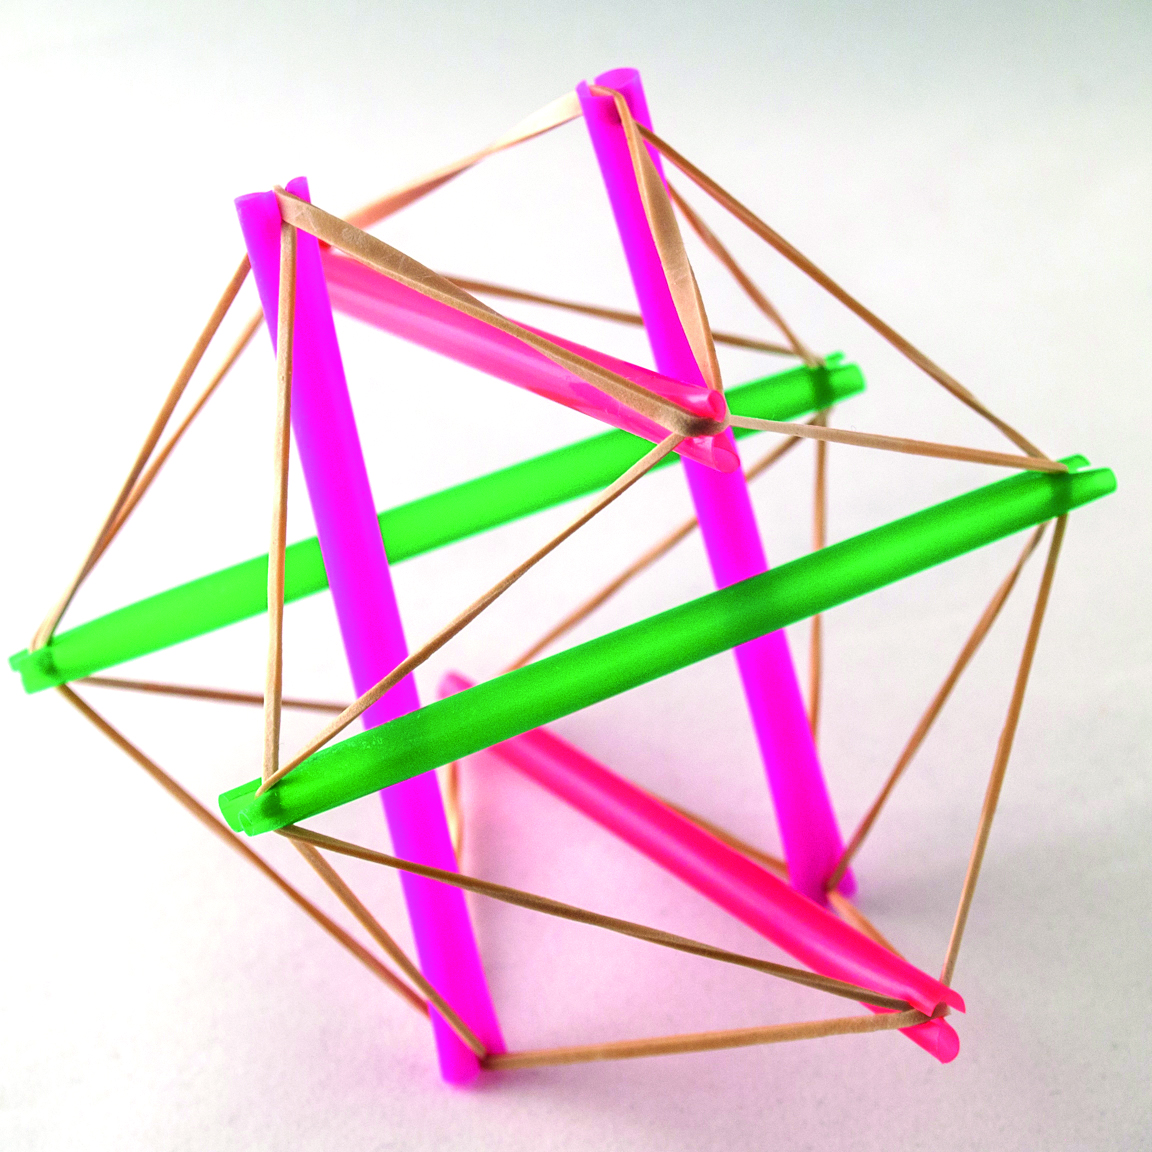
A tensegrity structure can flex, stretch, compress when dropped or pressed, and then spring back into shape. It also has a high degree of compliance, which means it won’t harm people or equipment around it. That, together with its resilience, makes tensegrity a useful framework for robots that need to withstand jolts or squeeze and twist themselves through irregular spaces.

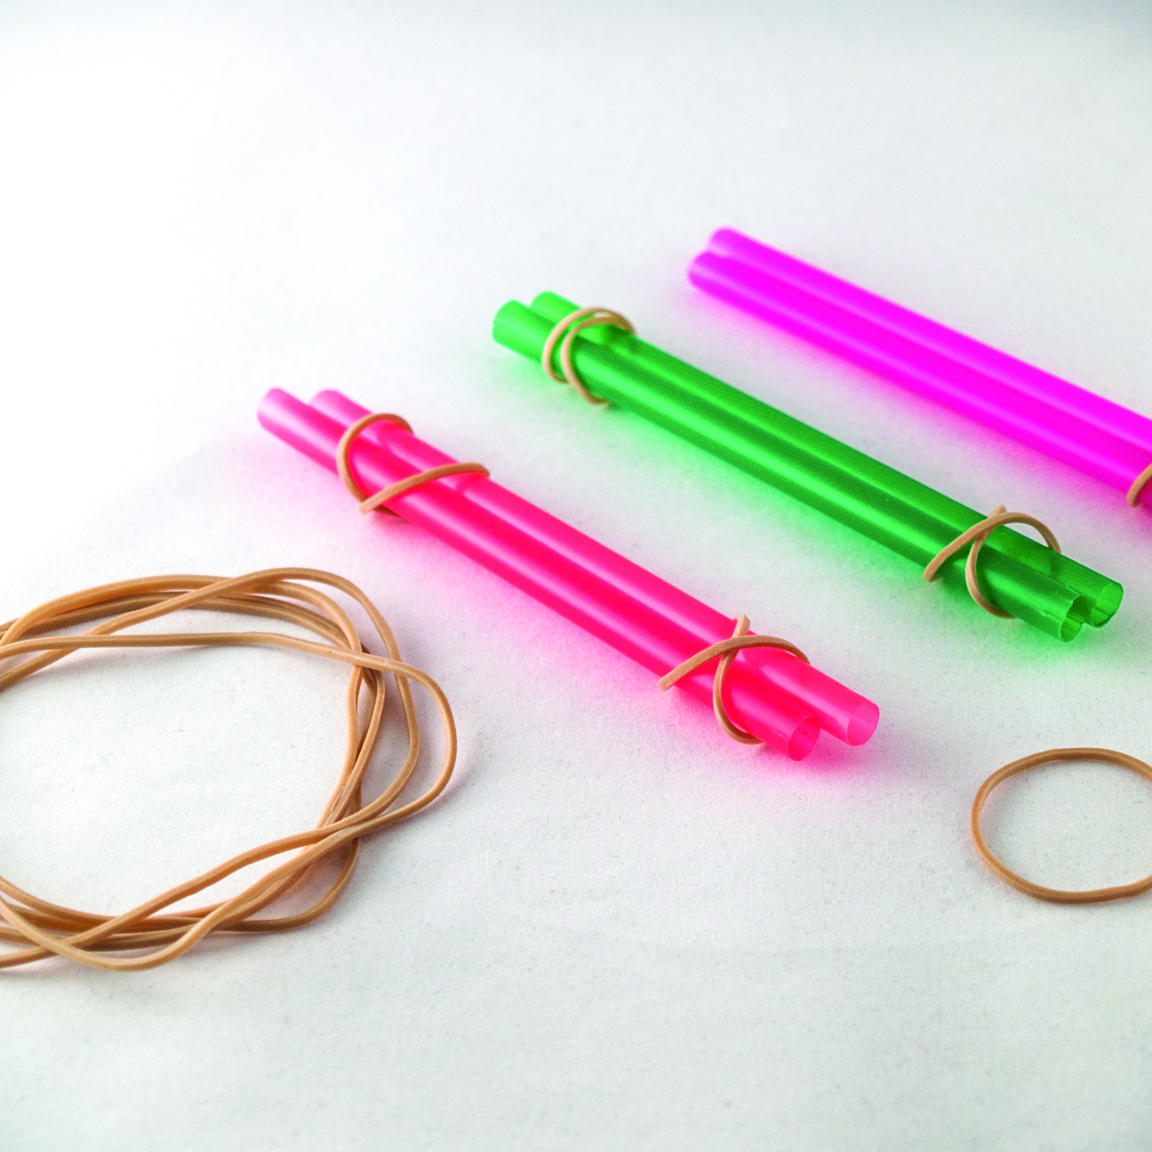
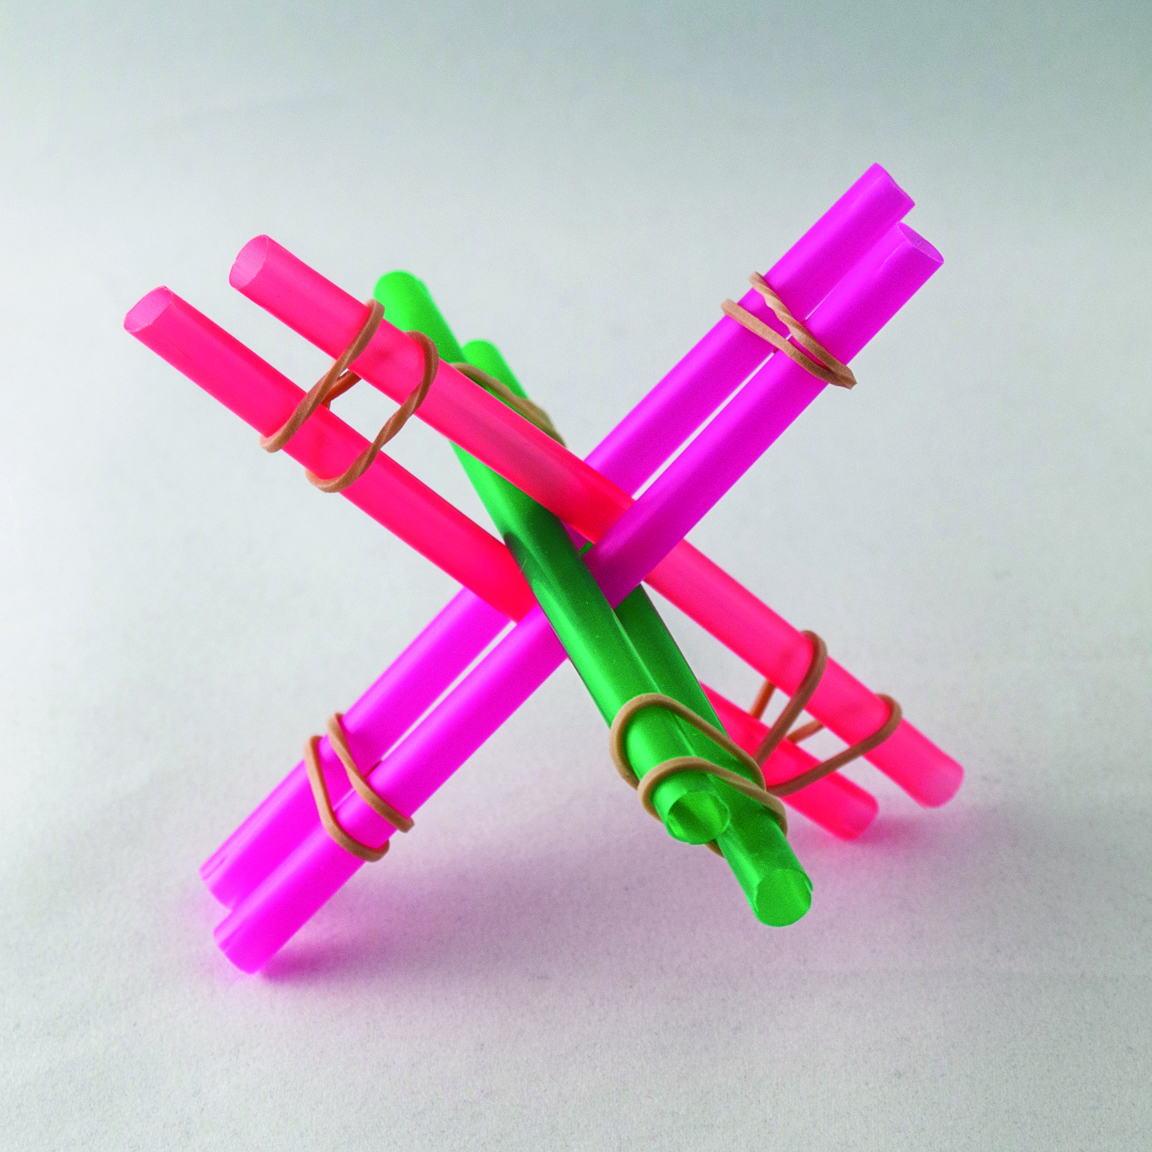
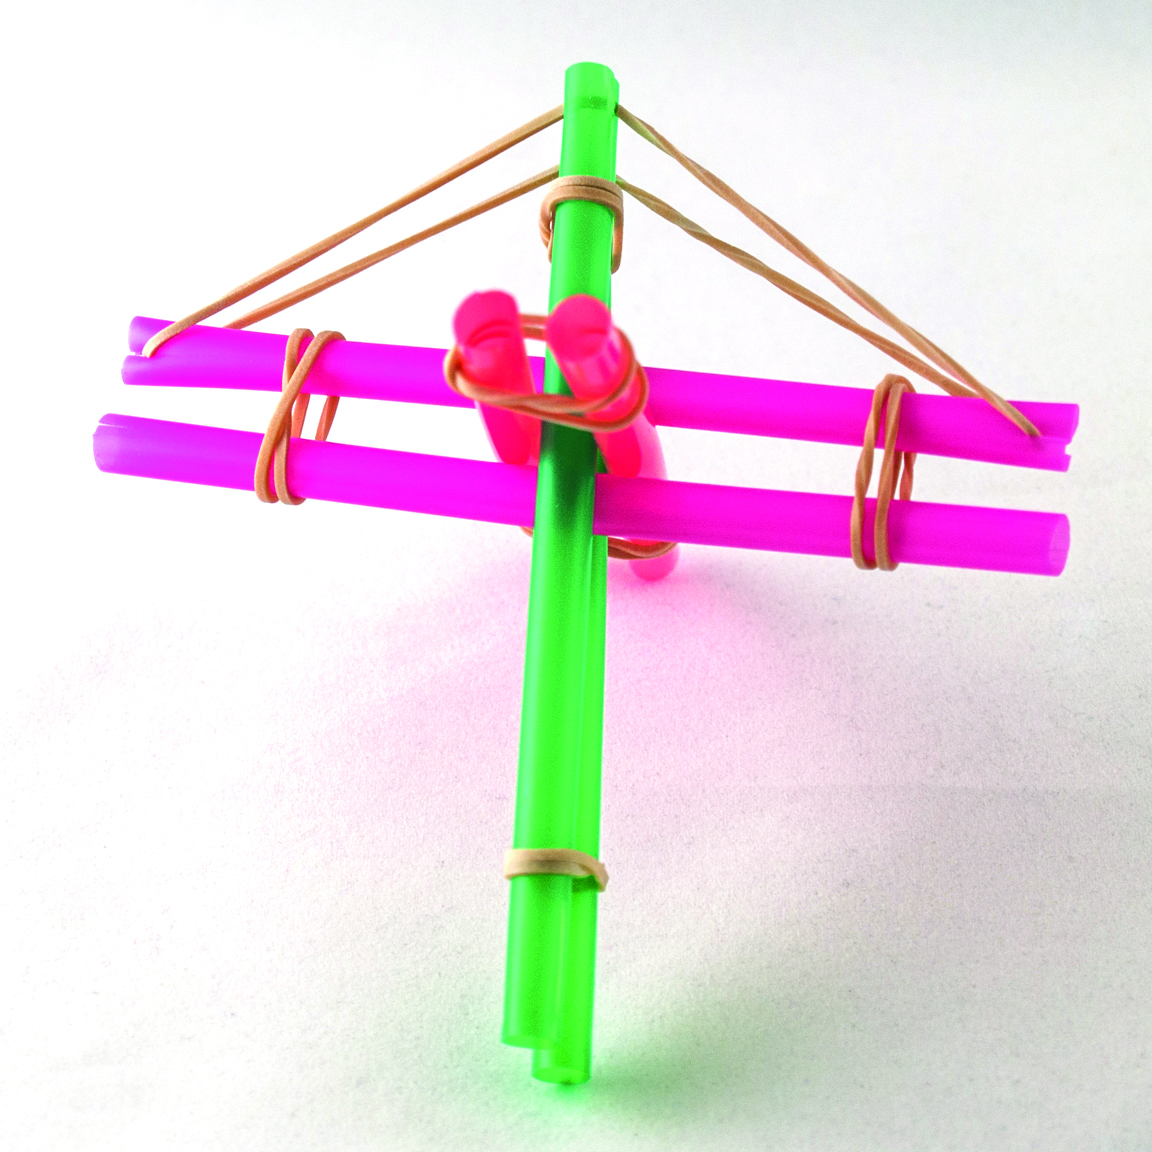
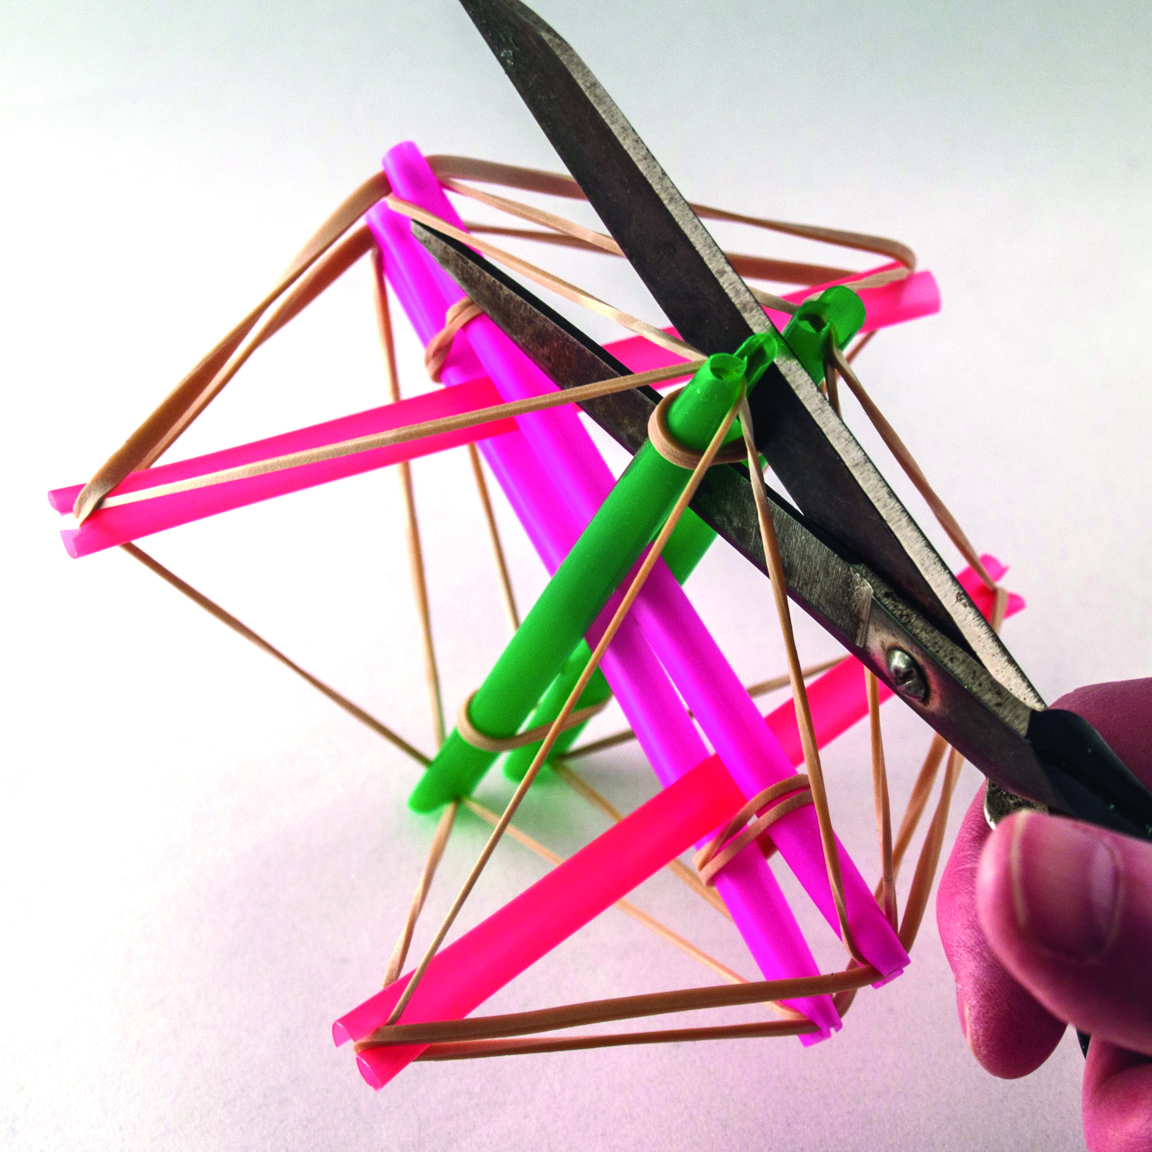
The directions for assembling this six-strut tensegrity structure out of drinking straws and rubber bands are based on a tensegrity icosahedron holiday ornament project from Bre Pettis that appeared on the Make: website in 2007.

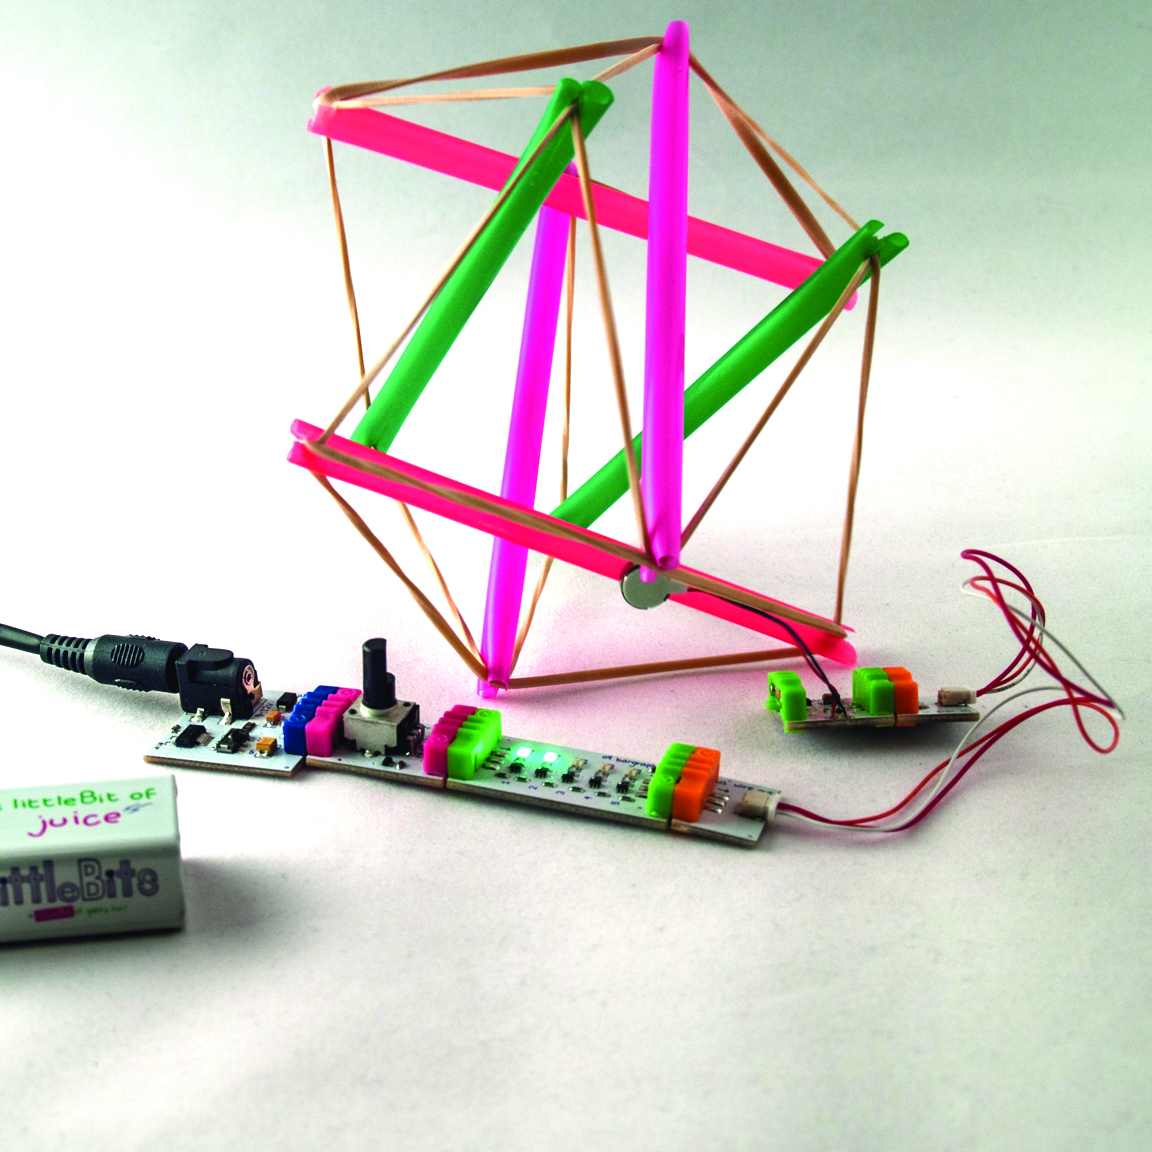
Once you’ve built your tensegrity structure, you can quickly put together a circuit to make your robot move using littleBits, electronic modules that snap together magnetically. The circuit consists of a tiny vibrating motor, a dimmer switch to make it run faster or slower, and a bar graph indicator that shows how much power you’re supplying to the motor. Attaching the motor to the tensegrity structure will make the structure vibrate and move across the table.

You can build your own Tensegrity Robot in less than an hour, and it’s a great project for kids. When you’re done, you can reuse the littleBits in other projects. If you already have the littleBits Base Kit, all you need to add is the vibration motor. If you buy all the modules separately, you’ll spend between $75–$100.

Project Steps

Cut straws

Cut 6 pieces of straw to no more than about 5″ long.

On each straw, cut a slit on either end, making sure that the slits are aligned (i.e., both vertical). The slits should be ¼” deep — enough to hold the rubber band in place, but not so much that the straw begins to weaken and bend.

Connect straws

Line up 2 straws and wrap a small rubber band loosely around each end of the pair.

Do the same to a second pair of straws and slide them perpendicularly between the first 2 straws to form an “X” shape.

Add more straws

Take the last 2 straws and wrap a small rubber band around one end. Slide them through the intersection of the other straws so that they’re perpendicular to the first 2 pairs, and then wrap a small rubber band around the other end.

Stretch rubber bands

Twist one pair of straws so their slits are horizontal and facing you, with one above the other. Stretch a long rubber band from the horizontal slit of the upper straw, up and over a pair of perpendicular straws, and to the other end of the straw, passing it through all 4 slits.

Repeat

Repeat Step 4 with the all the remaining straws.

Adjust the rubber bands so they’re even.

Cut and adjust

Cut away the small rubber bands so that the tensegrity structure springs open.

Adjust the pairs of straws so they’re parallel and not touching.

Assemble littleBits

Now assemble the littleBits electronic circuit that will make your tensegrity bot go:

Plug the power module (or “Bit”) into the battery.

Attach the dimmer switch module for turning the voltage up or down.

Connect the bar graph module to the dimmer switch. This is a Bit with 5 rows of miniature LEDs; as more power goes through it, more LEDs light up.

Finish

Attach one or more wires. The wire modules are short, so use 2 or 3 to make sure your robot has room to move.

Finally, add the vibrating motor. This is a small disc, about the size of a pill, with 2 thin wires attaching it to a magnetic base.

Conclusion

MAKE IT MOVE

To try out your tensegrity robot, attach your electronic circuit to your straw model. Situate the vibrating motor so that none of the electronics get in the way of the tensegrity structure’s motion.

Decide where you’d like to attach the disc end of your motor. Use tape or another adhesive to hold it onto one of the straws. Stretch the motor wire along the straw and attach the motor base and wire base to it.

Turn on the motor and slowly increase the power with the dimmer switch. You’ll start to see the rubber bands vibrate in sympathy, and your tensegrity robot should start to shimmy along the table. See if you can steer it to the right and left by adjusting the power.

If your robot doesn’t move, try attaching the motor higher or lower on the structure. Moving the robot’s center of gravity a little off-center can help overcome its inertia. Now that the robot works, experiment with placing the motor in different locations on the tensegrity structure — in the center, off on one corner — to see which position produces the most reliable and interesting movements. Varying the speed and placement of the motor will produce different kinds of motion, giving the robot a kind of physical intelligence.


GOING FURTHER

While this simple tensegrity robot moves through vibration, advanced tensegrity robots move by contracting their cables and changing shape so they can roll. For an even greater challenge, think about how you could design your robot to do the same. Or break out of the prototyping stage and build a new version of this circuit without using littleBits. Starting here, you’ll be well on your way to making your own advanced tensegrity robots.