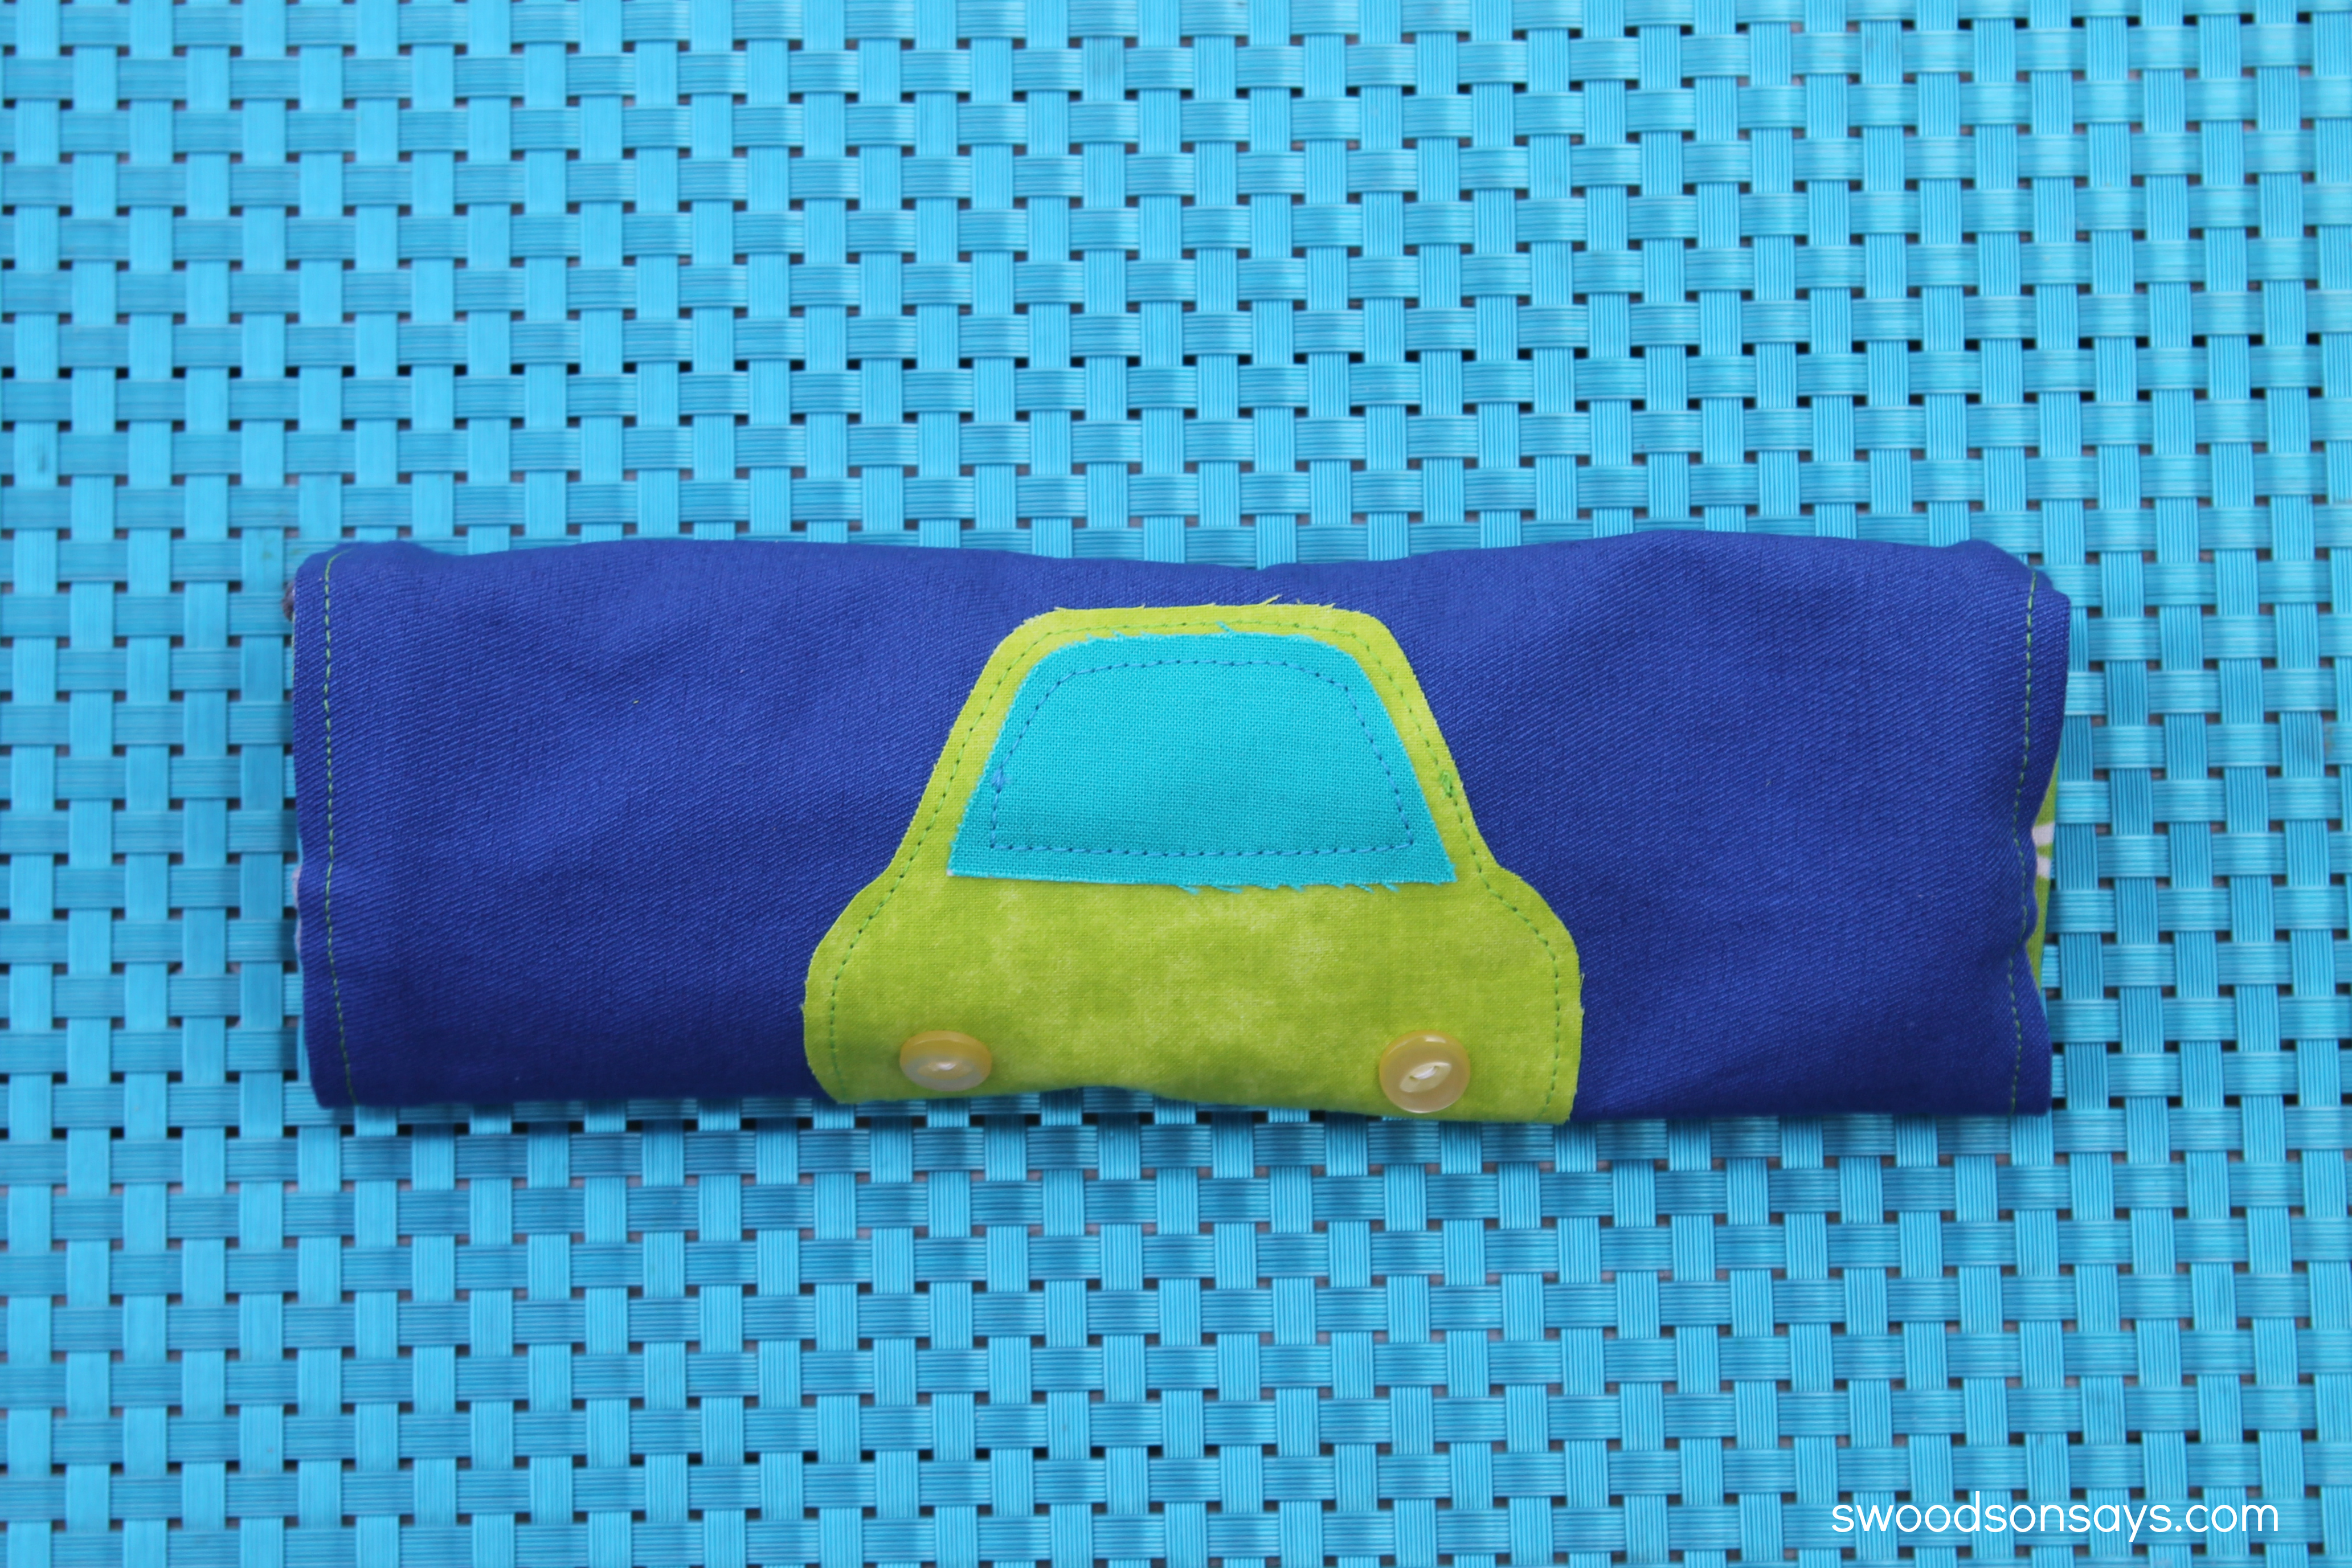
As a young toddler, my son has zero interest in “baby” rattles but isn’t impressed by an Etch-A-Sketch or coloring yet. I’ve been busy brainstorming toys to keep his interest, and this buckle toy taps into his love of un-doing everything he can get his hands on. It’s a very simple project, and you can use up scraps or upcycled clothes for the fabric pieces. I cut, photographed, and sewed it all within an hour — the perfect nap time project!

14074615519_9064a467f1_o
This tutorial originally appeared on SwoodsonSays.com

Project Steps

Create applique

Download the car applique outline here and print at 100%.

Trace the car and windshield shapes onto the fusible web (Wonder Under), on the smooth side.

Iron onto the wrong side of the fabric scraps, and trim.

Attach the applique

Peel the paper backing off the applique, position it on the main front toy piece, and iron it on.

Sew 1/8″–1/4″ away from the edge around the shape, both on the windshield and the car.

Hand- or machine-sew the buttons on. They line up over the tires.

Assemble the buckles

Iron the interfacing onto the body pieces, if desired.

Loop cord or ribbon through both ends of each buckle, and lay them out. Make sure to leave a small amount of slack so the buckle can be manipulated — if it’s completely taut it will be tough for your toddler to play with it!

Secure the buckles

Stitch each side of the buckles to the fabric, keeping about 1/4″ inside in an X-ed out box for security. Don’t forget lots of back-stitching for security.

Trim extra cord off the edges.

Assemble the toy body

Put both right sides together and make sure the buckles are tucked into the middle so you don’t accidentally sew over them and break a needle.

Sew two rows of stitching around the edges, leaving a 4″ opening to flip it inside out. The first row is at a 3/8″ seam allowance, and then another one at 1/2″ for extra secure seams.

Turn and topstitch

Turn right-side out and gently poke the corners out.

Iron the opening smooth and topstitch 1/4″ around the edges, making sure to catch all 4 layers of the tucked in opening.

Set the snaps (optional)

After sewing it all up, I decided it would bug me if the buckles were flopping around. So I inserted 2 KAM snaps so the toy can roll shut vertically.

Any metal or plastic snap would work just fine!

Conclusion

MKSUBSCRIBE_01If you enjoyed this and find yourself looking for more projects like it, we have just released Volume 41 of Make: Magazine, featuring maker toys and toy projects. You can find it at most local book sellers or subscribe online right now.