Don’t have this issue? Get it in the Maker Shed.
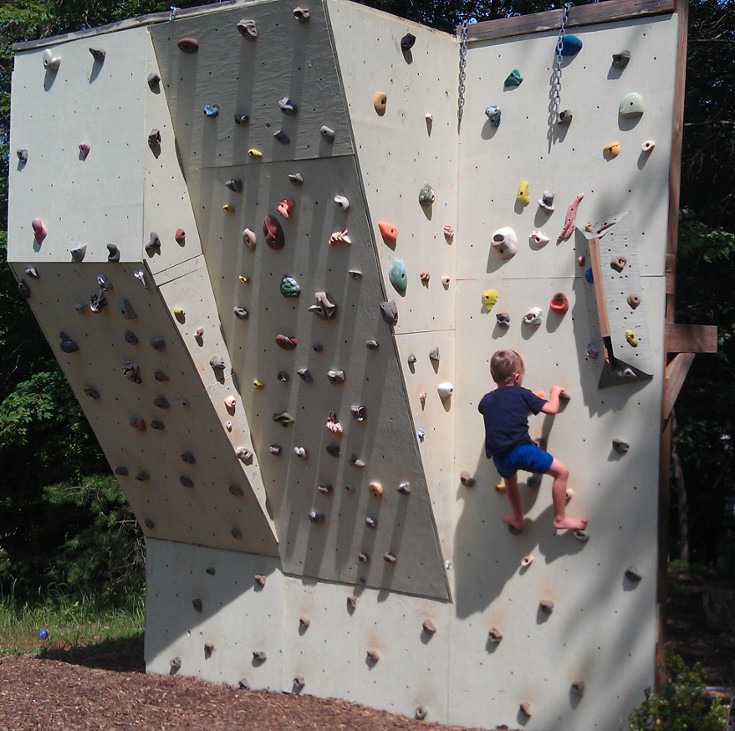
I used to climb a decent amount in high school and college, but had to cut way back once my wife and I had children. Since climbing trips became more rare, it was frustrating when I did go climbing to be so out of shape. For conditioning my forearms, for training climbing moves, and for fun, I have wanted a climbing wall for a long time. My initial vision was to have a small indoor wall, but it is tricky to locate space for this and to convince my wife that it is not going to seriously detract from the decor. So, I finally settled on trying to build an outdoor wall.
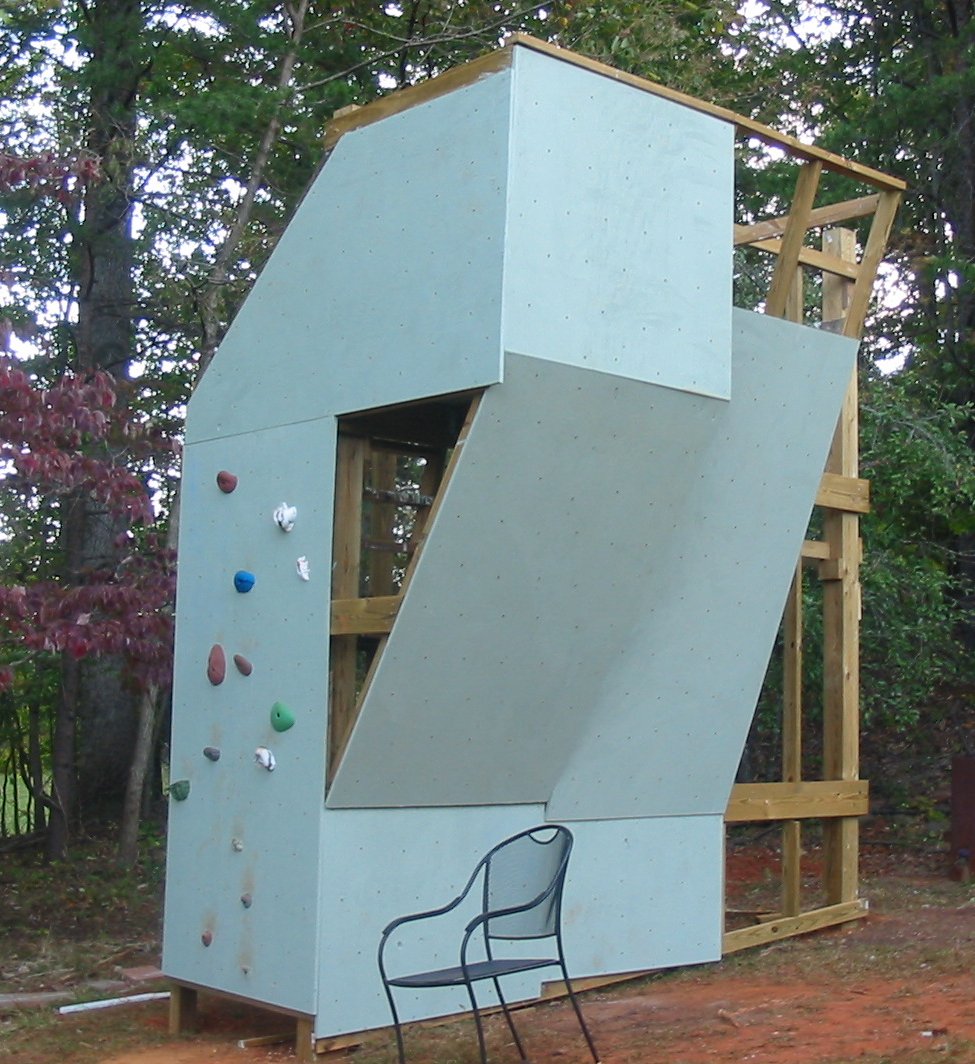
I thoroughly enjoyed building this wall. There were a lot of different types of work to do and lots of interesting challenges to work around. It is hard to say how much time it took, because I worked on it mostly in intermittent 1- to 3-hour chunks at night, after the kids went to bed, using a combination of floodlights from the house and a headlamp. I had help a few times holding up some of the long angled frame pieces, but otherwise I did all of the work myself. If I could have consolidated the work into a contiguous time block, I think I could have finished it all in about 3 days (not counting time for paint to dry).


