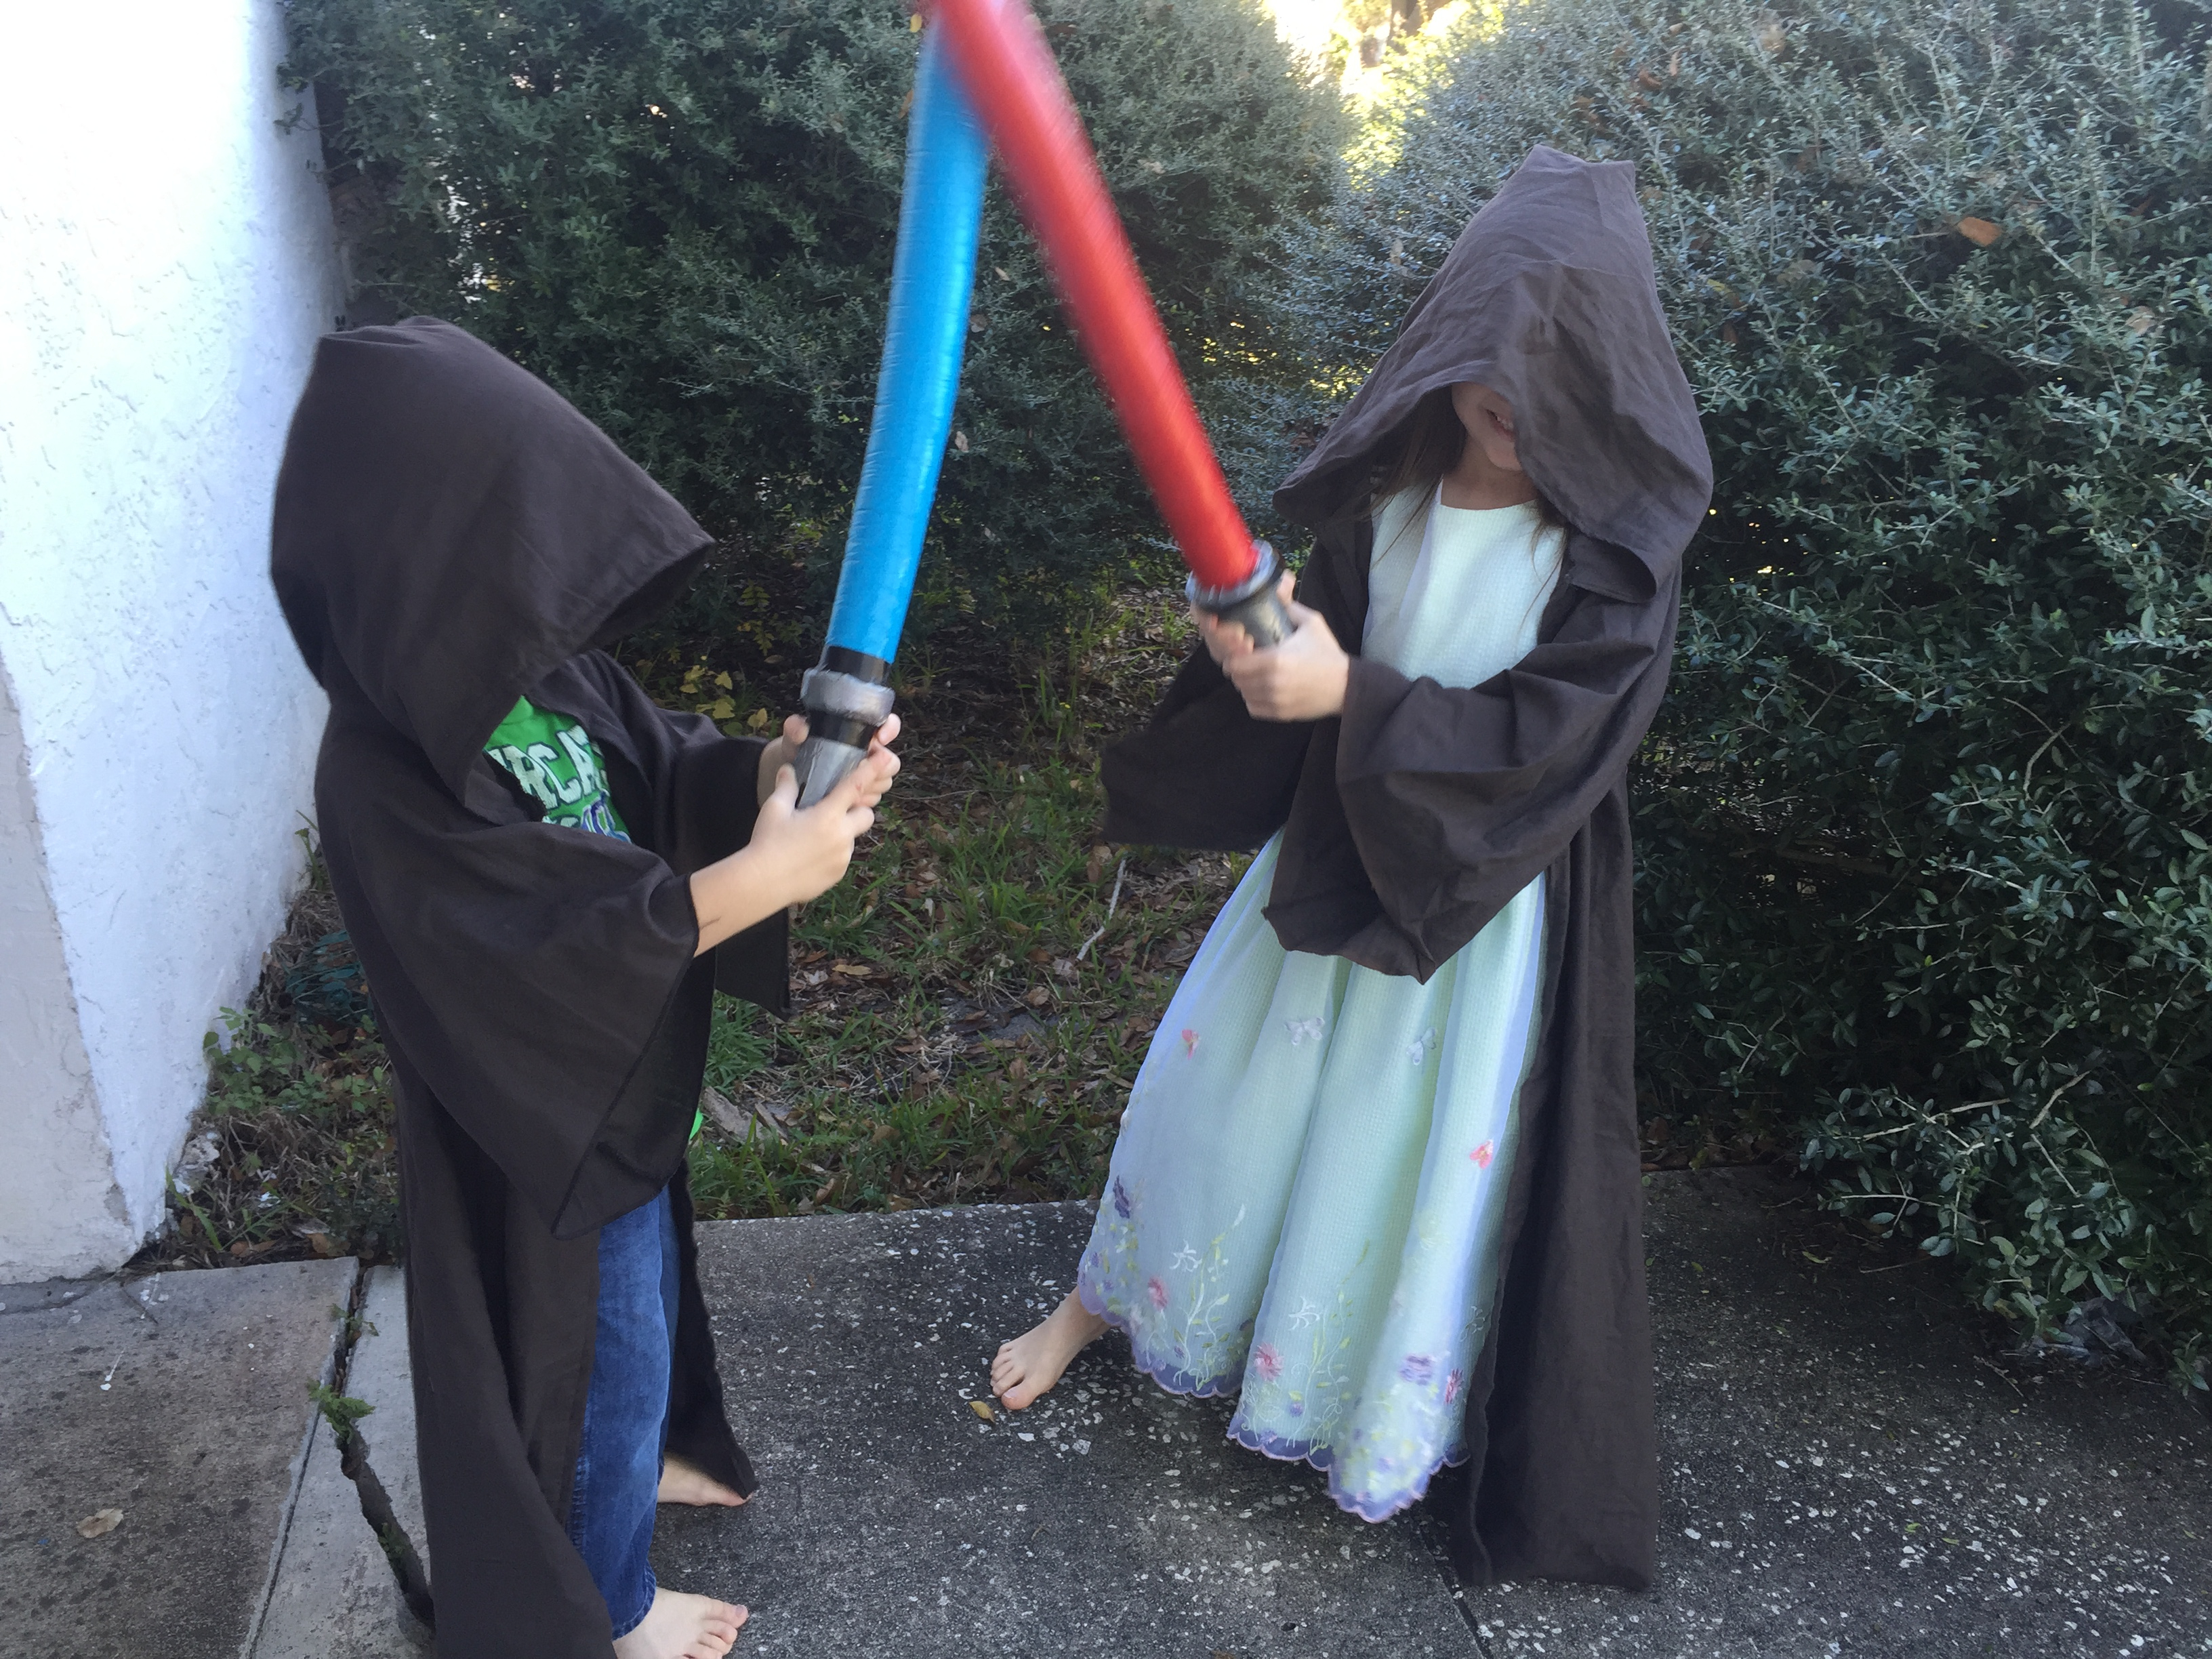
I came up with this “boffer” style lightsaber for my kids shortly after they caught the Star Wars bug. It’s safe, fun, and easy to make out of a pool noodle and some duct tape. In my quest for the safest, cheapest DIY lightsaber, I found pool noodles to be a popular route, but I never found any that were slender and sleek like a lightsaber should be. This was my solution. I’ve made about a dozen of them now, and I’m very confident in this design’s adaptability to create your child’s (or your) ideal lightsaber.

I’ve made ones based on the lightsabers of specific characters such as Anakin, Yoda, Ahsoka Tano, Aayla Secura, Mace Windu, and of course the famous dual lightsaber of Darth Maul. My oldest ones have lasted 6 months so far and have stood up well to daily use.

One pool noodle will yield two lightsabers, so you’ll be ready for a duel right away! Also, it’s easy to change the length if you wanted to make an adult sized lightsaber, just cut the noodle 6 or 8 inches longer. (Perhaps someone can use that extra length for an Episode VII style saber? Someone? Anyone? Please leave a comment if you do!) Thanks for reading, and “May the force be with you!”


You'll only need a few supplies to make these fun lightsabers.
You’ll only need a few supplies to make these fun lightsabers.


Project Steps

Cut To Length

Cut noodle in half, about 27.5″ ea (this noodle was a hair longer so I moved it up.)

Cut Away Excess

Step 2.0 Place a strip of plain tape length wise. this will be your guide for cutting, to decrease the diameter of the lightsaber. I tried making these leaving the pool noodle size “as is” and they were not great. My kids still played with them, but when I made the smaller ones, they prefer the smaller ones hands down.

Step 2.1 Do not cut at an angle inward toward your tape, instead angle it away from the tape to make your removed section more box like and less triangular. This will help when you are taping it closed later.

Step 2.2 Draw your blade down the length of the foam, using the tape as your guide. A sharp blade will cut it like butter, a dull blade tends to drag and make jagged edges.

Adding The Core

Step 3.0 Take the tape width strip that we just removed, and slice off about 1/3 of it. Just run your knife all the way down.

Step 3.1 Set aside the smaller strip for later, and use the larger one to stuff inside the cavity of the noodle. This will add a significant amount of stability.

Binding It All Together

Step 4.0 Use plain tape to squeeze and close your “gap.” Here you can see the angle, you can tell it’s not perfect but it’s foam and squishes nicely to form the shape you want, based on how tight you wrap your tape.

Step 4.1 You want to squeeze it close with your hand below the tape where you are wrapping, it helped things stay smooth. Also, overlap your tape a little bit or you get “bumps” in the space between tape pieces. I don’t recommend just wrapping it like a candy cane, actually wrap parallel and tear off, each time.

Step 4.2 Plain tape all the way down – I gave my hand a rest halfway through

Coloring

Step 5.0 We will be wrapping the foam length-wise with the colored tape. For this diameter, it takes 2 strips, for the un-altered pool noodle it will take 3. Make sure you are getting it on as straight from end to end as possible, and use your hand to slowly press the tape down in a sliding motion on the CENTER of the tape THEN press down the edges, it helps keep wrinkles at bay. Start a little below where you want your lightsaber handle to begin.

Step 5.1 You can see the center being pressed then the sides.

Step 5.2 Also note, if your lightsaber looks crooked, lumpy, or curved, never fear – this is where you will be fixing that. Simply pull the tape tighter in the opposite direction to “correct” curves, etc.

Finishing The Coloring

Step 6.0 Wrap over the end, and repeat on the opposite side in the opposite direction.

Step 6.1 Should look like pic #2.

Step 6.2 Now do the same thing on a 90 degree turn, so you are covering your opposite side openings.

Add The Hilt

Step 7.0 Now, I think it adds a nice dimensional detail to include a bit of a “hilt.” Lightsaber handles come in all different shapes and colors, so your foam is your oyster here, but here is how I add the lip at the top. This piece that I’m using is the smaller set aside piece from the earlier. Here I am measuring it around, and I’ll cut it where it meets.

Step 7.1 Lay out some plain silver tape, and stick your new hilt piece to it. Leave about 1″ on either end, and since this piece is angular place it slightly higher on the tape along the smaller edge.

Step 7.2 Now wrap it where you want your lightsaber handle to start, overlapping your tape.

Clean Up The Hilt

Step 8.0 Smush down the tape. the wrinkly edges will be covered with other tape so don’t worry about it’s appearance.

Step 8.1 Use either electrical tape, or your colored duck tape to wrap over the top edge to make it look nice and neat.

Step 8.2 Do the same with your plain silver tape on the bottom edge.

Finish Taping The Handle

Step 9.0 Now the handle…I use fresh tape and apply to this end the same as I did the colored end. I like to use the knife to keep the edges clean instead of tearing the tape, on this one because it usually shows.

Step 9.1 Repeat on 90 degree turn, exactly like we did with the colored tape.

Step 9.2 use a nice little box corner fold to keep the edges clean.

Decorate

Step 10.0 Here I’m using electrical tape as accents to provide decorative detail. I’ve taken two sections and sliced them into strips.

Step 10.1 I applied these strips at an eyeballed intervals – this is a common lightsaber embellishment you’ll find.

Step 10.2 I also added a piece of tape cut roughly to a button shape, and used a strip of tape cut in half to embellish the hilt and the bottom of the handle.