Raspberry_Pi_2_grande

This project has been excerpted and modified from Make: Getting Started with Raspberry Pi — 2nd Edition.


Once you’ve booted and configured your Raspberry Pi, you’re ready to begin!

What You’ll Be Making

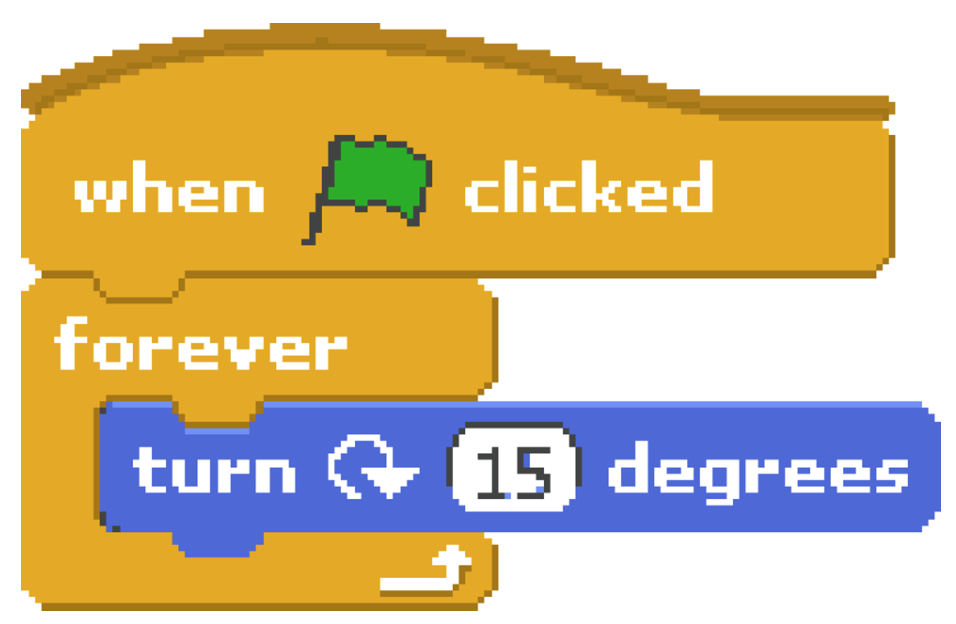
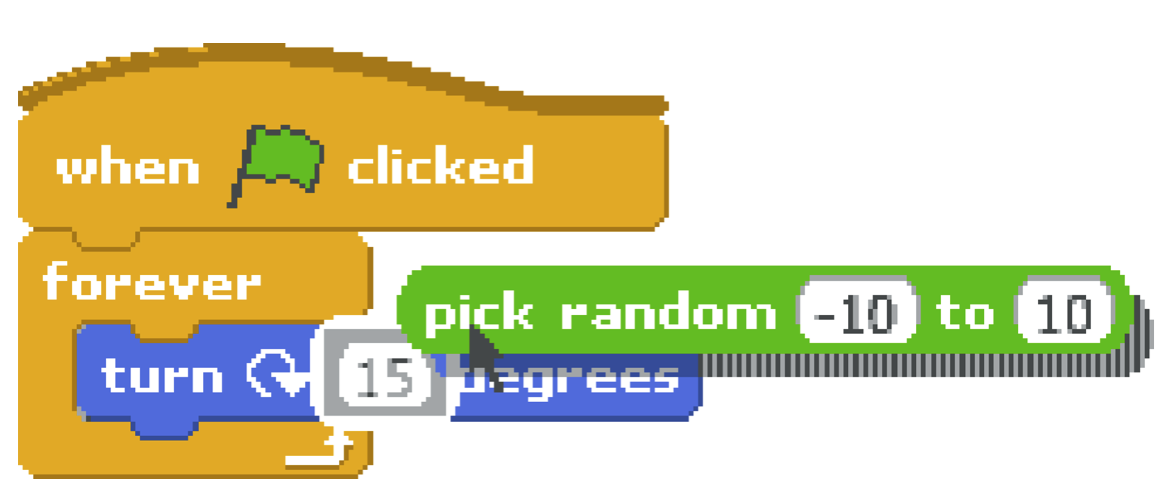
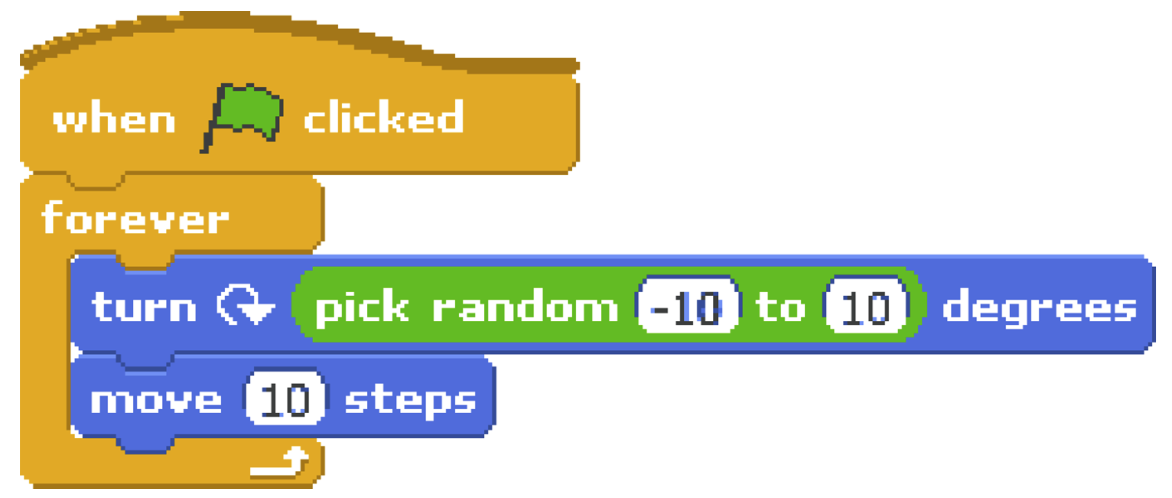
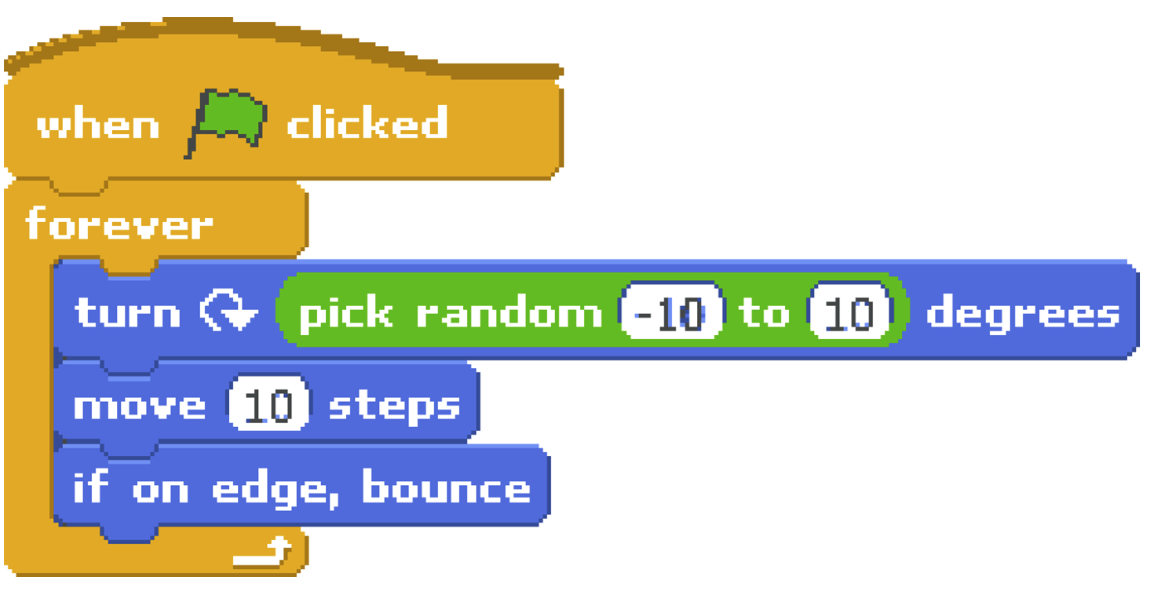
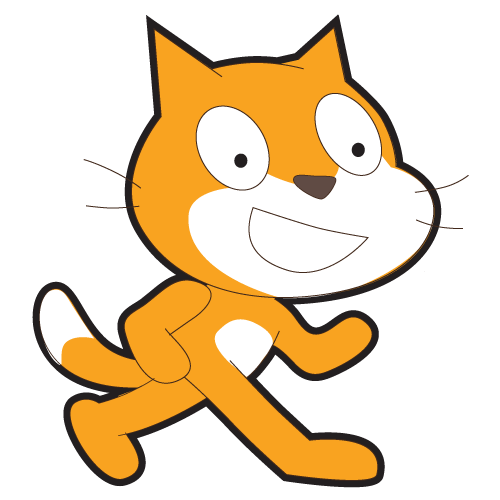
You’ll create a very simple “cat in the box” program using Scratch. You’ll make your cat move in various ways.

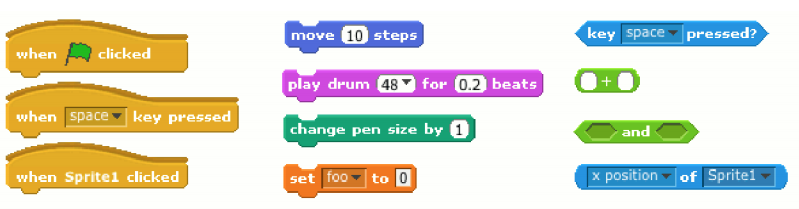
Scratch is a visual programming language that allows you to create programs from colorful blocks, each of which performs an operation. You can create animations and games through Scratch’s drag-and-drop interface without actually having to write lines of code. A new programmer can see the blocks of code highlight as they’re executed, and blocks can be changed and the effects seen in real time.

What You’ll Learn

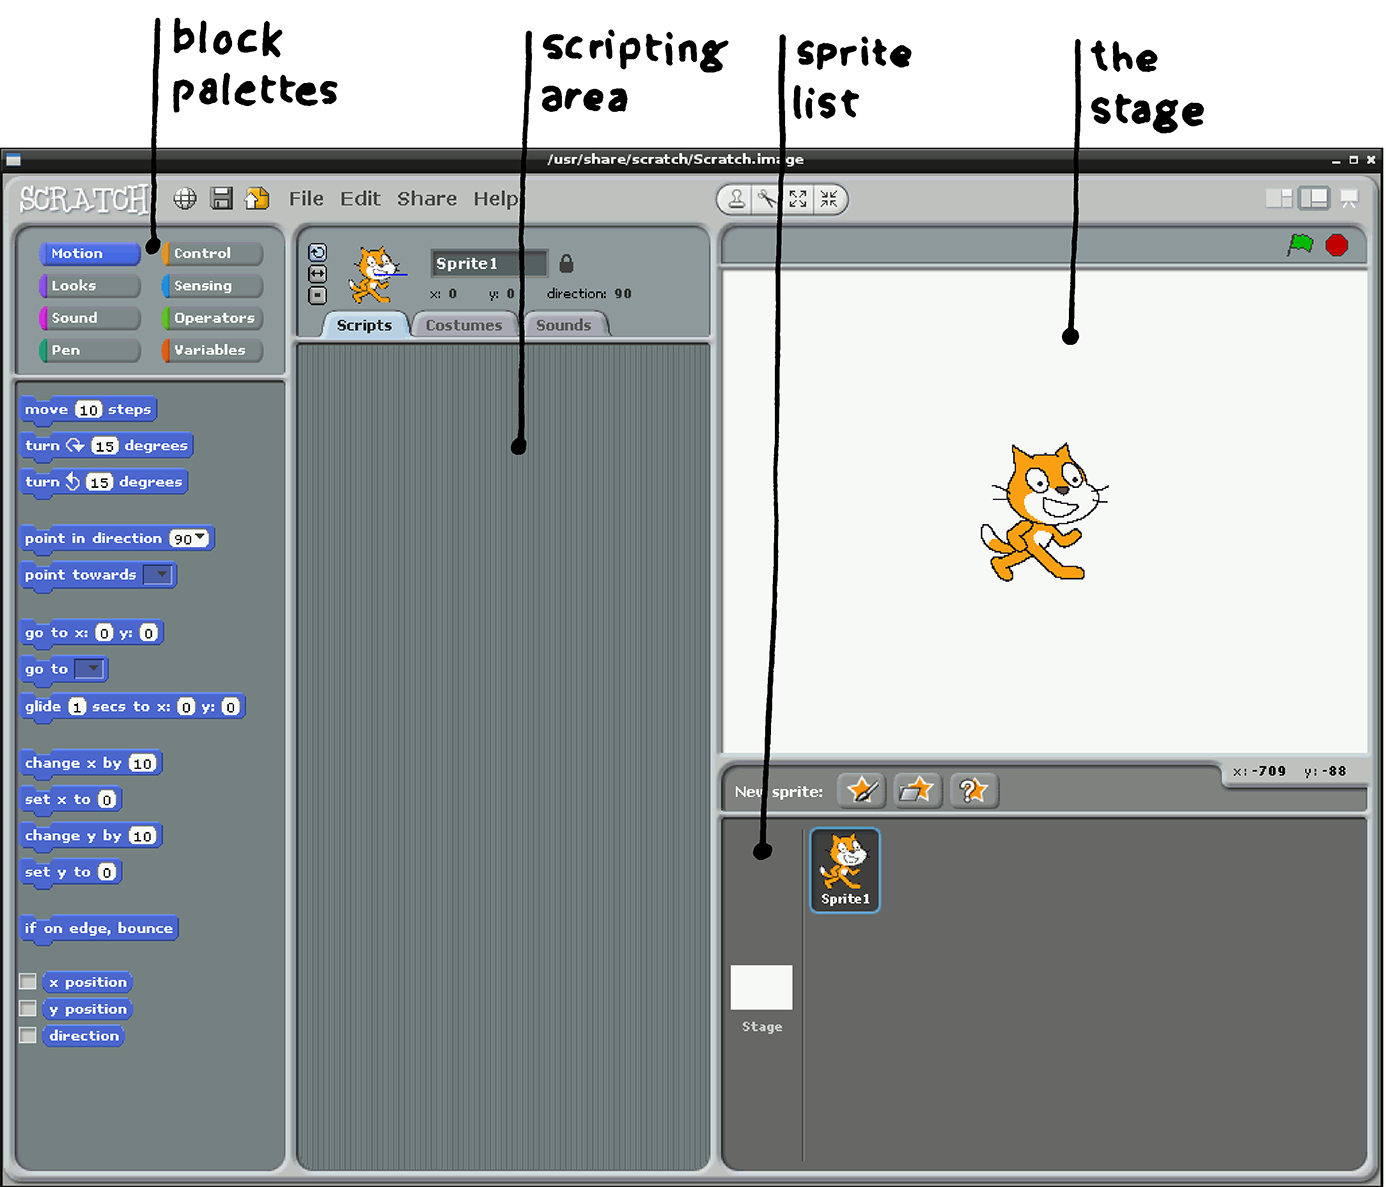
  • What the buttons and toolbars in the Scratch window do
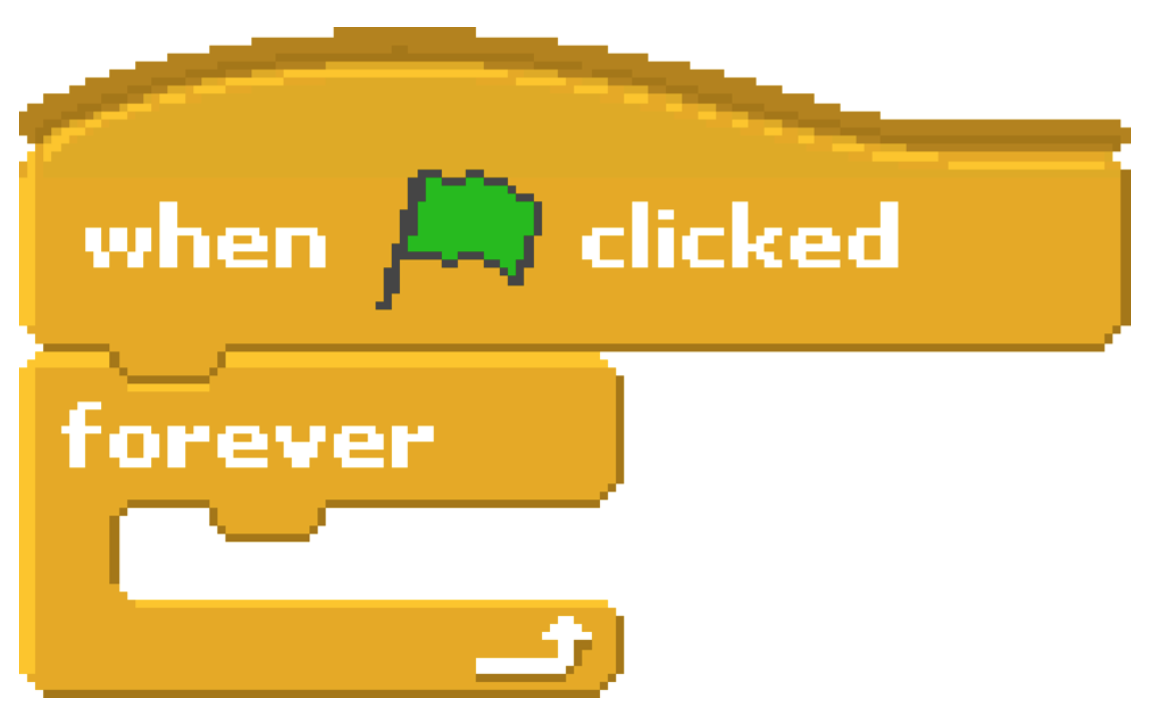
  • How to use blocks to make the Scratch cat move
  • How to change sprites (onscreen characters and objects that can be controlled, such as the cat)
  • How to create your own sprites

Project Steps

Understanding the Scratch Window

To show how easy it is to get started programming in Scratch, we’ll jump right in with a simple “cat in the box” program.

Start Scratch by double-clicking its desktop icon, or by clicking the desktop menu in the lower left and choosing Education→Scratch.

When Scratch opens up you’ll see a single window open with several panes. The role of each pane is labelled (Image 1).

Stage: The Stage is the background of the program. Every Scratch program involves sprites performing on the stage.

Sprite List:
Sprites are the objects that perform actions, or create movement in your program. Sprites are controlled by scripts that are built with a collection of blocks that you pull from the block palette. When you open a new document, you’ll get the default Scratch cat sprite.

Scripting Area:
The scripting area shows the script belonging to the selected sprite. Click on the cat in the sprite list and you’ll see an empty scripting area for the sprite. You can build a script anywhere in this frame. If you create another sprite, you’ll need to click on it to display and build its script.

Block Palette:
Scripts are built up by dragging blocks from the palette to the scripting area. Many blocks can contain other blocks, and how they fit together is indicated by their shape. There are three types of blocks in Scratch (Image 2).

  1. Hat blocks: The “when green” flag clicked block is an example of a hat block, which sits at the top of a stack of blocks and waits for an event to happen.
  2. Stackable blocks: Blocks with an indentation on top and/or a bump on the bottom fit together with other stackable blocks. The blocks are executed in top-down order.
  3. Reporter blocks: Reporter blocks have rounded or pointed edges and fit inside the input areas of other blocks. Reporter blocks may be variables or may provide information like the mouse coordinates or some condition.

Start Programming

Select the Control block palette and drag the when click block to the scripting area (Image 1).

The next step is to use the stackable forever block that will execute all of the command blocks contained within it over and over until the script is stopped (Image 2).

Be sure to practice reorganizing the blocks. When you pick up a block, you also pick up all of the blocks attached after it. To separate a block, you will often have to separate a whole stack of blocks, then grab the children of the block you want to remove. You can also right-click on a block to duplicate it (and its children) and get help.

Next, select the Motion palette, and drag a turn block and place it in the forever block (Image 3). This block will determine how your cat will move.

Run Your Program

At this point, you can click the green flag in the upper right of the stage section and start executing your script to see your cat move! One of the neat things about Scratch is that you can make changes on the fly and see them immediately take effect on stage. This is a really good way to debug your program on the fly.

When you click the green flag, a message is sent to all scripts in the project to start running (similarly, the stop sign sends a stop signal).

Try More Programming: Make the Cat Walk

If you look at the turn block, you’ll see the number of degrees that the cat rotates. In this case it’s 15 degrees. You can edit the angle directly, or you can replace it with another block of the same shape.

To have the sprite perform a random walk, replace the default value of 15 degrees with the “pick random” block from the Operators palette. After you place the block, change the values so the program selects a random number between -10 and 10. (Image 1)

Now, add a “move” block from the Motion palette, which will move the sprite a number of pixels in the direction it is currently facing. The direction is shown as a number and a blue line in the info bar above the scripting area. As soon as you place the move block, the sprite will start moving in a random walk. (Image 2)

Finally, to keep the sprite on the stage, add an “if on edge, bounce” block from the Motion palette (Image 3). Your cat should now randomly walk around your stage without leaving it. That’s all there is to writing a Scratch script!

Adding to Your Scratch Program

To add to your Cat in the Box program, refer to Make: Getting Started with Raspberry Pi — 2nd Edition. Start with Chapter 6, “The Stage.”