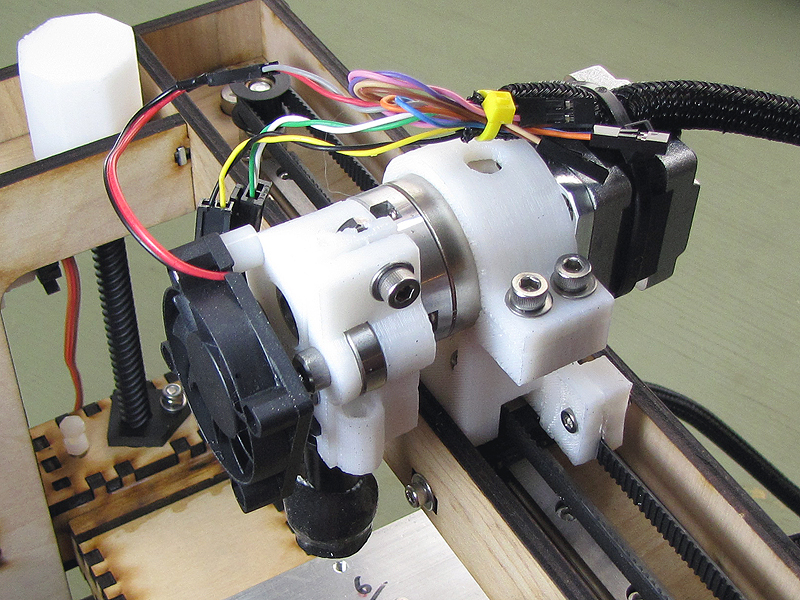
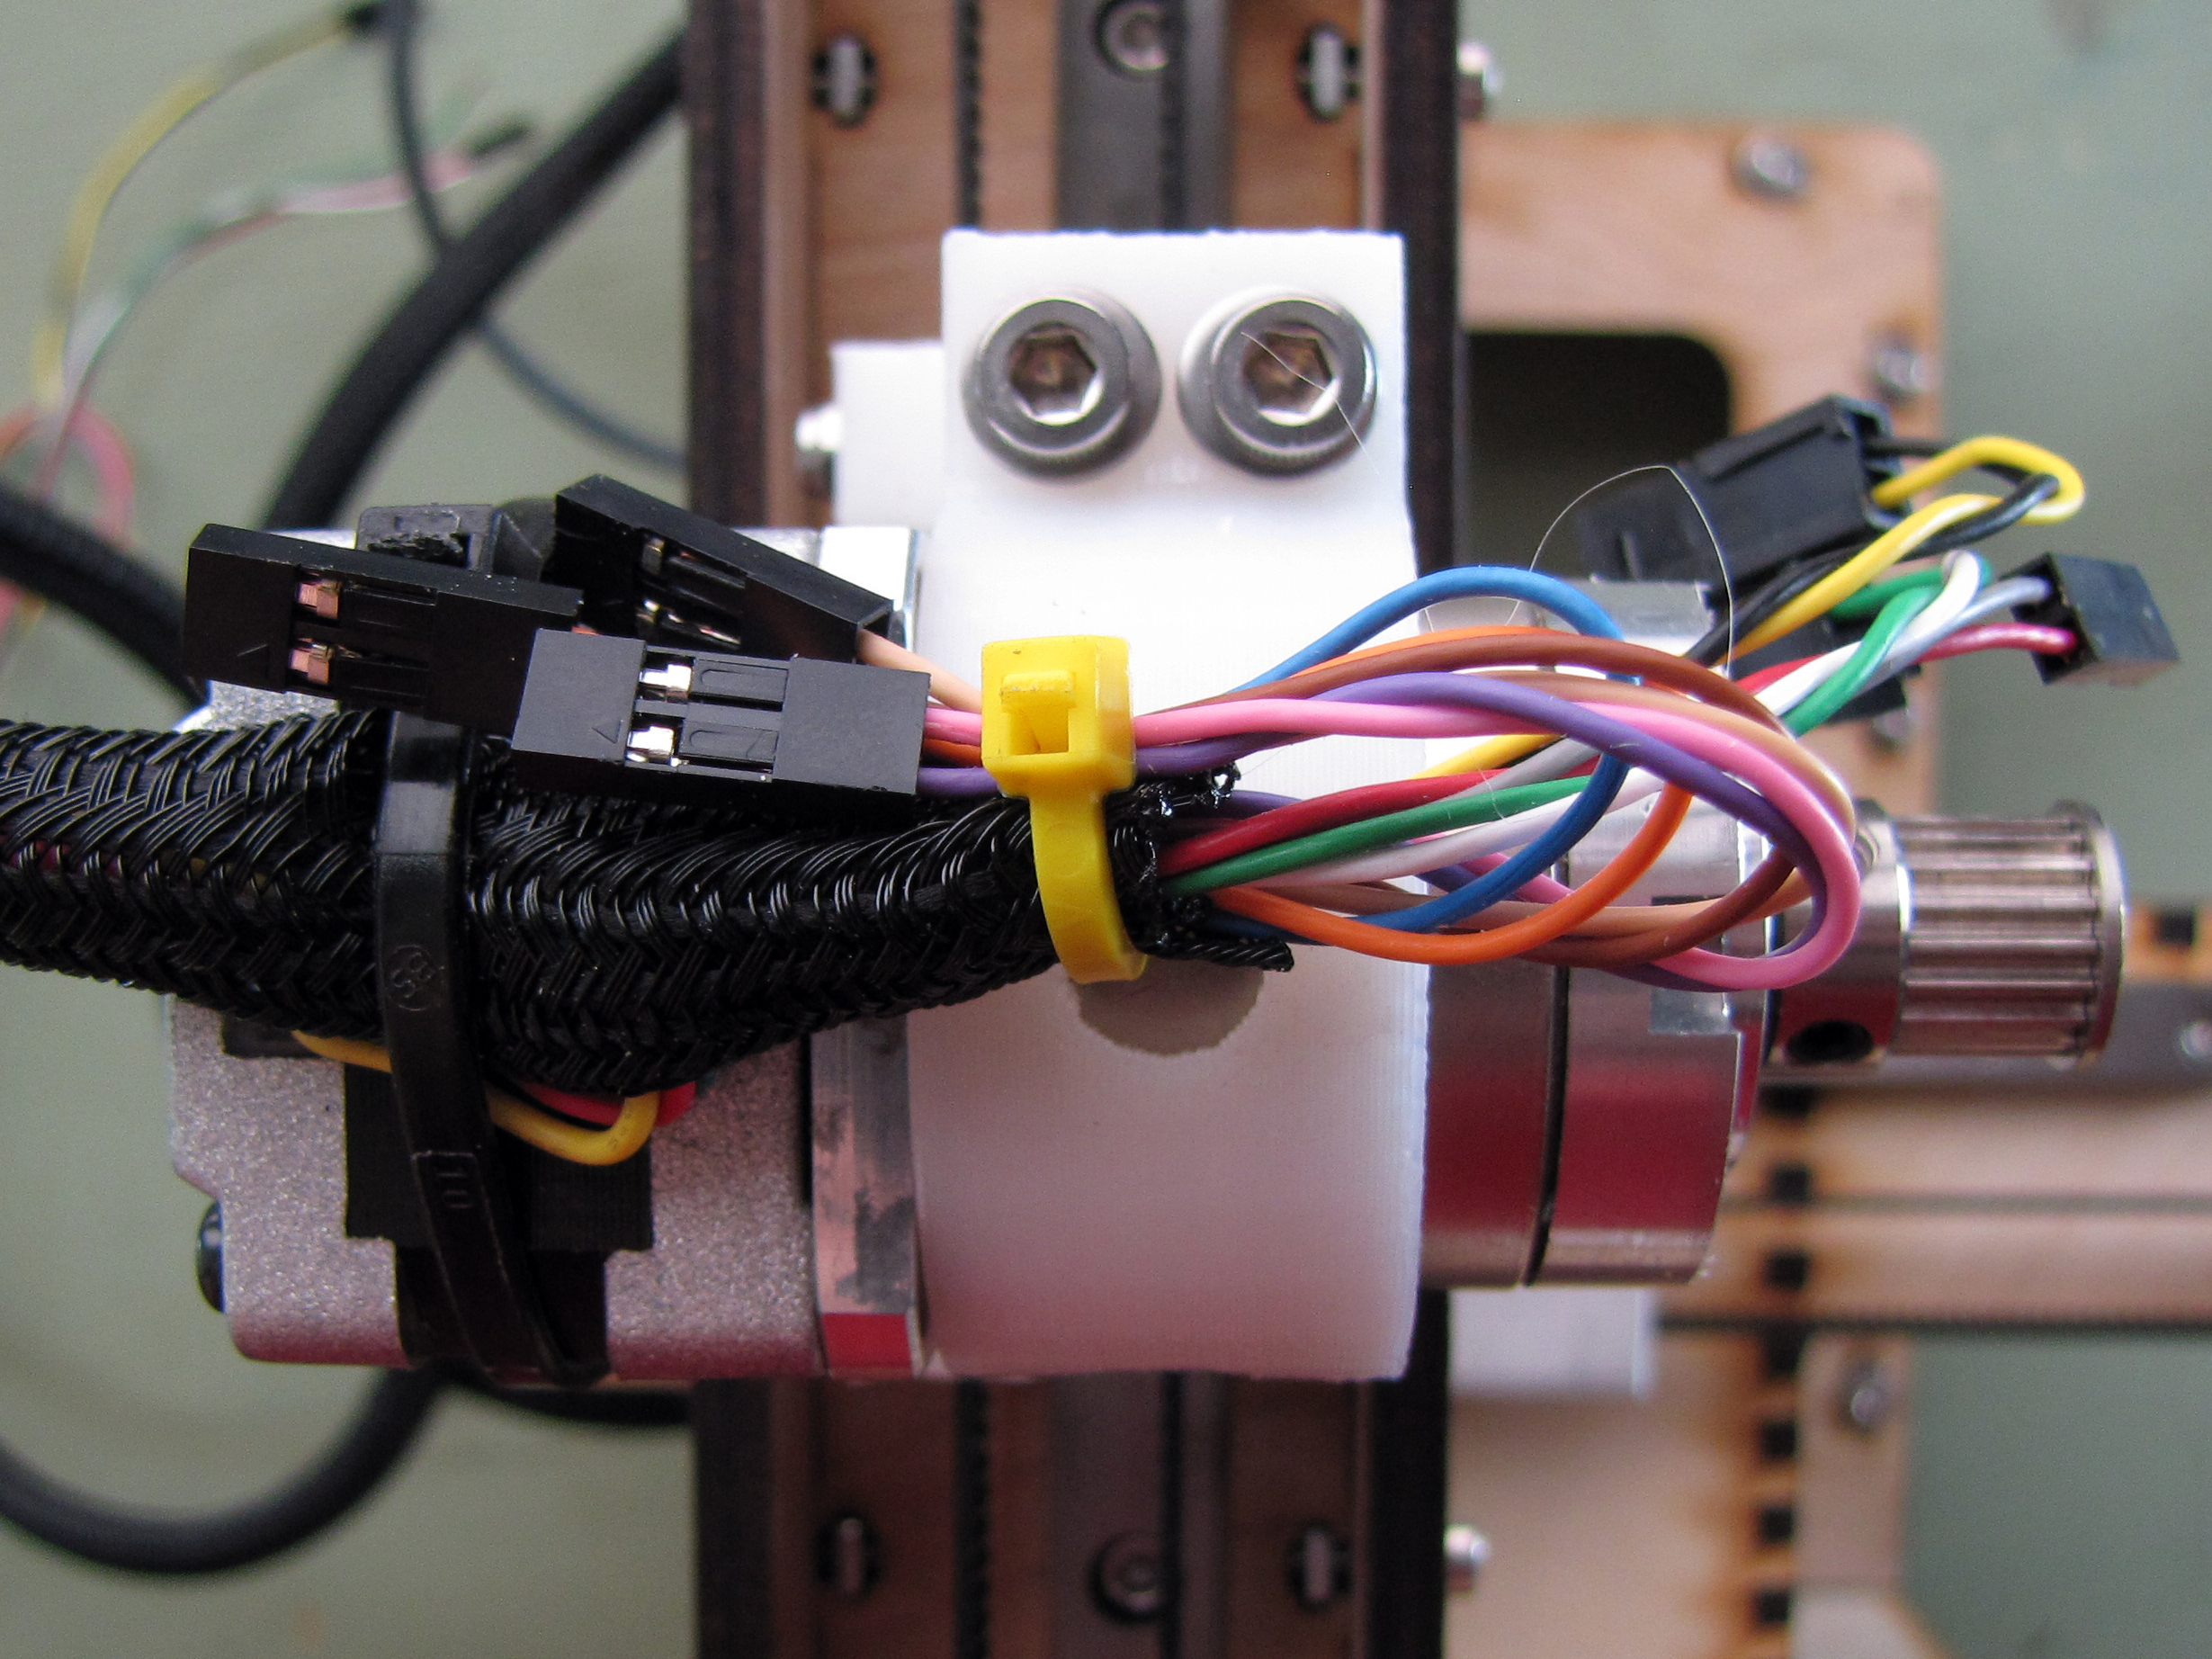
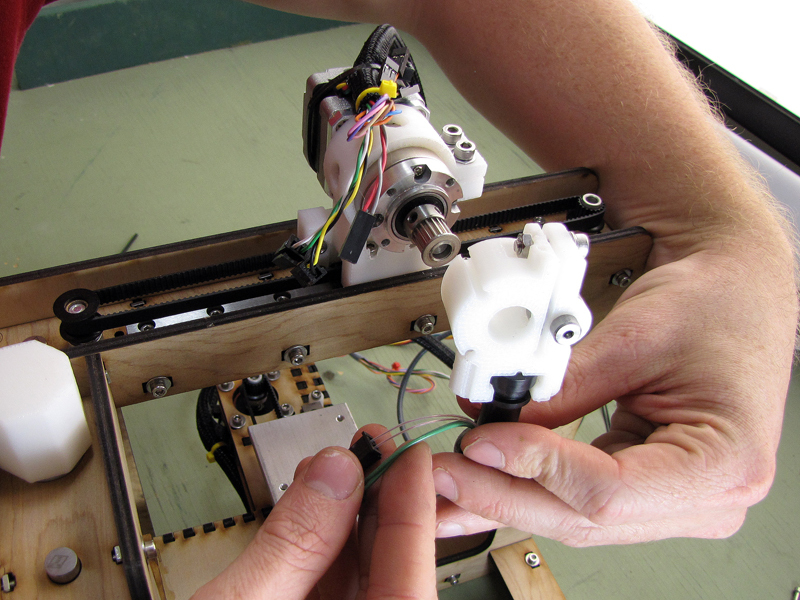
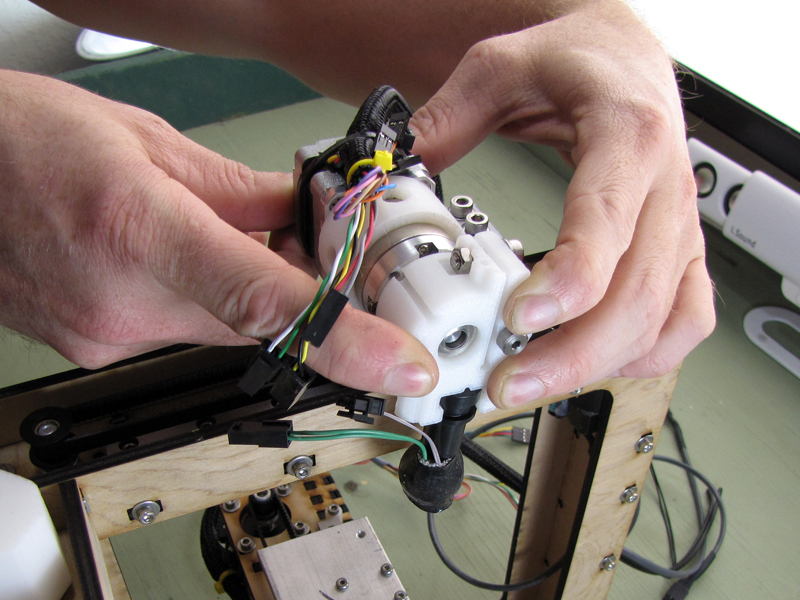
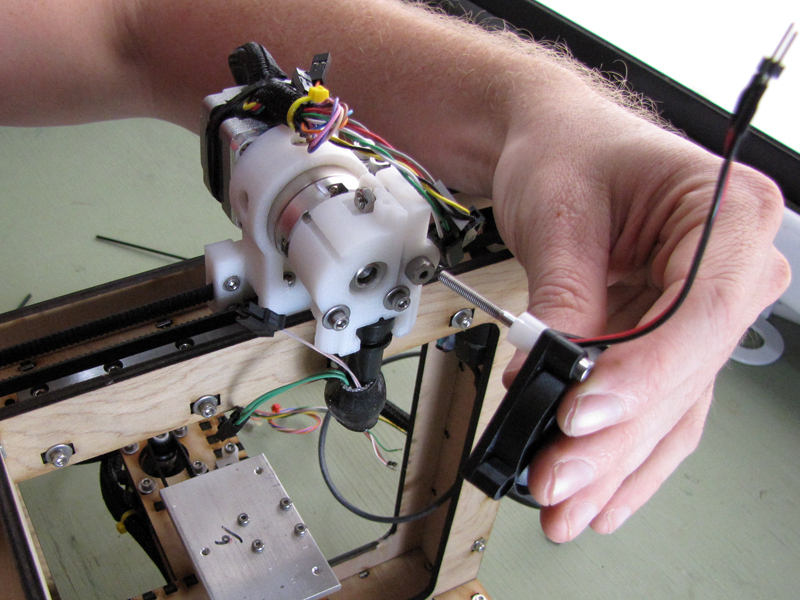
There are three pairs of connections to be made with the hot end assembly: the fan, the heater, and the temperature sensor (thermistor). Except for the polarity of the cooling fan, all the connections are self-indexing.
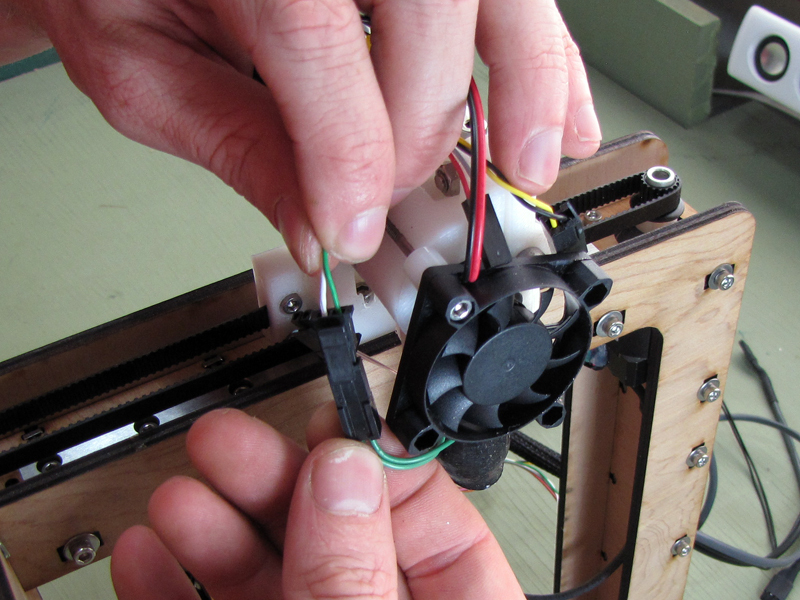
The green leads from the hot end power the heating element. Connect them to the green and white leads in the extruder wire harness using the attached Molex connectors. These are self-indexing and will only interlock in the correct orientation.
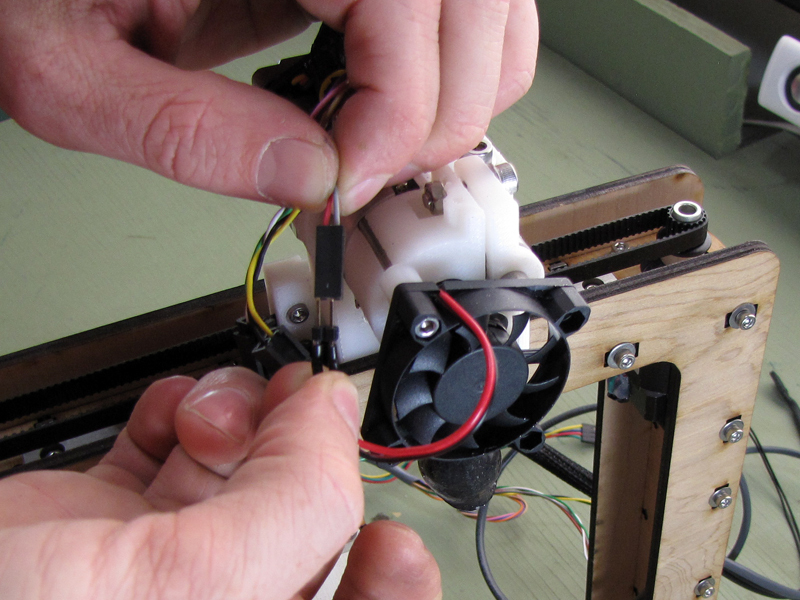
The beige leads from the hot end are used to measure temperature through a thermistor inside. Connect them to the black and yellow leads in the extruder wire harness using the attached Molex connectors. Again, these are self-indexing and cannot be plugged in the wrong way.
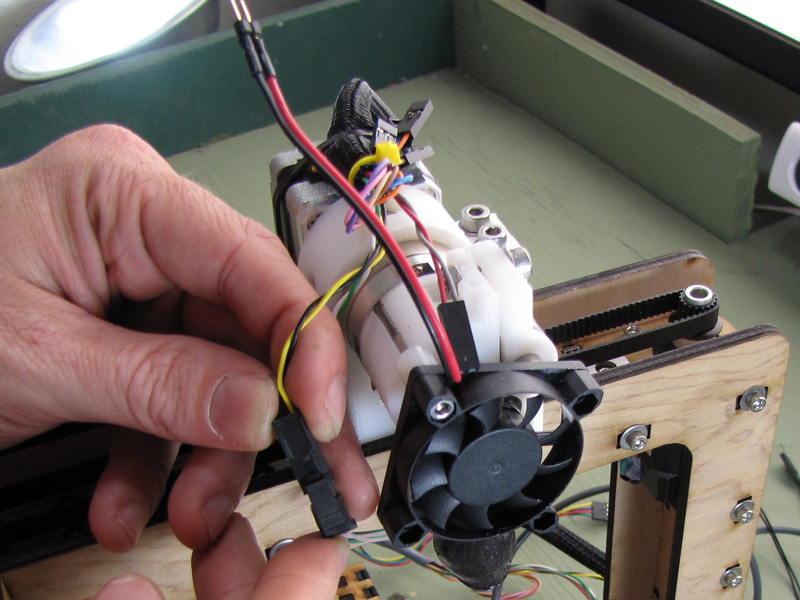
Finally, connect the red and black leads from the fan to the red and gray leads in the extruder wire harness. The plugs here are not polarized, so be sure to connect them red-to-red.