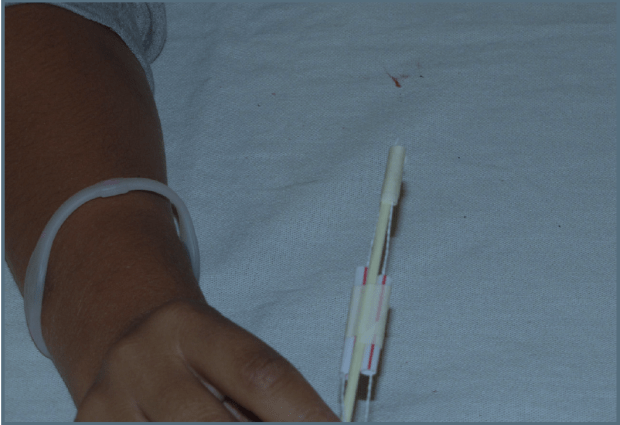
When Dr. Frankenstein performed his little nip and tuck, and added some prosthetics and implants, he wound up creating a monster and giving human tinkering a bad reputation. It need not be so — to learn about our bodies, we can hardly do better than building models. To understand the way things work, you need to tinker with them, and this is certainly true with our own bodies.
This post is adapted from Curt Gabrielson’s book, Tinkering: Kids Learn By Making Stuff, which celebrates science and learning through fooling around.
Throughout history, people have had to go great lengths to get permission or get around laws and tinker with dead people. To the extent that they were able to do this tinkering, real knowledge about body systems slowly amassed.
While you might not be able to get a body to tinker with, there’s another way to tinker with the way bodies work: build a model of the body’s parts. If you get the model working similar to the real one, you’ll gain insight in to how the real one works.
Our endoskeletons have muscles pulling on each bone. Tendons connect the muscles to the bones and ligaments link the bones to one another. Though all these parts are made of cells, the difference between these types of tissue is as large as the difference between string and bamboo. Making models of limbs brings out this point effortlessly.
Once you’ve built a model, you can even dissect it. Taking apart a complete chicken wing or leg or foot will nicely demonstrate the way things work with real tissue.
Arm Model
Gather Materials
- Three bamboo skewers
- Kite string
- Masking tape
- A bit of cardboard
- Toothpicks
- Straws
- Rubber band, skinny
Gather Tools
- Scissors
- Side cutters
Tinker
Step 1
Grab two of the skewers together parallel-wise and wrap a rubber band around them, medium tightly, near the non-pointy end.
Step 2
Skewer the wrapped rubber band with the pointy end of the third skewer. Make it slide down on one side of the two skewers together (not between them).
Step 3
Tie one end of two lengths of kite string around the top one of the two parallel skewers. Slide the knot so that it’s positioned nearby the rubber band.
Step 4
Cut two short lengths of straw and tape them as shown near the top of the single skewer. Run the strings through them.
Step 5
Tape the two strings as tightly as possible to the top of the single skewer. You’re going to be pulling on them and you don’t want them to come loose.
Step 6
Form a hand with the cardboard. The fingers can be toothpicks. It’s nice to slide the skewers into the corrugations of the cardboard and then leave them loose, not glued together, so as to allow arm-like motion.
Step 7
There is your arm. When you tweak the front string, the arm raises, as in the first photo of this section.
Step 8
Tweak the back string and the arm will move downward.
Step 9
Label the two strings if you want.
Check It Out
Things to ponder after tinkering:
- What real parts do the various parts of the model represent?
- When you pull on the front string, what kind of real life motion is it like? How about when you pull on the back string?
- How do you think the muscles do the pulling?
- What if you slide the knot on the forearm farther from the rubber band? Would this offer any advantage lifting things?
- What other muscles and parts are missing from this model?
- Would a longer arm offer any advantages in lifting?
- Which do you think you could lift more with — your biceps (front) or triceps (back)? Which do you usually lift with?
Curt Gabrielson is the author of Tinkering: Kids Learn by Making Stuff, where you can find the full version of this project and others, including catapults, CO2 blasters, shrink-wrap drum sets, magnetic dancers, and lighted wizard wands. In between you can learn many fine points on how to serve up projects like these to diverse groups of kids, as Curt has been doing for years at the Community Science Workshops of California.
ADVERTISEMENT


