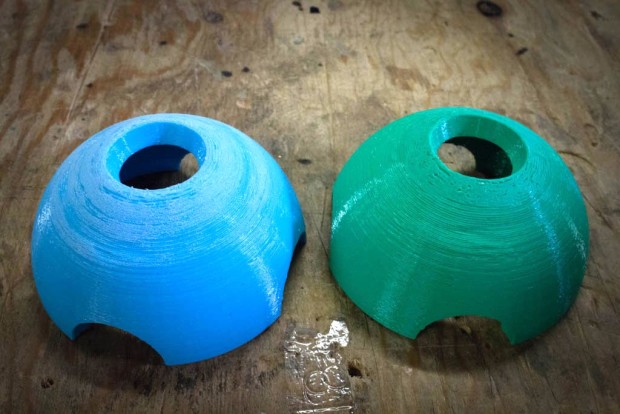

Sometimes 3D printed parts look interesting printed in lower resolutions with distinct layer lines. For example, the lines on a 3D printed scale model of a larger part to be CNC routed can represent a visible tool path in scale, but sometimes you want a smoother, more highly-finished part.
I have found that PLA is especially hard to sand with satisfactory results. ABS can be smoothed using solvents with some success, but both processes are time consuming and/or toxic. Smooth-On’s XTC-3D Brush-On Coating for 3D Printed Parts is a two-part epoxy coating that can take this digital artifacting away more easily.
I started out by hot-gluing my models to dowels stuck in a block of scrap foam, so the excess resin could drip off without gluing my parts to a surface after curing. Measuring and mixing came next: the mix ratio is two parts resin to one part hardener by volume, which is easy to measure in the included graduated cup. Smooth-On even threw in a mixing stick.
When working with epoxies, one should be careful to mix thoroughly for a minute or two with a flat-ended stick, making sure both parts are fully incorporated. Without proper measuring and mixing a full cure is questionable.

Next, I applied the coating with the included foam brush, floating on a slightly heavier coat at the top of the model so it could slowly run down to the bottom as it started to set up. The material has about a ten-minute working time in volume, slightly longer in thin film. The Maker Media Lab is cold, so the epoxy reached sufficient temperature to cure rather slowly. Therefore, more of it ran off than I would have liked, and another coat was necessary to completely fill my unwanted texture. I waited until the first coat was cured, then used a one-inch chip brush for the second coat. It worked a little better than the foam brush (the bristles offered a little more control).
After an overnight cure, that second coat provided a glossy, smooth surface. I would recommend this product to Makers who want to remove texture from their 3D prints. It’s relatively inexpensive, easy to use, and effective.
ADVERTISEMENT


