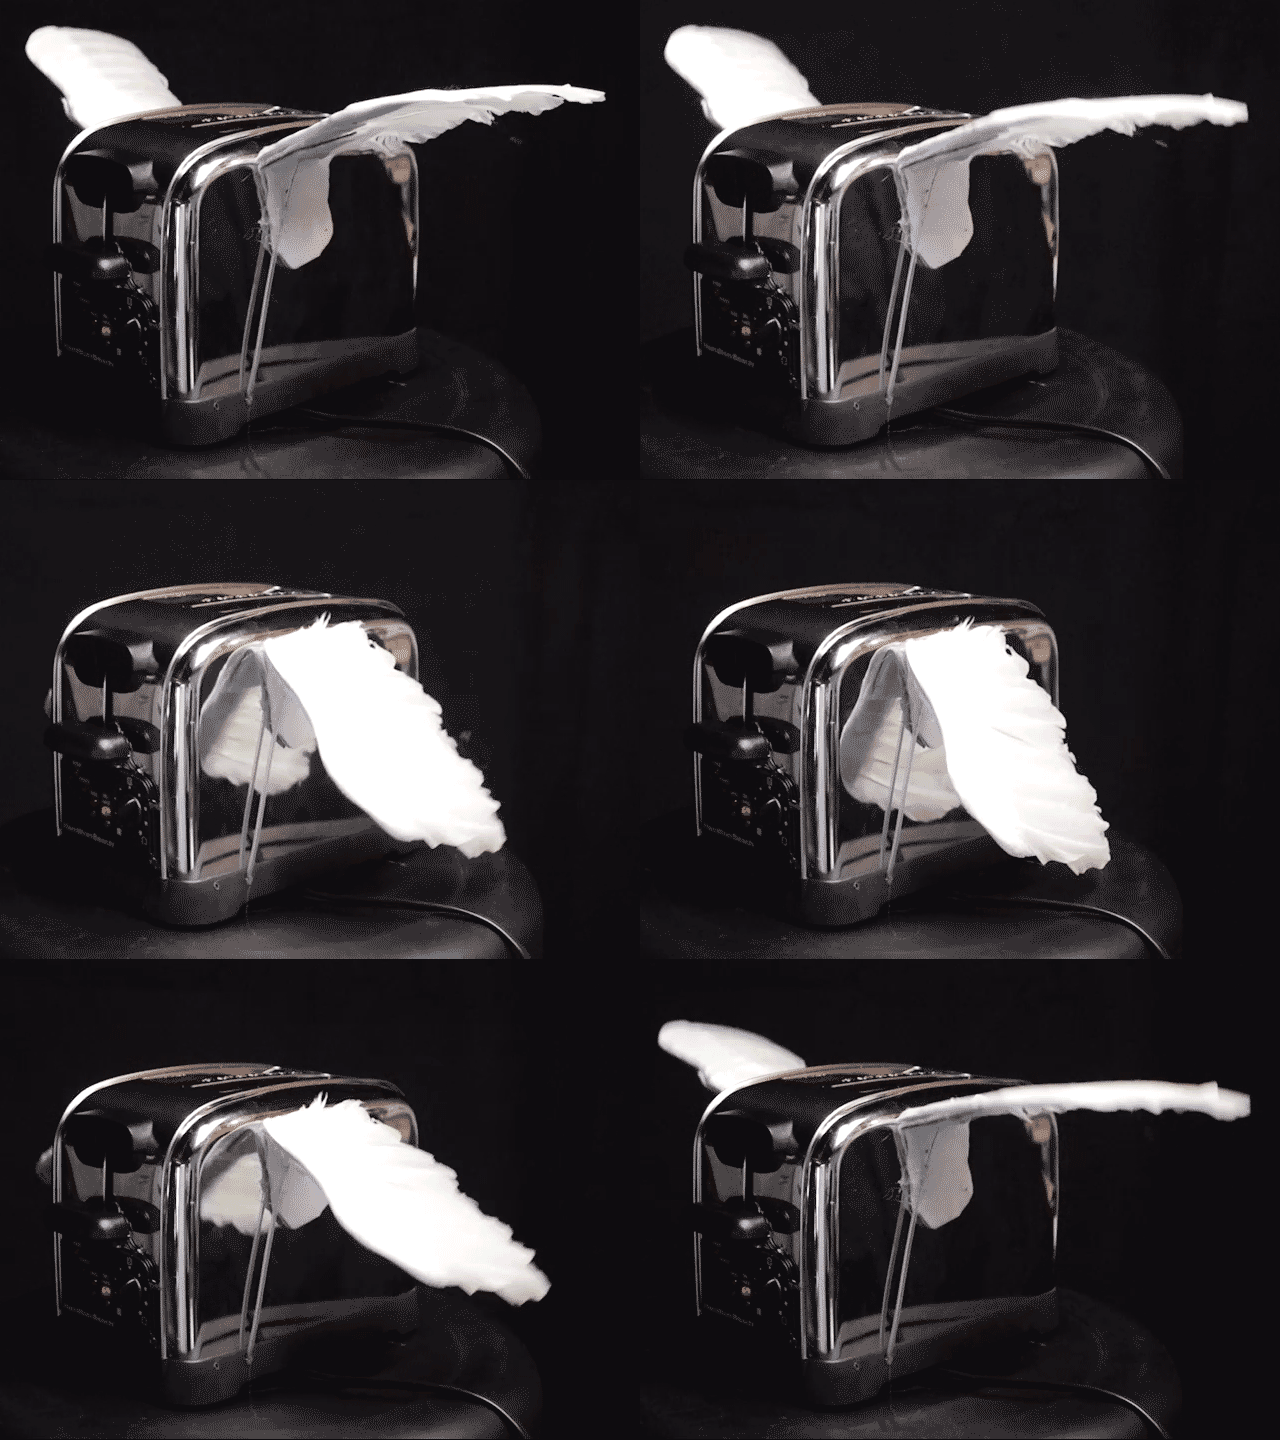

During one of our frequent discussions on what would be cool to make, our coworker James Burke dropped the perfect bomb on us. He wasn’t even finished with the sentence and I knew this had to exist. The idea was to recreate the iconic flying toaster from the After Dark series of screensavers.
I sat down and formulated a basic plan for making this work. I wanted to do this cheap and easy, so I knew I was going to cut some corners. Ultimately, cutting those corners meant that I had to do more work in the long run, and settle with some ugly bits, but overall I’m quite happy with the results.
Wings
I got really lucky and found some wings that appeared to be roughly the correct size at my local arts and crafts store. I simply hot glued some felt to them to serve as a visually pleasing hinge, and then hot glued the entire wing/hinge to the side of the toaster. Though I would have preferred them be mounted closer to the center of the toaster vertically, I had to move them upward to allow space for a full downward flap.
Drive System
The wings are driven by a pair of cables going to a motor on the underside. The reasoning behind this decision was that if both wings were always being driven by a single motor, they could never drift out of phase.
The cable really should have been routed with less of a bend as it passed through the “foot” of the toaster. A sharp kink in the line meant that there was more friction on the line and ultimately led to a lot of frustration.
For the motor, I initially dissected a cassette deck from a car stereo. I found a moderately torquey and decently flat mechanism that I really thought would work. Unfortunately, once I had all the parts in place, the friction was just barely too much for the poor little motor to push.
At this point I had to make a decision: rework the cables, cable connections to the wings, and possibly the wing connections — or just slap a giant high torque servo on the bottom. Deciding that I had already invested more time in this project than it had any right to take, I made a quick wooden bracket to hold the servo. This brought the whole thing to life, but required that I cheat a bit for the video by hiding the unsightly assembly.
ADVERTISEMENT
Join Make: Community Today


