


Anyone who’s tried to cut or etch glass knows that it’s not always as easy as it looks. Getting a clean, straight cut on a bottle, regardless of what method you use, can be a real challenge. Over the years, we’ve posted a number of articles on glass cutting and etching techniques. Below you will find some of the best of that content, including what is likely the best method, the 30-second cutting technique. If you have experience in glass cutting or etching, we’d love to hear your stories. Please share in the comments below.
30-Second Bottle Cutting Technique
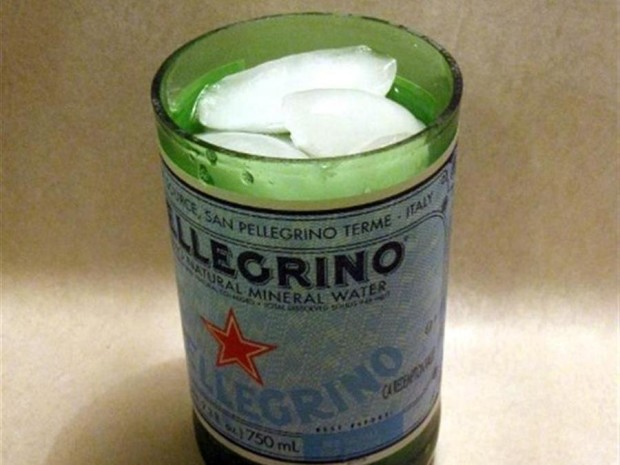
Build an Adjustable Bottle Cutter
As a follow-up to the above video, I posted this piece about building a simple jig to use with the technique. All you need is a few pieces of wood, some hardware, and a cheap bottle-cutting blade that you can buy online for only a few bucks. Link: Build an Adjustable Bottle Cutter for 30-Second Clean Cuts
Label Etching a Glass Bottle
 Sean Ragan shows you how to use the label on a beer or wine bottle as a built-in resist for etching on the glass. Link: Make: Projects – Label-etching a Glass Bottle
Glass Etching Using the Toner Transfer Method
 This etching method is the same one that Sean Ragan uses in the above Make: Projects post, but instead of using the bottle label, you use a toner transfer for producing the image on the glass. Link: May the Frost Be with You: Etch Your Own Star Wars Drinking Glasses
Bottle Cutting Using the Score and Heat Method
 This is one of the most widely known methods of bottle cutting. It works, although you rarely get the kind of smooth edge that the 30-second method consistently produces. Link: Make: Projects – Bottle Cutting
Knapping Glass into Arrow Heads
 “Knapping” is the art of chipping away material to produce a knife or arrow head. Turning a glass bottle into an arrow head is apparently the “Hello, World” project of the the knapping world. Find out how to do it via this venerable tutorial. Link: How-To: Knap an Arrowhead from a Beer Bottle
ADVERTISEMENT


