I get ridiculously excited seeing people make things. I just want to revel in the creativity I see in makers. My favorite thing in the world is sharing a maker's story. Find me at CalebKraft.com.
Juan Gutierrez does all kinds of 3D printing art, vacuum forming, and various interesting home manufacturing projects. His latest endeavor was quite tasty looking. He combined 3D printing and Vacuum forming to create a dark chocolate Darth Vader mask. He started with a 3d print, vacuum formed that to make a chocolate mold, then poured some yummy dark chocolate. His end result looks quite appealing.
This Darth Vader model was cut in half and printed facing up. The model has no huge undercuts or difficult geometry. There is no compelling reason to have printed this model facing up. The geometry does not require supports. So this could have been printed normally. Other models may require supports if printed upright, so to side step that problem I usually rotate the model to print facing up. The only issues I see is that the deep recesses will be difficult to capture using vacuum forming. We’ll touch more on this subject later on.
Overall this is a nice and clean print without any real mistakes to clean up. However, for the purposes of this experiment I wanted a mold of a smoothed Darth Vader. So next this model will undergo an acetone vapor smoothing treatment.
I ordered PETG plastic sheets to create the molds. This type of plastic is considered “food safe” by the FDA. “PETG is FDA compliant, so it can be used in medical and food applications.” … but do your own research before attempting this or purchasing any other type of plastics for this application. This sheet is 24″ L x 24″ W x .030″ thickness.
I used some heavy duty scissors to cut the sheet down to size. The blue protective film has been removed. If you are going to be doing this process for different sized molds, you can reduce plastic waste by creating frames to suit the job. For this experiment I used scraps of MDF I already had. However, you would benefit from properly constructed wood frames. I recommend getting a right angle clamp to assist in your frame construction.
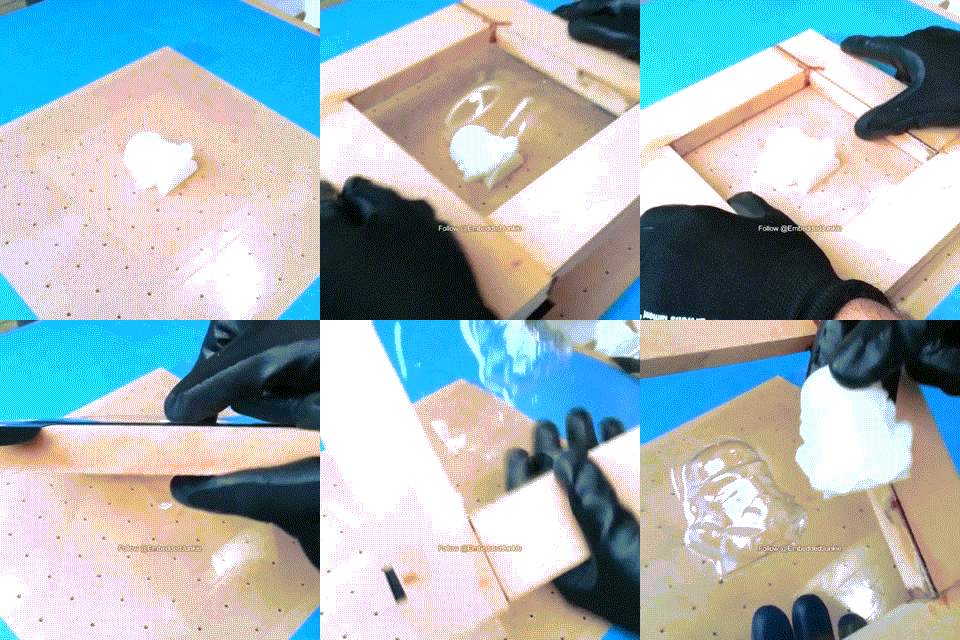
I used a loop of packing tape to temporarily adhere the print to the table.
Every set up will vary so I’m intentionally leaving out temperatures and heating times out of this post. After a few test trials, you will understand what is too hot, what is too cold, and what is just right. The temperature you require for a desired mold quality will depend on environmental temperature, thickness of the plastic, and type of plastic. This hot plate does an excellent job for small molds. It has a heating element that heats up quickly and evenly.
The process is nearly instantaneous.
You can see that a few recessed spots were not captured by this process. That is one small draw back to this method. It has been suggested to me that if you drill tiny holes in the recessed spots that you can create a better mold. The idea is to create a tiny vacuum in those recessed spots to capture the form in the mold. I’ll have to try that out next time. Otherwise, for the purposes of this experiment, I say this is an excellent mold. Another alternative would be to heat the plastic sheet excessively until it becomes really soft and thin. This will capture the most detail from your piece but at the cost of creating a thinned-walled mold.
Overall the major details were captured. This is sufficient for chocolate making. If I wanted to create casts in resin then I would have gone through the extra trouble to ensure more detailed capture. I will leave that experiment to another time. :-)
I washed the mold heavily with dish washing soap and a good brush. I just wanted to eliminate any possibility of foreign materials that came in contact with the mold from being transferred to the chocolate. I repeated the washing cycle to be extra safe. I don’t know how this plastic would hold up in a dishwasher, so just use the old fashion sink.
I thought Dark chocolate would be a fitting selection for this Darth Vader project. Trader Joe’s pound plus bar is great quality chocolate and a great price. I like the taste and it is easy to work with. Be warned however, tempering chocolate is an art and science that requires its own blog. You can search for tutorials online about tempering chocolate. This is a skill I still have not mastered. I need more practice…
I mixed the rest of the chocolate out of the hot water as part of the tempering process. If you are going to attempt chocolate tempering you will need a thermometer with a fast response time.
The longer you wait the more the chocolate cools and thickens. This will help you control how thick you want the walls of your chocolate cast to be.
You can rotate the mold so that while the chocolate is still viscous it does not pool on the bottom and create thin walls. You want to ensure an even coating.
Leave the chocolate alone and wait for it to set. Resist the urge to place it in the fridge because the condensation formed will give your chocolate a dull appearance. Properly tempered chocolate will have a shiny appearance and have a characteristic snap that is the hallmark of fancy chocolates. Untempered chocolate will not have that snap quality and will have a dull appearance. Also, tempered chocolate is easier to extract from a mold than untempered.
I will mention that during chocolate extraction one of the molds cracked along the edge and a corner of the plastic broke off. Initially I thought I may have been too rough with the mold but I also wonder if the process of heating the plastic had changed its properties. I suppose a secondary step of tempering and annealing the plastic for longevity may be needed if one desires longer lasting molds.
The chocolate does have that characteristic snap but the finish is a bit dull looking. I still haven’t mastered tempering but with every trial I improve.
This experiment was to test the viability of going from 3D designs on your computer to physical objects with the aid of 3d printing and traditional manufacturing techniques. So far, I have been very impressed by what can be accomplished at home. This process can be expanded to include soap making, candle making, and creating other molds for edible creations.
If you would like to recreate what Juan has done, you can find even more pictures and links to the individual components and equipment you will need on his blog. You might want to poke around a bit while you’re there, he has documented other things like his construction of the vacuum form table as well.
I get ridiculously excited seeing people make things. I just want to revel in the creativity I see in makers. My favorite thing in the world is sharing a maker's story. Find me at CalebKraft.com.
Our websites use cookies to improve your browsing experience. Some of these are essential for the basic
functionalities of our websites. In addition, we use third-party cookies to help us analyze and understand
usage. These will be stored in your browser only with your consent and you have the option to opt-out. Your
choice here will be recorded for all Make.co
Websites.