
Who is Peeqo?
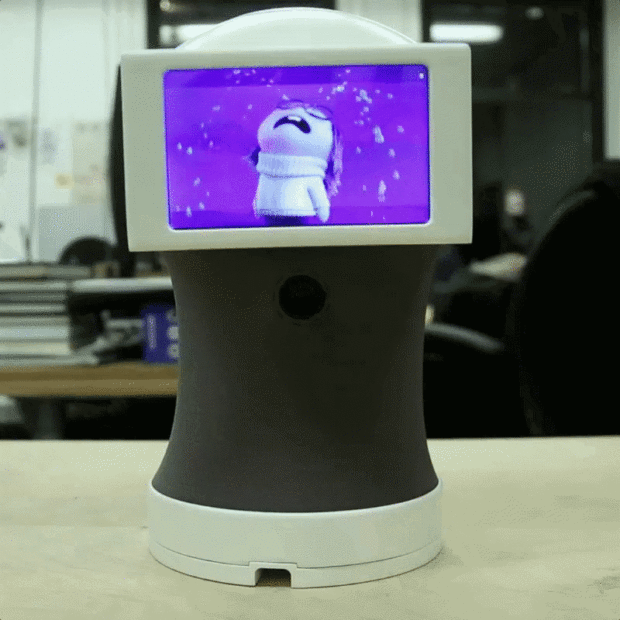
Peeqo, a cute desktop robotic assistant, communicates using animated GIFs. Abhishek Singh designed Peeqo for his thesis at ITP.
“Let me begin by telling you three things that I really love,” said Abhishek to as he kicked off his thesis presentation.
“The first thing that I really love is building things by hand,” he said. “I also love animated movies,” he went on. “And the third thing I love, which you’ve probably figured out by now,” referring to the screen behind him that has been displaying a variety of short looping videos to illustrate his speaking points, “is animated GIFs… these simple looping images that can communicate anything from emotion to information.”
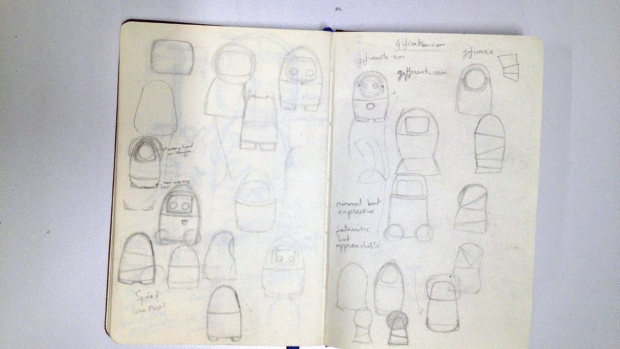
So Abhishek combined all three of his loves and created an assistant to keep him company while he works. Abhishek sees Peeqo as a cross between Amazon Echo and a Disney character.
What Does Peeqo Do?
The most noteworthy aspect of Peeqo is the use of GIFs to communicate in a fun and visual way. GIFs are something of a universal language on the internet. You can often express emotions without the need for any words at all as seen below.

Peeqo’s design nicely bypasses the “uncanny valley” we often experience when a robot tries to recreate the natural expressiveness of a human.
Peeqo uses voice recognition and responds by selecting GIF animations appropriate to the situation. He downloads GIFs from http://giphy.com/, and stores them in a local repository. Peeqo can pull new GIFs based on keyword searches. Abhishek is working on a feedback system to let Peeqo know when he serves up an incorrect response. He hopes to integrate AI features in the future.
Peeqo can stream music from Spotify, remotely control room lighting, take notes and provide reminders, call an Uber, and more. He even keeps Abhishek on task by getting upset with him for wasting time on the internet when he should be working. Expanding on this skill set just takes programming.

How Was Peeqo Built?
Abhishek designed and built Peeqo completely from scratch. He used a CAD Program to design the parts. Printing the plastic components on a high end Projet 7000 3D printer provided a very finished look.
Abhishek designed Peeqo for ease of assembly and maintenance. He used screws to fasten hidden structural parts, while incorporating neodymium magnets to attach non-structural parts like the head and front screen. The lack of visible screws contributes the organic and well-finished look.


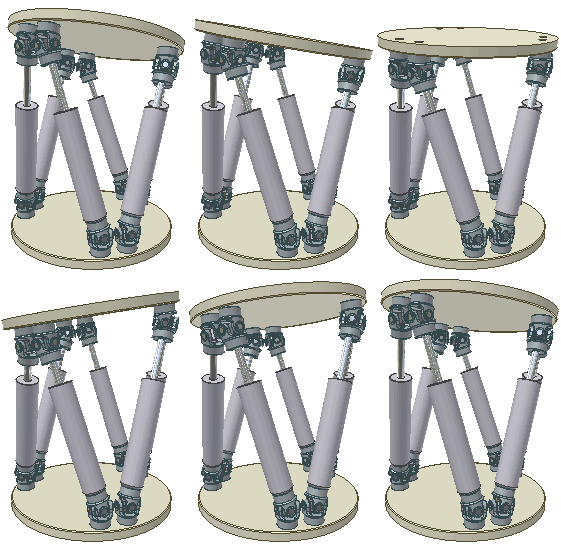
Peeqo’s bendy movement and grey spandex exoskeleton give him a soft organic feel. Abhishek designed an internal framework based on the Stewart platform, which uses six actuators in pairs to control an upper platform holding Peeqo’s head. This allowed the flexible movement Abhishek wanted, and the empty space in the center of the mechanism provided room for routing wires between the base and the head.
Peeqo has a microphone in each ear and two facing forward. Speaking the keyword ‘Peeqo’ grabs his attention. A NeoPixel LED ring at the top of his head provides a visual clue that Peeqo is listening. A camera in Peeqo’s chest can take pictures. Abhishek hopes one day to add facial tracking, but that will take some optimization or additional processing power.
Inside, Peeqo’s main brain is a Raspberry Pi 3. The Pi uses the I2C protocol to communicate to two Arduino Minis for servo control and to run the LED ring. Abhishek custom designed and etched ten circuit boards for servo control, mounting the Arduino Minis, running the microphones, the NeoPixel LED ring, power distribution and wire management.
How Was Peeqo Programmed?
Peeqo was brought to life by a variety of programs. Abhishek used Electron, a tool for building cross-platform applications, to write a native app for the Raspberry Pi using HTML, CSS, and JavaScript. There’s also a Node server and the Arduino code.
The voice recognition uses Snowboy for always on detection of the keyword “Peeqo”. Then Peeqo uses the Google Cloud Speech API, which works with Evan Cohen’s Sonus library to convert the rest of the spoken command to text so it can be interpreted.
Can I Make My Own Peeqo?
Abhishek has documented the entire build, all his board designs, 3D printing files, source code, links for sourcing materials, and more on his Imgur page for Peeqo. Not surprisingly, he used animated GIFs to demonstrate many of the assembly steps.
Abhishek intends everything to be open source. He hopes that people will try to build their own Peeqo desktop assistant. Someday he may put together a kit. Maybe you want a robotic assistant who communicates using animated GIFs. So check out Peeqo’s website for more information.
ADVERTISEMENT
Join Make: Community Today


