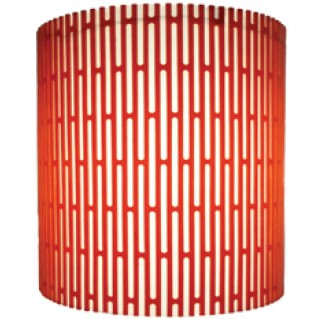


Parametric Living Hinge Examples
This tutorial will get you started with a basic, pre-configured, graphical user interface example that will enable you to create, simulate and fabricate your own custom living hinges – without touching the code (unless you want to). The application comes with built-in graphical interface examples that enable you to configure the parameters with sliders – or you can dive right into the code.
Download and Install kokopelli
To begin, you’ll need to download and install kokopelli:
DOWNLOAD KOKOPELLI
The kokopelli application and source are available via Matt Keeter’s GitHub. Kokopelli is also available as a Mac application.
Install the software according to your preference. If you choose to download the Mac application, unzip it and launch the app. Or if you’d rather build from the source, check out these instructions on the wiki.
Parametric Living Hinge 101
Keeter has included a kokopelli living hinge example has built-in sliders that make it simple to create your own bespoke flexibles from rigid materials using digital fabrication tools. The parametric living hinge code was originally created by 2014 Fab Academy student Terence J. Fagan and then improved by Matt Keeter. If you’d like to learn more about how he created the code from scratch, check out his tutorial.
Launch kokopelli
After installing, open kokopelli by click on the icon in the unzipped folder or launching it from the command line.
To Open the Example File
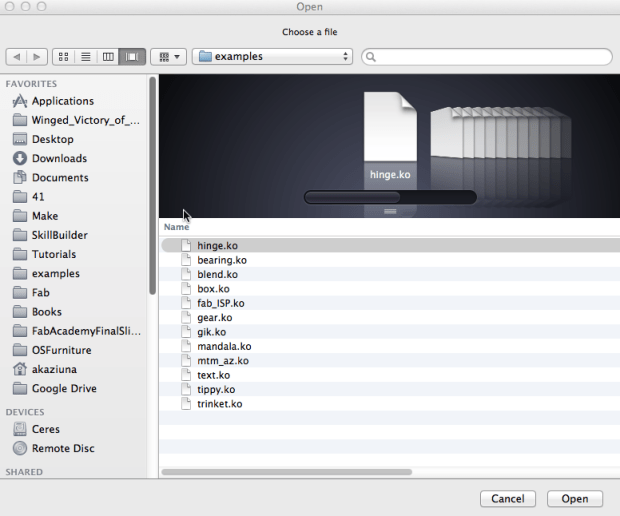
Use the “open” option in the file menu to navigate to the examples folder. You MUST use the file menu to open the file or the graphical elements will not appear.
Click on the “examples” folder.
Then open the “hinge.ko” file.
Use the sliders to customize your hinge – or edit the code directly.
Drag the sliders to modify the hinge attributes, then adjust the piece size and border thickness by dragging the nodes on the top right corner.
Designing For Fabrication
When creating your hinge, design for your materials, fabrication method, and desired flexibility. Densely packed small cuts create more flexibility but are only suited to laser cutting. If you are using a router/mill, your smallest possible cut width is limited to your tool dimension.

CAM and Fabrication Options
After configuring, export the file and fabricate it. If youʼre using fab lab machines or plain G-code, you can send the file directly from kokopelli.
I’m dying to see what you’ll create! If you’ve made something using kokopelli – post the link in the comments or contact Anna Kaziunas France at anna [at] makermedia dot com.
ADVERTISEMENT


