This week is a rather rag-tag (but hopefully, no less useful) collection of tips. Perhaps it was a slow week for great ah-ha moments around the shop. This is also the first column to introduce a few tips of my own. I want this column to be not only a place to post the most eye-opening, tried n’ true tips I encounter, but also as a place where I (and you, dear reader) can post work-in-progress tips, little hacks, short cuts, and experimental techniques as we discover them. If you have tips that you’ve come up with, or shop shortcuts that you’re experimenting with, that you care to share, please post them in the comments below.
No-Slip Deck Grip
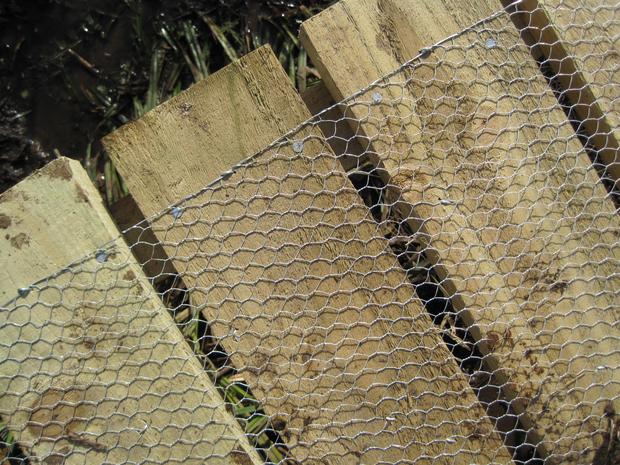
 On Jimmy DiResta’s farm in upstate New York last week, his shophand, Wille, had an accident driving their quad ATV over the creek bridge that they’d built in an earlier DiResta video. The quad skidded on the ice and slid into the creek. Luckily, Willie wasn’t hurt. As Jimmy points out in the video, viewers had suggested he build safety railings to prevent just such an accident. In the comments to this video, someone suggested a much quicker and easier solution, using chicken wire as no-slip deck grip. This article on a conservation website discusses the use of this material on wooden walkways and bridges.
Climbing Up Walls
Easy Picture Frame Clamp

Evenly Spreading Glue
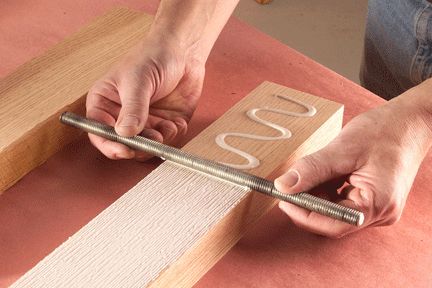
 I found this image on Pinterest, linking to a dead article. But the photo speaks for itself. You can evenly spread neat corn rows of glue by twisting and pulling a long, threaded rod through a wavering line of wood glue.
Toothpick Tape Tab
There are many approaches to keeping the end of a tape roll free and accessible. The most common approach is to fold the end of the tape under or into a peak after you cut it. Or, some people use a plastic bread tab on the end. I recently started placing a toothpick across the tape right behind where I plan to cut. I’ve used the folding and the bread tab methods, but I find the toothpick much easier to use. With folding, you have to cut the folded part off when you’ve applied it, and with the bread tab, you have to futz with its placement. With the toothpick method, you simply place the pick across the tape past where you plan to cut. The overhanging part of the pick even becomes a little handle for unwinding the tape the next time. You’ll never have to dig for the start of your shipping tape again.
When I posted this on the Make: Facebook page, I got a raft o’ crap from people saying “Just use a tape gun!” and arguing that the folding method just works fine. I have a tape gun, a big, honking industrial gun. I hate it (and don’t feel like buying another). And I have a box of shipping tape that came with the gun. For me, the toothpick method works perfectly and gives me way more control than the gun. All I can say is, try it before you judge.
Fixing a Traveling Coffee Grinder Bin

ADVERTISEMENT


