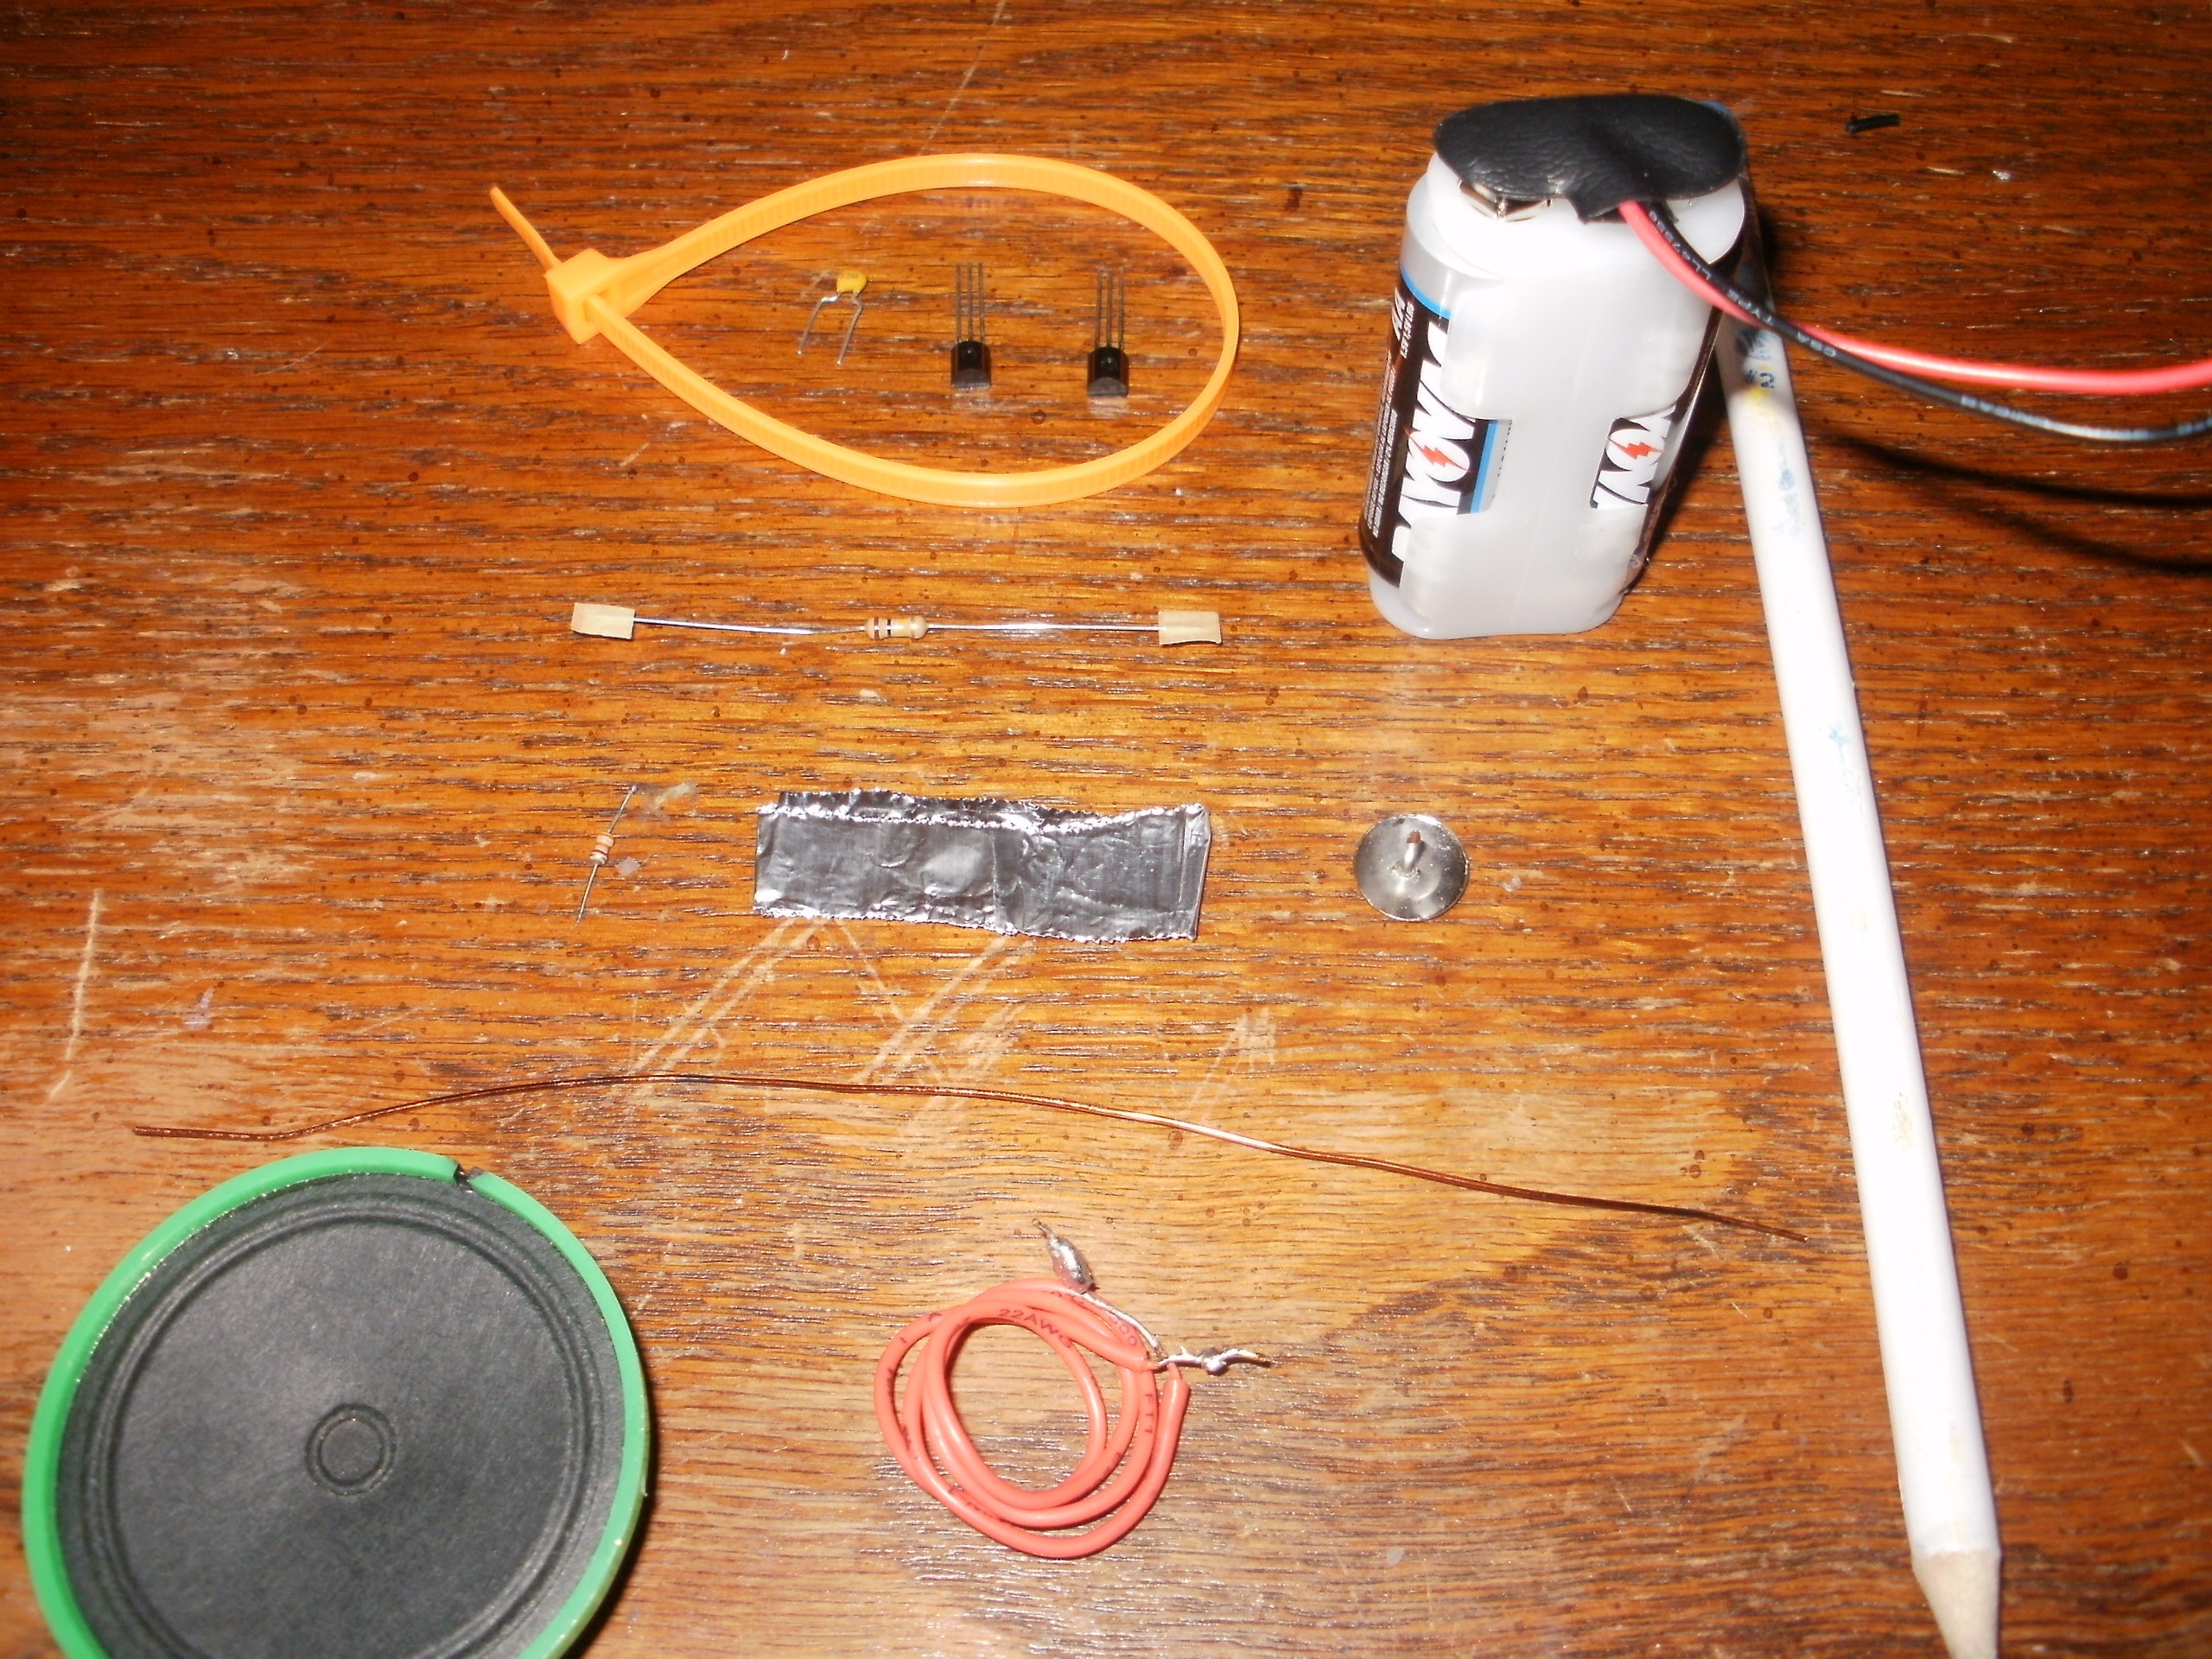
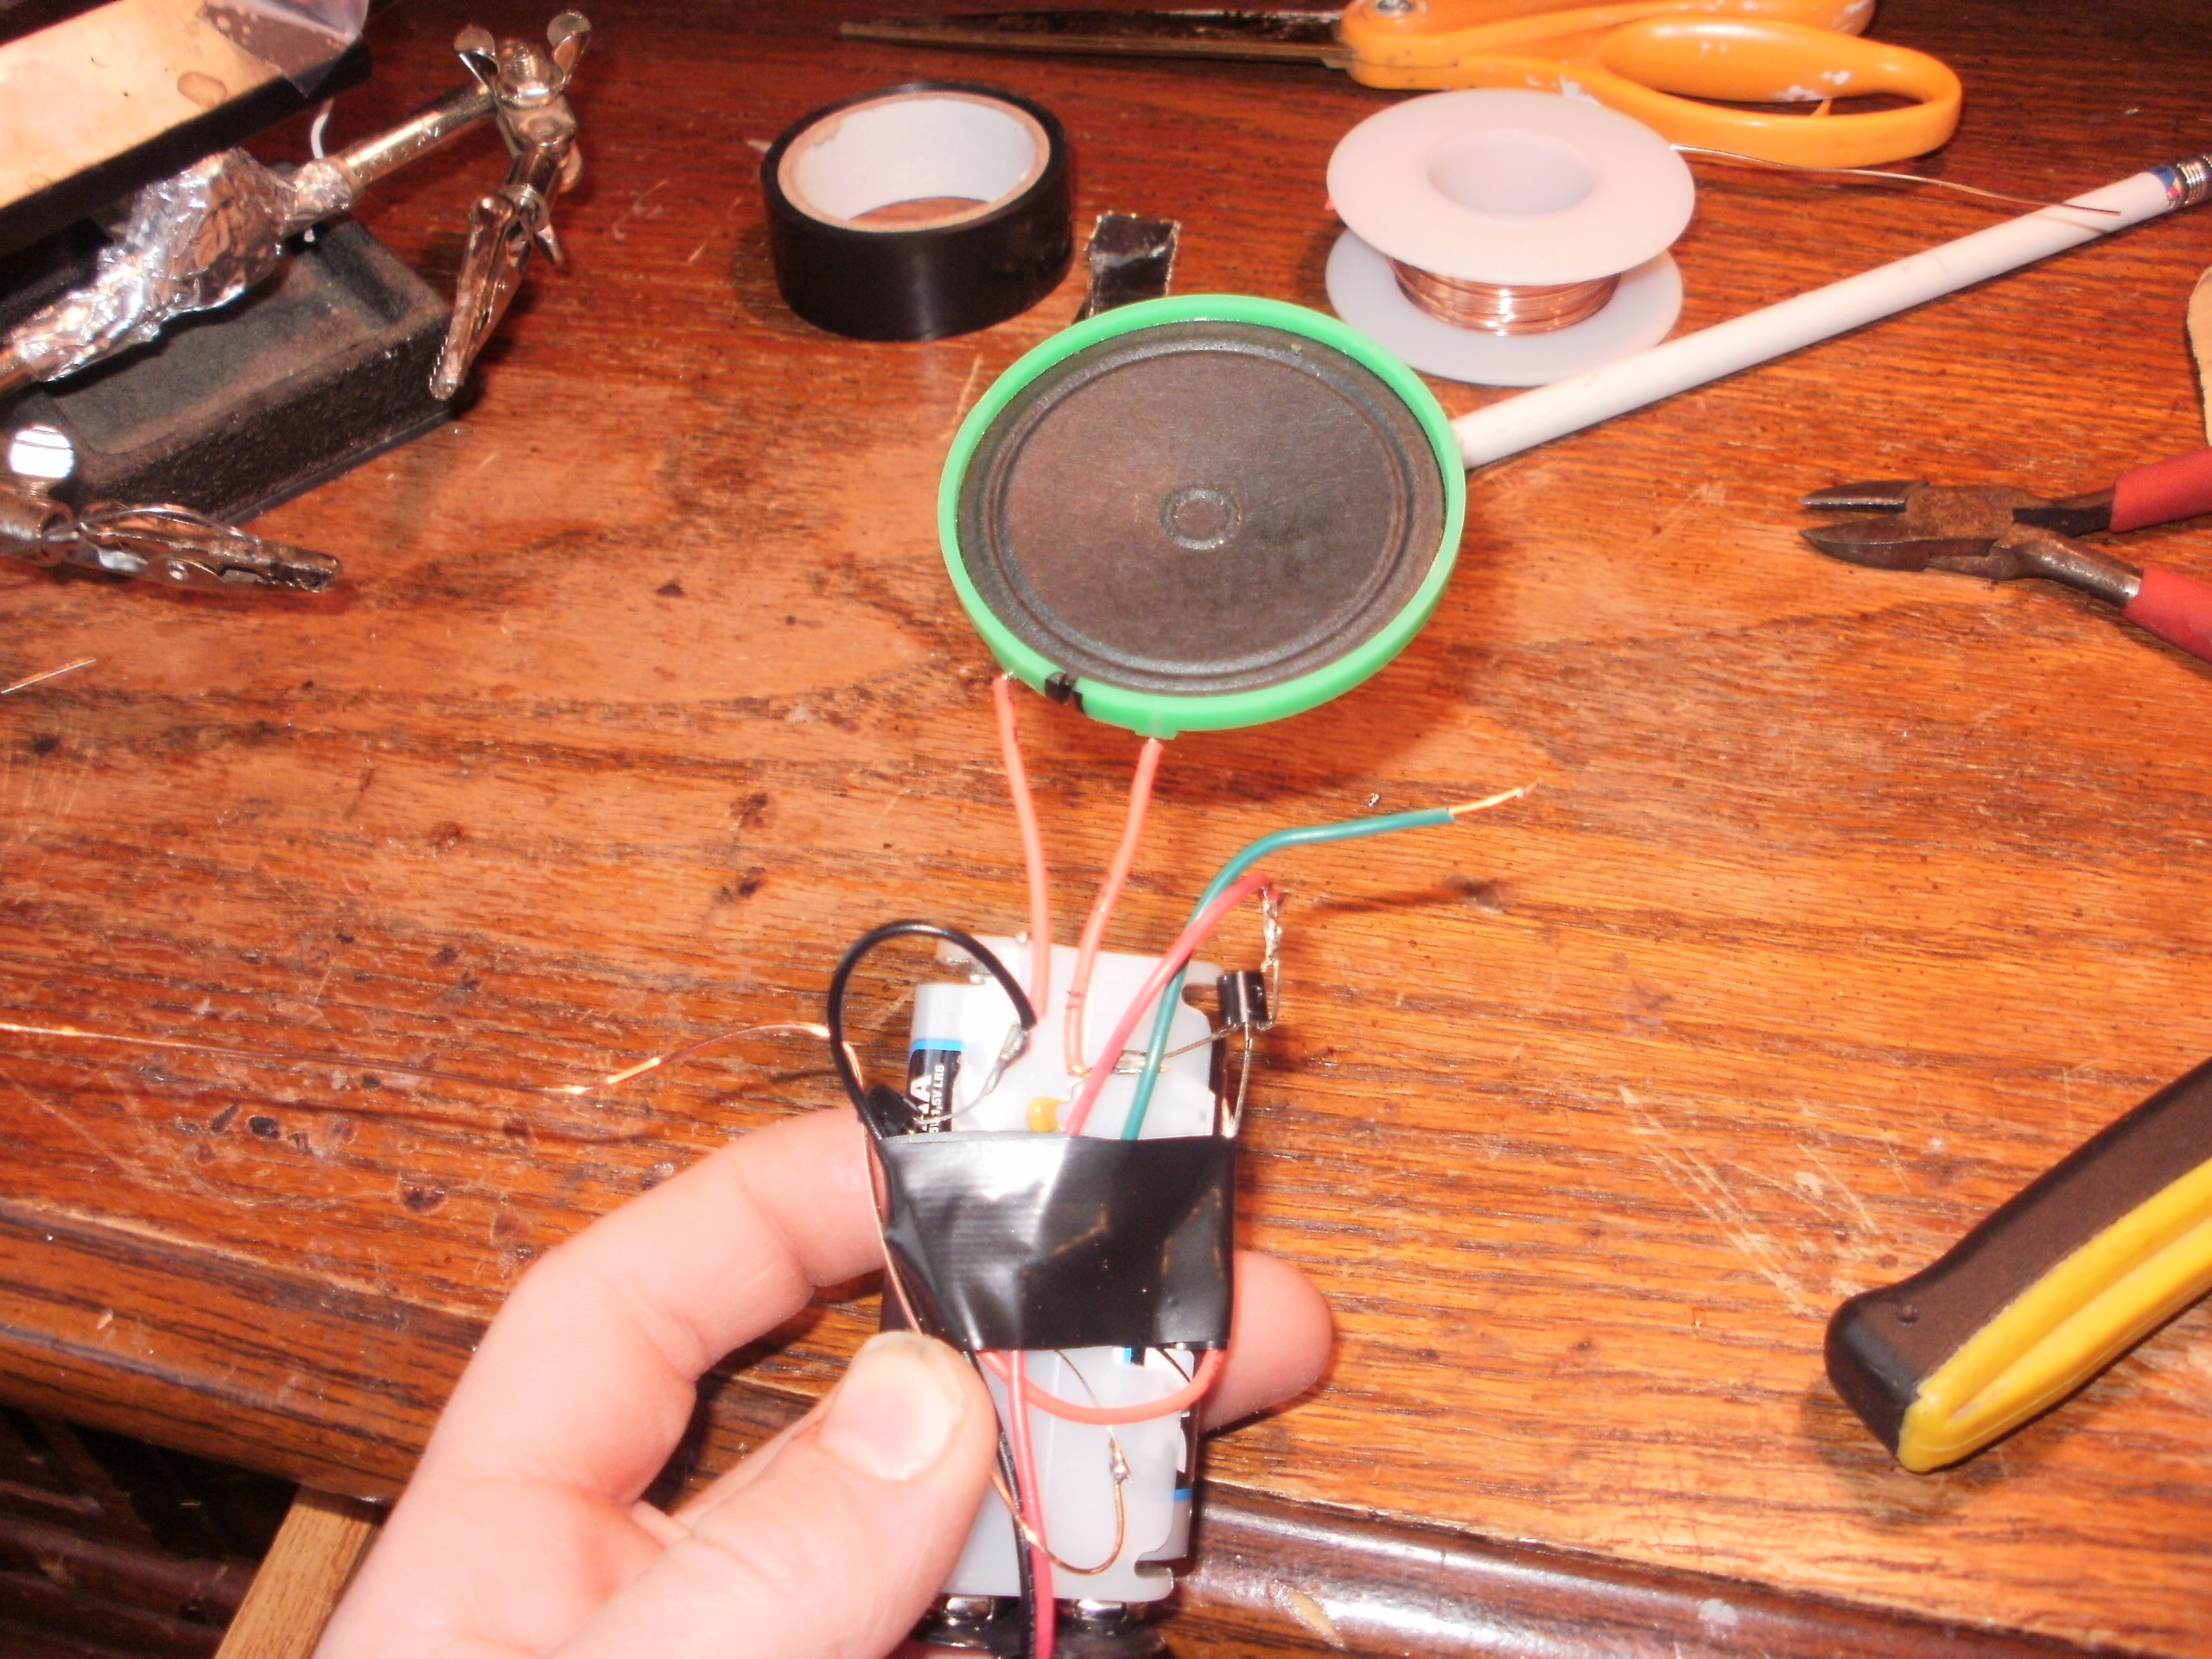
These instructions will teach anyone that reads these how to make a drawdio with spare parts. It will cost $0-10 to make this little noisemaker. All of the parts can be obtained at RadioShack or any old electronics.

What will the next generation of Make: look like? We’re inviting you to shape the future by investing in Make:. By becoming an investor, you help decide what’s next. The future of Make: is in your hands. Learn More.

Project Steps

Solder up the 3904

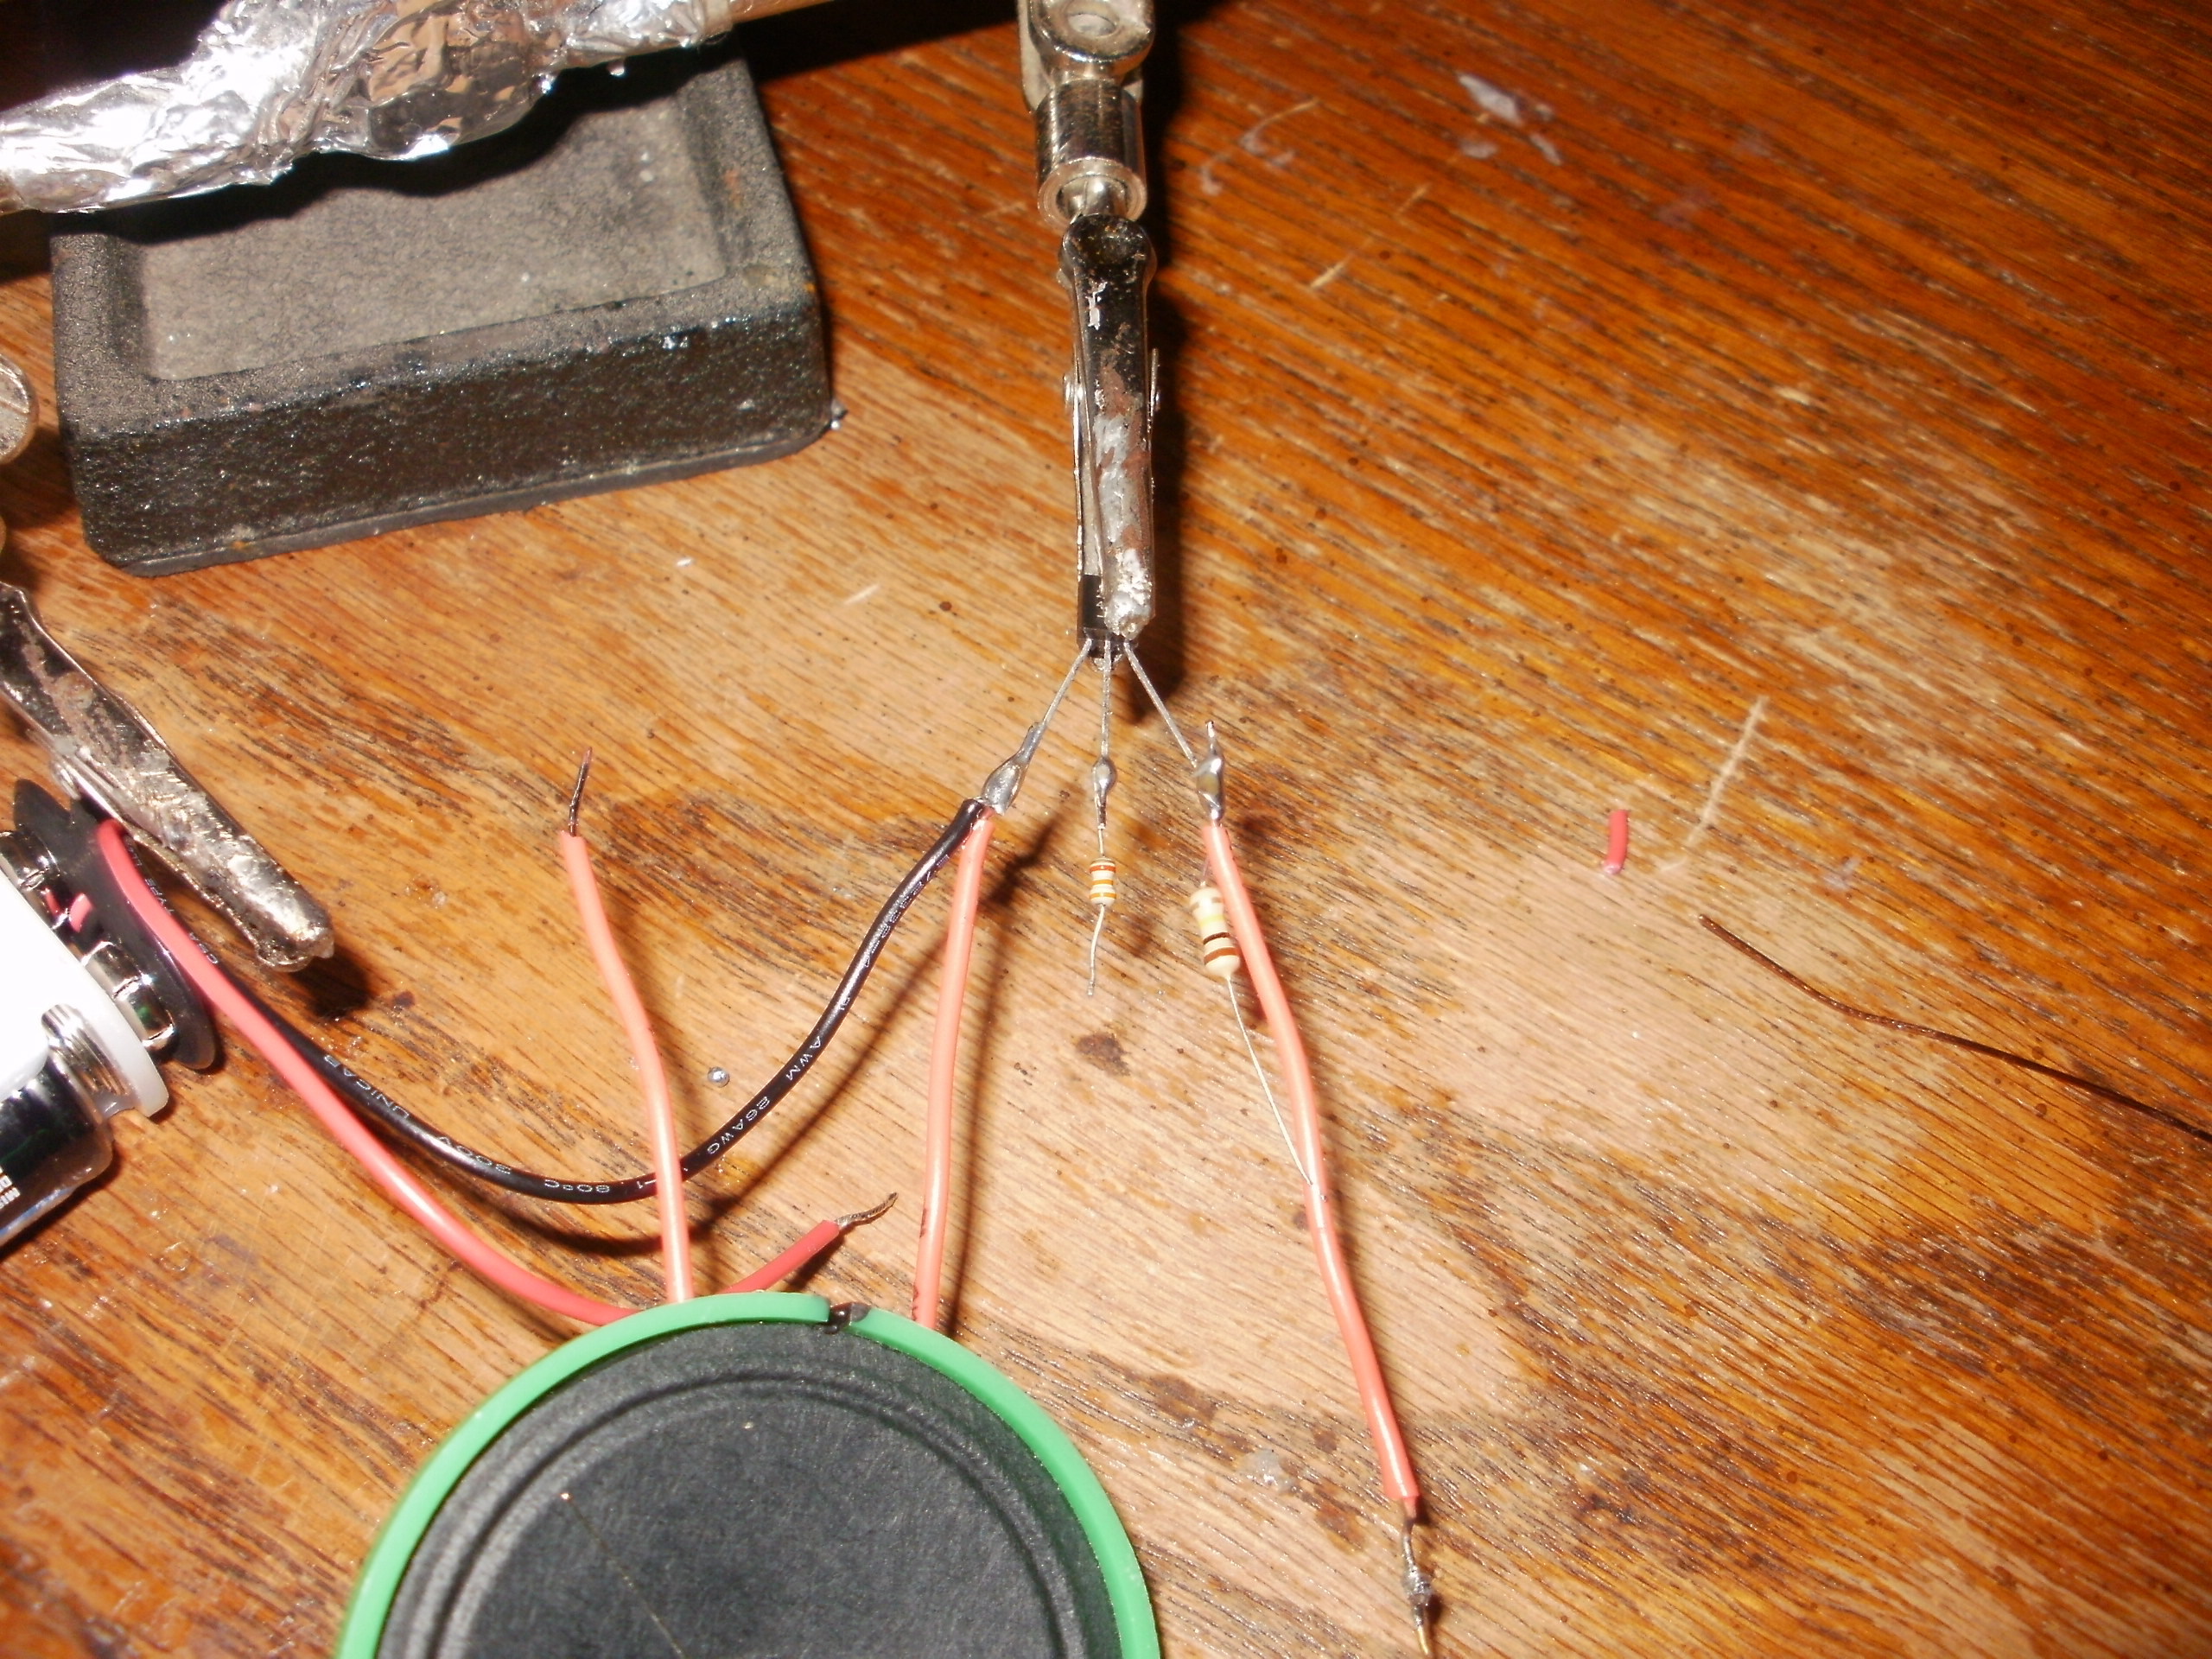
Hold the 3904 in a helping hands and solder the base (middle) pin to one end of the 4.7k resistor. Then solder the collector (right, as you read the markings) to a 2 inch wire and to 1 of the 30k resistors. Lastly, solder the emitter (left) pin to the negative (black) wire from the battery holder and one wire from the speaker.

Solder up the 3906

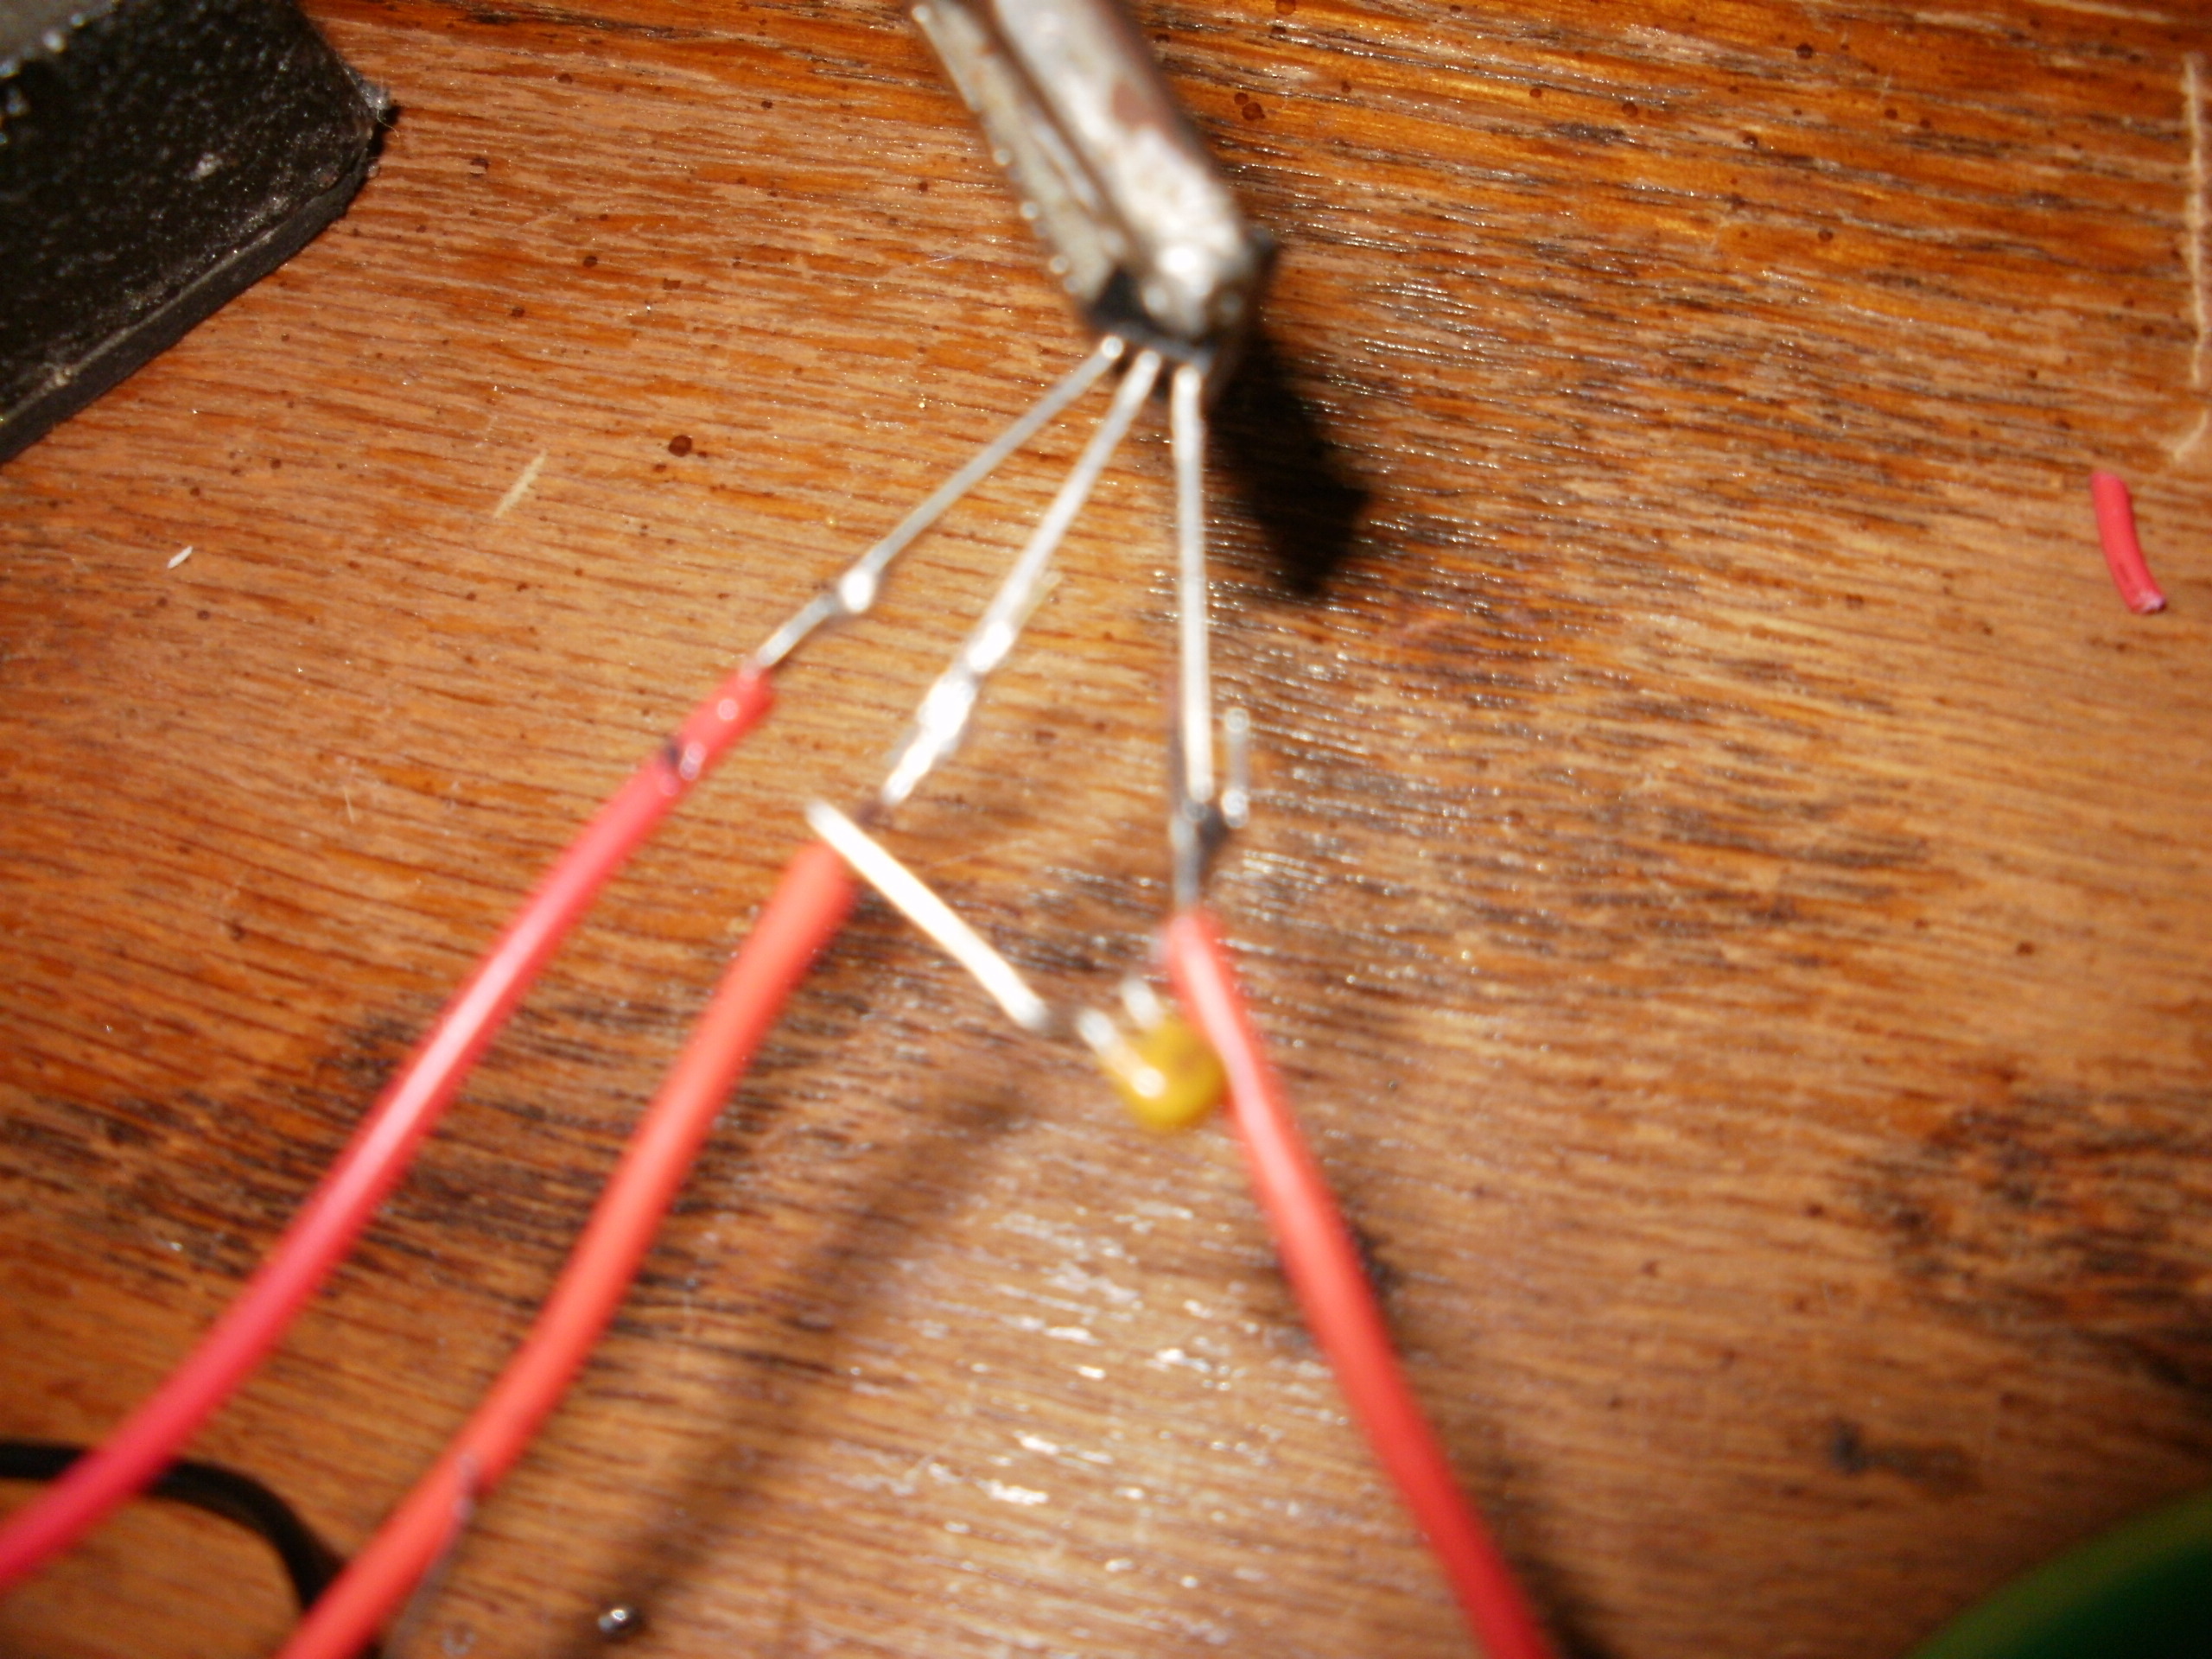
Solder the base (middle) pin of the 3906 to the 2 inch wire you soldered in the last step. Solder the emitter (left) pin to the positive (red) wire from the battery holder. Finally, solder the collector (right) pin to the other wire on the speaker and one lead of the 0.01uf capacitor.

Solder up the last connections

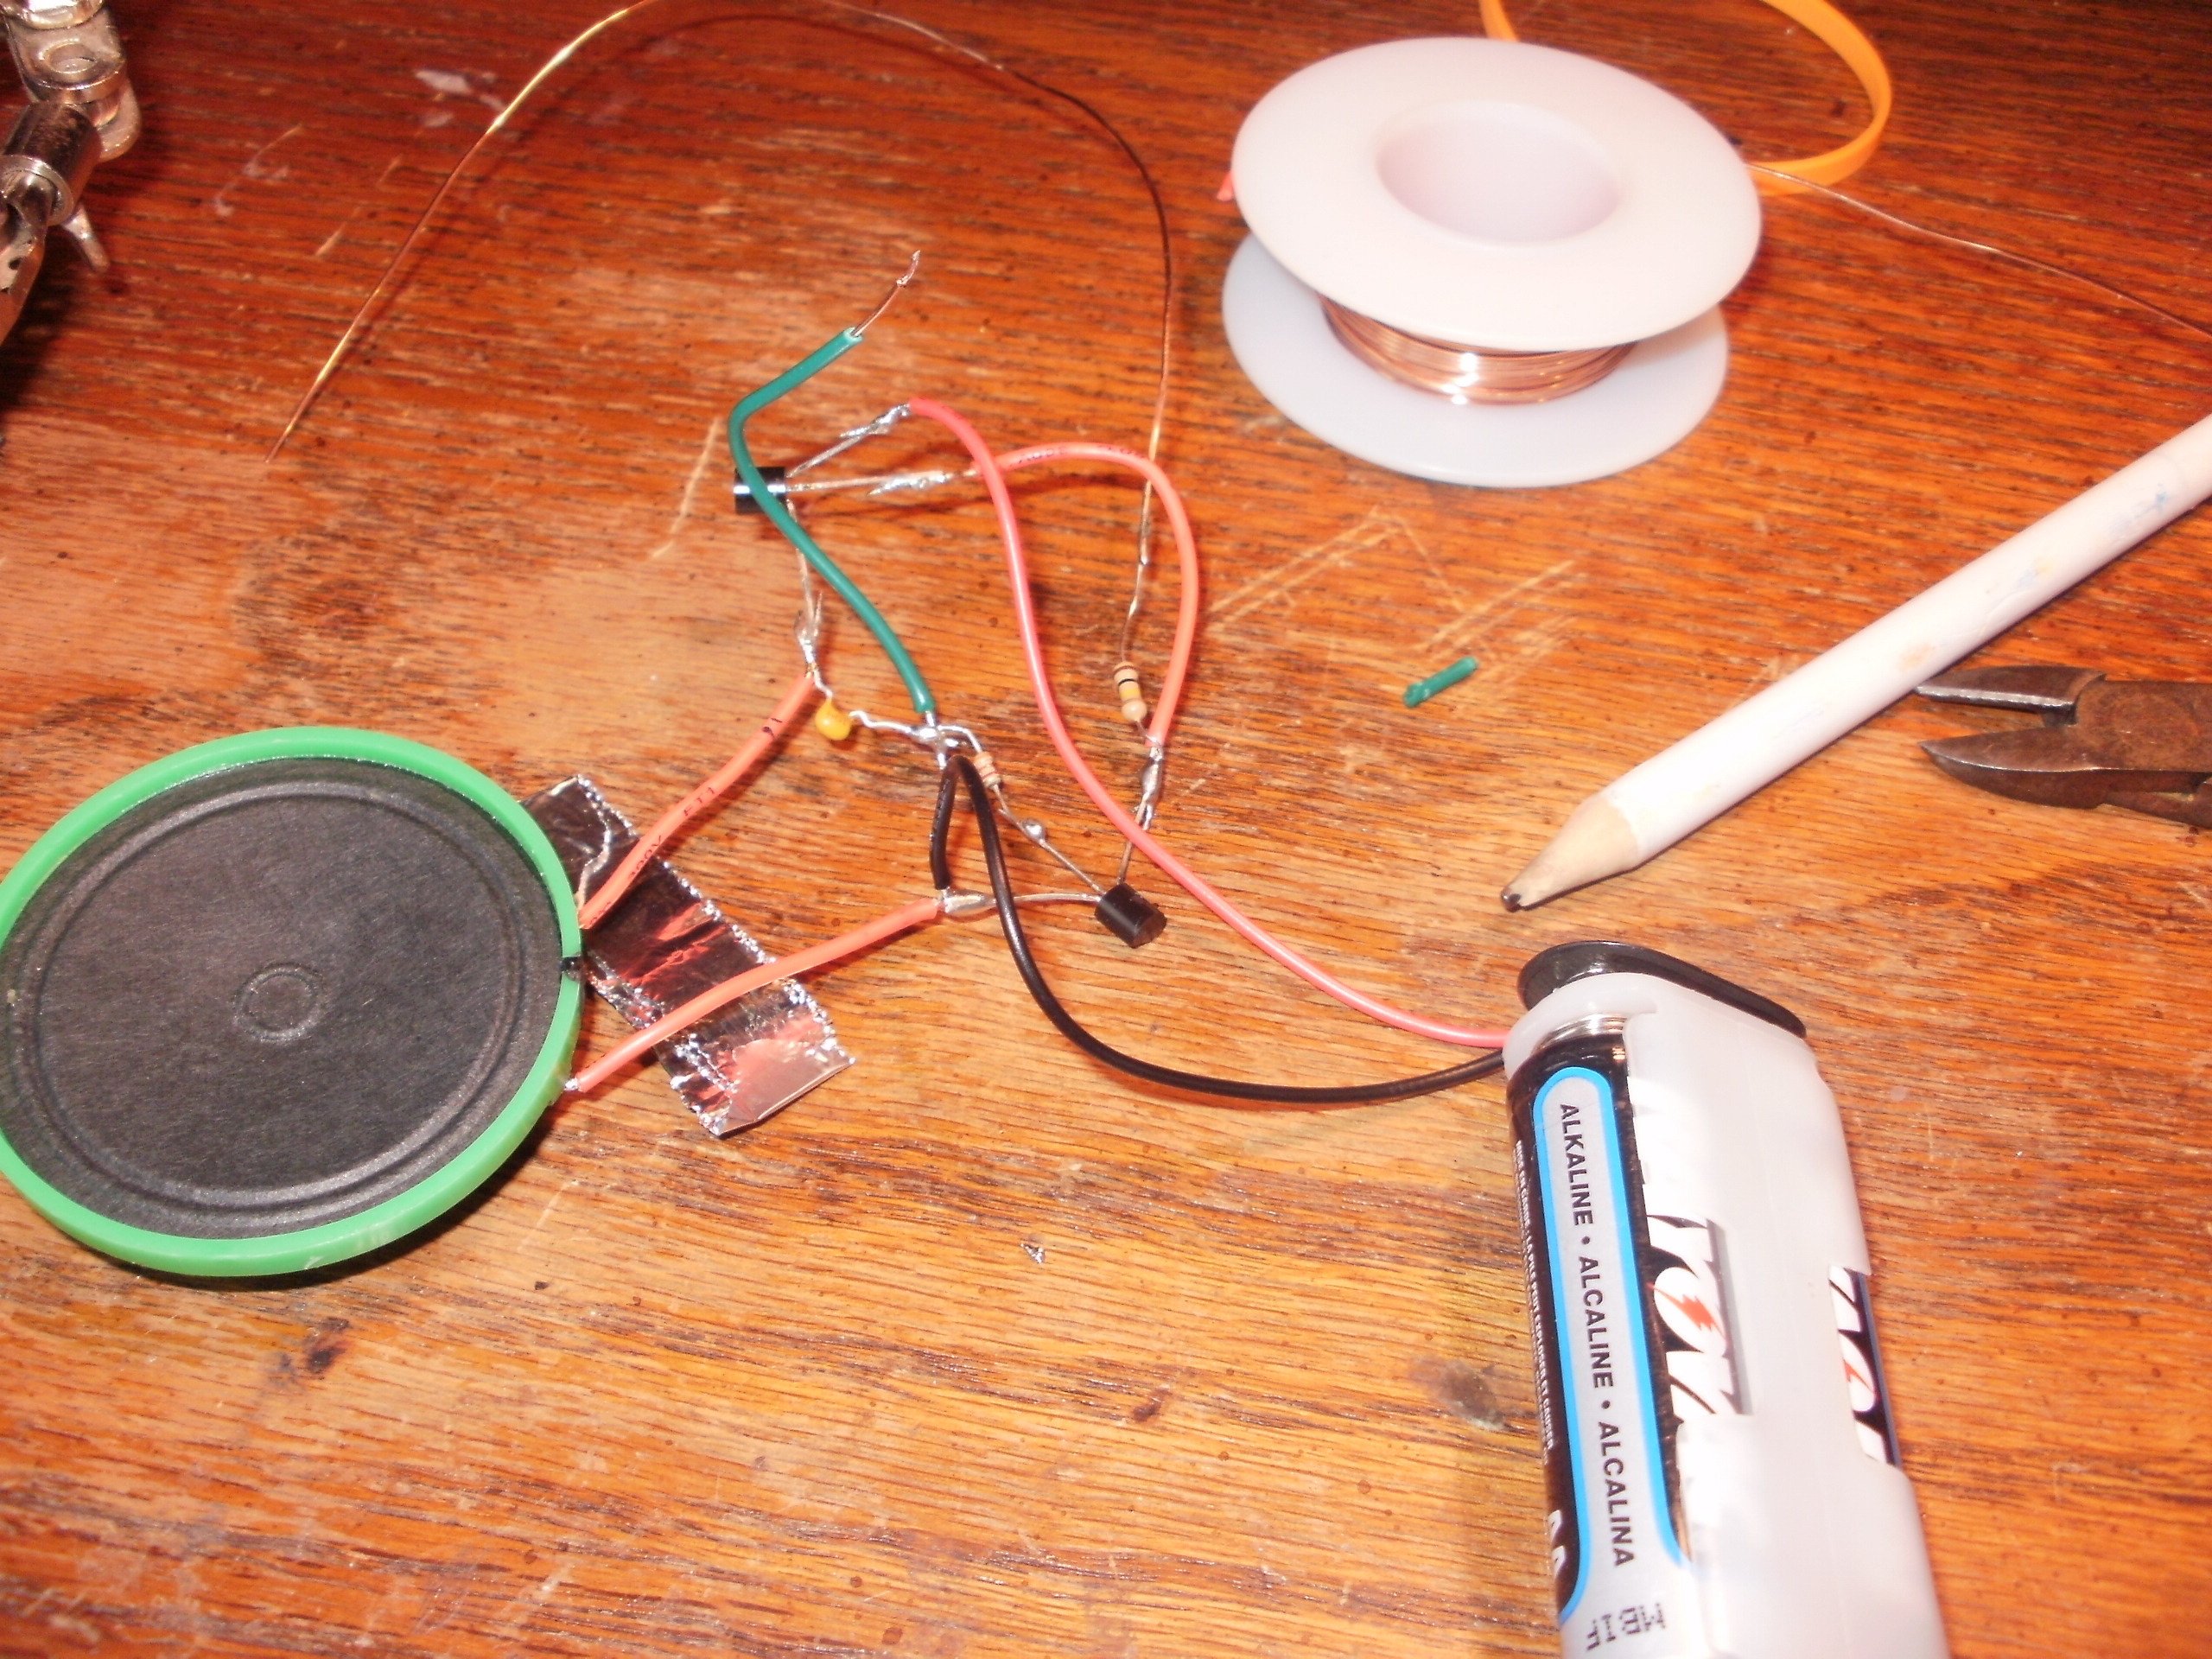
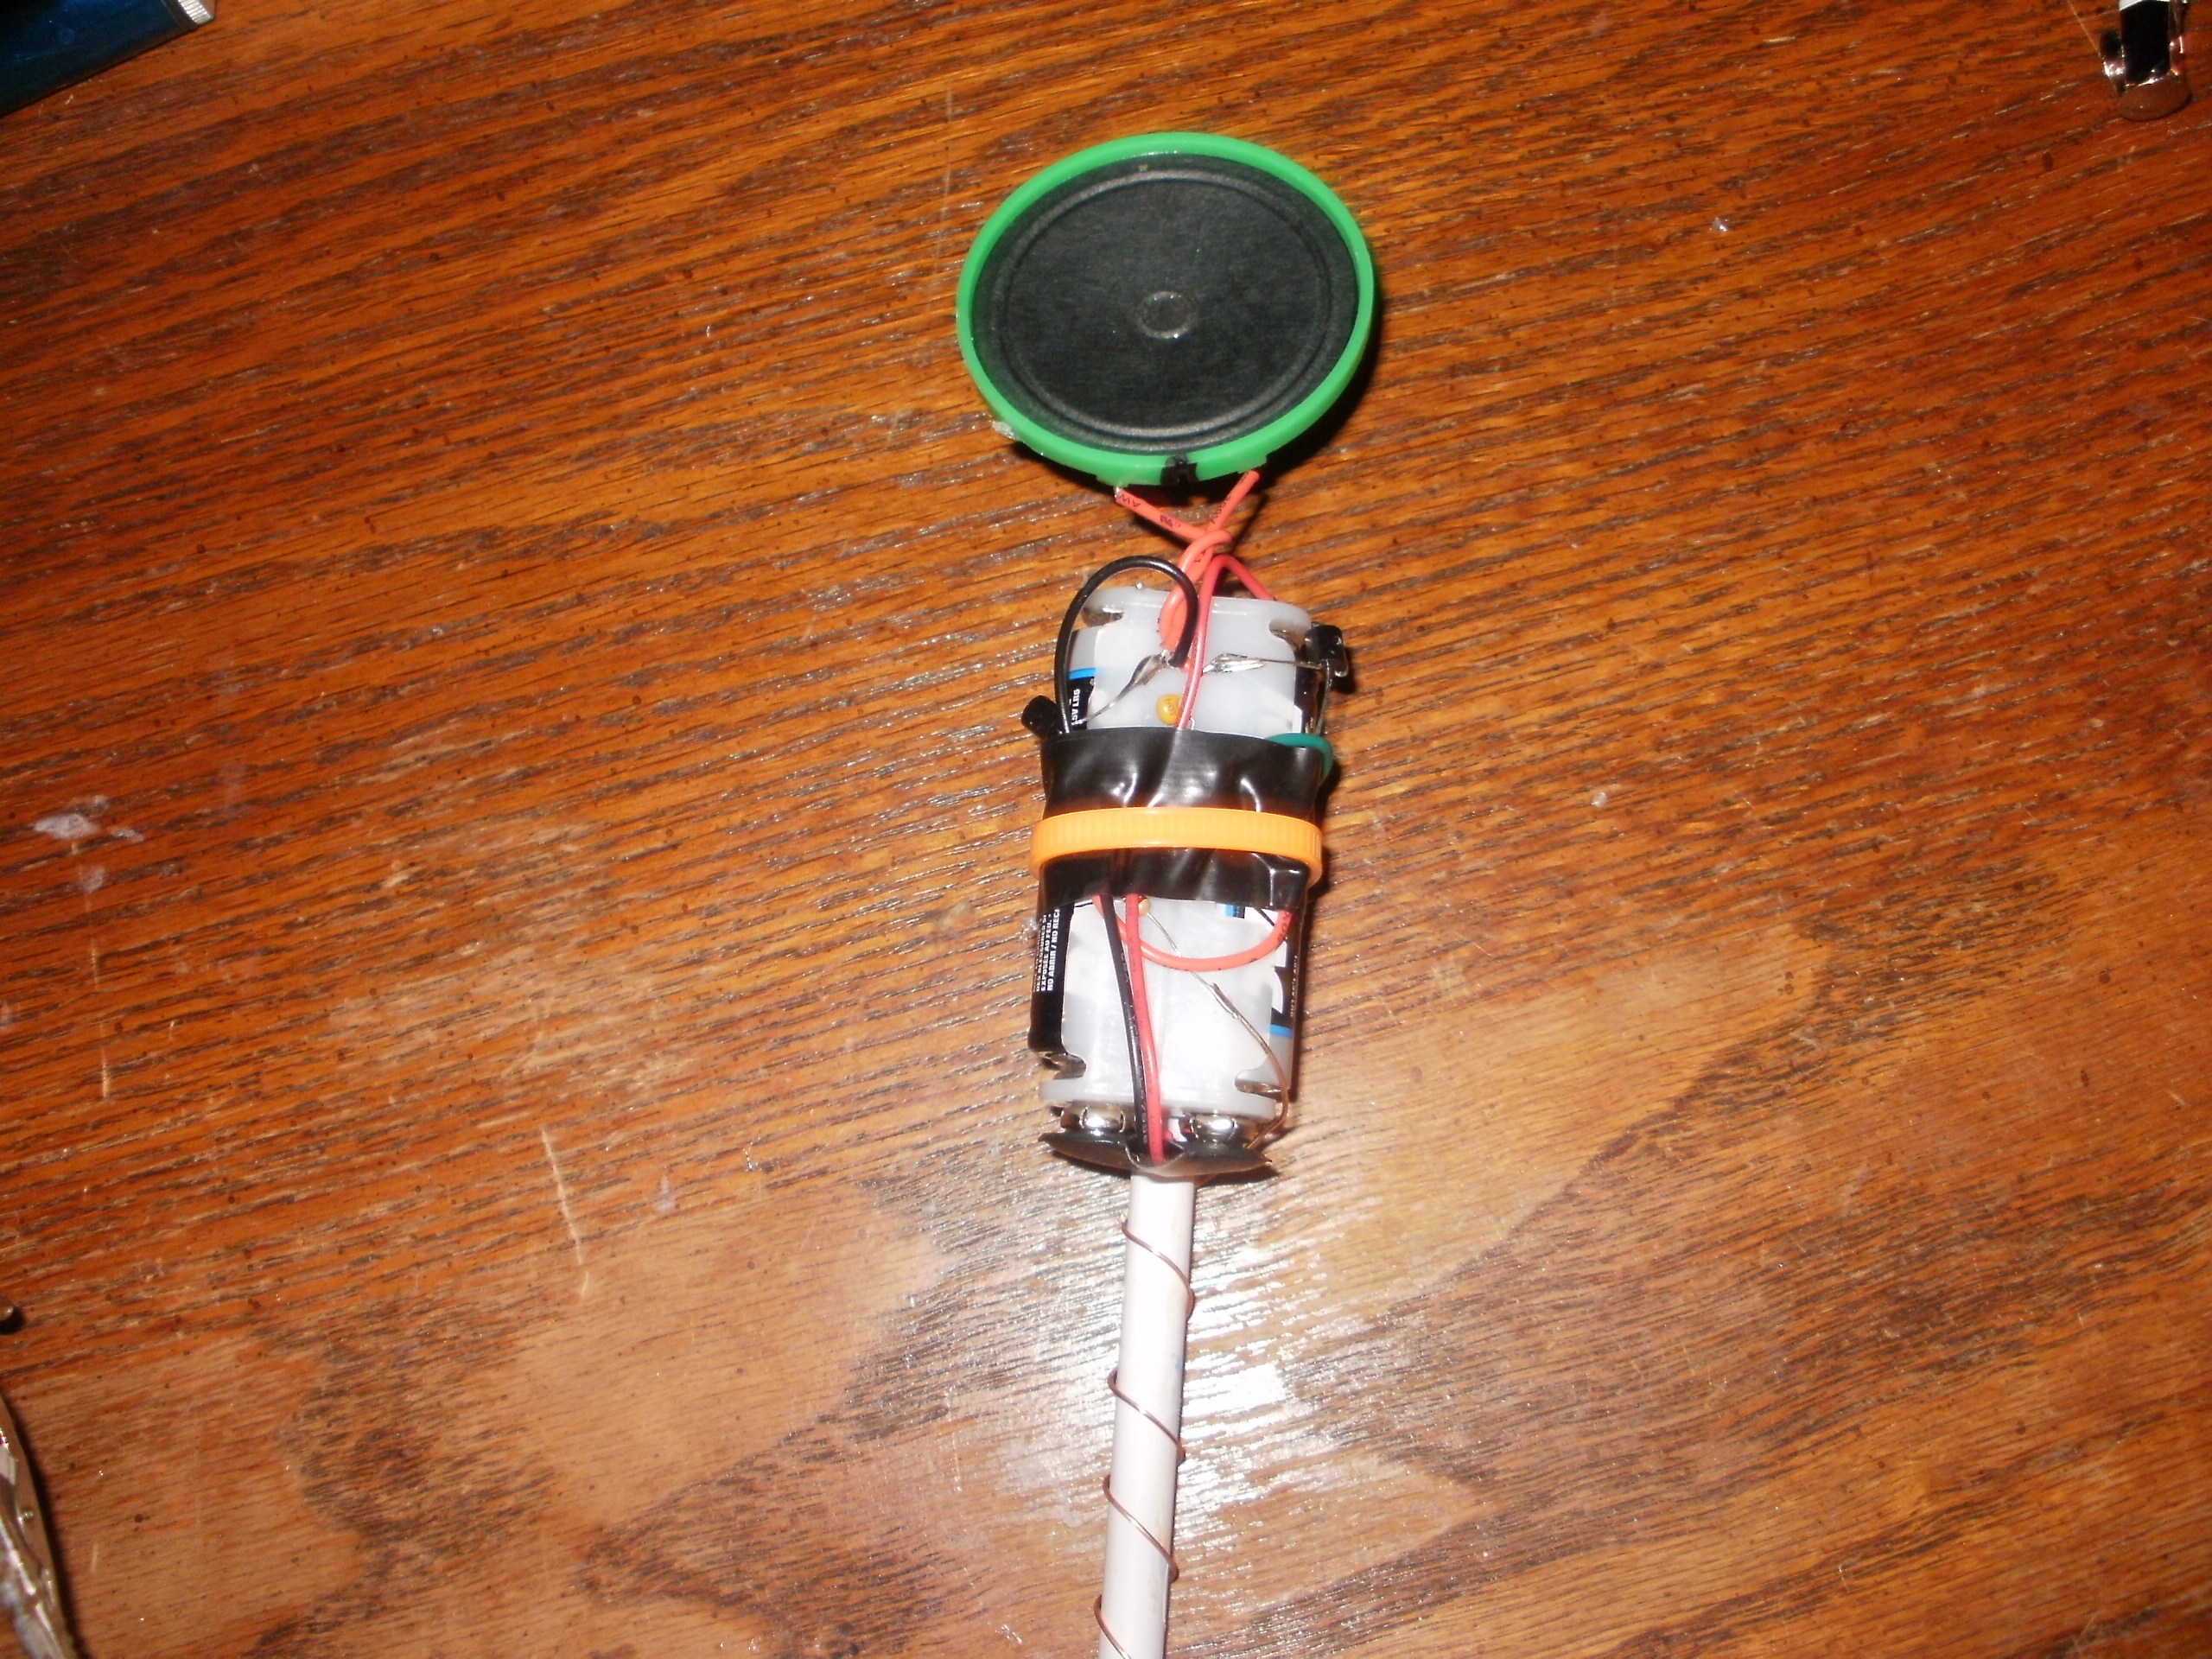
Solder the other lead from the capacitor to the other lead on the 4.7k resistor, and then solder a 3-4 inch wire in-between the connection you just made. Remember the 30k resistor you soldered earlier? Solder another 30k resistor to that one (the first on you soldered). Repeat again with the last 30k resistor by soldering it to the other lead of the one you just soldered. Solder a 3-4 inch wire to the last 30k resistor. (Optional) Cover everything in heat shrink tubing or electrical tape.

Mount the circuit to the pencil

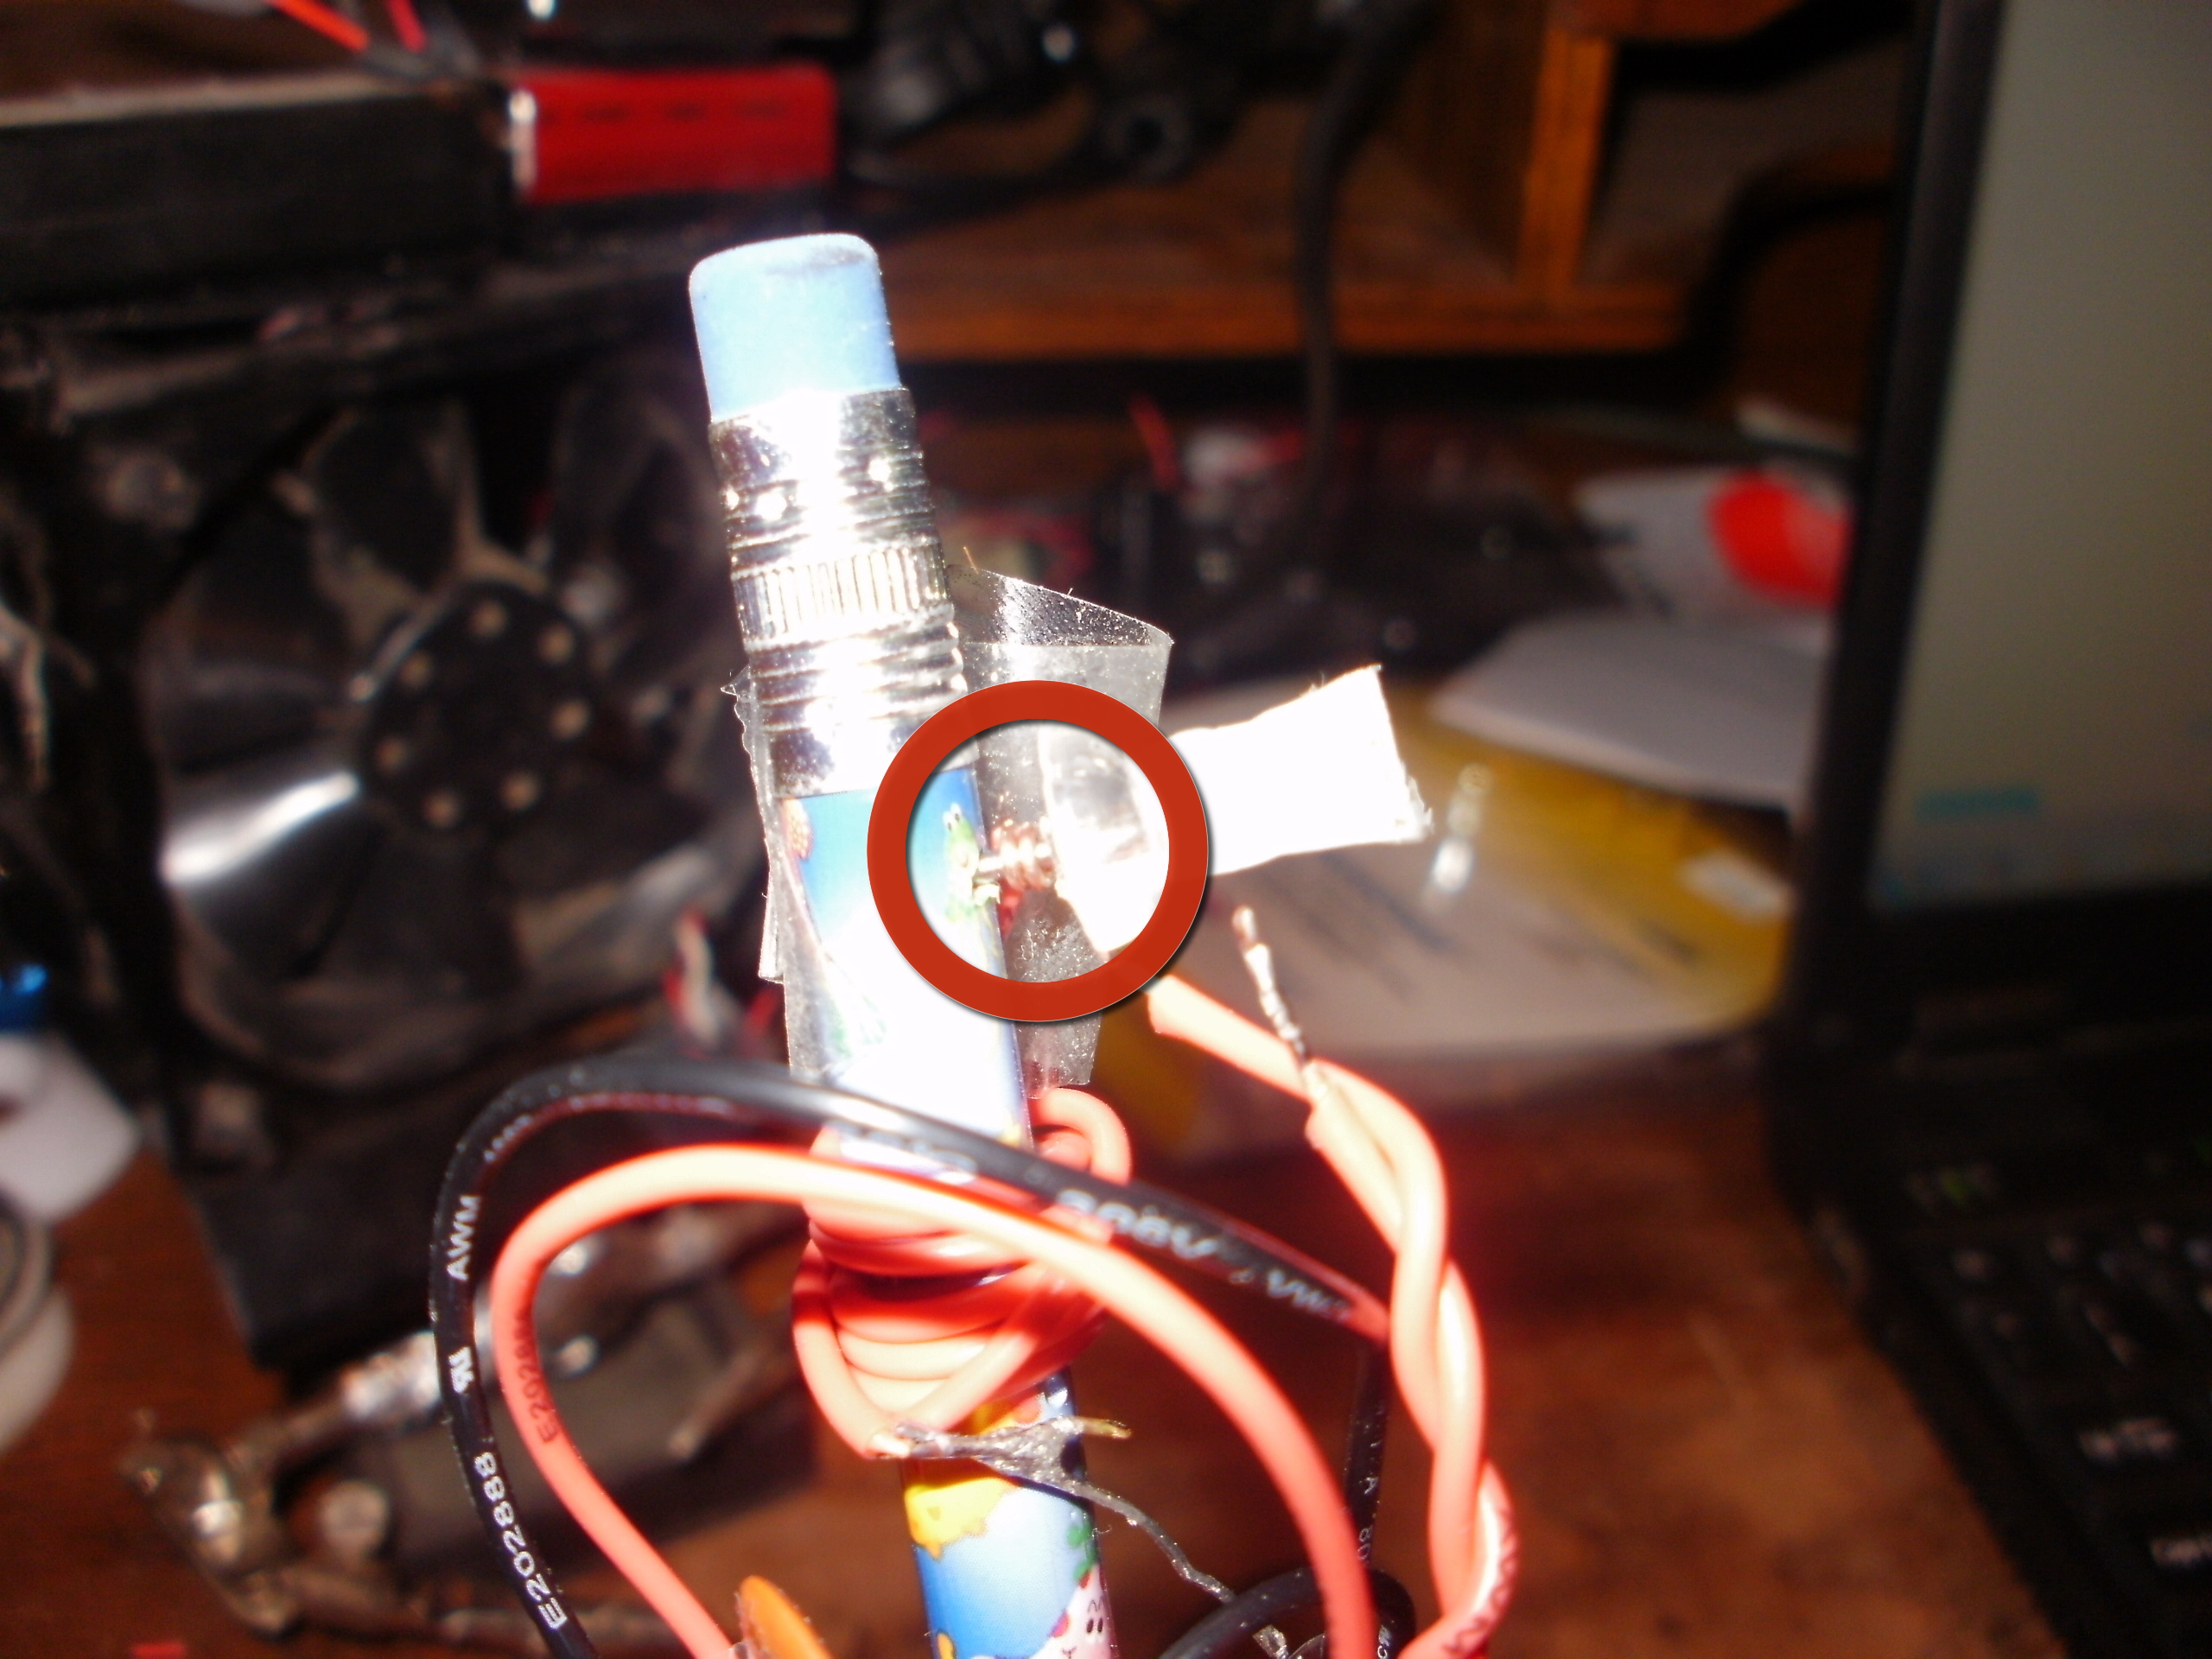
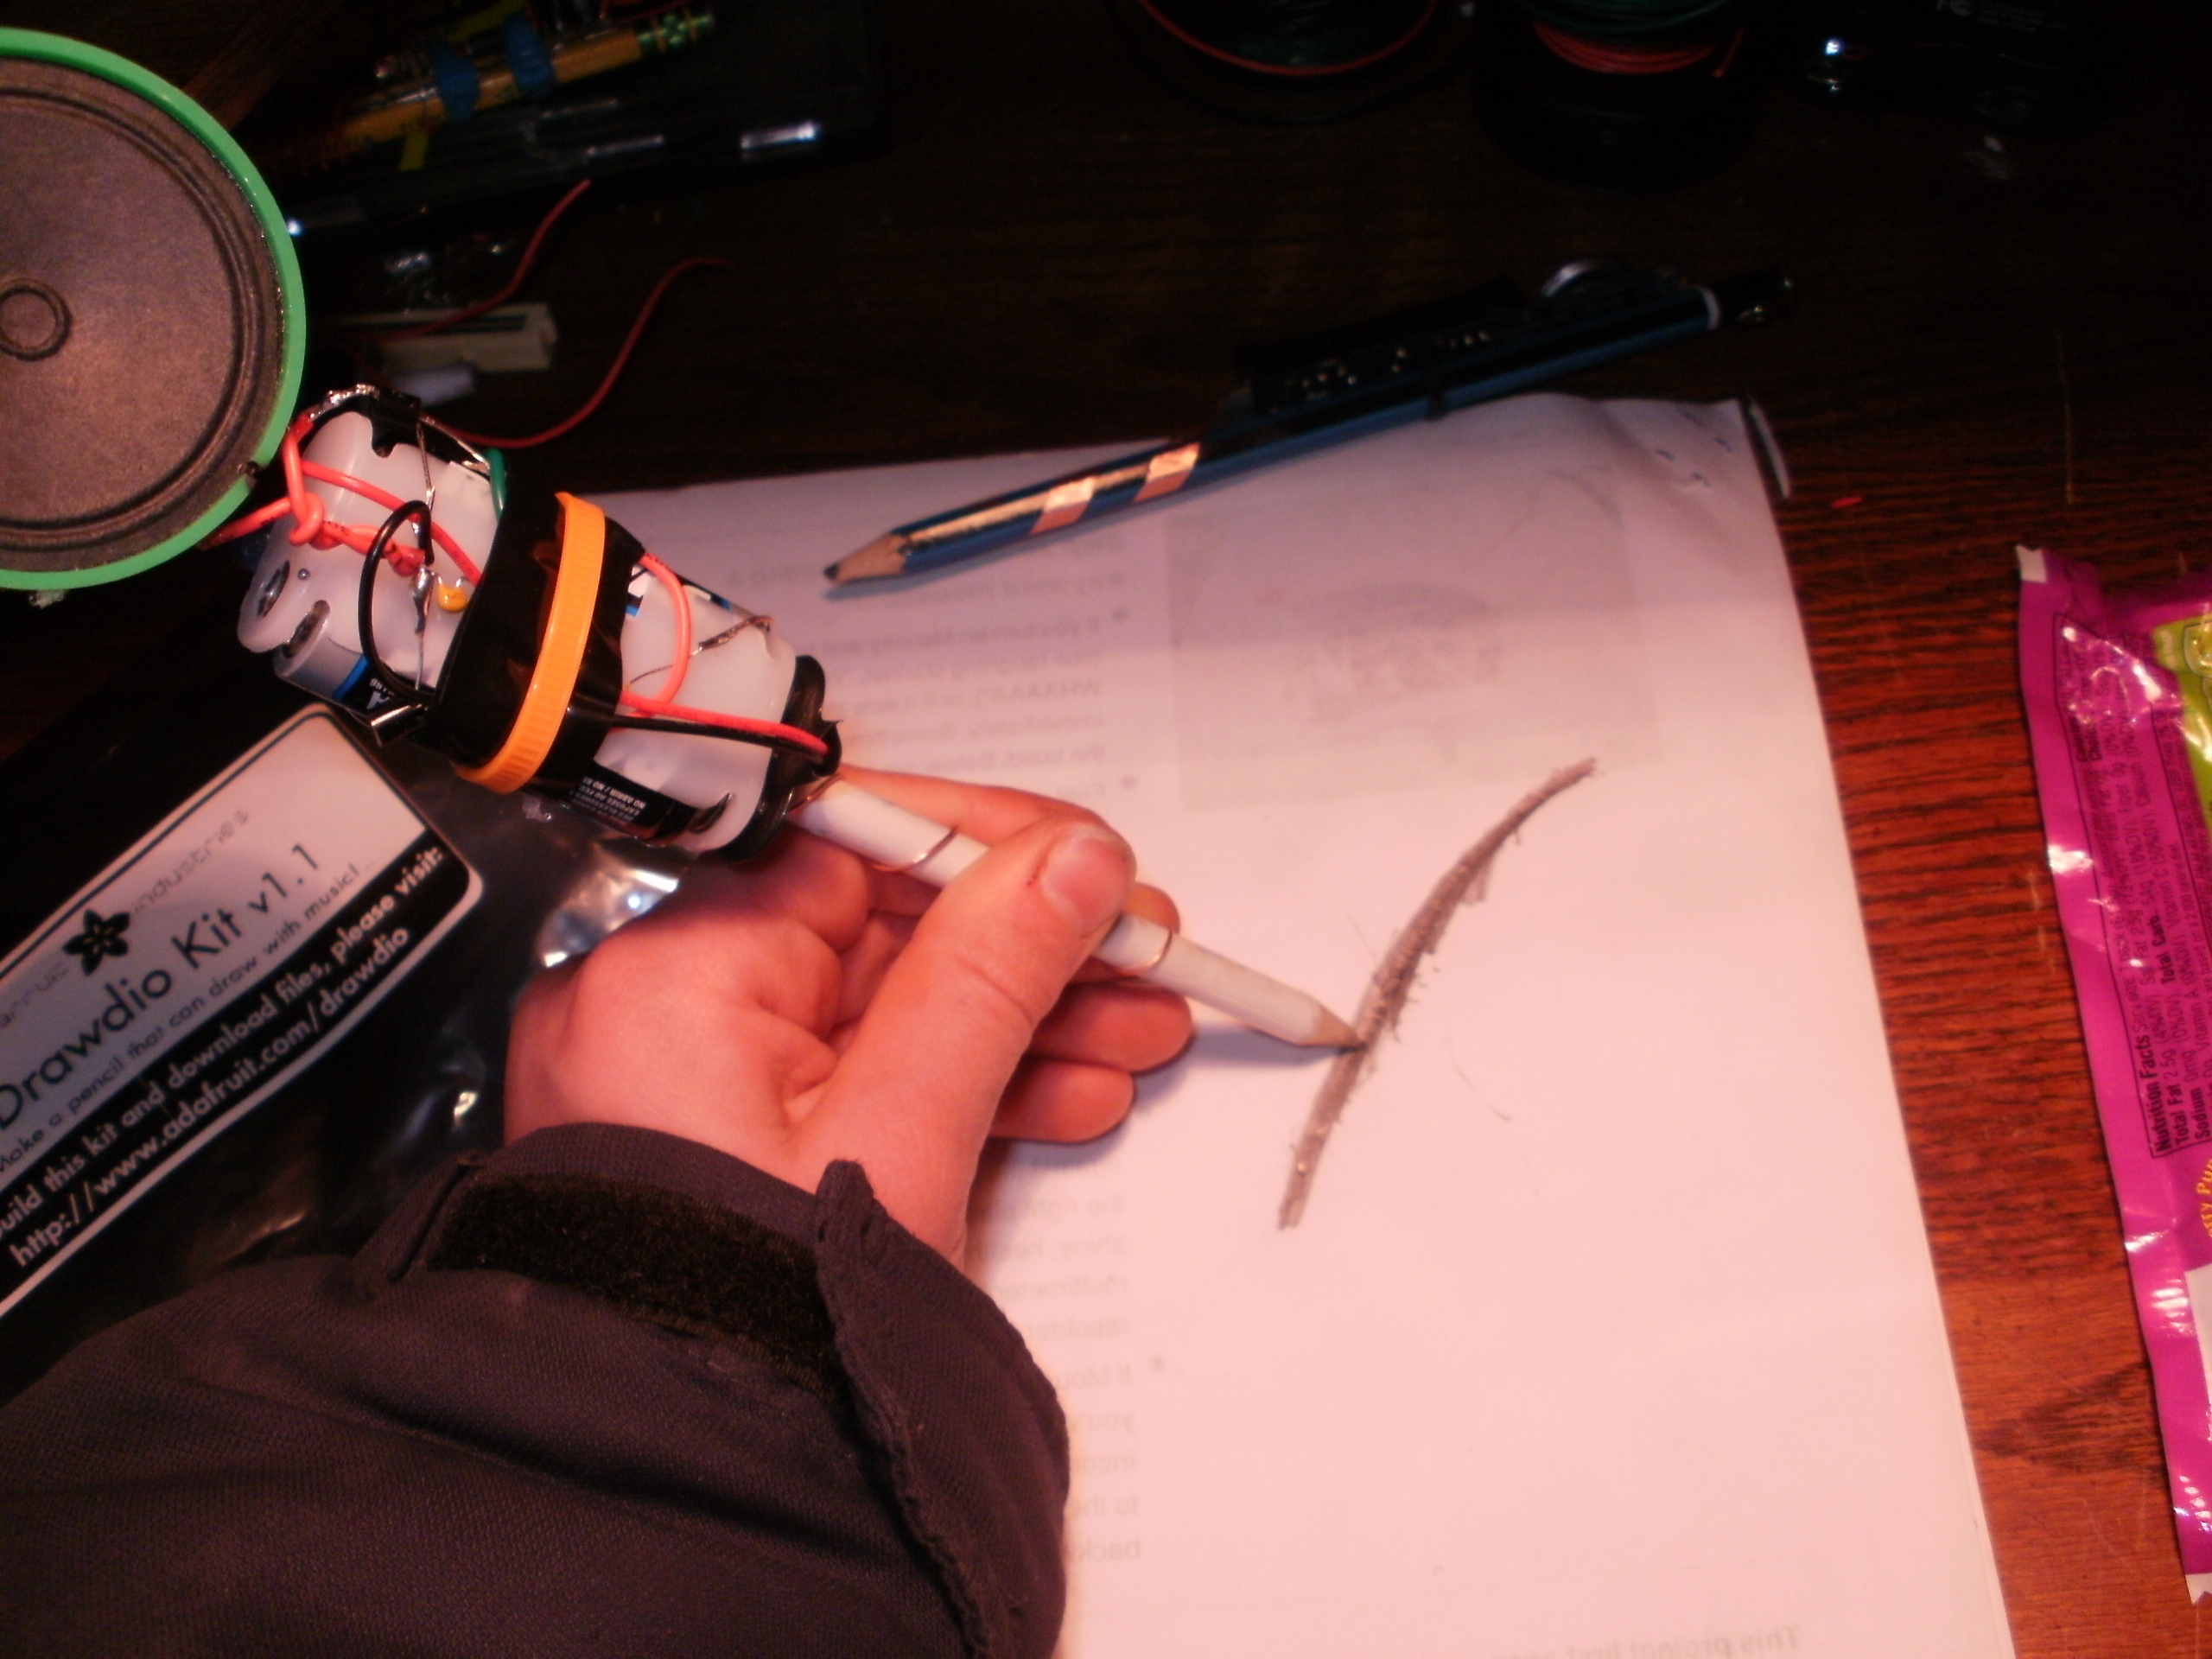
Put the end of the zip tie through the locking part and use it to mount the circuit to the pencil. Use tape if the circuit keeps moving around. Strip one of the wires and wrap it around the pin’s metal part. Push the pin into the pencil until your’re sure that the metal part of the pin touches the inner graphite. Then tape down a layer of foil on the part of the pencil that is below the circuit. Sandwich the other wire in-between the bottom layer of foil with another layer of foil. Make sure you don’t cover most of the foil! (Unless it is conductive.) Your’re done!

Play it

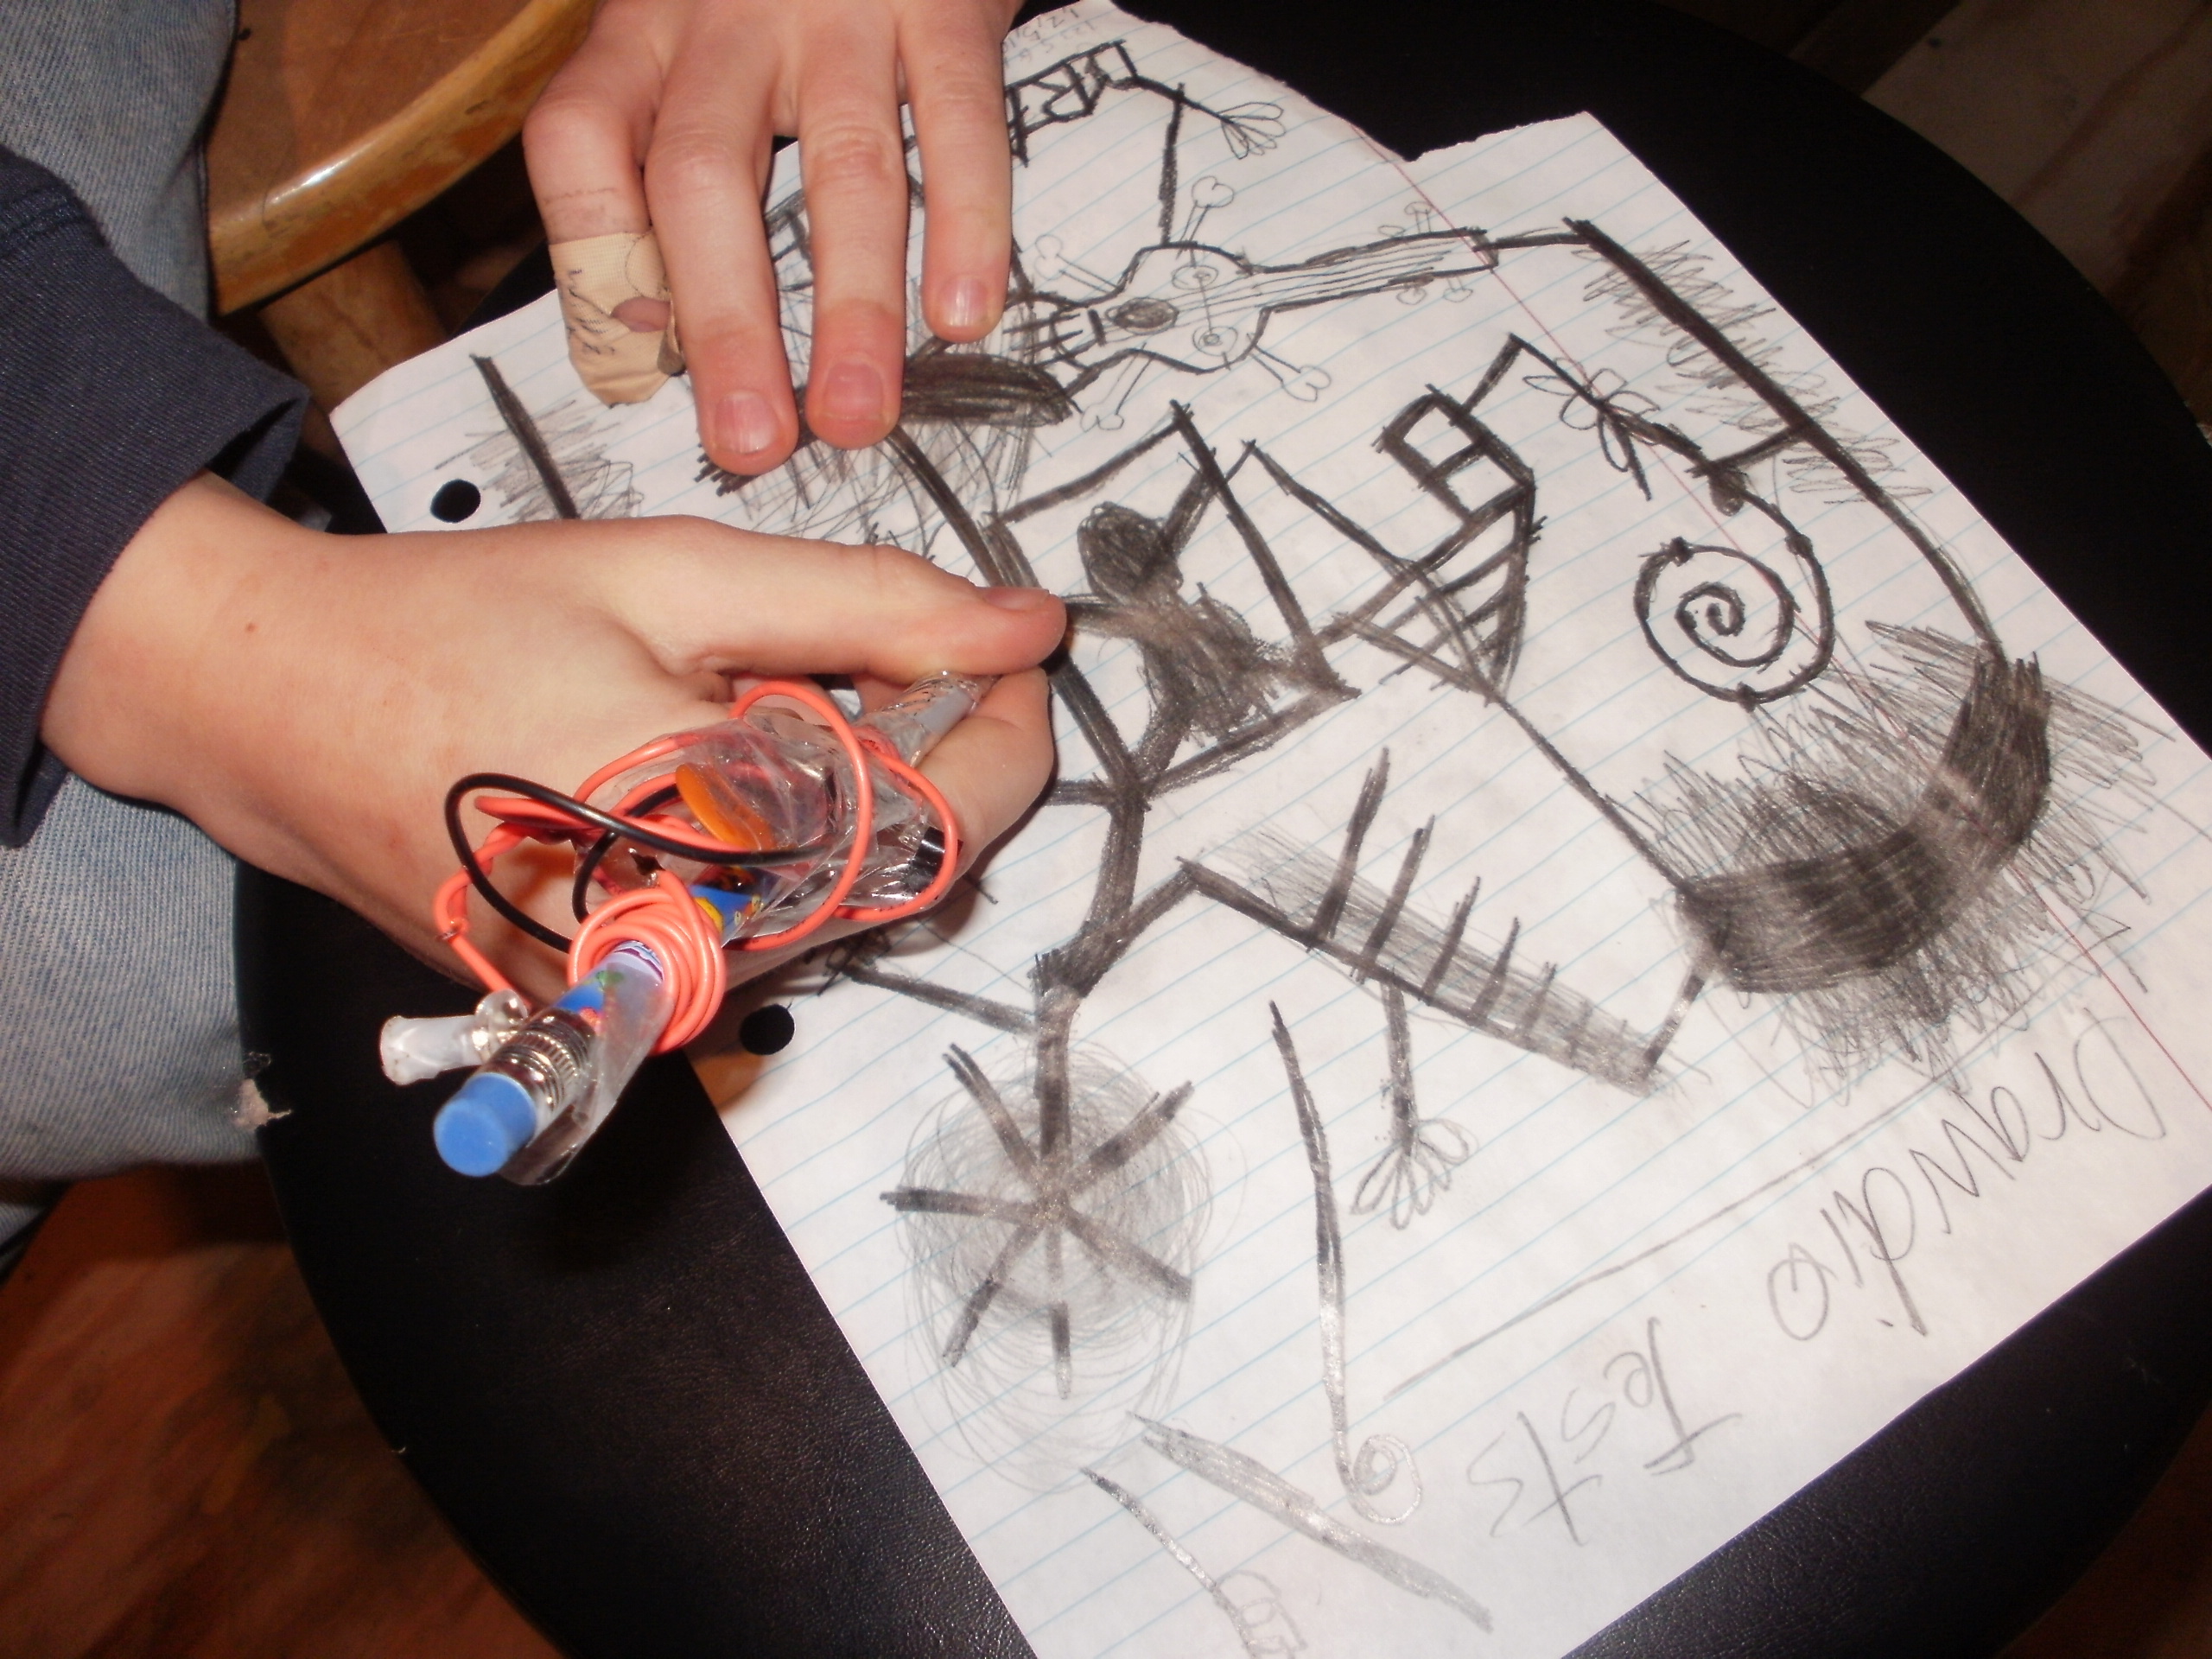
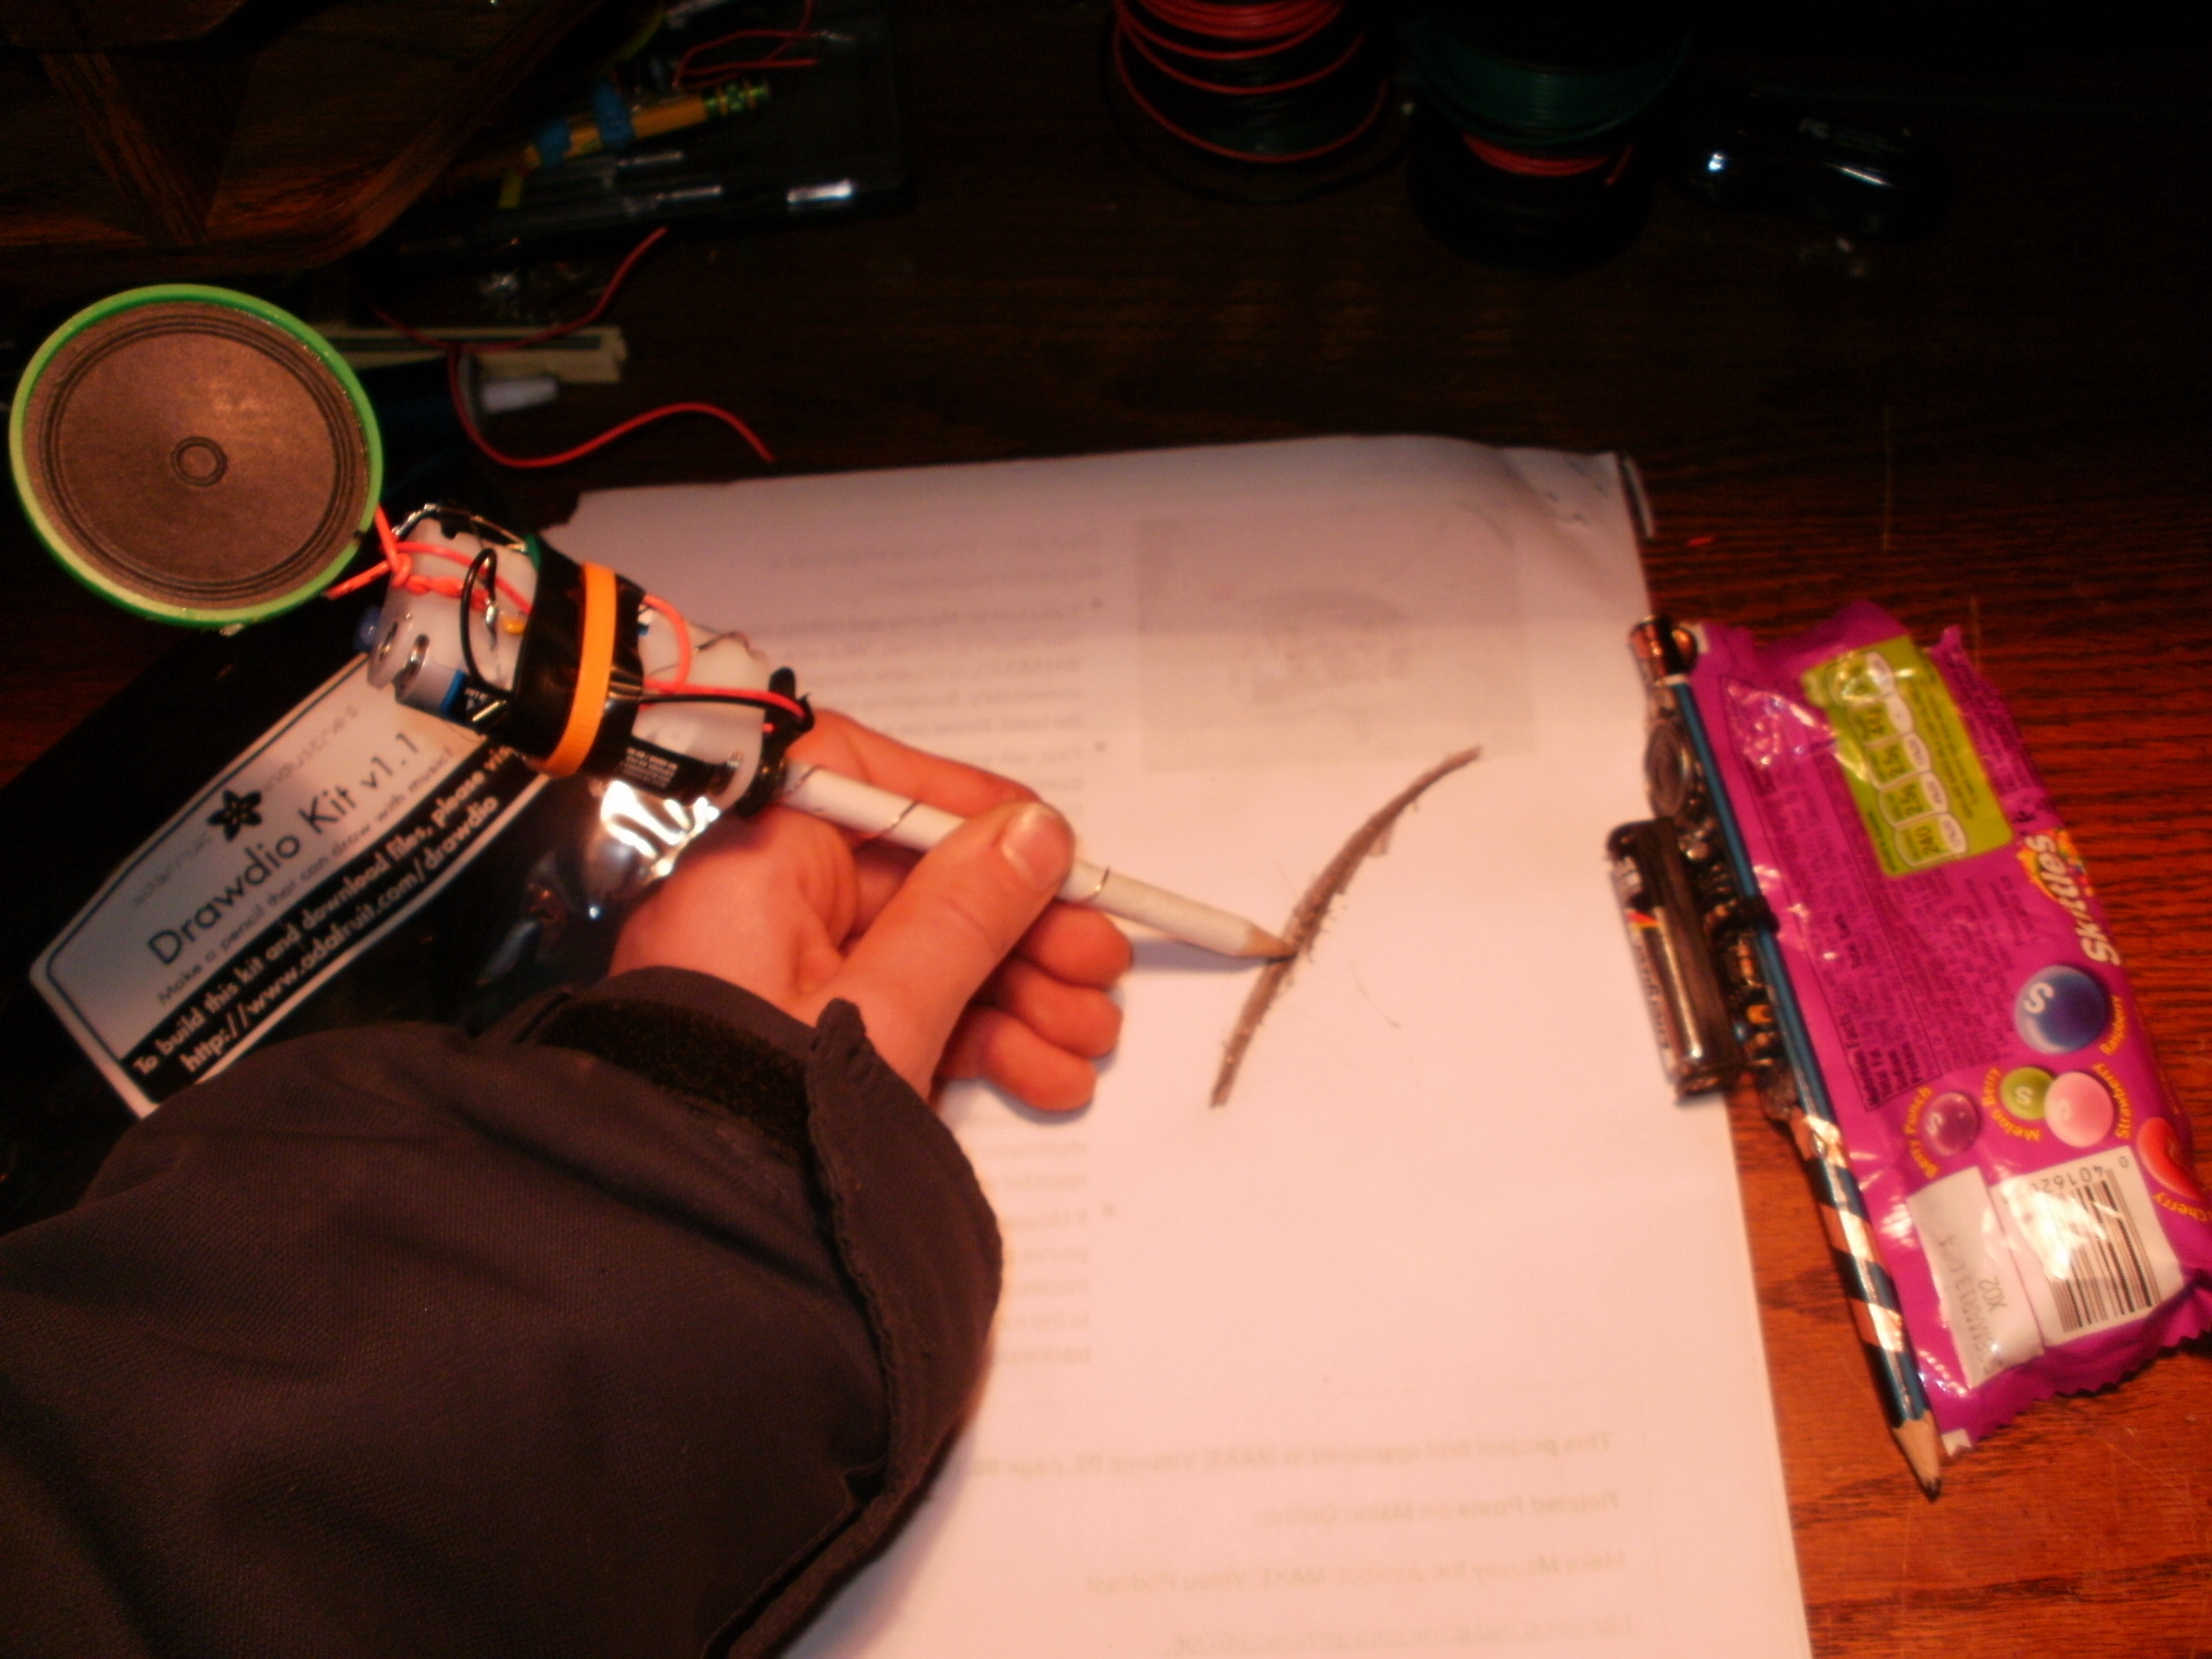
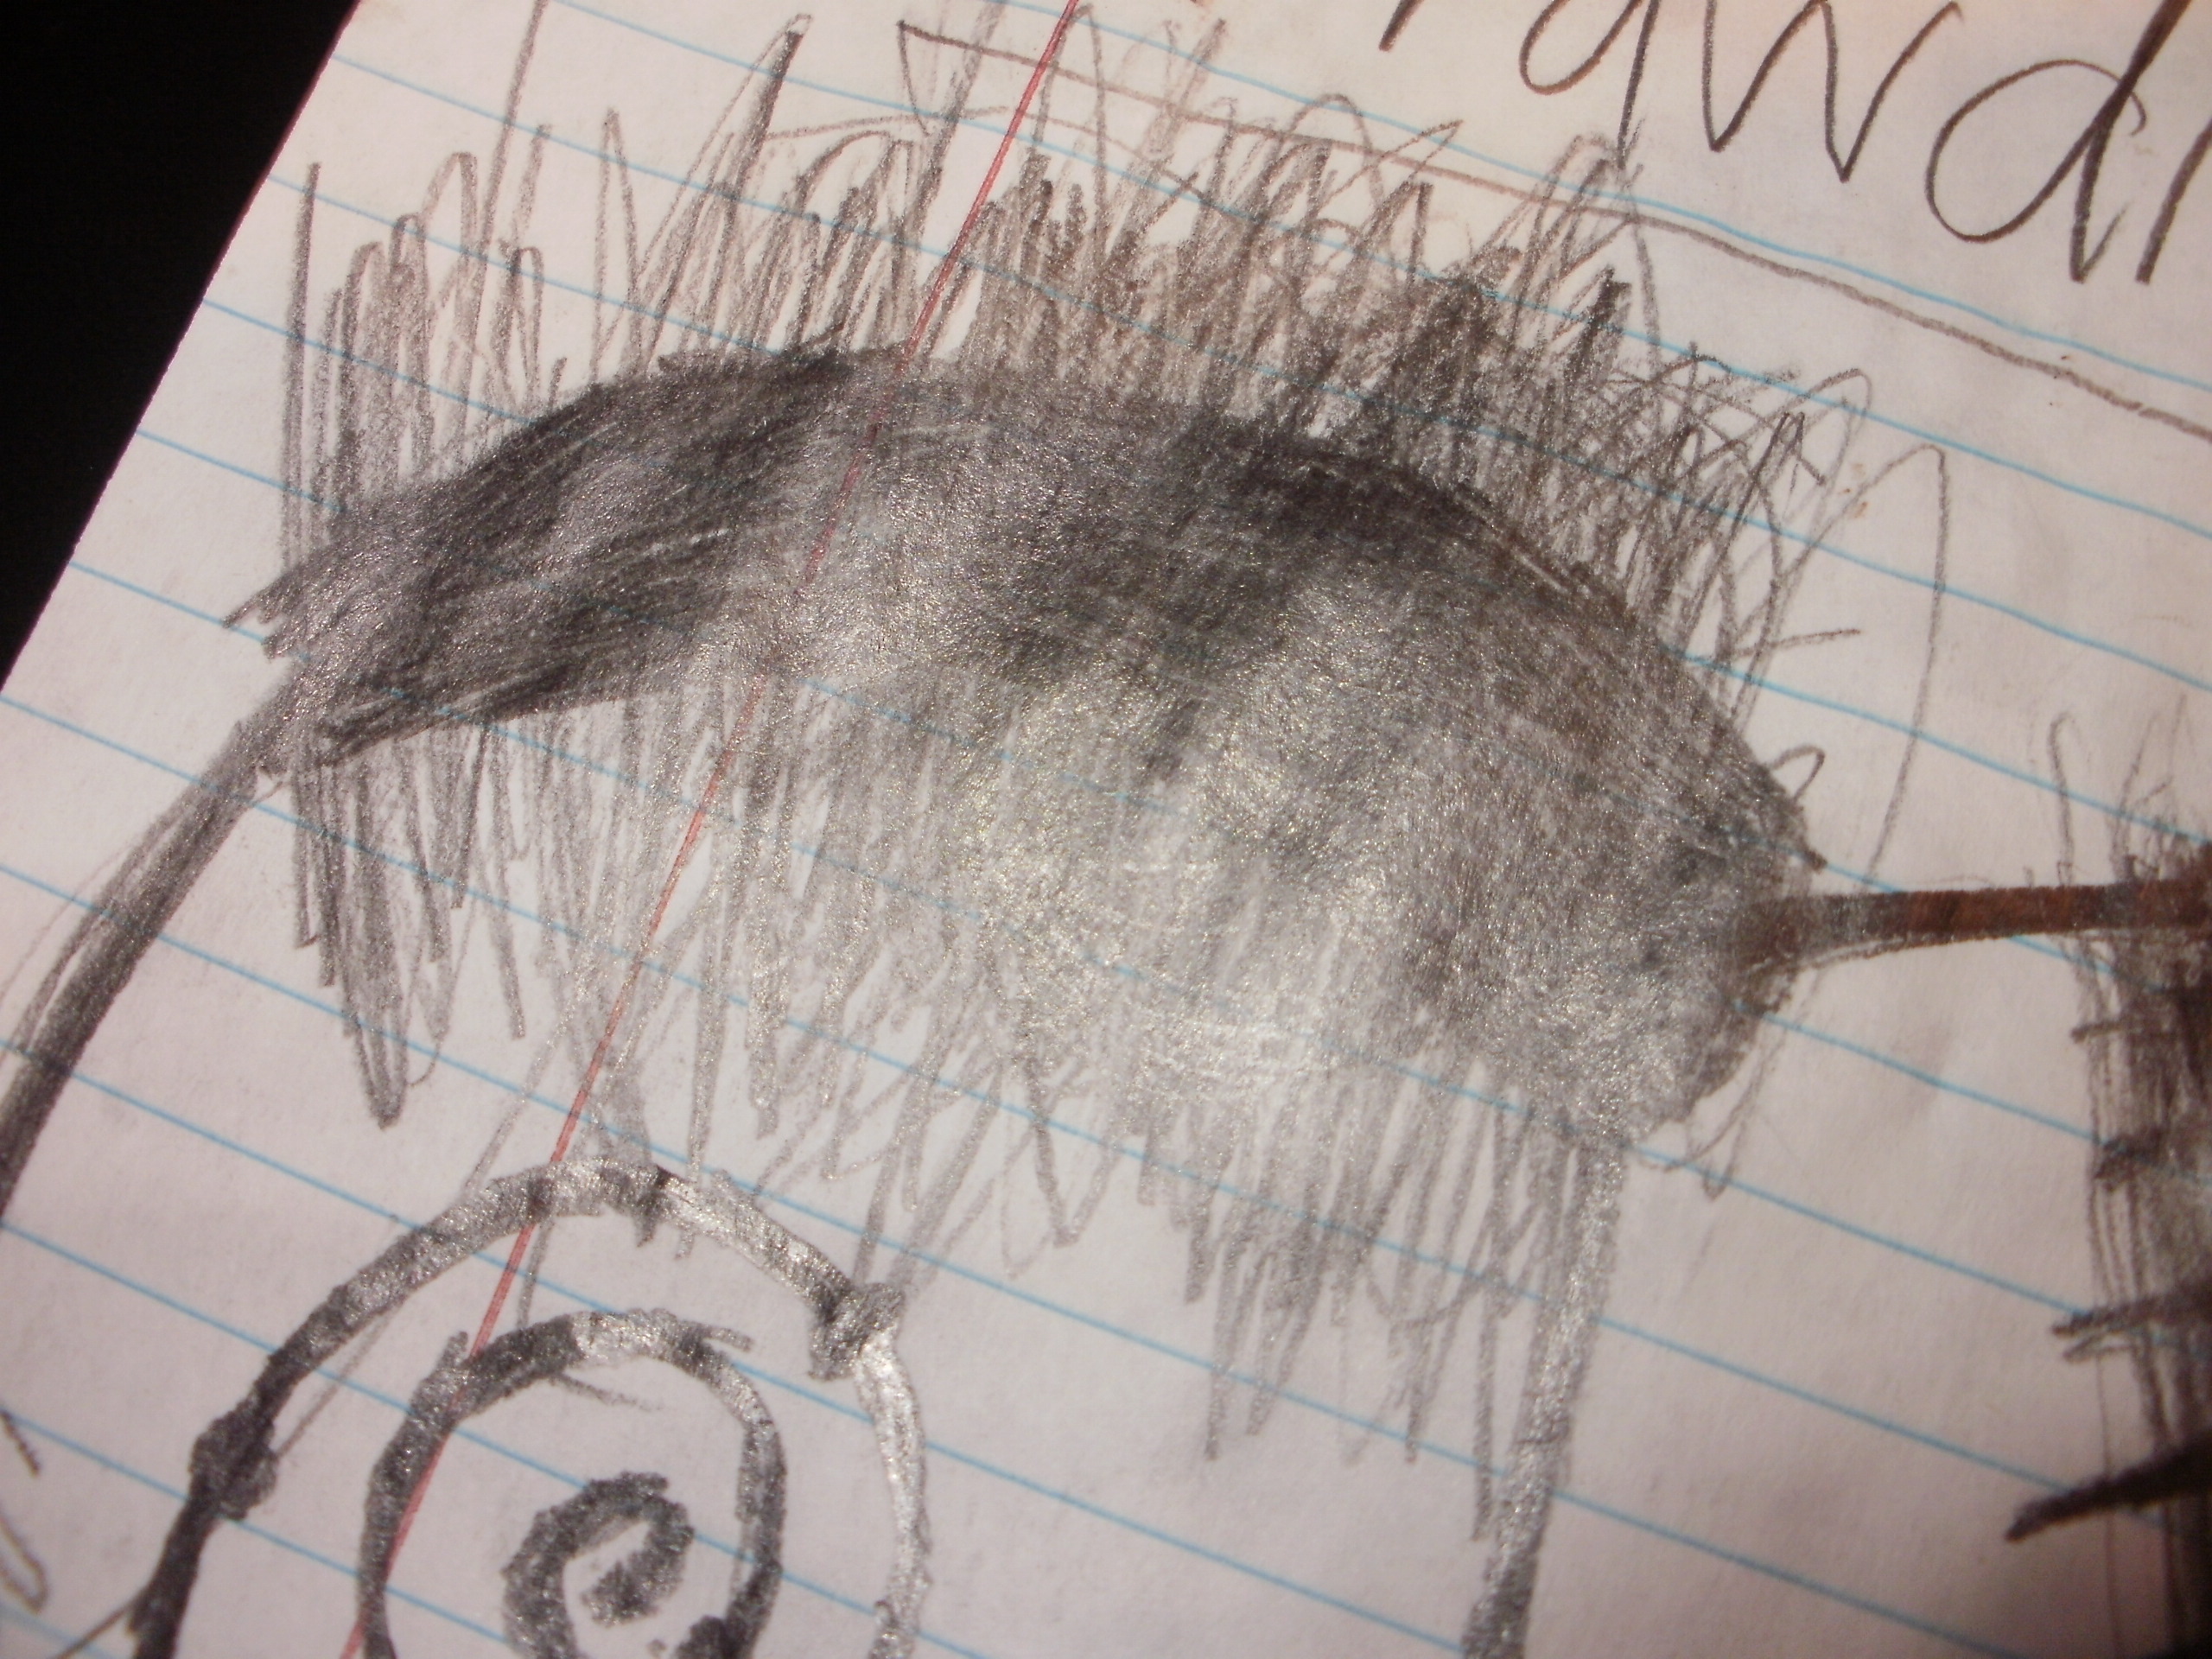
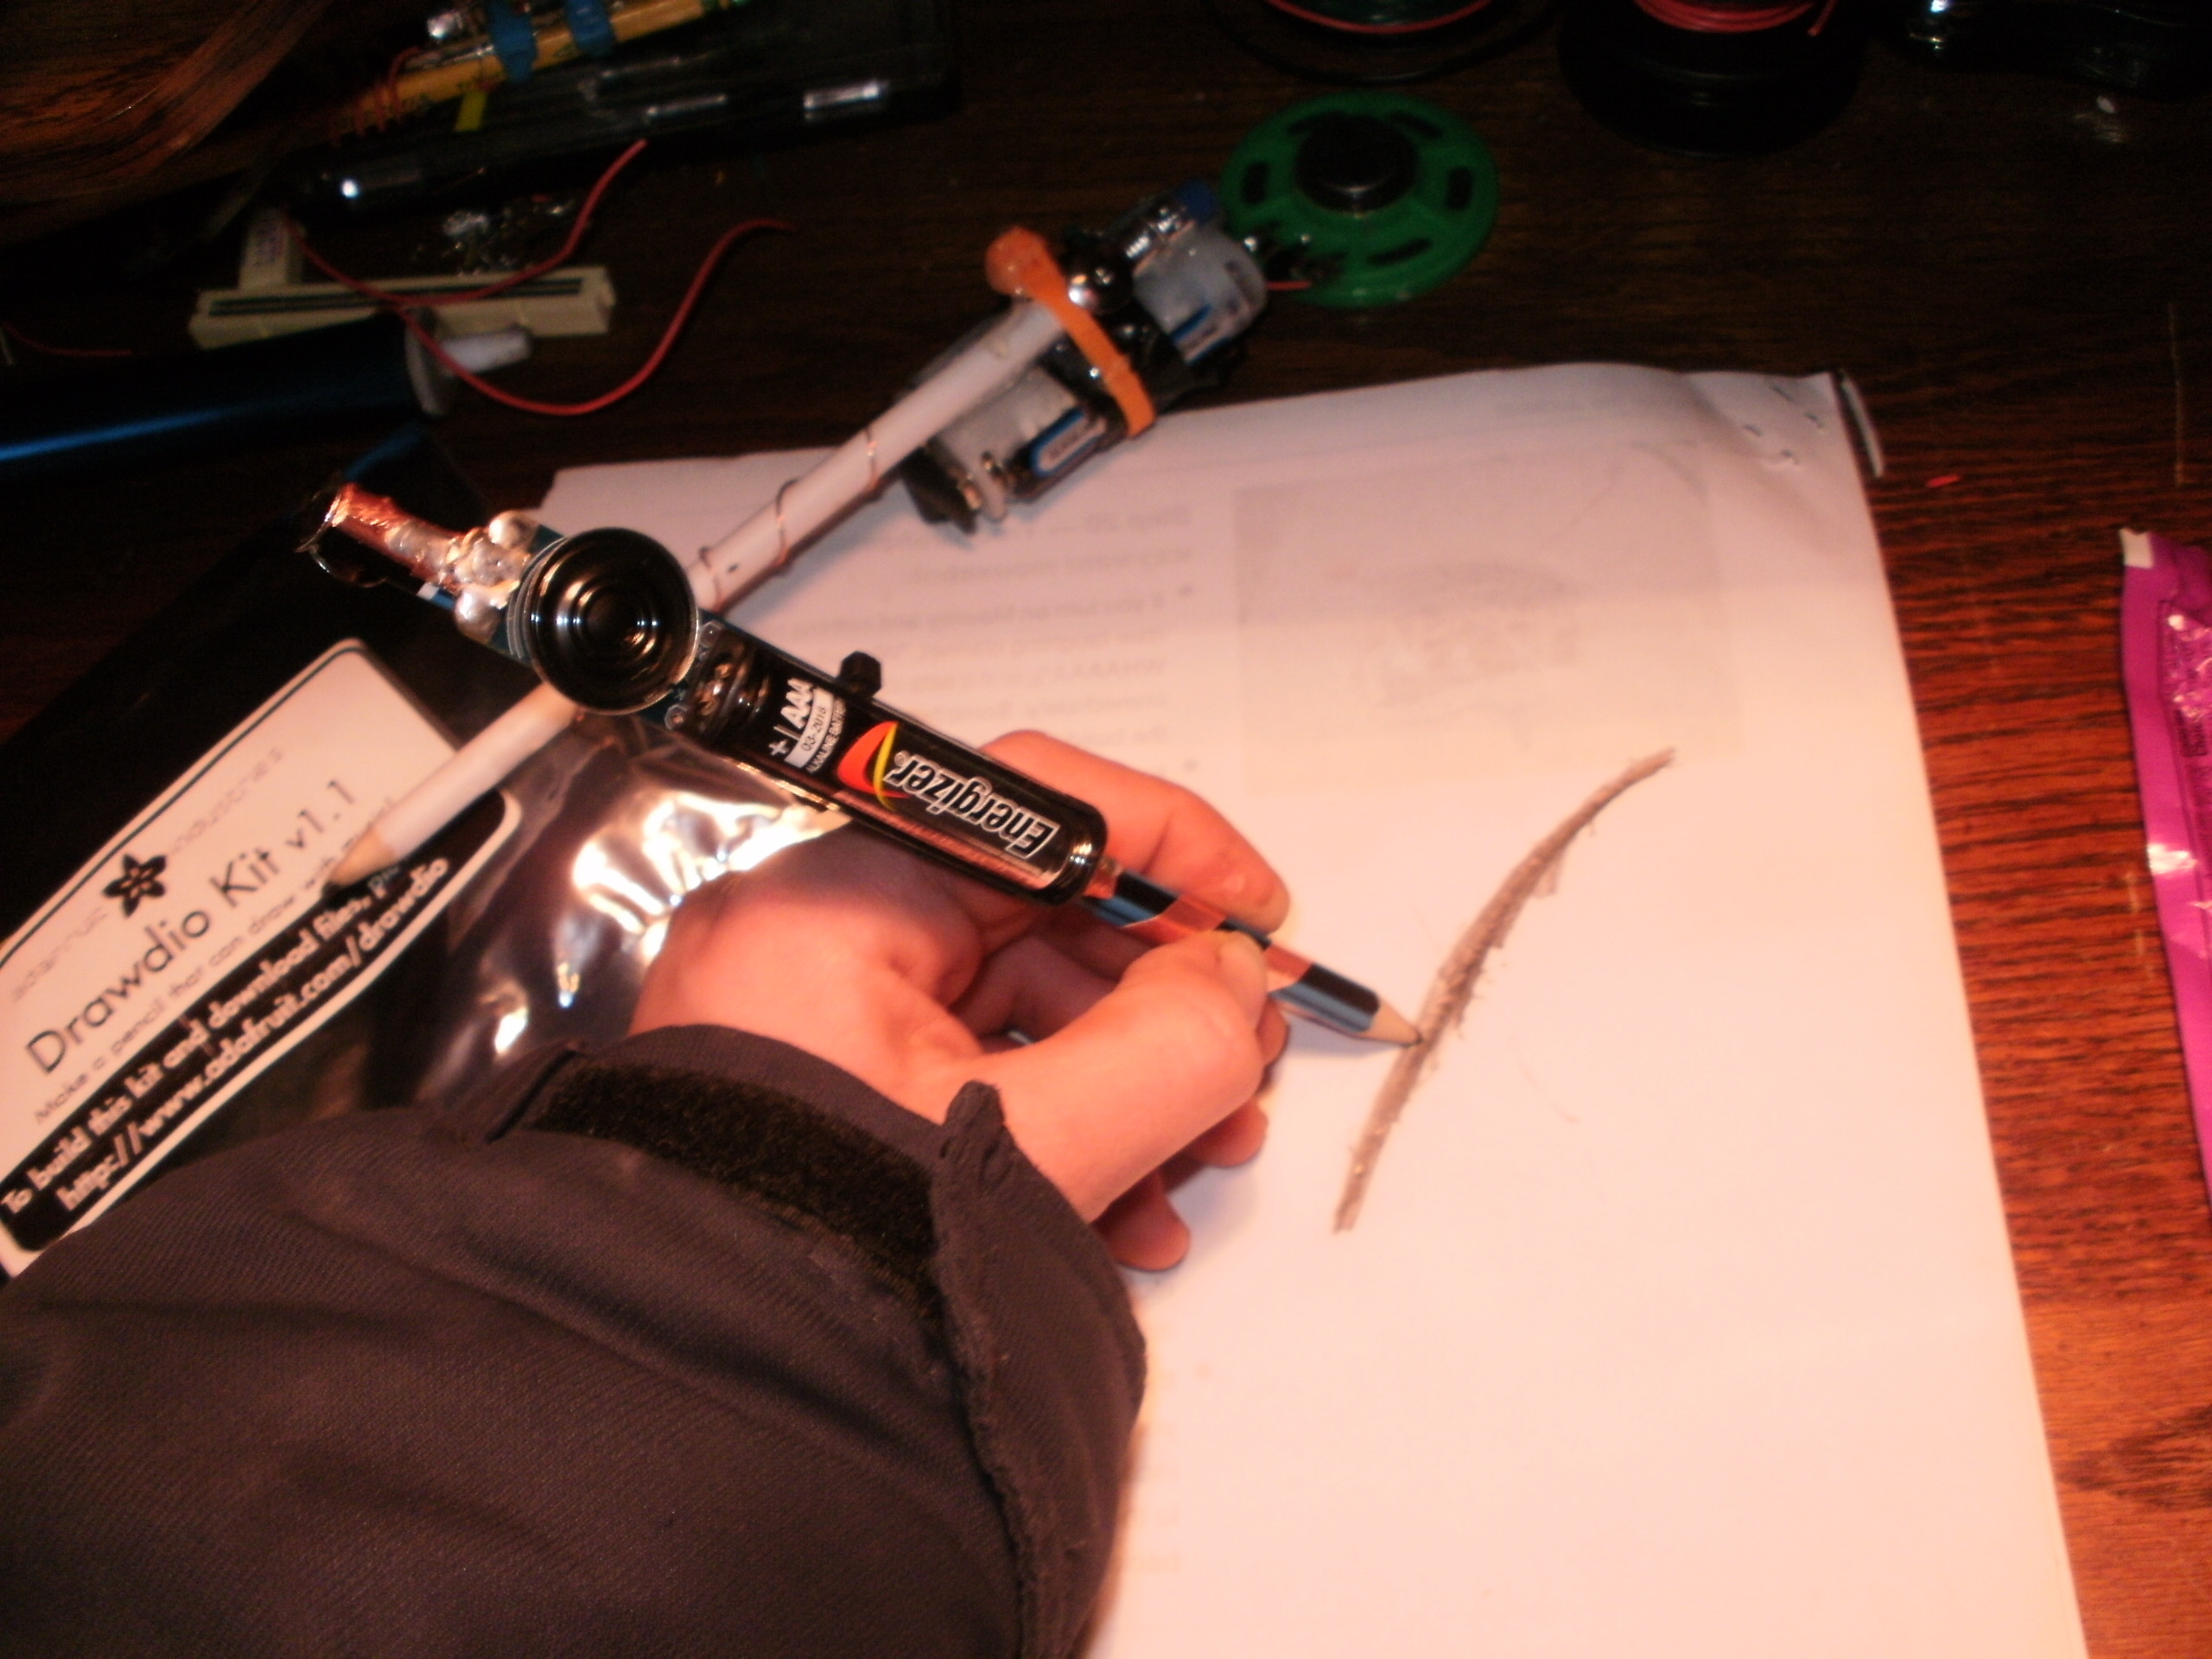
Make a dark line on a piece of paper. Hold the drawdio by the foil. Touch the pencil graphite to the line. Touch your other finger to the line also. You should hear a noise. Notice that when you move your finger or the graphite closer of farther away, it raises or lowers the pitch. If it doesn’t play, check your work. Is there a short? Did the little connections break? If it’s not working, not much can go wrong.

Remix it.

You can put it in a jacket, or a paintbrush, or a tree, or even the kitchen sink… The ideas go on and on.

Resources

If you want to buy drawdio kits visit the makershed at makershed.com. (Here I also use the drawdio in the makershed in the last photo.) If you want to see how the drawdio got first invented and/or the drawdio in action, go to Jay Silver’s website at Drawdio.com. Happy Making!