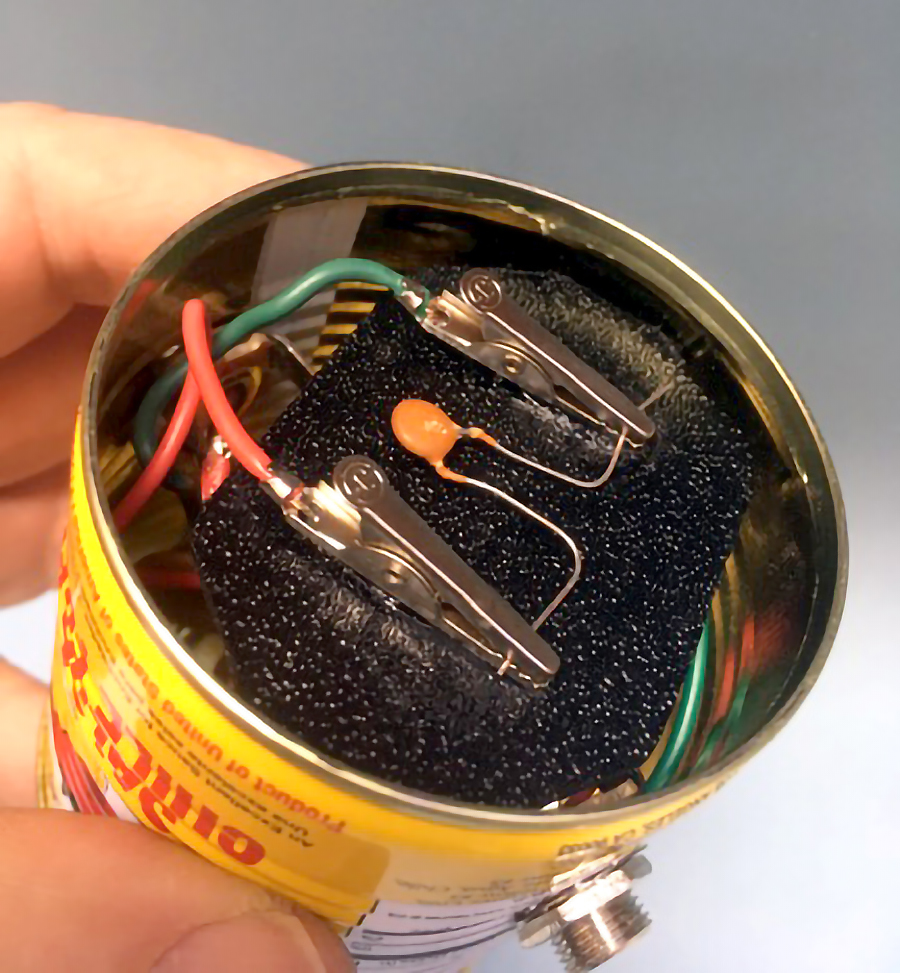
Vintage Gibson electric guitars had a special circuit for modifying the sound of the pickups: the Vari Tone (Figure A


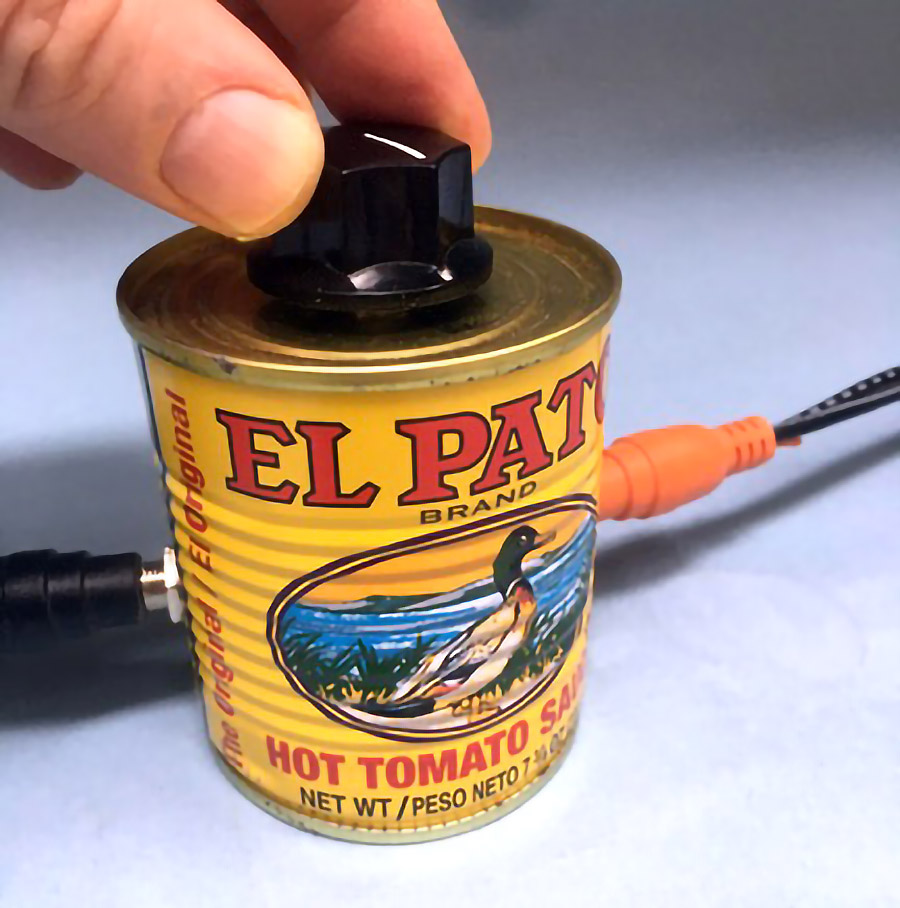
Why did I use an empty El Pato salsa can? It’s just the right size, the metal shields the circuit from radio frequency interference, and it’s a nod to guitar amp guru Skip Simmons and his podcast The Truth About Vintage Amps. Check out his expert recommendations of amps, tubes, and his favorite hot sauce. Listeners have come up with lots clever uses for the iconic El Pato can!


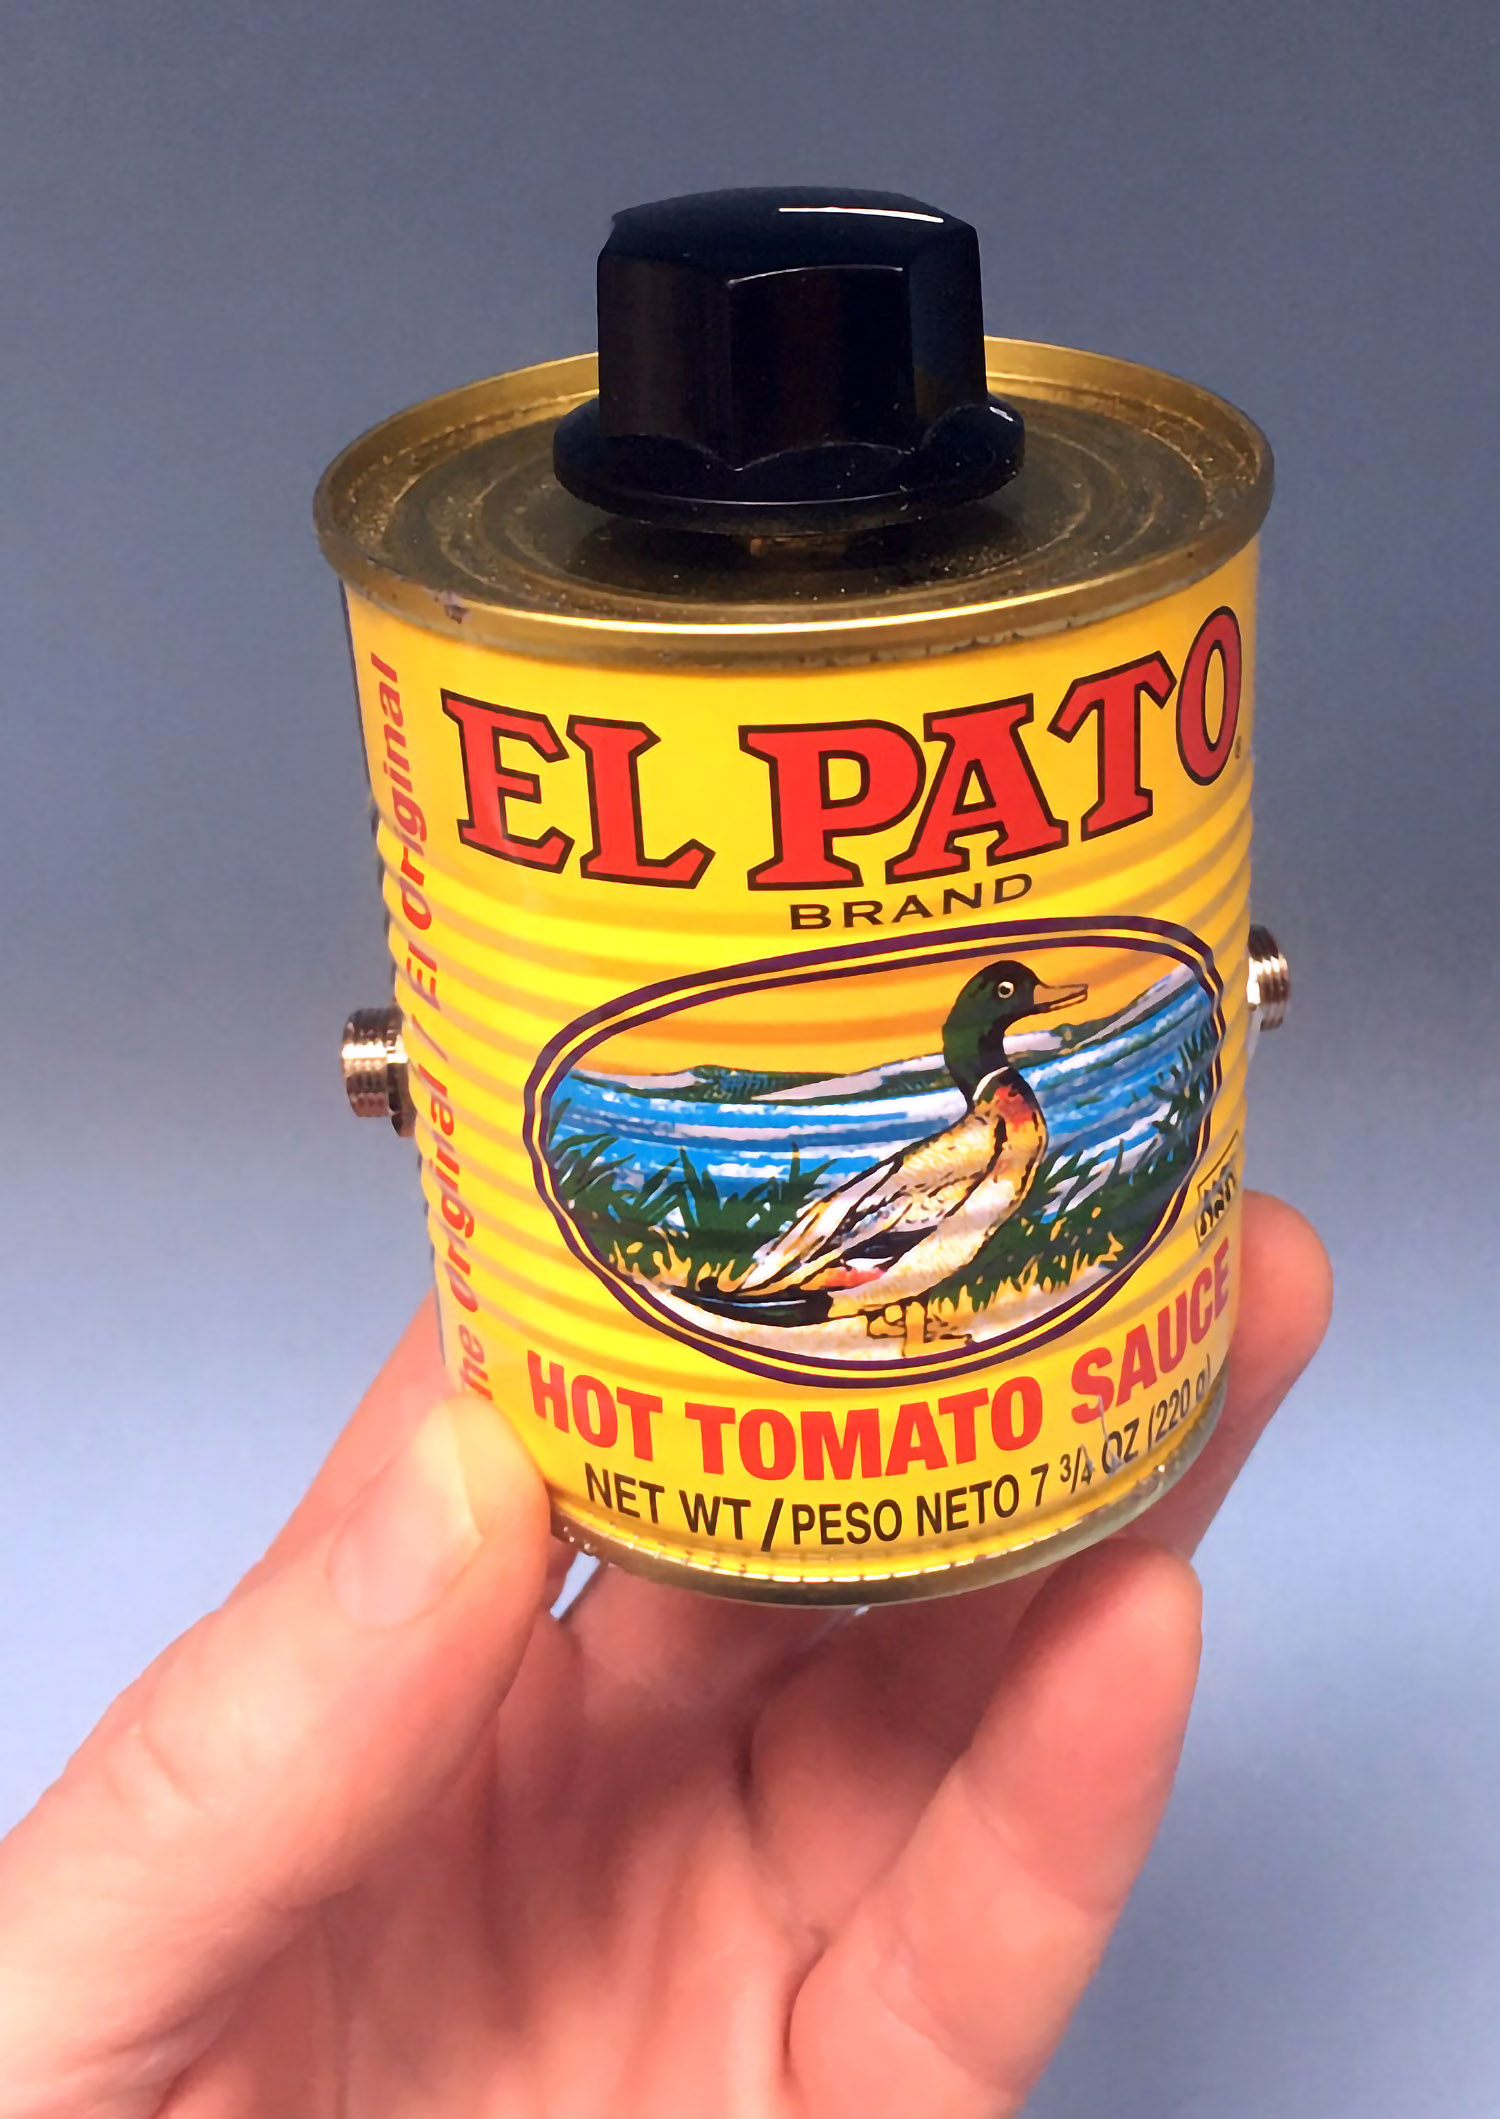
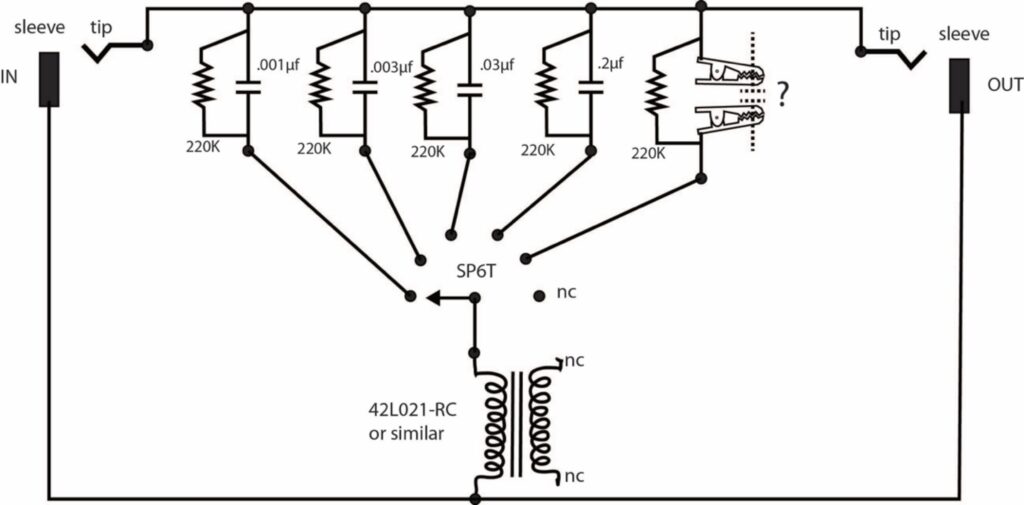
 B) to create a “notch filter” that scoops out selectable frequencies between the bass and the treble. The capacitor/resistor/coil part of the circuit grounds the guitar signal, but just a narrow portion. The frequency is determined by the value of the capacitor wired in series with the coil. A six-position switch chooses one of five different capacitors for five different sounds (Figure C
 ). The sixth switch position has no connection, to give an unmodified, bypass sound.
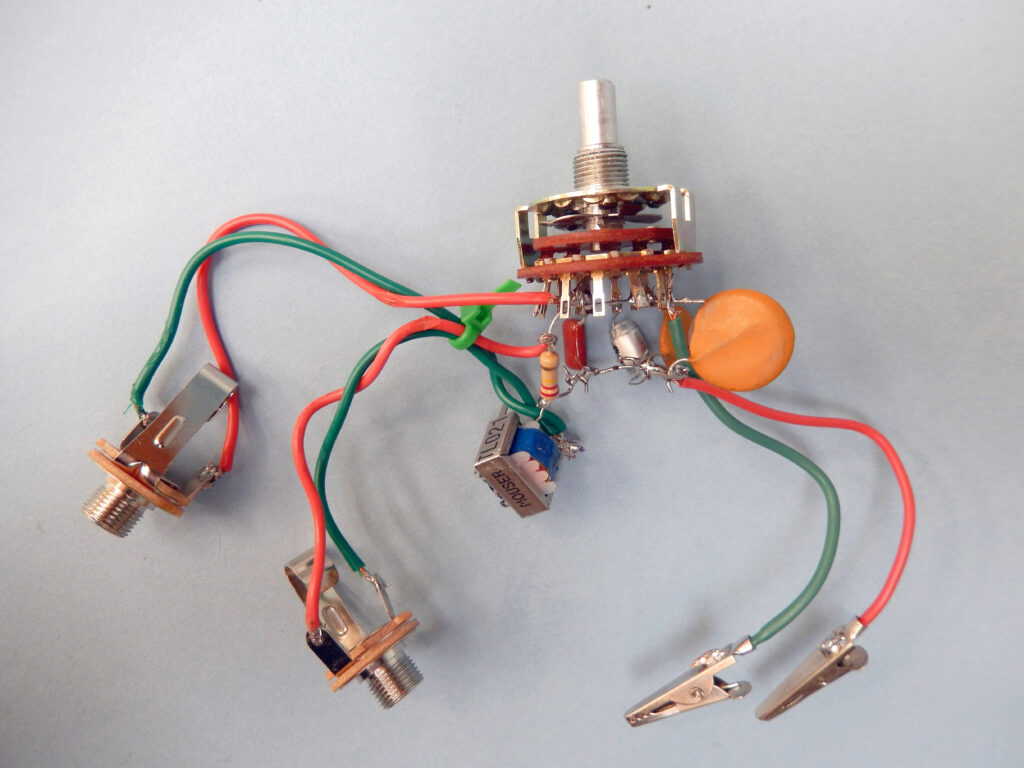
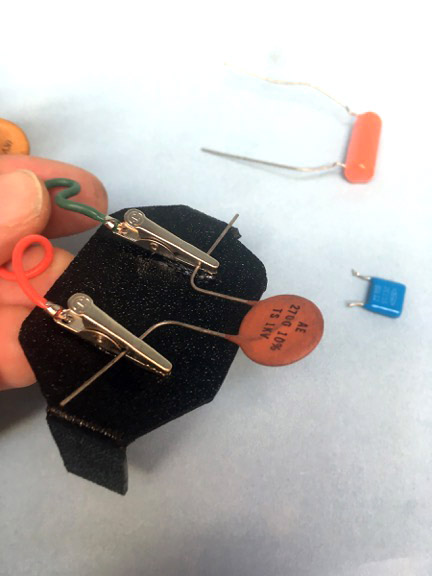
 ). Plug it in between your amp and guitar and then swap out different values of caps. Listen carefully to each one to find the five capacitors that sound best to you. Then go back and solder those caps into the other switch positions, leaving one position unused for the bypass setting.
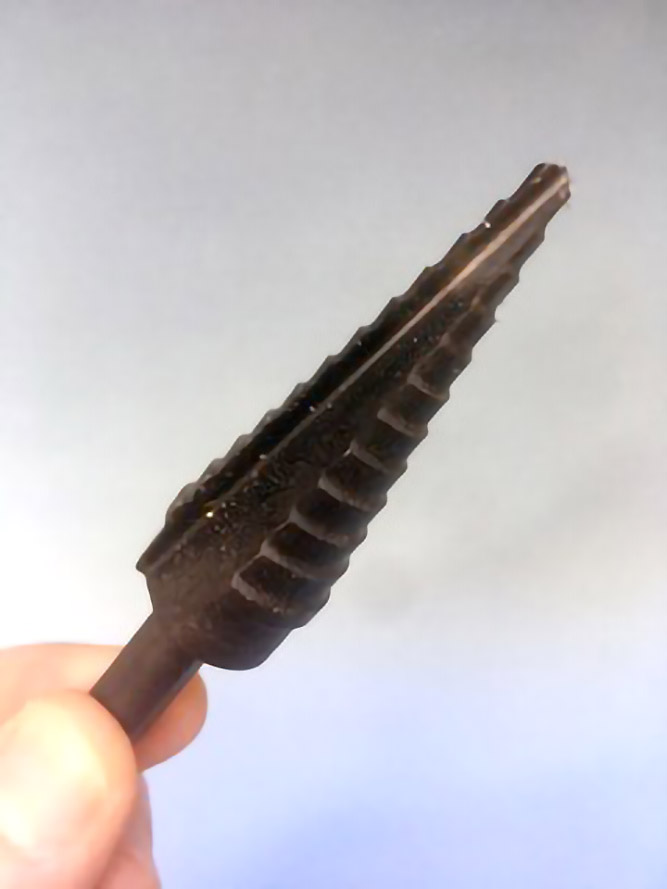
 ). It won’t grab like a twist drill and you’ll get a cleaner hole.
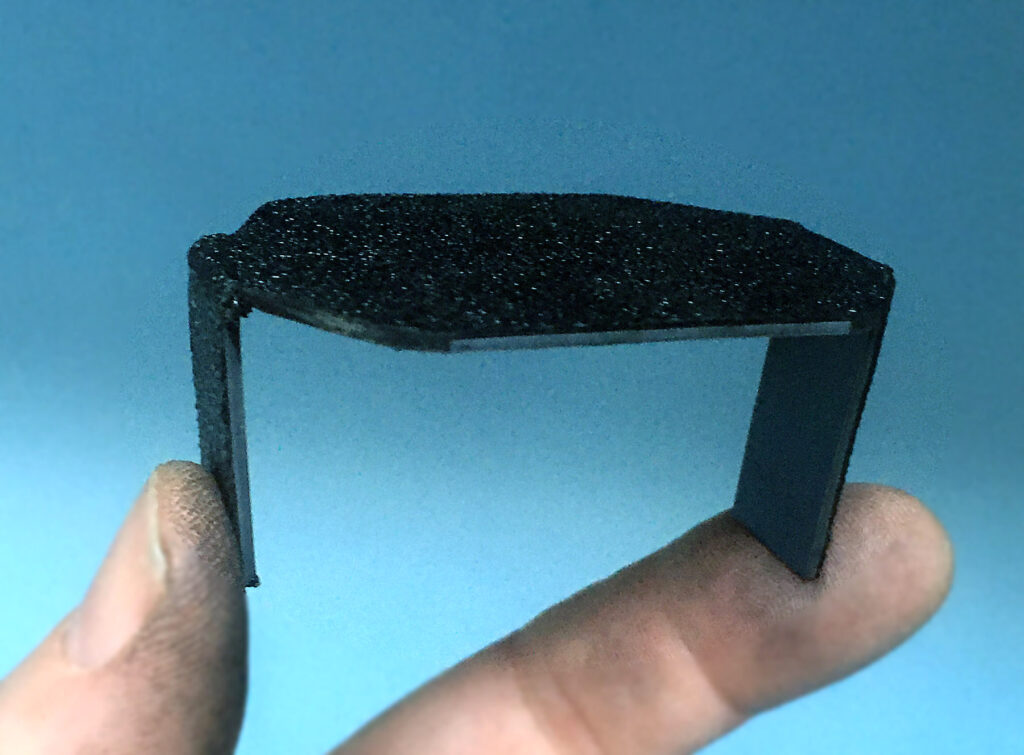
 F). Using a soldering iron as a heat source, I softened and bent the sides of the strip to make two ears. Two small magnets, super-glued to the ears, hold the strip in place inside the bottom of the salsa can (Figure G
 ).
).