While you can always buy at a lamp at the store to save you time and money, this guide will provide you with the tools to build a one of a kind.
Projects from Make: Magazine
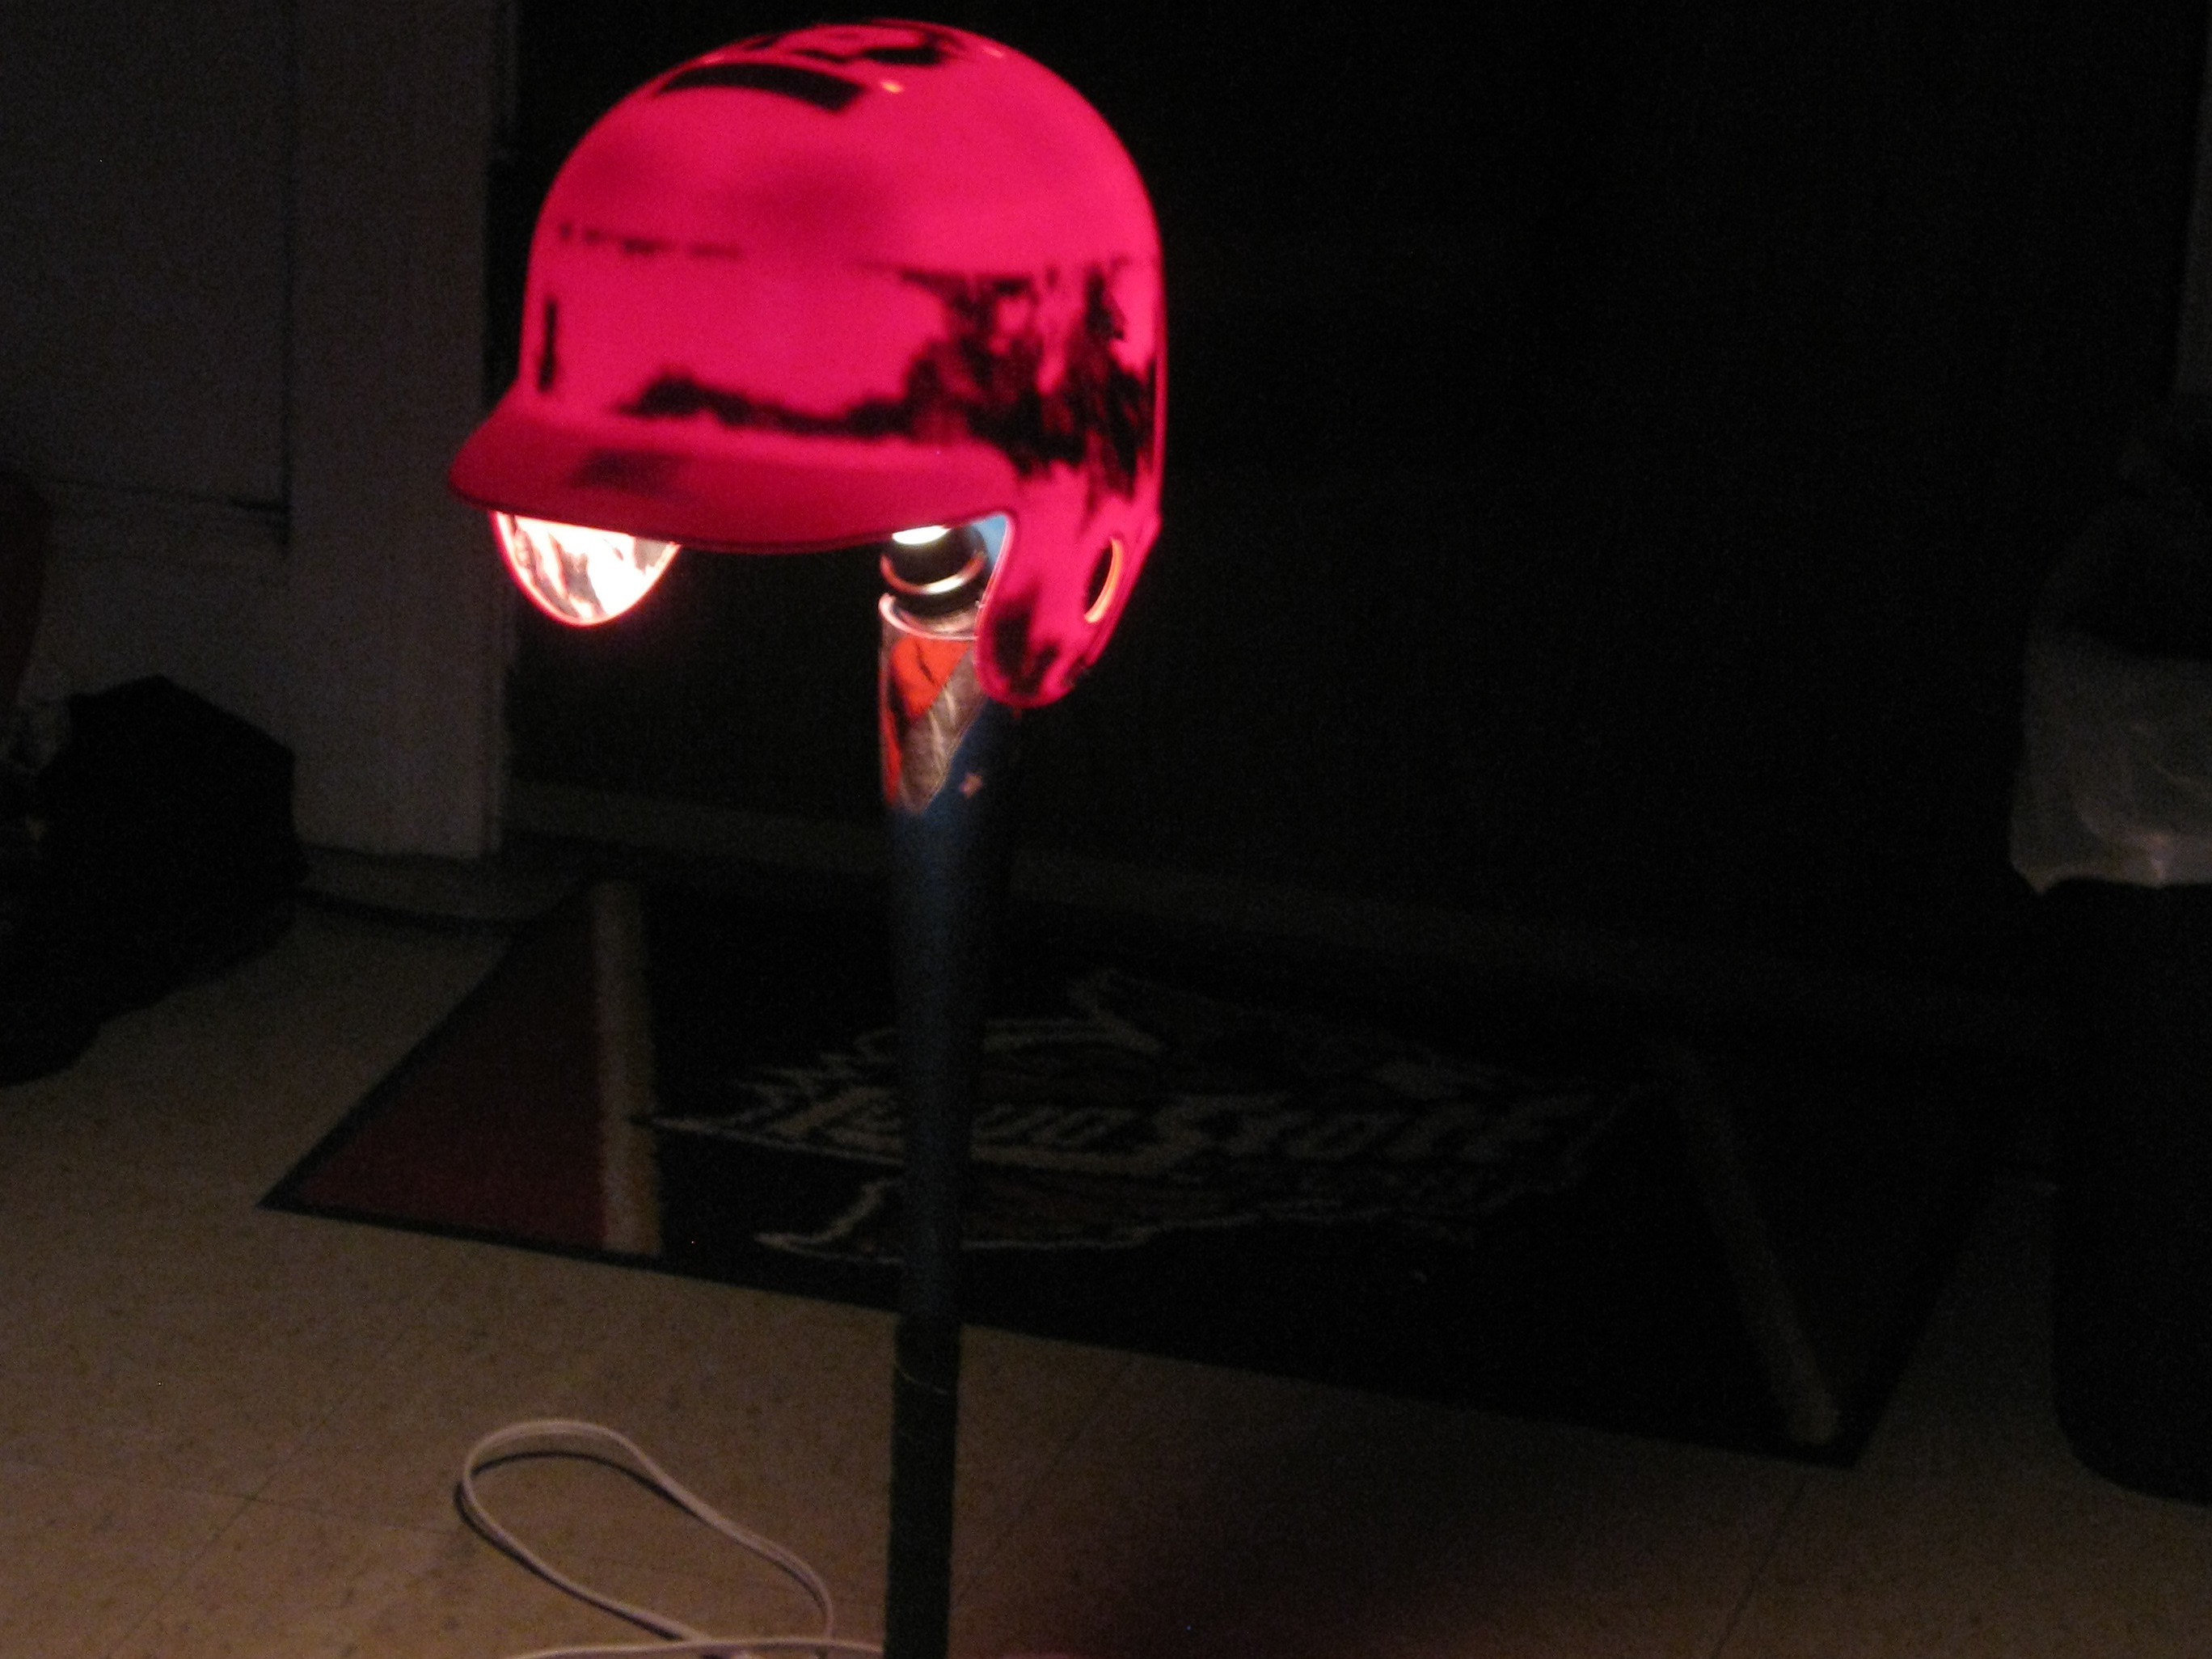
Baseball Lamp
Ever have an old bat and helmet laying around. Well now it is time to use that old kid's stuff for a nice house lamp. This can be used in a man cave, child's room, or just anywhere else in the house.