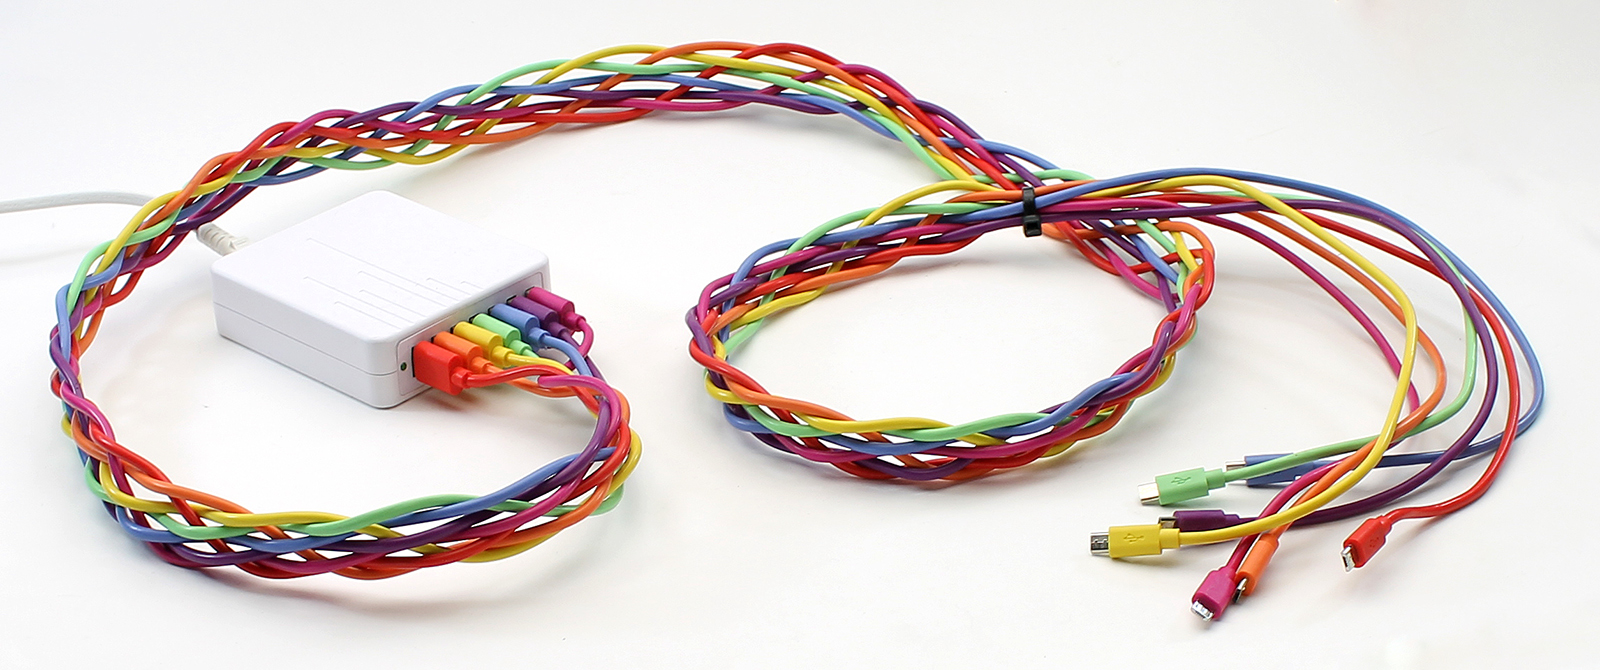
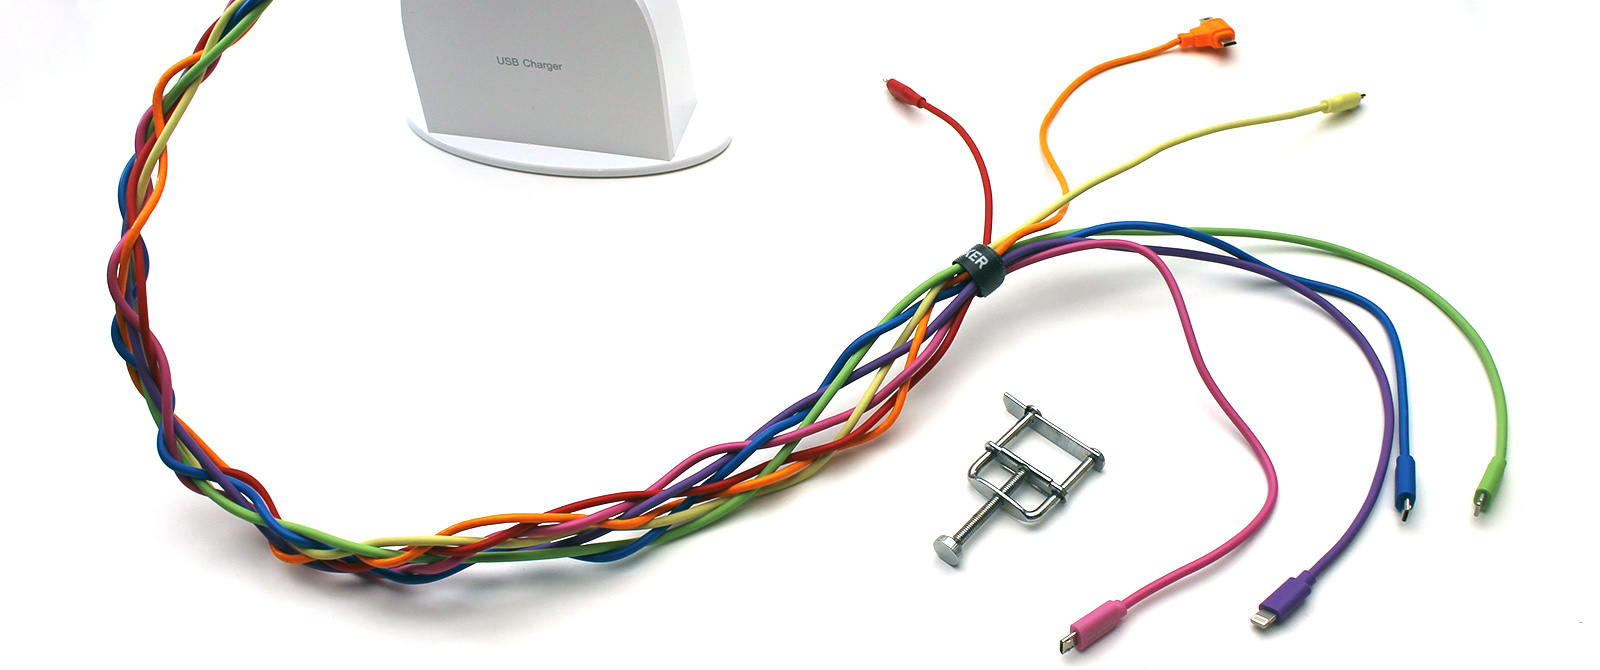
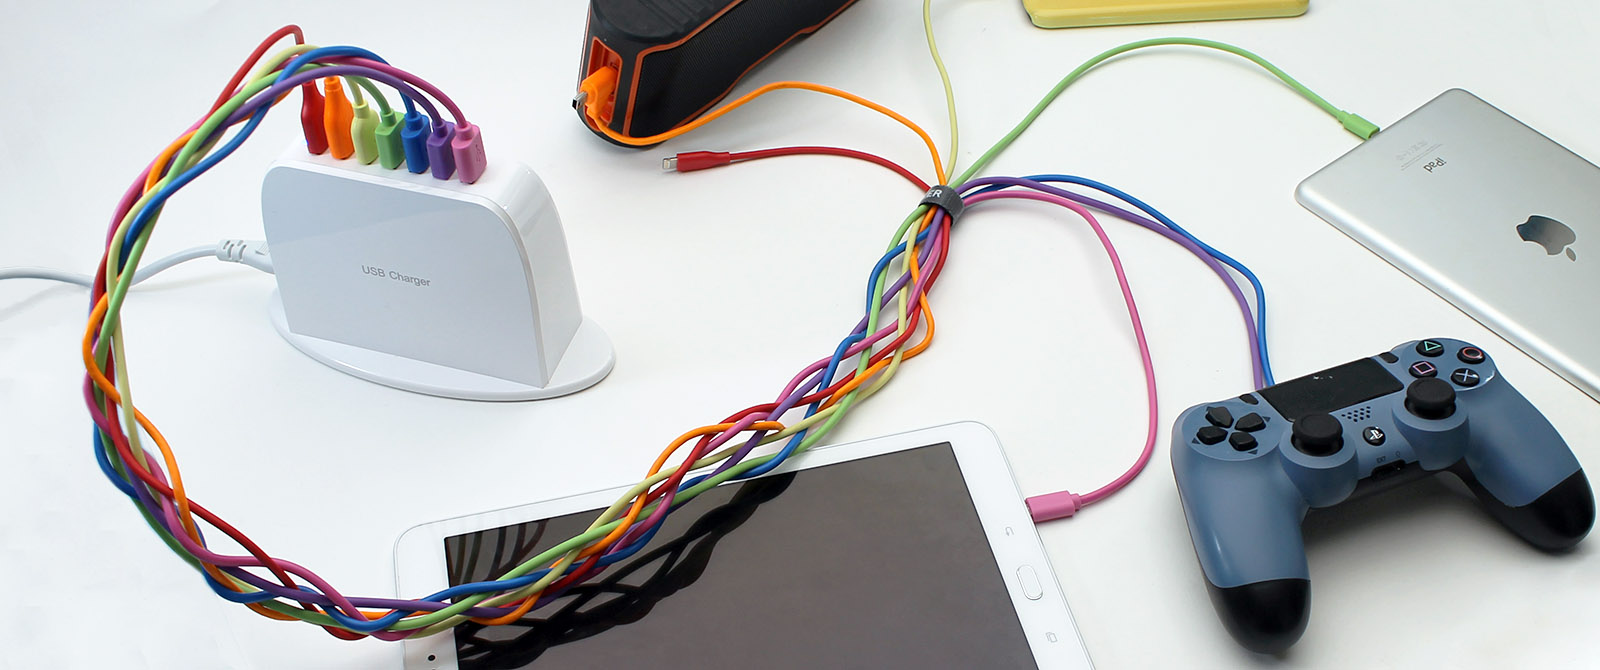
TL;DR: Rainbows are awesome, instructions follow.

More abstractly: Our obsession with wirelessness leads us to treat cabling as a regrettable necessity, from a functional perspective, and as an eyesore to be concealed as cleverly as practical, from an aesthetic one. But the spirit of functionalism, IMHO, is that things should be proudly what they are, and though ubiquitous wireless data transfer has become a reality, power is another matter. When it comes to charging our electronics, universal wirelessness seems much farther off, which means we’re all probably going to be living with our power cables for awhile yet. So why shouldn’t they be beautiful?

The idea is that the cables themselves can become a decorative accent, rather than just an eyesore.

What will the next generation of Make: look like? We’re inviting you to shape the future by investing in Make:. By becoming an investor, you help decide what’s next. The future of Make: is in your hands. Learn More.

Project Steps

Set up

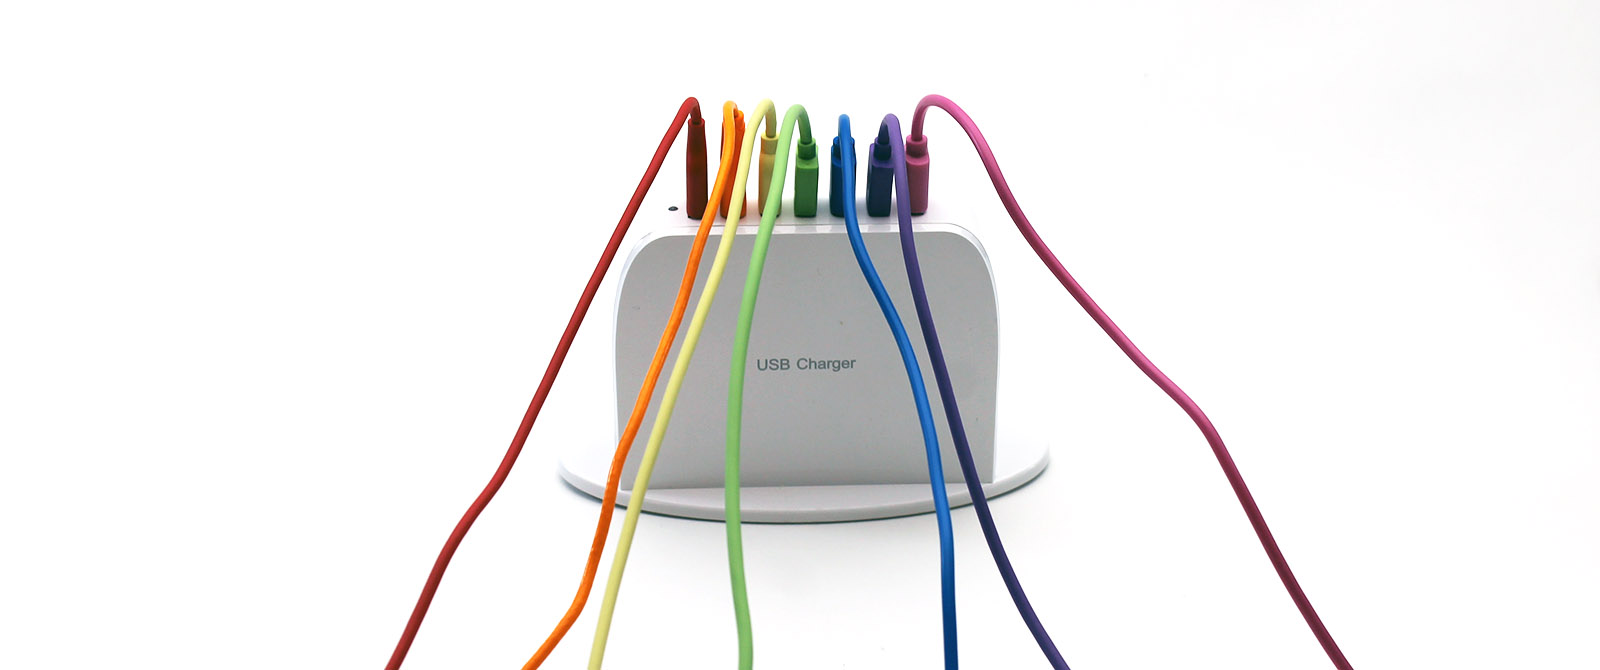
Plug your cables into the charger in whatever order is most aesthetically pleasing to you.

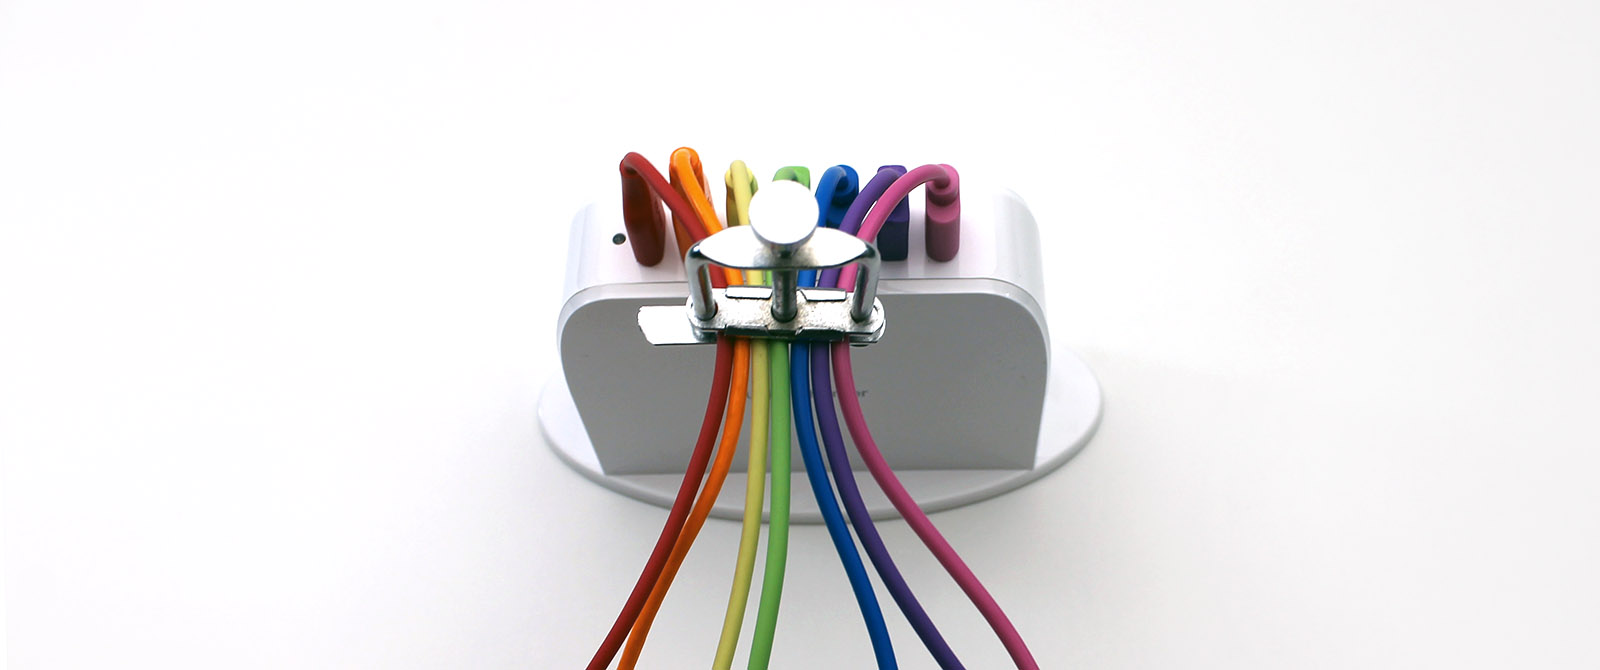
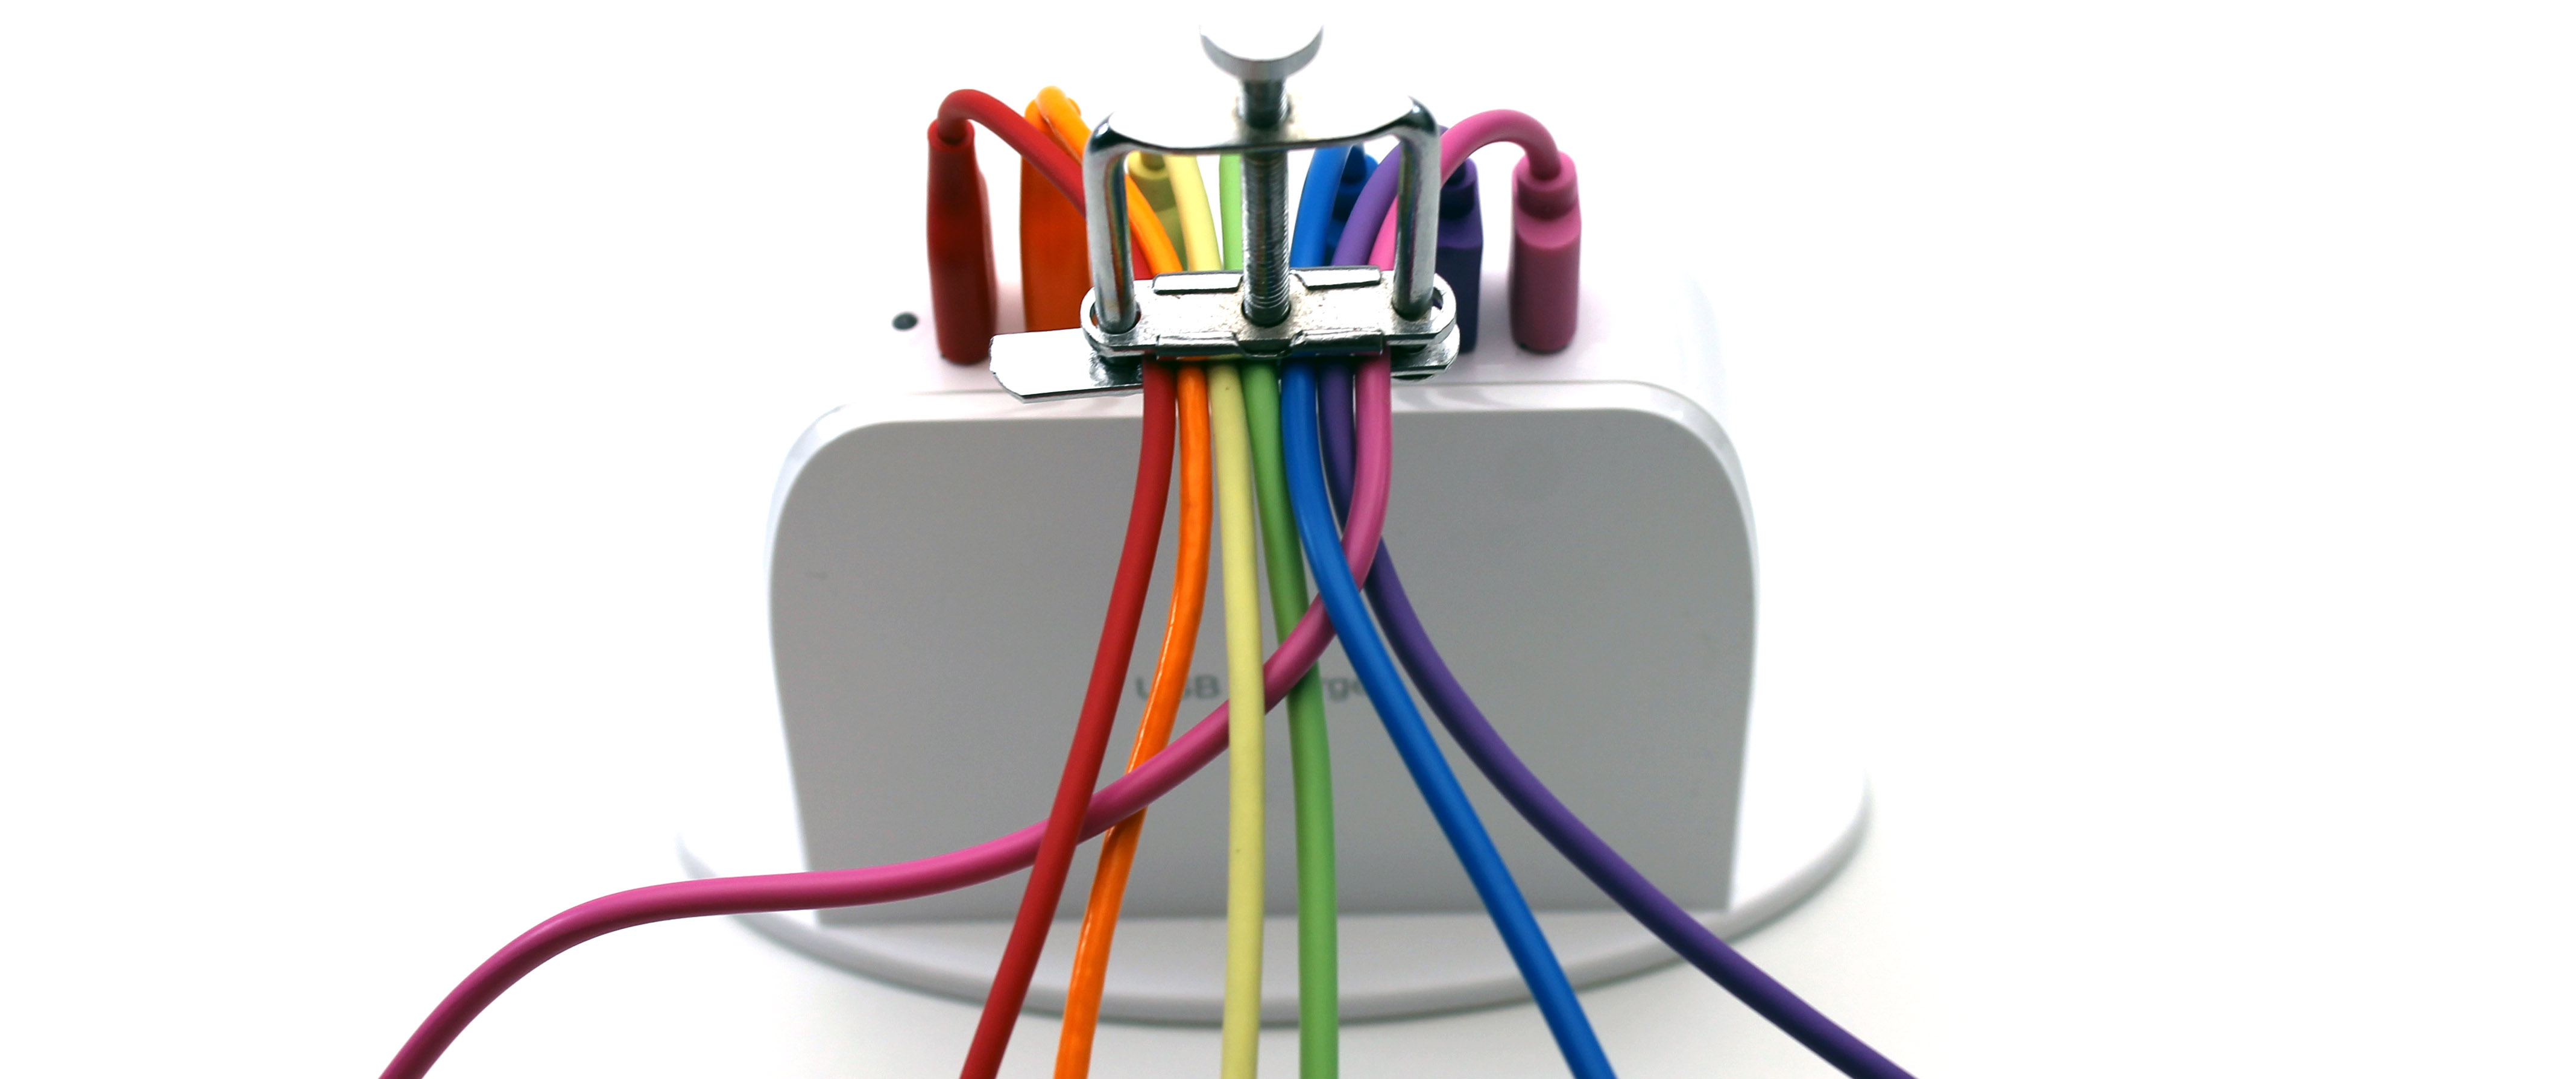
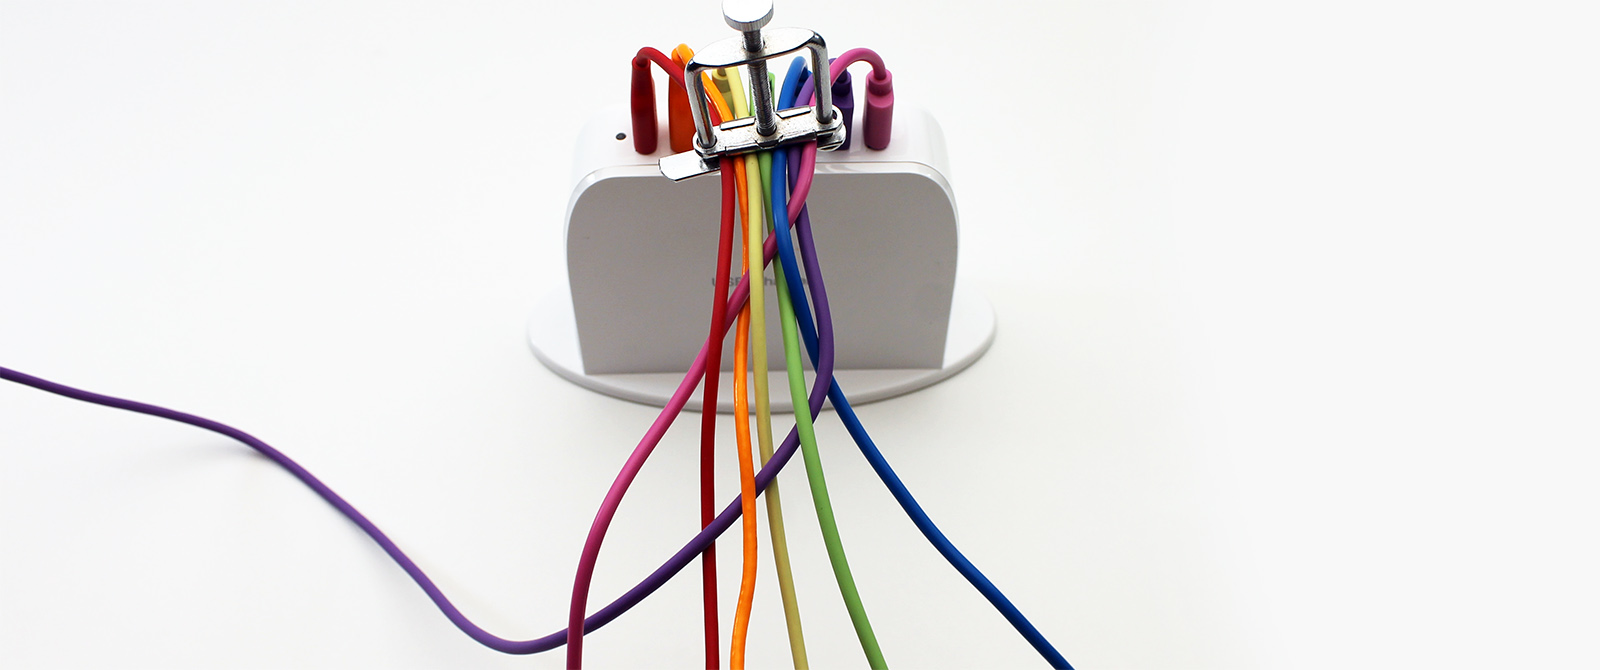
I used a Hoffman tubing clamp to secure the seven strands tightly together, in order, which seemed to help keep things from getting too squirrelly during the first few rows, but it’s not really necessary. The 6′ braid pictured at the top of this page was made without the use of a clamp.

Braid the strands

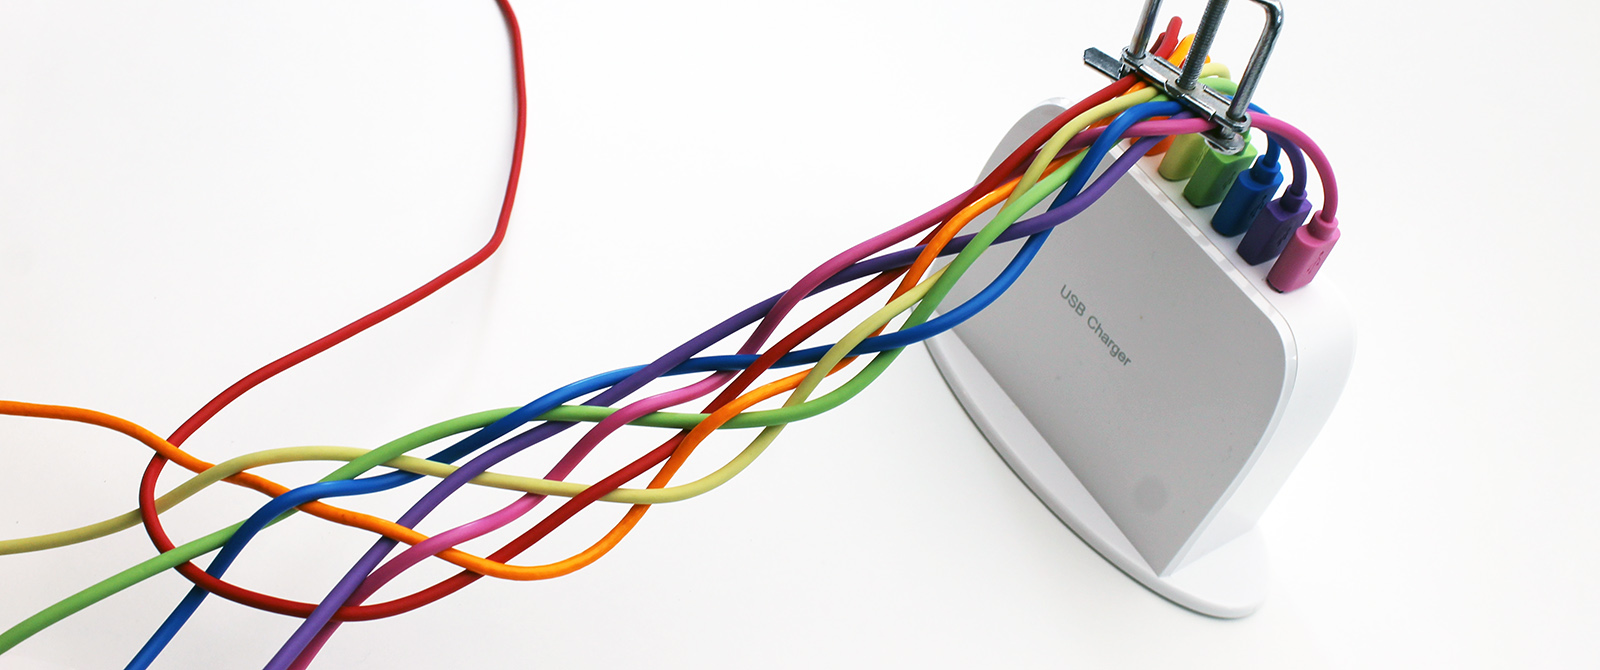
The rule for this seven-strand flat blade is very simple: weave the rightmost strand (in this case, violet) alternately through the other six strands, proceeding from right to left in the following order: over, under, over, under, over, under.

The strand you just braided is now the leftmost strand. Repeat the pattern by weaving the new rightmost strand (in this case, indigo) alternately through the other six strands—over, under, over, under, over, under—just as before.

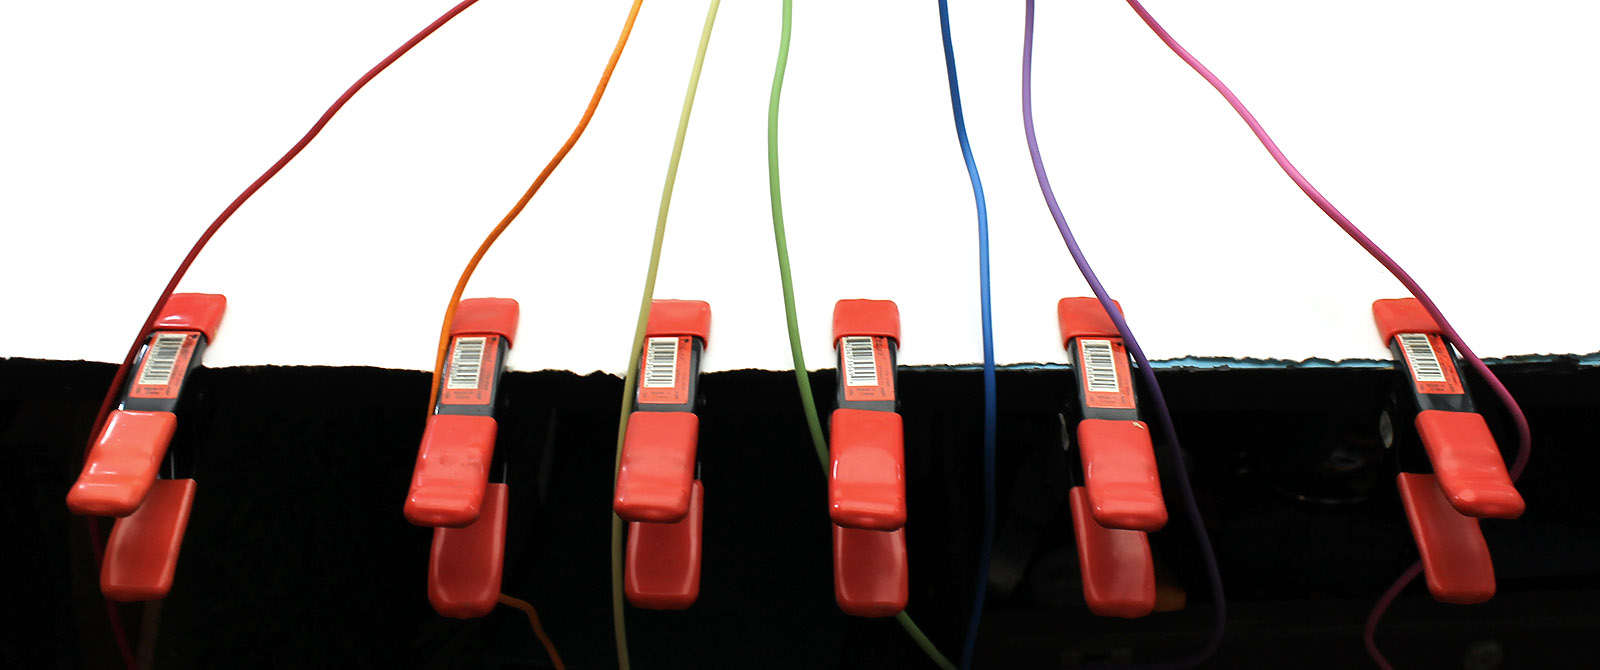
A set of spring clamps along the edge of your workbench can be helpful for keeping the strands organized as you braid.

Finish up

Repeat the over-under-over-under-over-under pattern until you have 10 –
12″ of free cable left over.

Secure the braid with a Velcro strap or zip tie, and remove the starting clamp (if you used one).

Plug in the charger, turn it on, and you’re ready to go!