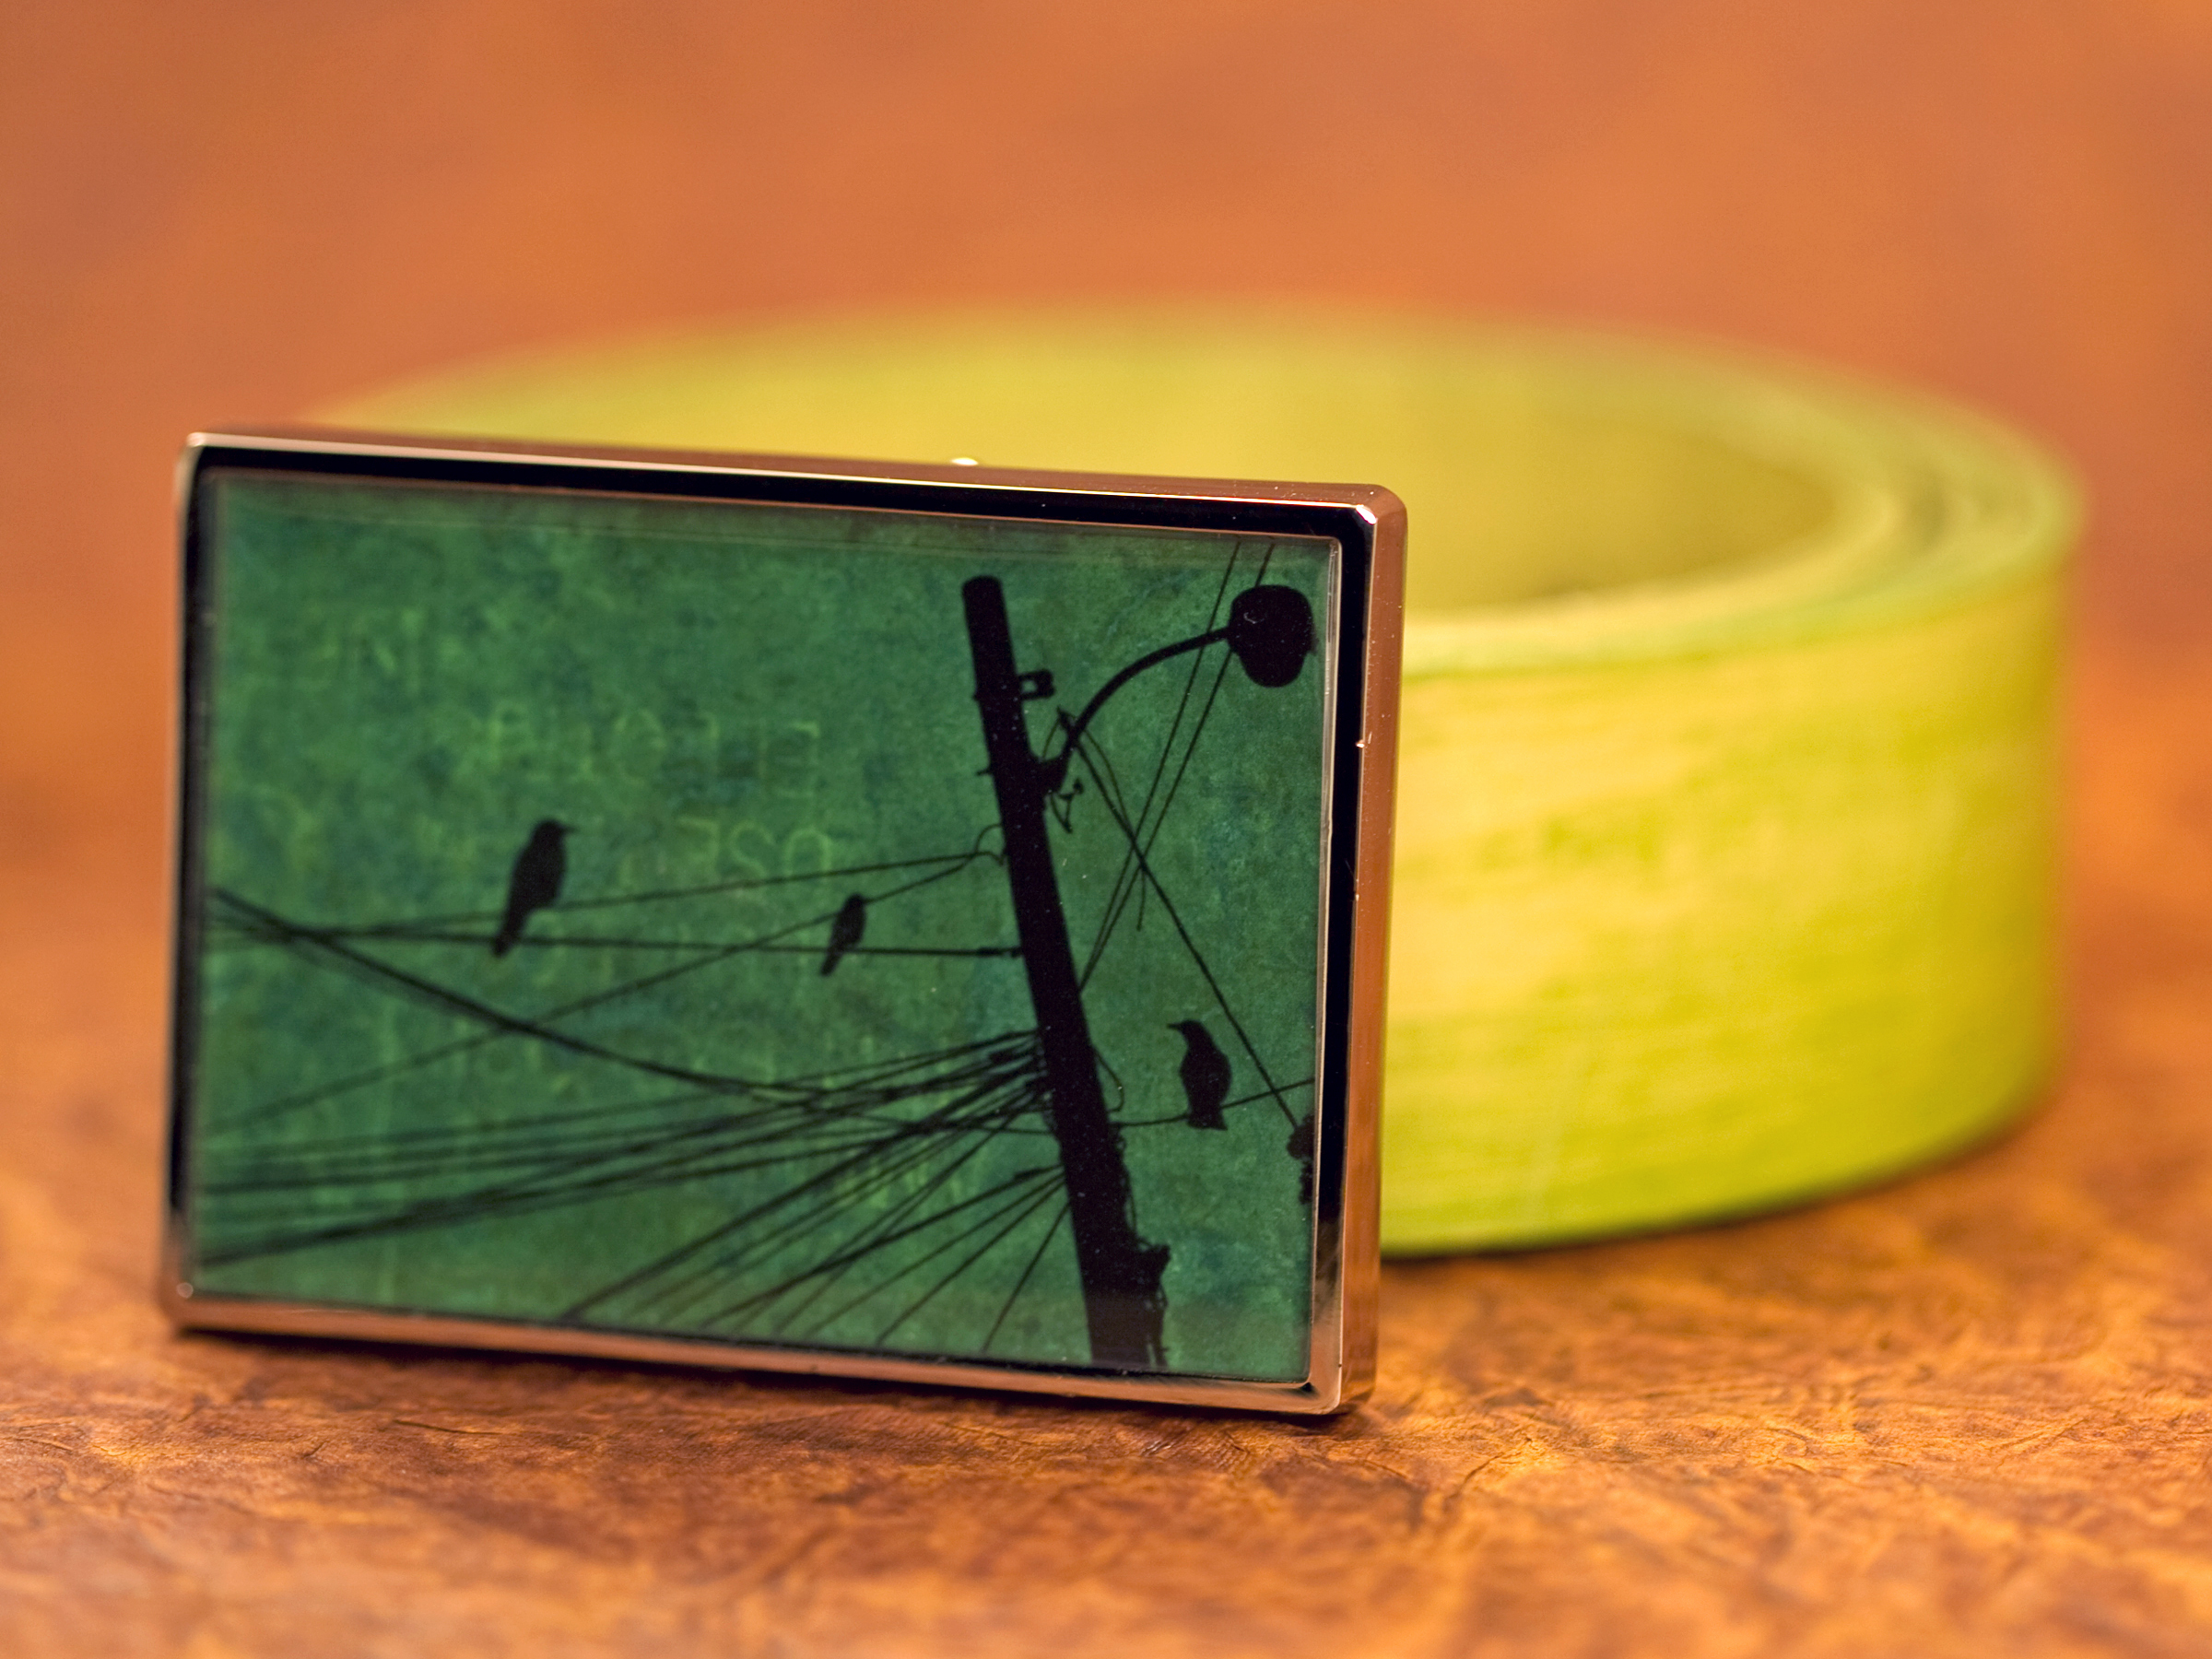
Personally, I prefer art that has a function other than hanging on a wall. I look for various ways to incorporate my photographs and collages into everyday items — items that act as a vehicle to transport images to the outside world. I’ve created mobile exhibits with pendants, rings, purses, business card cases, and my favorite accessory, belt buckles, all with the help of resin, a very simple and versatile medium.

Most resins consist of two parts — the resin and a hardener — that when mixed together cause a chemical reaction that cures the resin to a durable finish. Some types of resin require only a few drops of hardener, while others need equal parts hardener and resin.

Resin is really easy to mix and use, and most projects take only a short time to complete (not including the curing time). Making these resin belt buckles has become an addiction of mine, which I will now share with you.

Project Steps

Find and prep the image.

Find or create an image that you like — anything goes, but make sure it’s a horizontal image so that it looks good in the belt buckle. You can find images from magazines, old children’s books, leftover wallpaper, and photographs (I wouldn’t use the originals), or create something new with paint, ink, or your favorite image software.

The buckle blank used in this project has an interior space that measures 2 5/8″×1 7/8″, or 2.625″×1.875″. If the image is digital, resize it to those dimensions. Make sure its resolution is at least 300dpi, and print it on good-quality glossy photo paper with your inkjet printer.

In a well-ventilated area, spray the top of your image with a clear protective spray and let it dry. Ideally, you should spray and dry your image a few times before moving on.

Cut out your image with a straightedge and a craft knife, or scissors if you have a steady hand. Check its dimensions against the buckle blank; you may need to trim it to make it a precise fit. It’s a good idea to print extras just in case there’s a trimming mishap. Once it fits nicely into the blank, remove the image and set it aside.

Adhere the image.

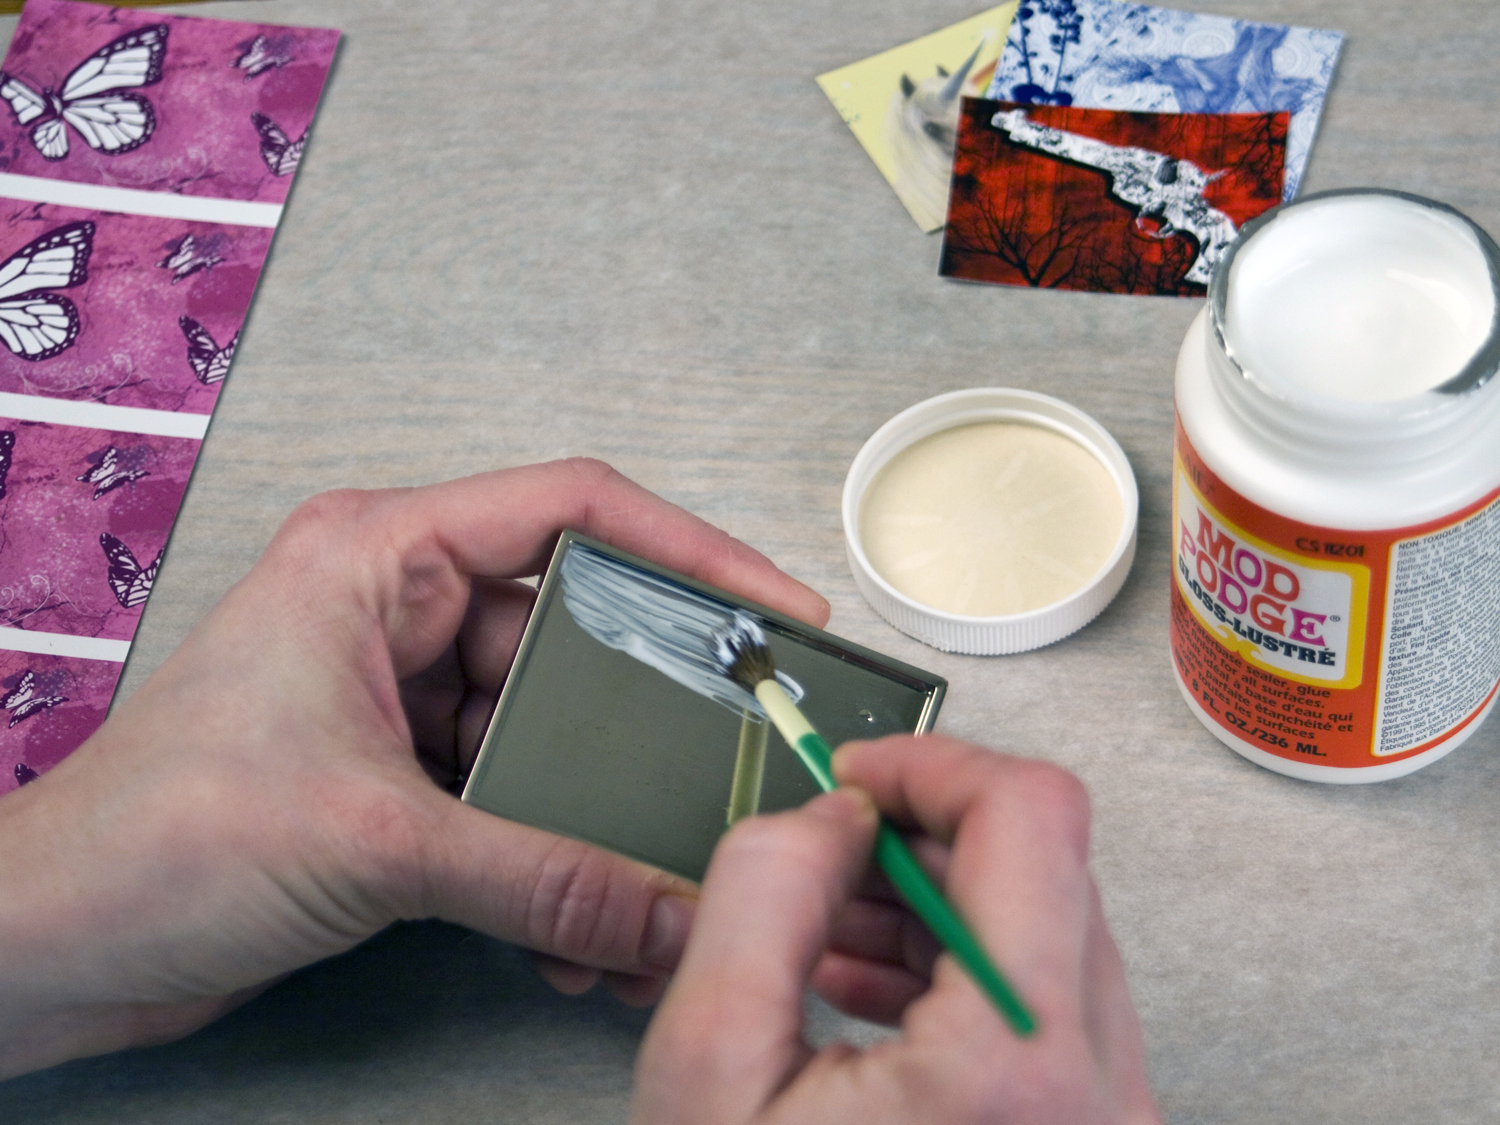
With your brush, coat the interior of the buckle blank with Mod Podge, making sure there is even coverage.

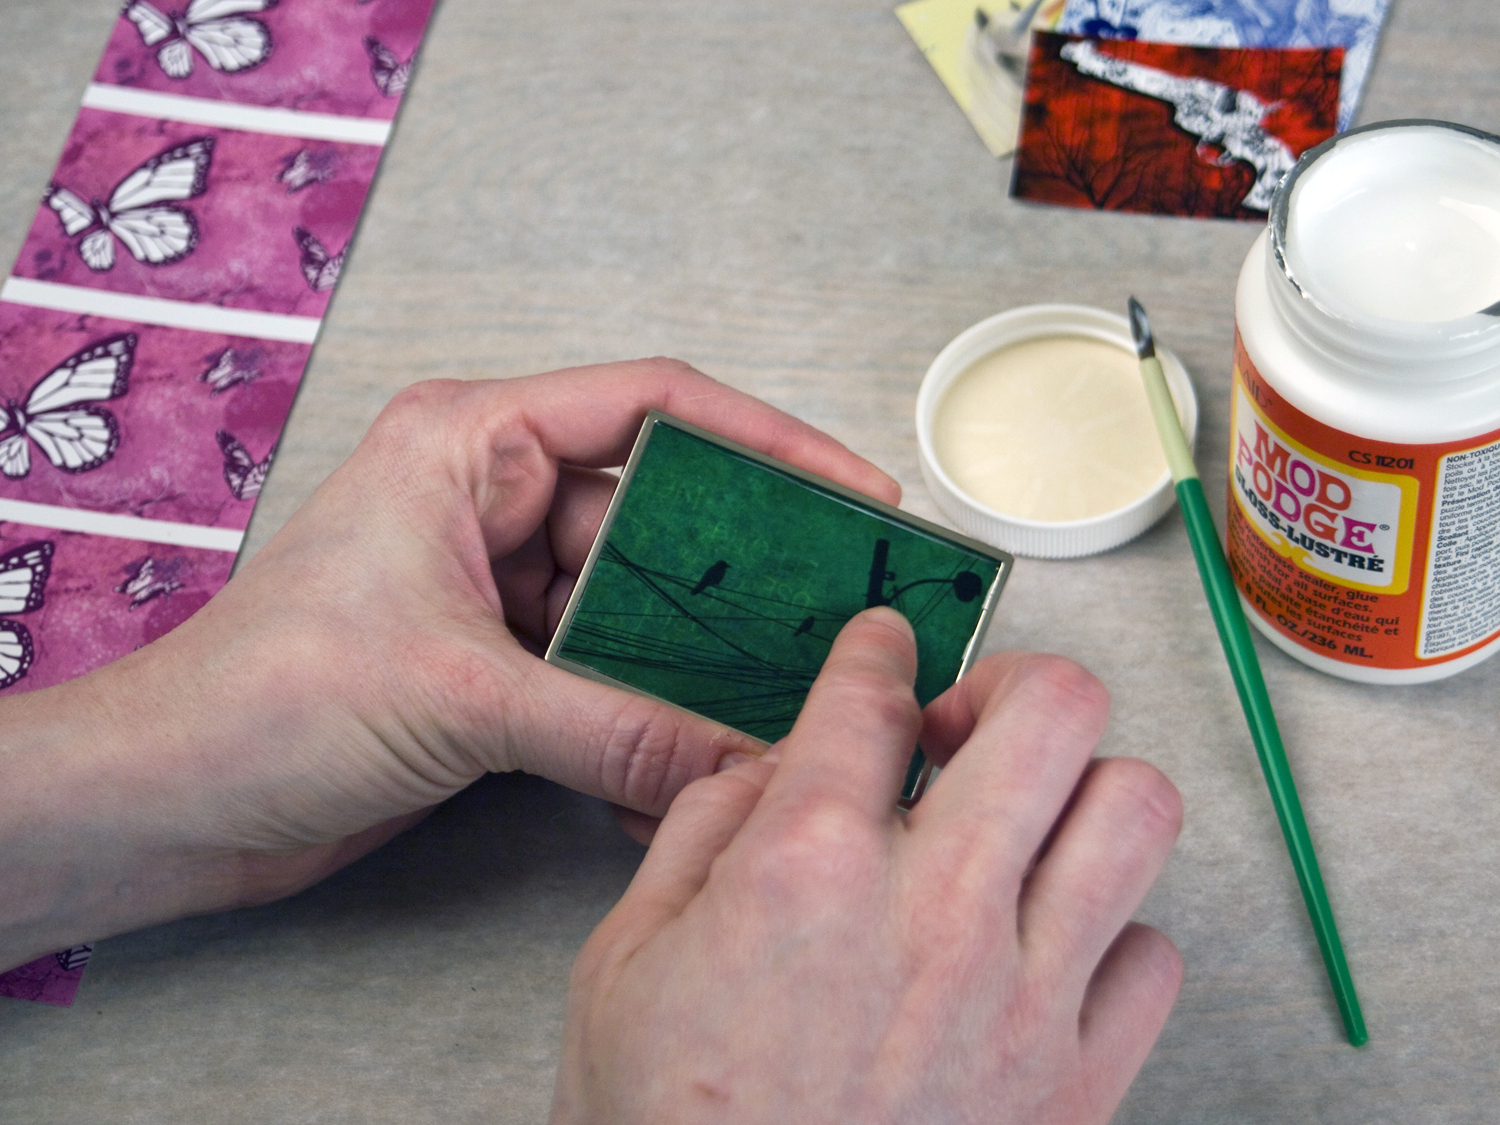
Place the image in the buckle blank and use your finger to gently press it down and smooth it out. Move from the center toward the edges of the image to try and remove as much air from under the paper as possible

Brush a thin layer of Mod Podge over the image, paying special attention to the edges. The purpose of the Mod Podge is to seal the paper into the buckle blank completely, trapping any stray air bubbles so they don’t come back to haunt you later. Without a vacuum chamber, this is the most effective way I’ve found to control random air bubbles.

The brush marks will disappear once you pour the resin, but try to avoid getting the Mod Podge on the metal — it will look milky once the resin cures. You can scrape any excess Mod Podge off the buckle blank with a fingernail after it dries. Just be careful to avoid scratching the image or peeling the edges up.

Let the image dry overnight, or place the buckle in an oven at 225°F for 15–30 minutes, before moving on to the next step.

Mix the resin.

Before proceeding, read all instructions included with your resin. Some brands recommend different mix times, and most work best at room temperature. I based the steps in this section on my experience with Castin’Craft’s EasyCast resin.

Resin produces some nasty-smelling fumes and can irritate the skin. Work in a well-ventilated area and wear protective gear such as a mask, gloves, and eye protection. Cover your work surface with parchment paper to protect it.

Like many casting resins, EasyCast is only good for 6 months from the manufacture date. It won’t cure properly if it’s old, so when you buy new stock, mark the bottles with the date, and test it before doing an important project if you’re getting close to the 6-month mark.

The medicine cups I use have several measuring increments. I use drams because they’re simple and they work for my projects, but you can use whatever measurements you like so long as you measure equal parts resin and hardener. Some artists use a scale, so if that works better for you, get a small postal scale and measure the materials out in grams.

For one buckle blank, I measure 1 dram (1/8 fluid ounce) of hardener in one cup and 1 dram of resin in a second cup.

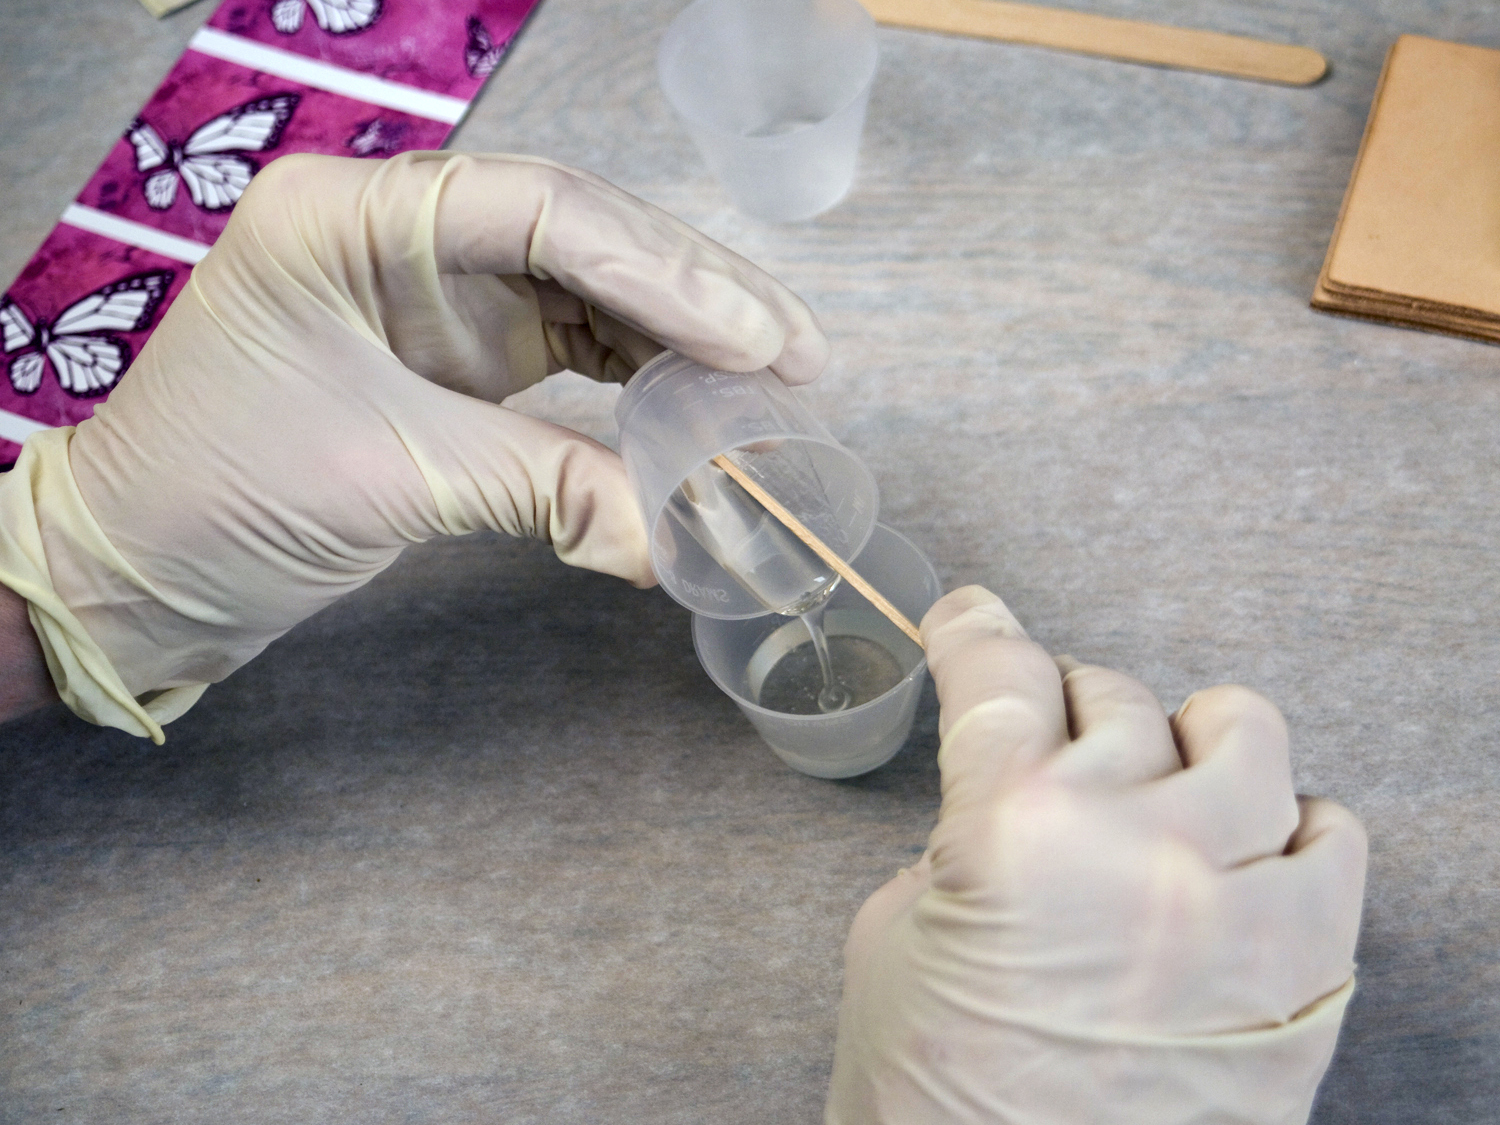
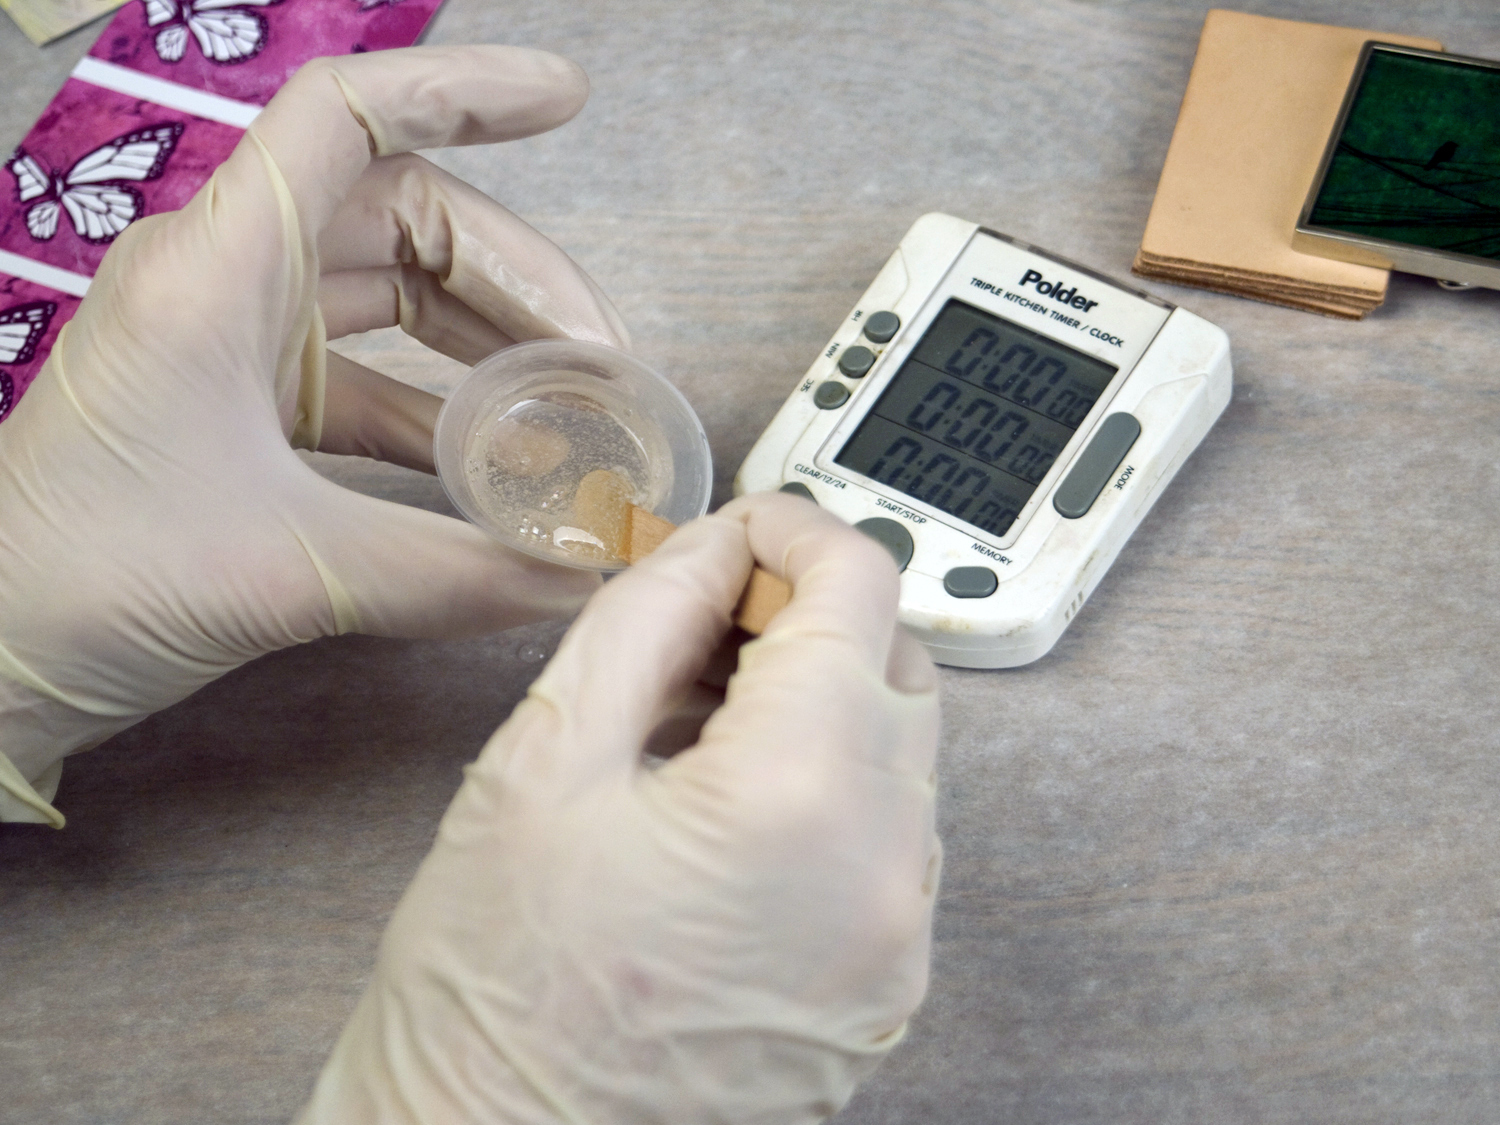
Pour the hardener into the resin. Scrape the sides with a craft stick to get as much of it as possible into the resin cup. Stir for 2 minutes. Be gentle, to avoid creating too many air bubbles. Scrape the sides and bottom to get a good mix. The resin will go from cloudy to clear during the mixing.

Pour the mixed resin into a clean medicine cup and use a clean stick to stir it for 1 minute more. Again, scrape the sides and bottom. If the resin isn’t mixed well it ends up with a sticky surface because it doesn’t cure properly.

Pour the resin.

Prop up one end of the buckle blank with your scrap material to level it, so you’ll get an even surface on your buckle after the resin cures.

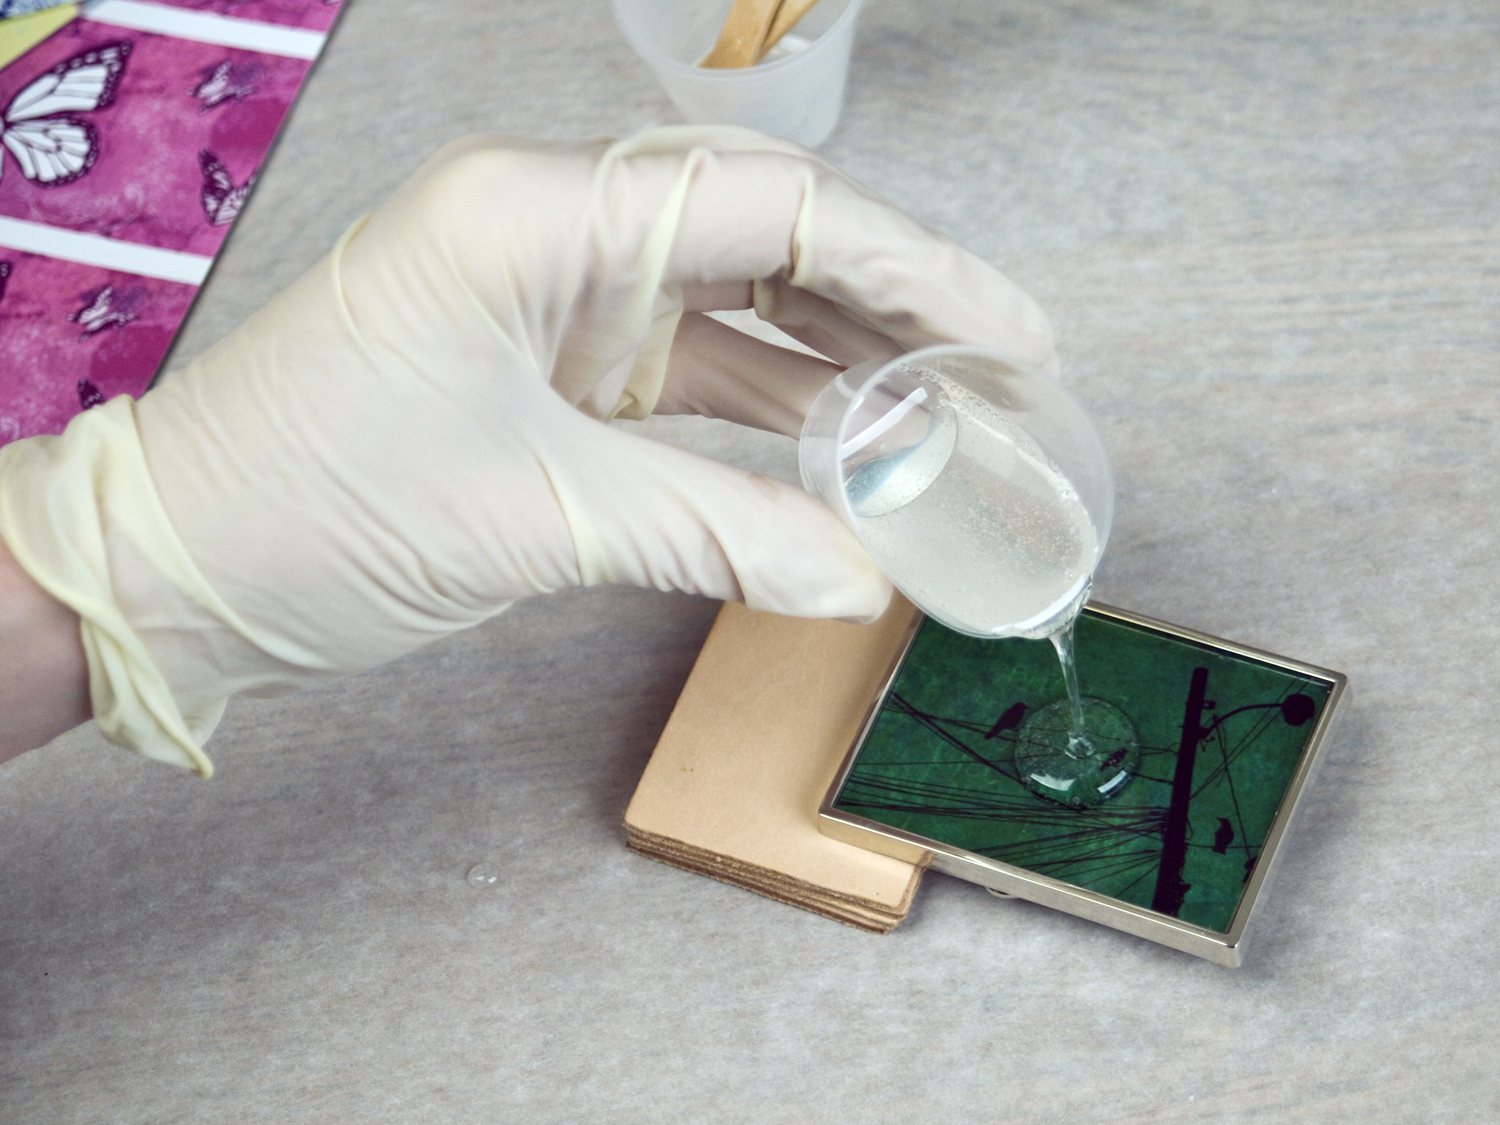
Pour the resin gently into the blank to avoid spilling it over the sides. Make sure the resin covers the entire image.

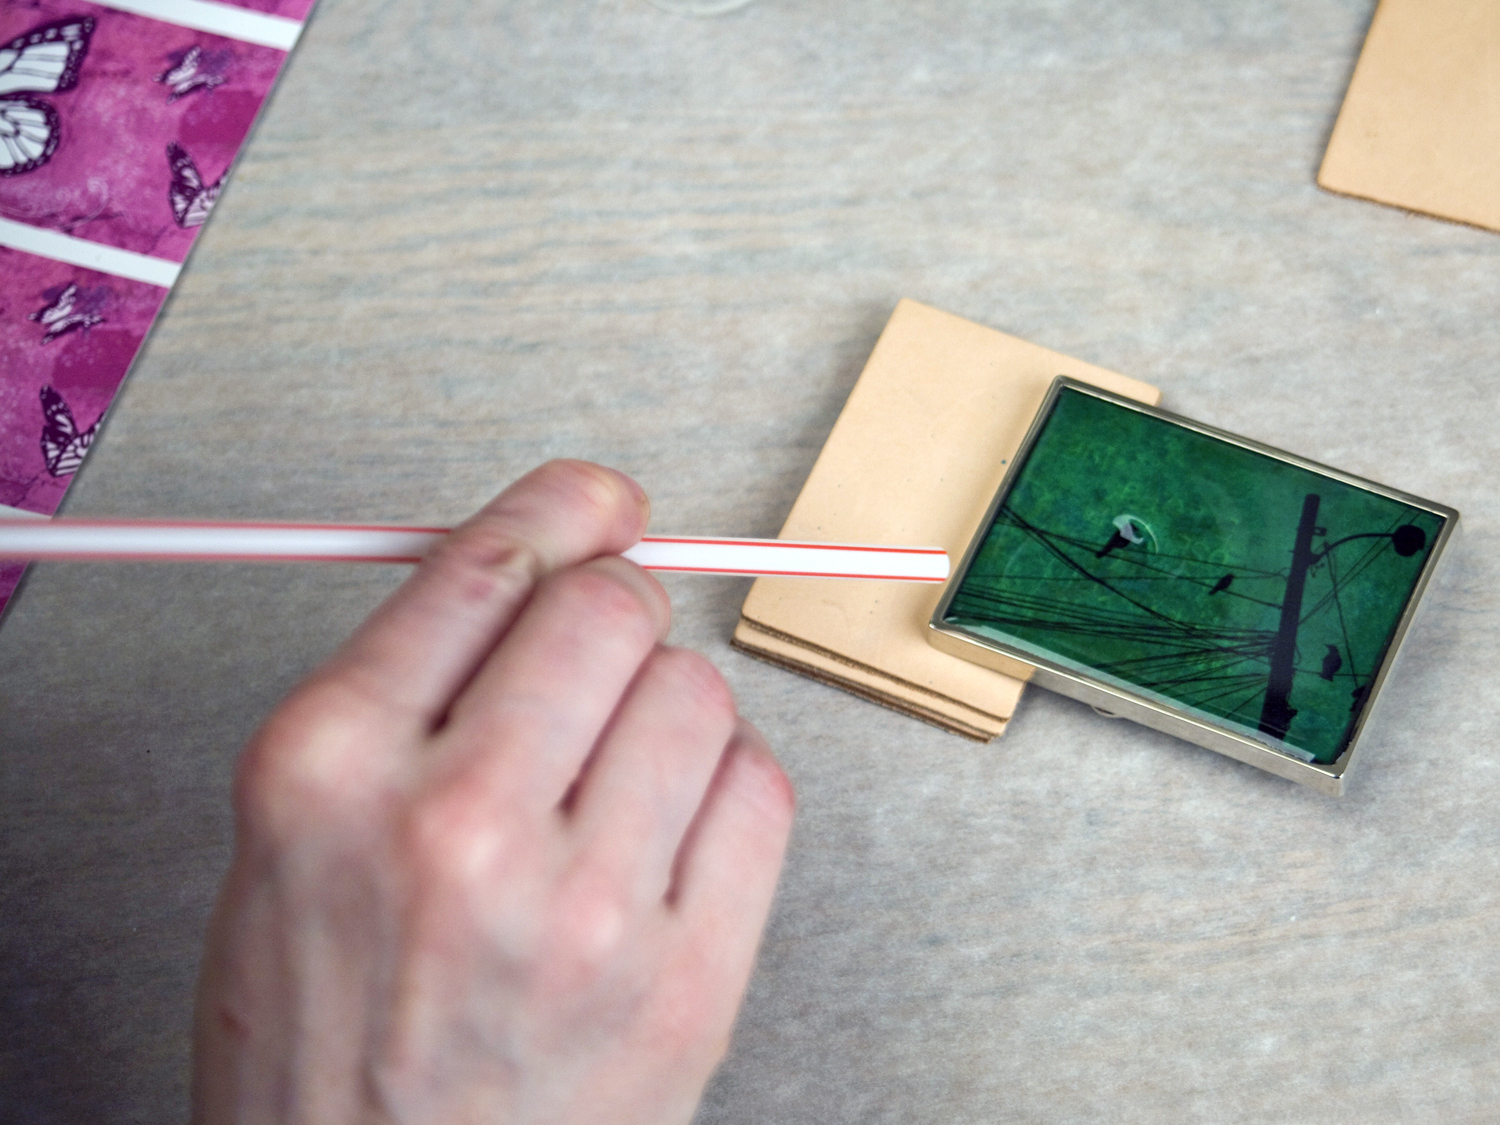
To release any bubbles, use a drinking straw to blow gently across the surface of the resin. Some people use a hair dryer, a heat gun, or a small torch. I find that the heat gun causes the resin to splash over the sides, and the torch can scorch the image or the resin, so I prefer the straw method.

Cover with a small bowl or other container to prevent dust or pet hair from marring the surface.

Let the resin cure.

Resin will harden after 24 hours, but most brands need 36 to 48 hours for a full cure. Follow the instructions included with your resin.

After it’s cured, you can remove any small drops of resin that may have fallen on the metal buckle blank with a sharp craft knife. Gently use the edge of the blade to get under the resin, and it will pop right off. Be careful not to scratch the buckle, and don’t let the excess resin you just removed fall onto the surface of the buckle. Sometimes the resin will stick to itself if it isn’t fully cured yet, and you’ll mar the surface of the buckle trying to remove it.

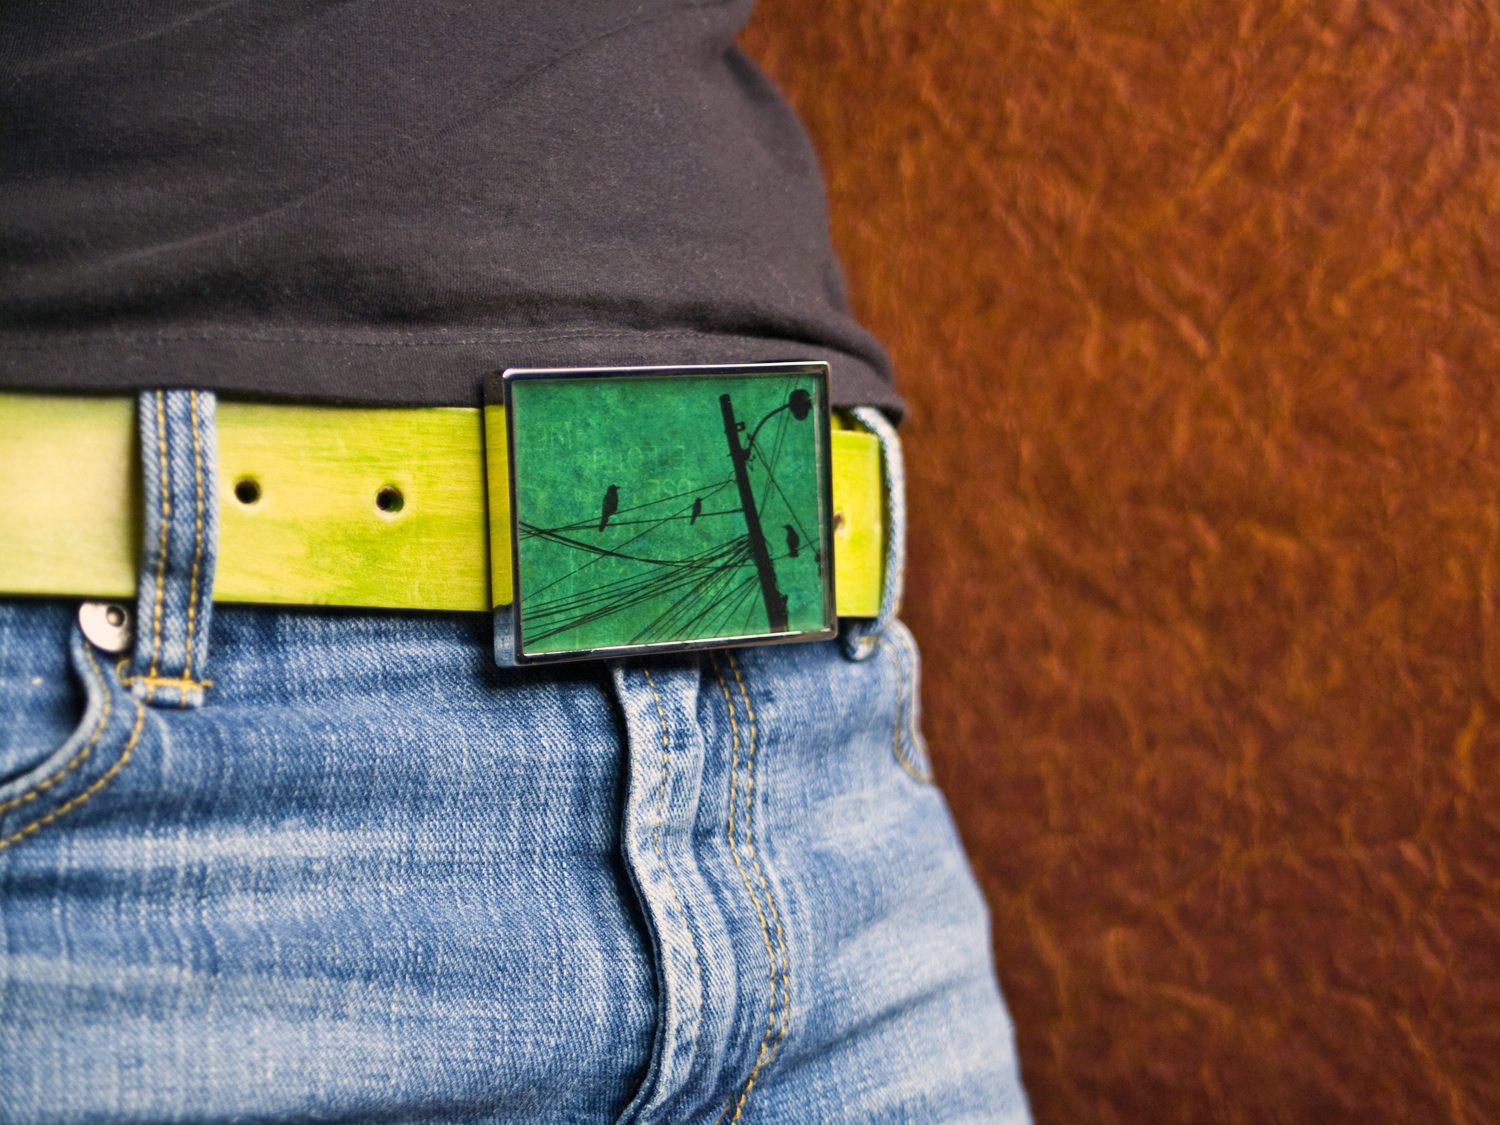
That’s it! Pair your brilliant new buckle with the belt of your choice.

Conclusion

This project first appeared in MAKE Volume 22, page 138.