steampunk sonic screwdriver

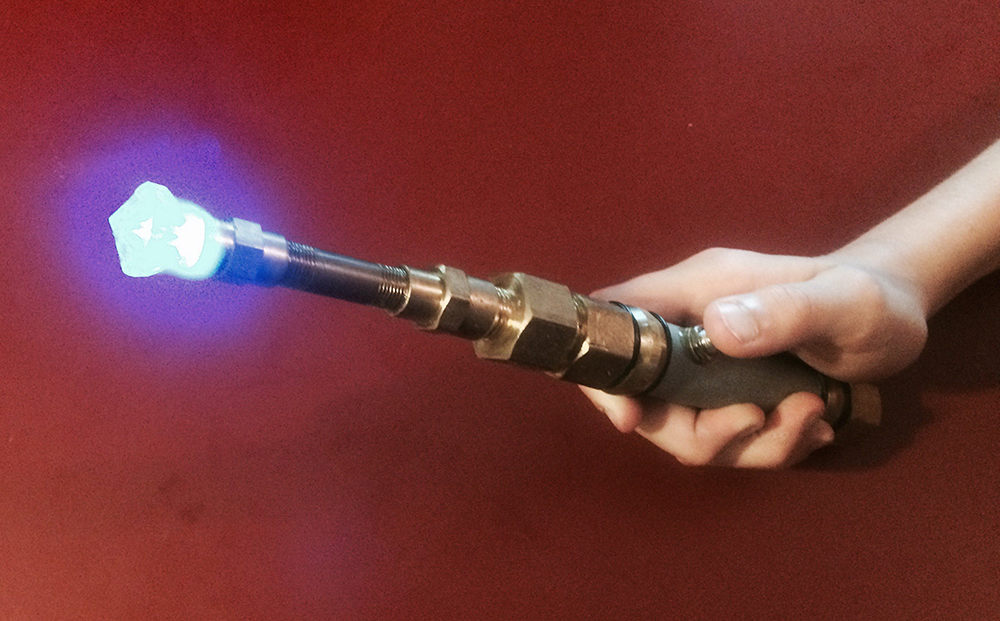
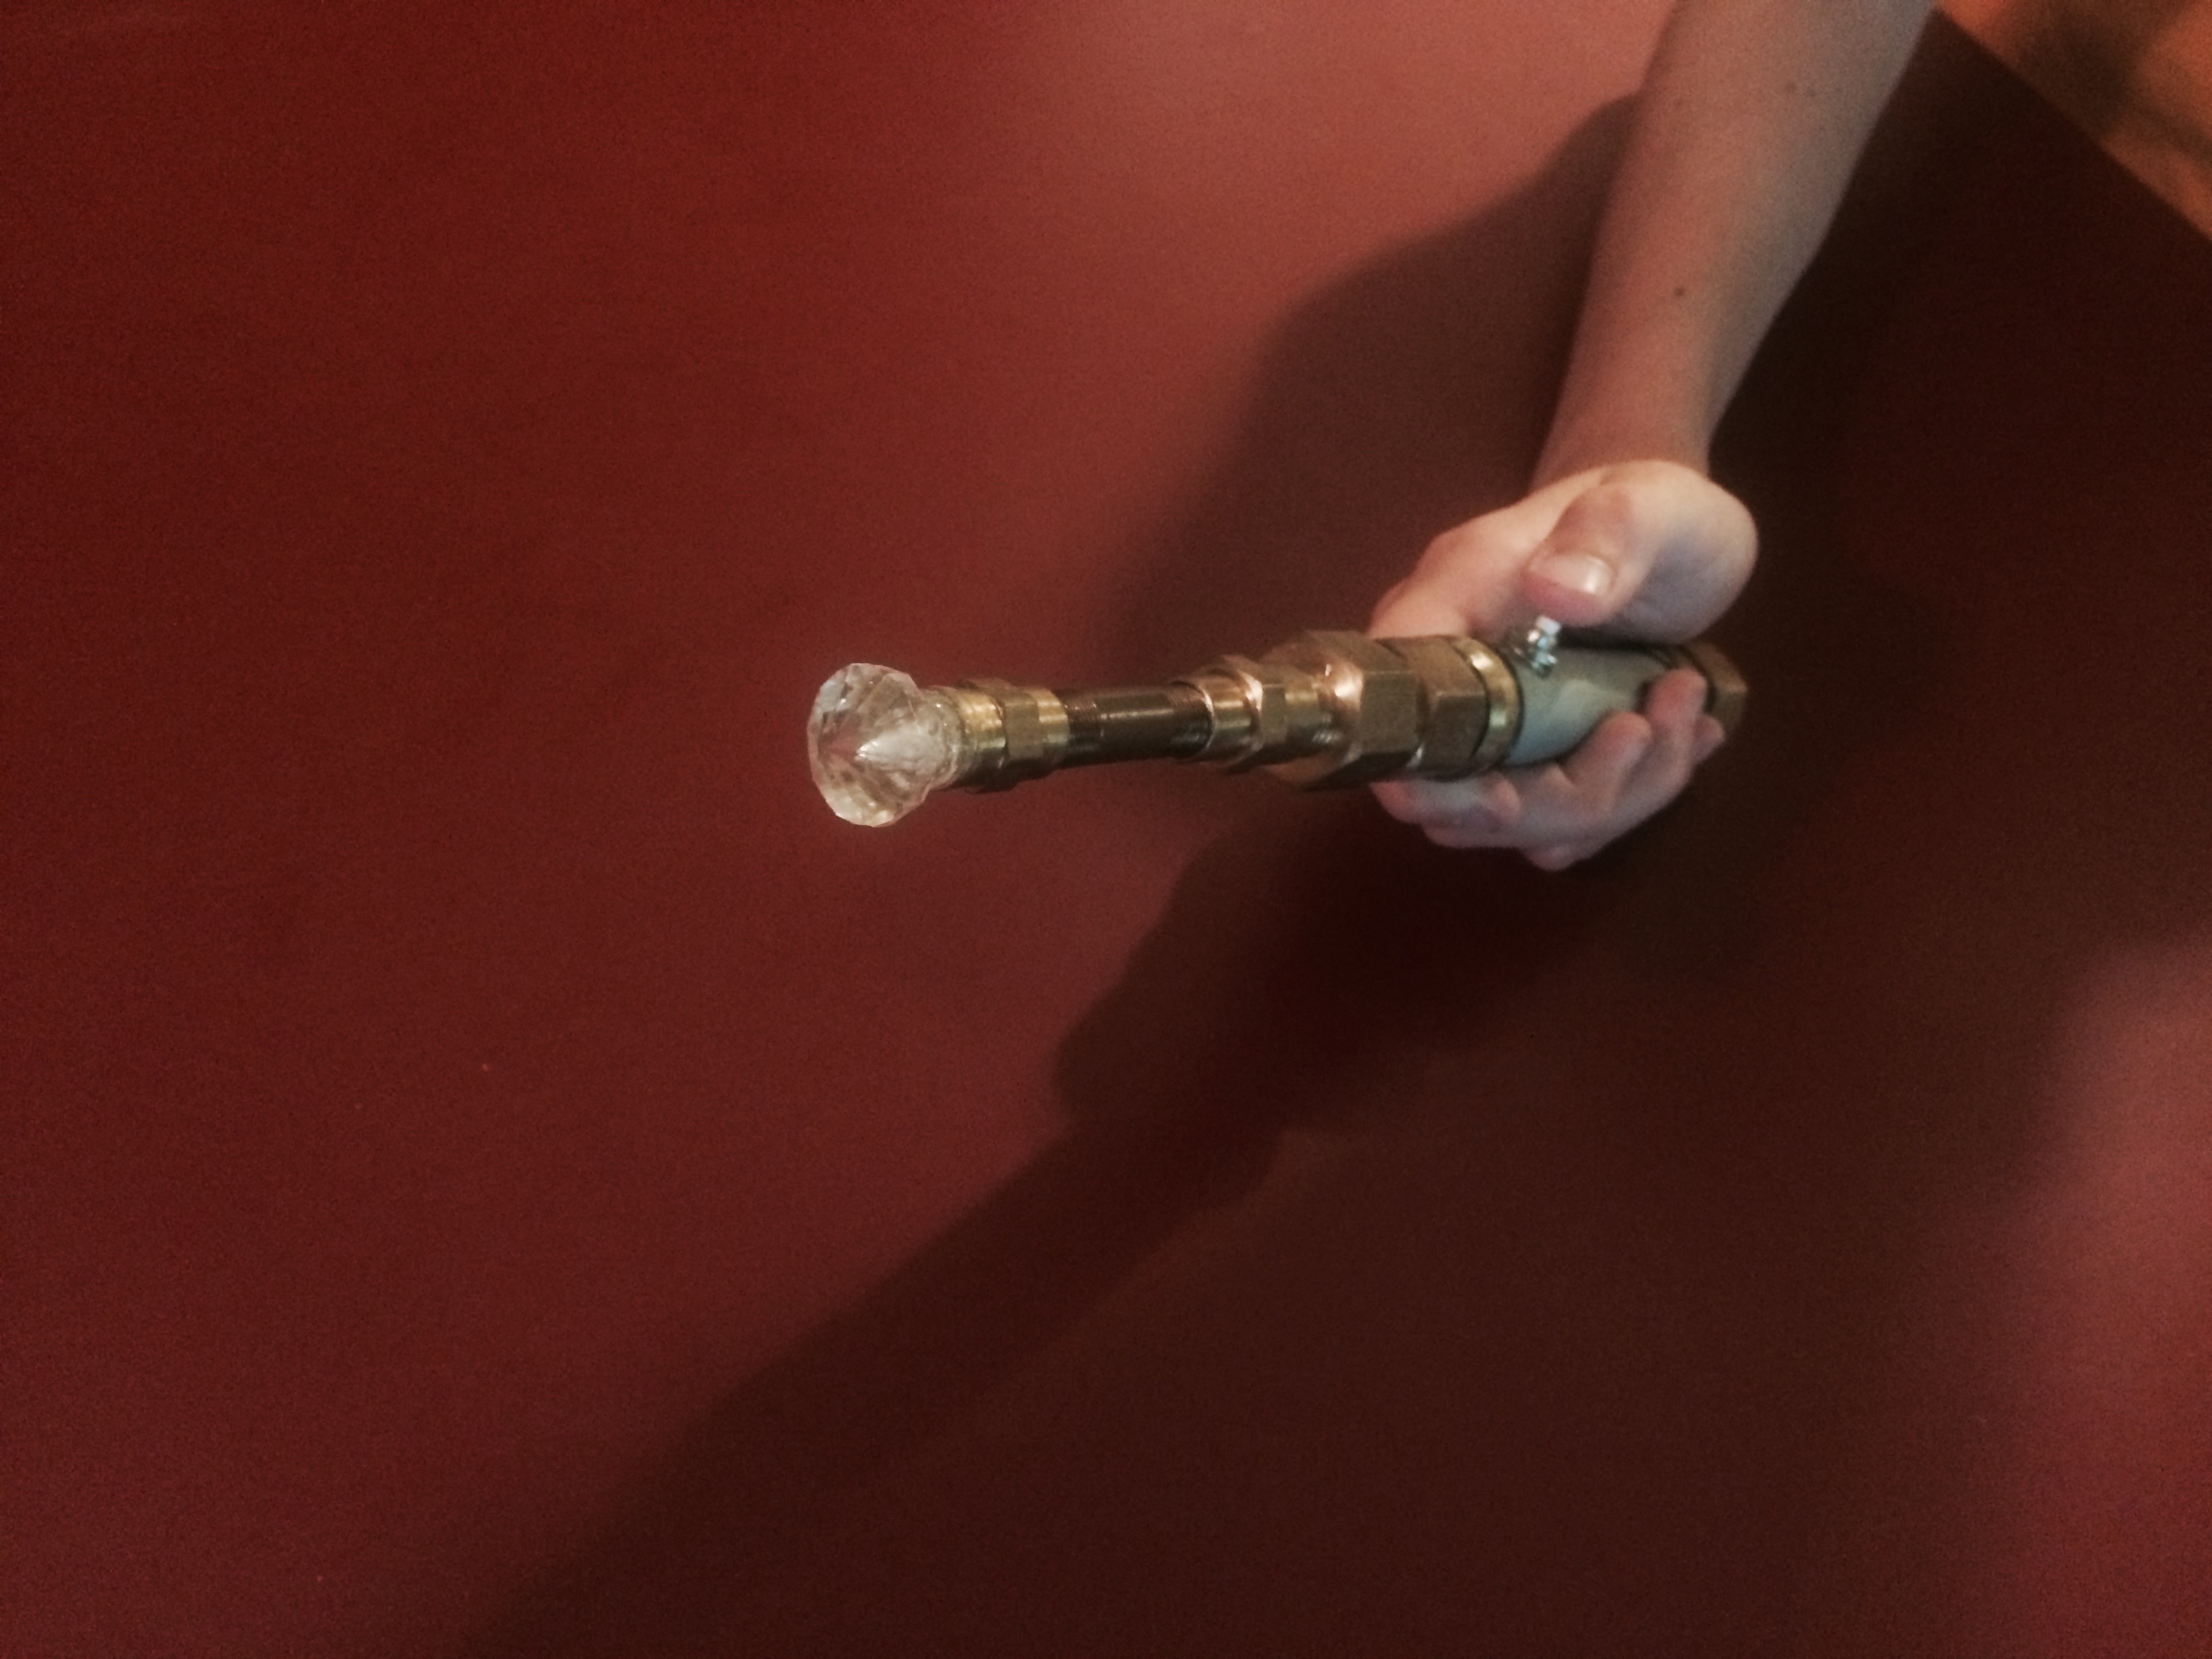
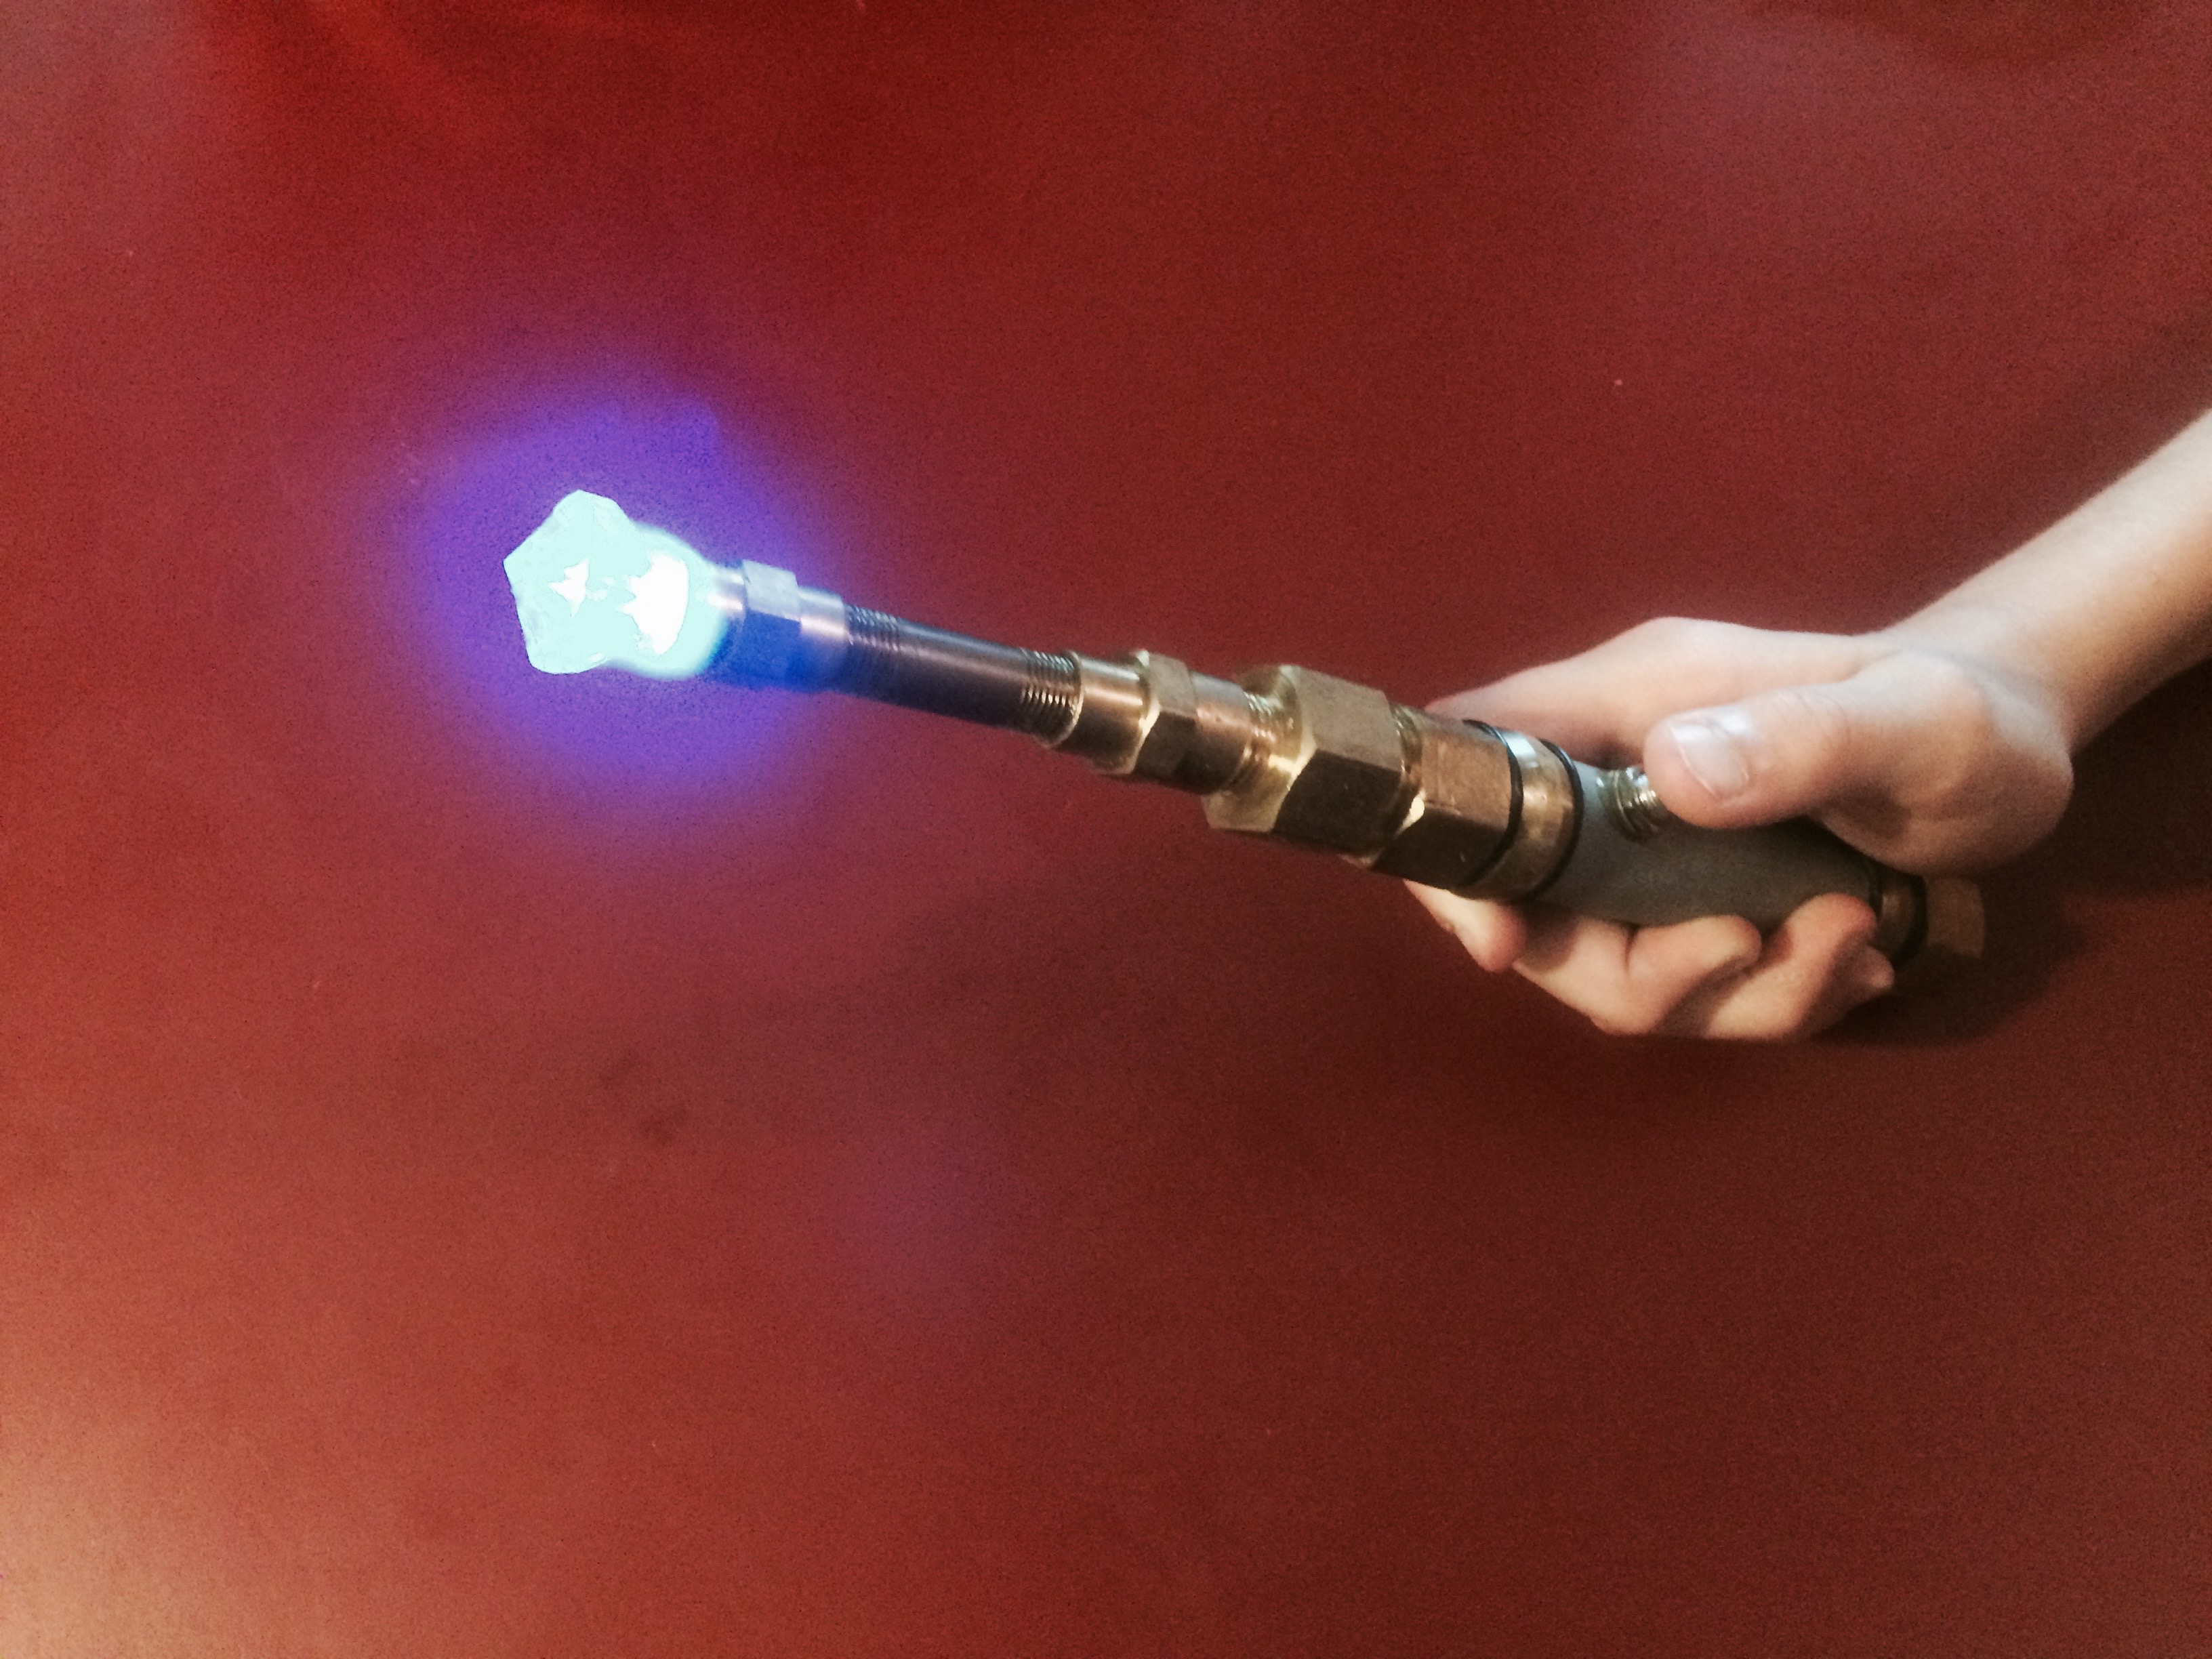
In the British Sci-fi series Doctor Who, the time traveling Doctor often uses his sonic screwdriver to rescue his companions and save the day. Now you can build your own version that lights up and emits actual sonic vibrations from a high revolution motor cut out of a dollar store sonic toothbrush.

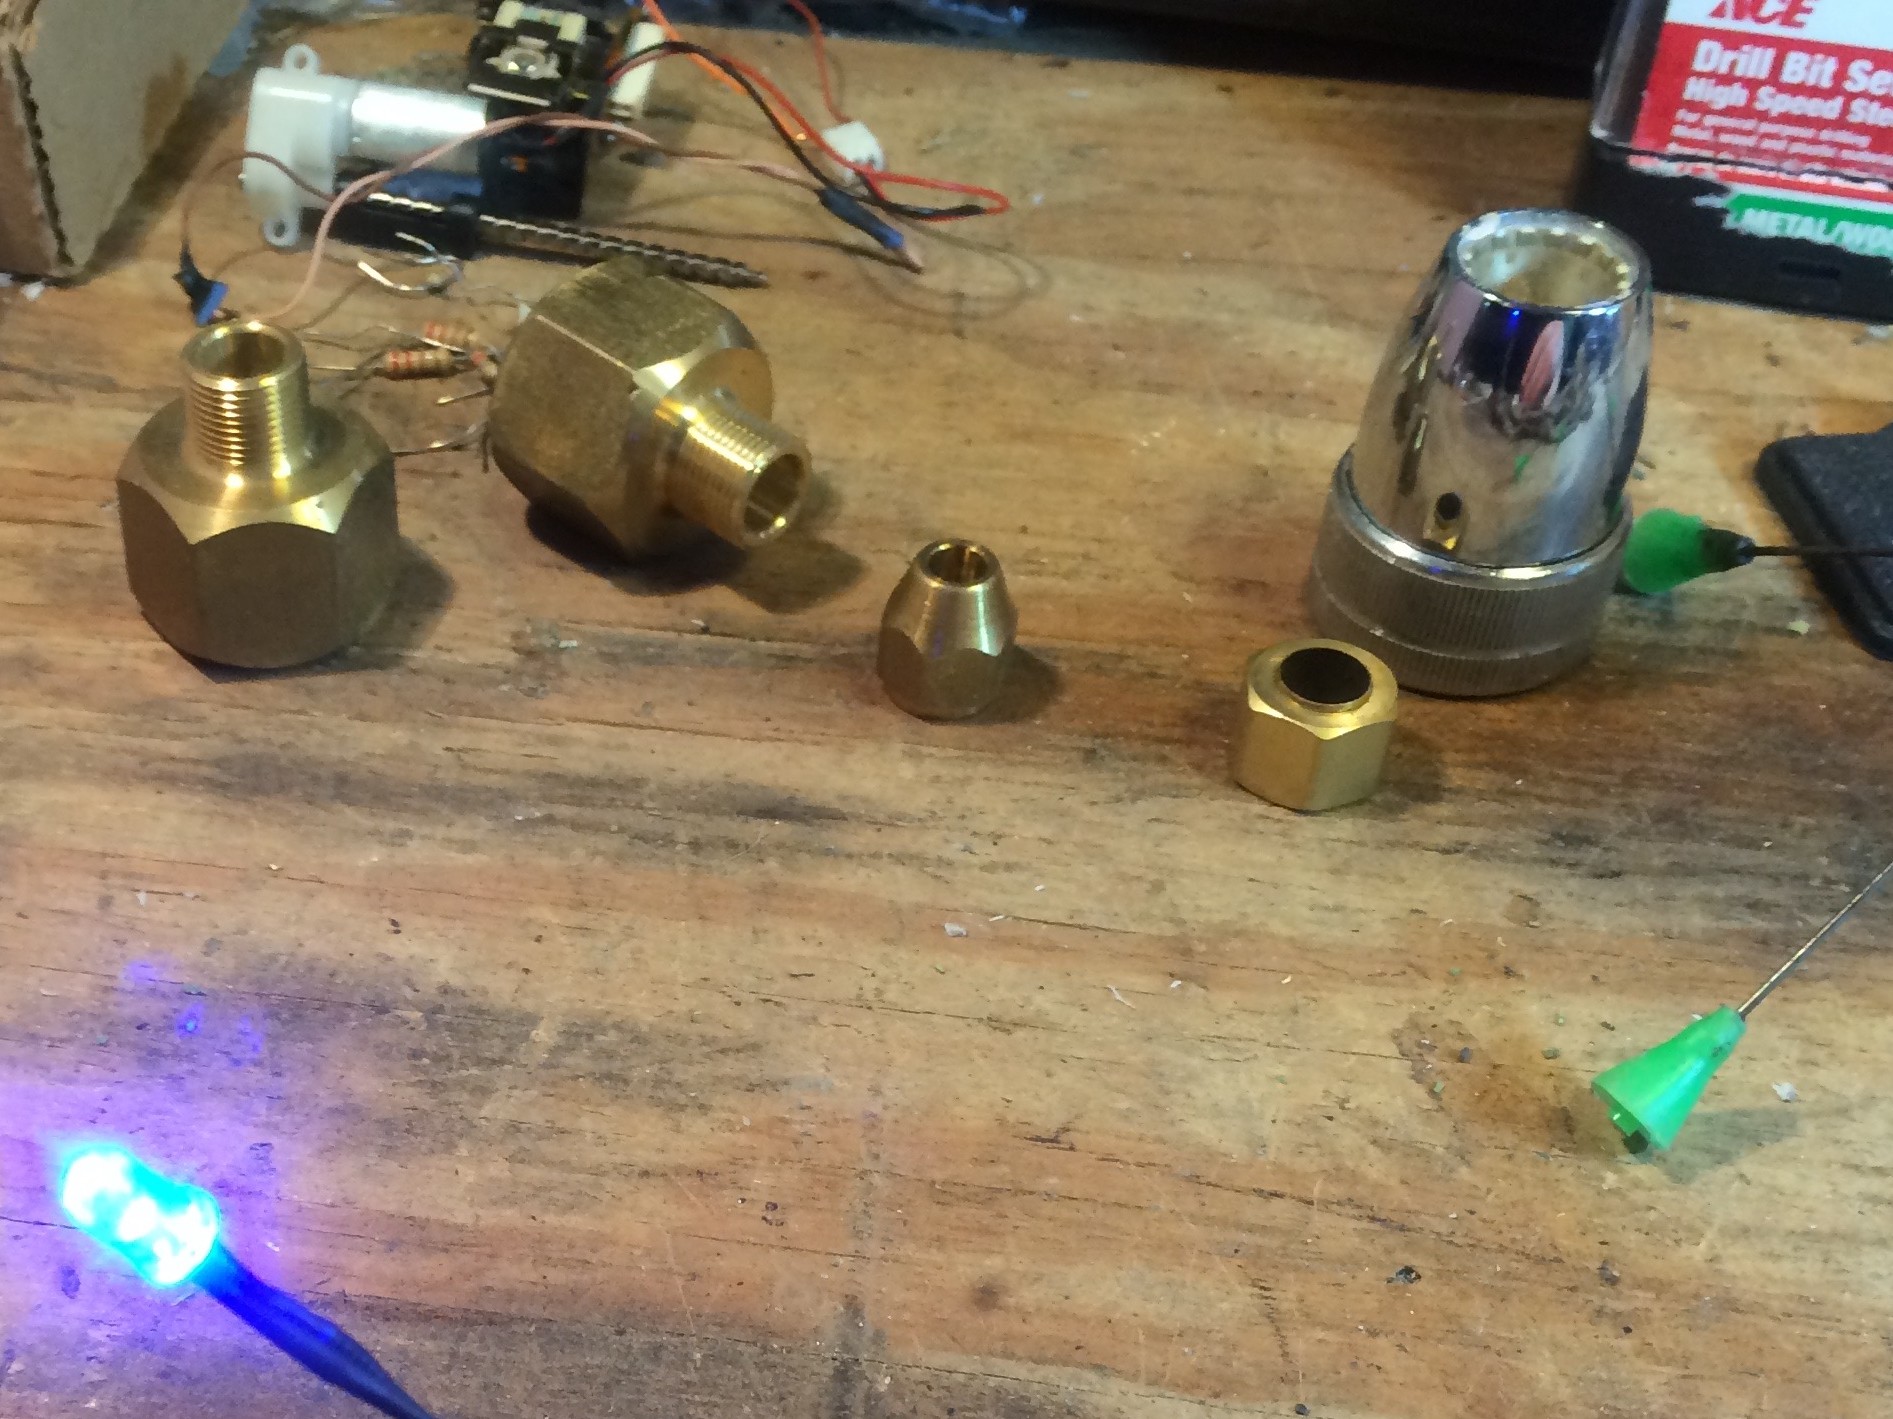
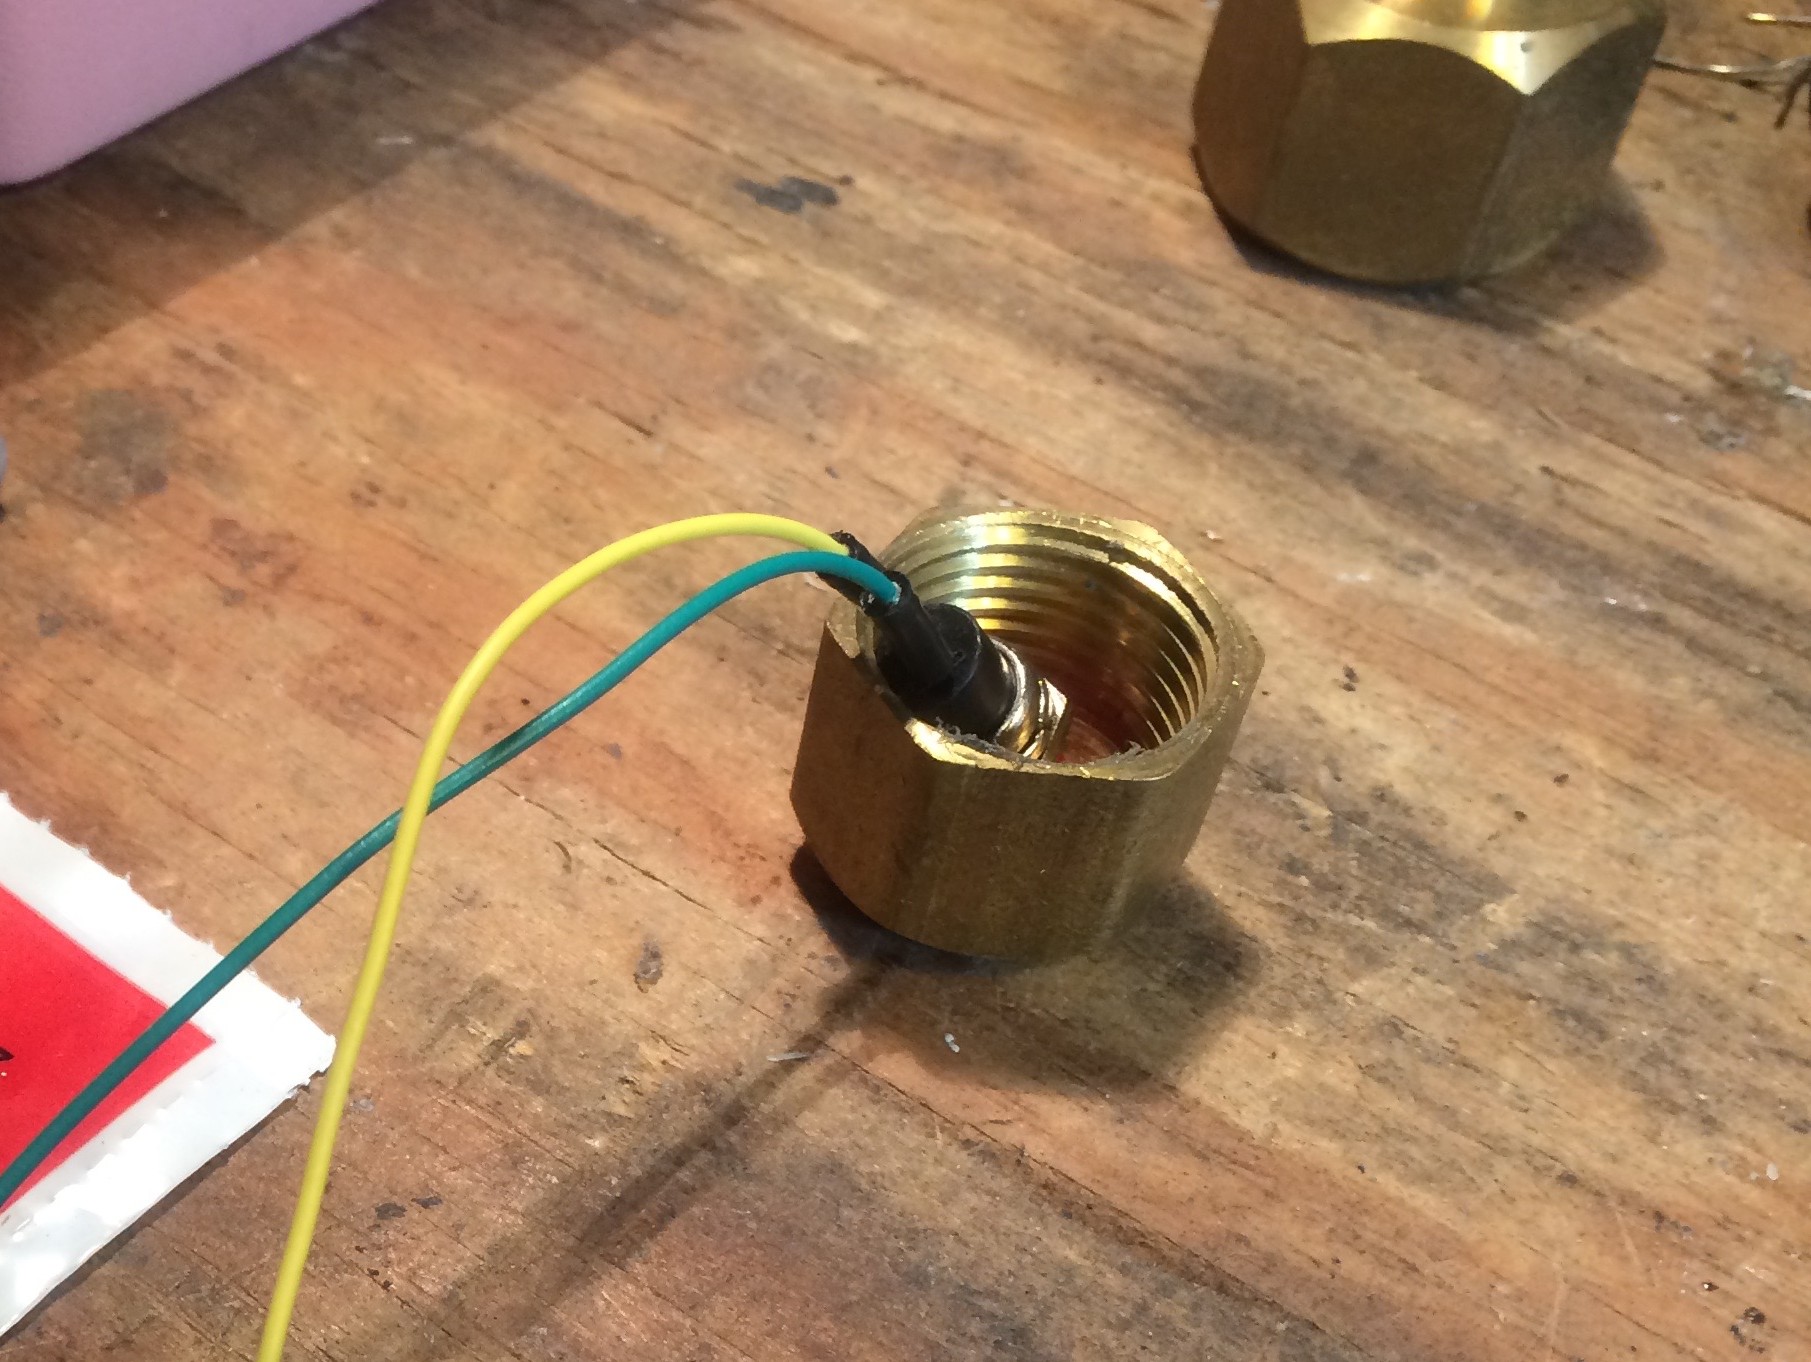
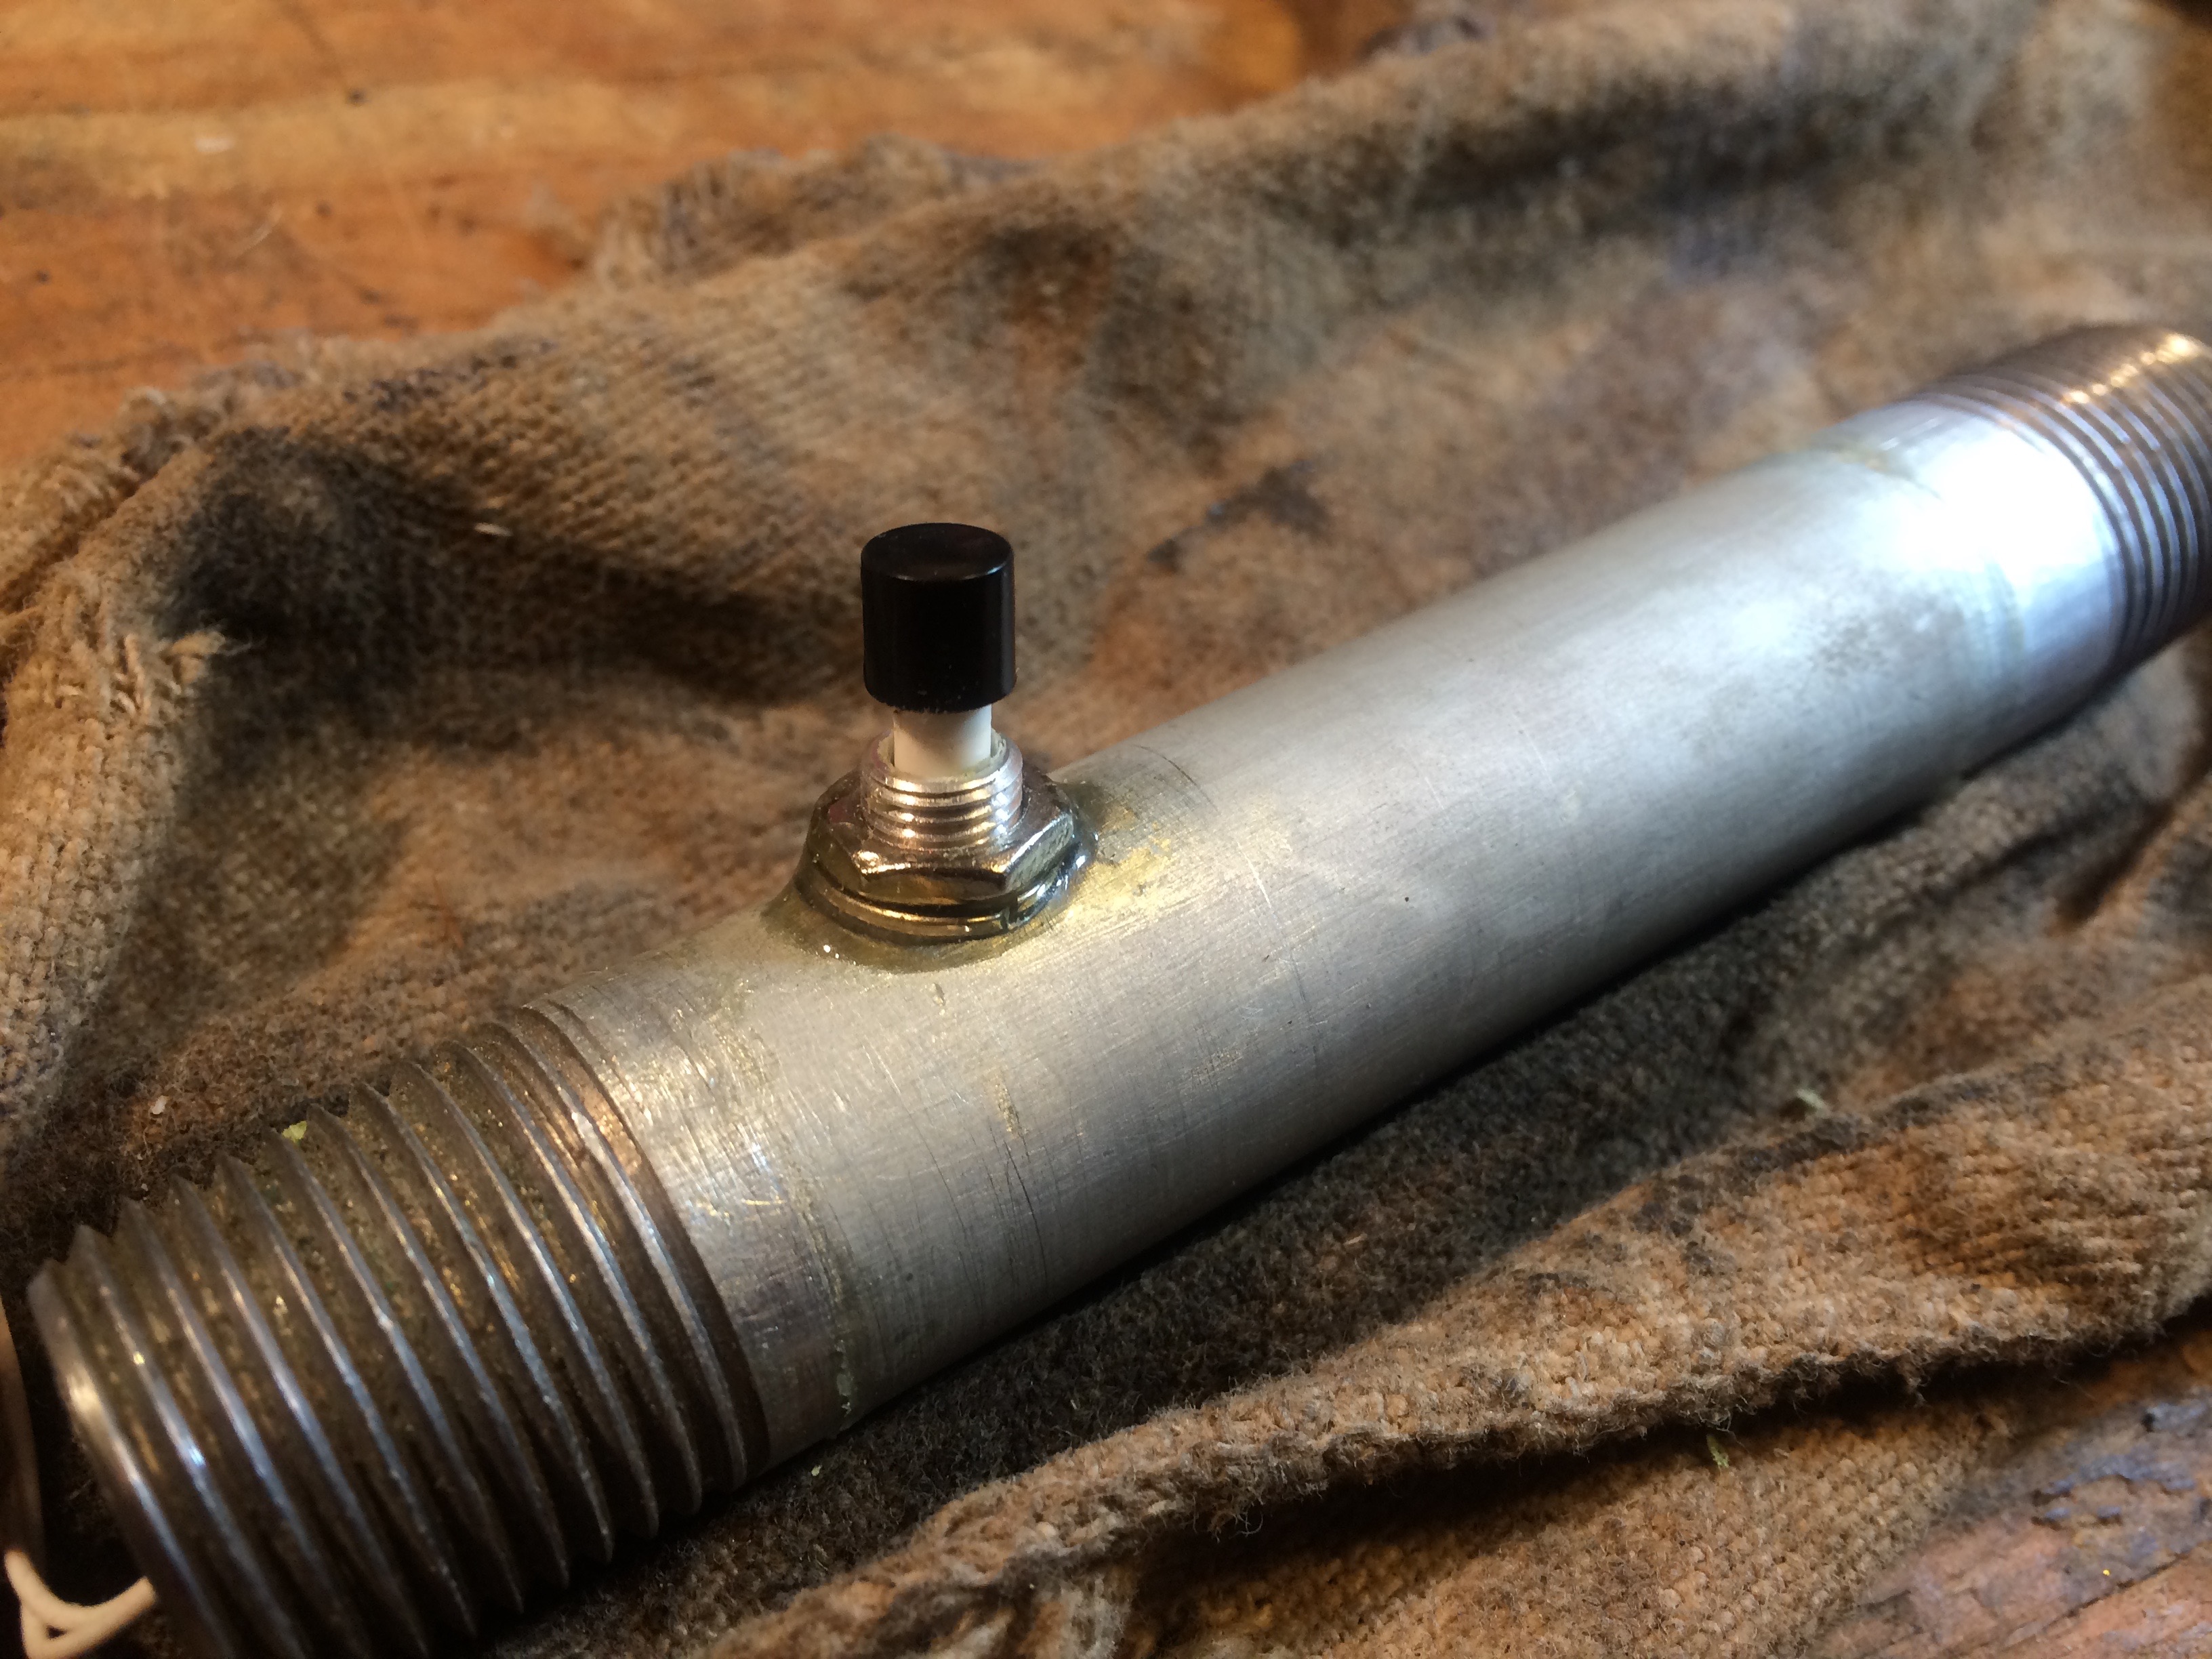
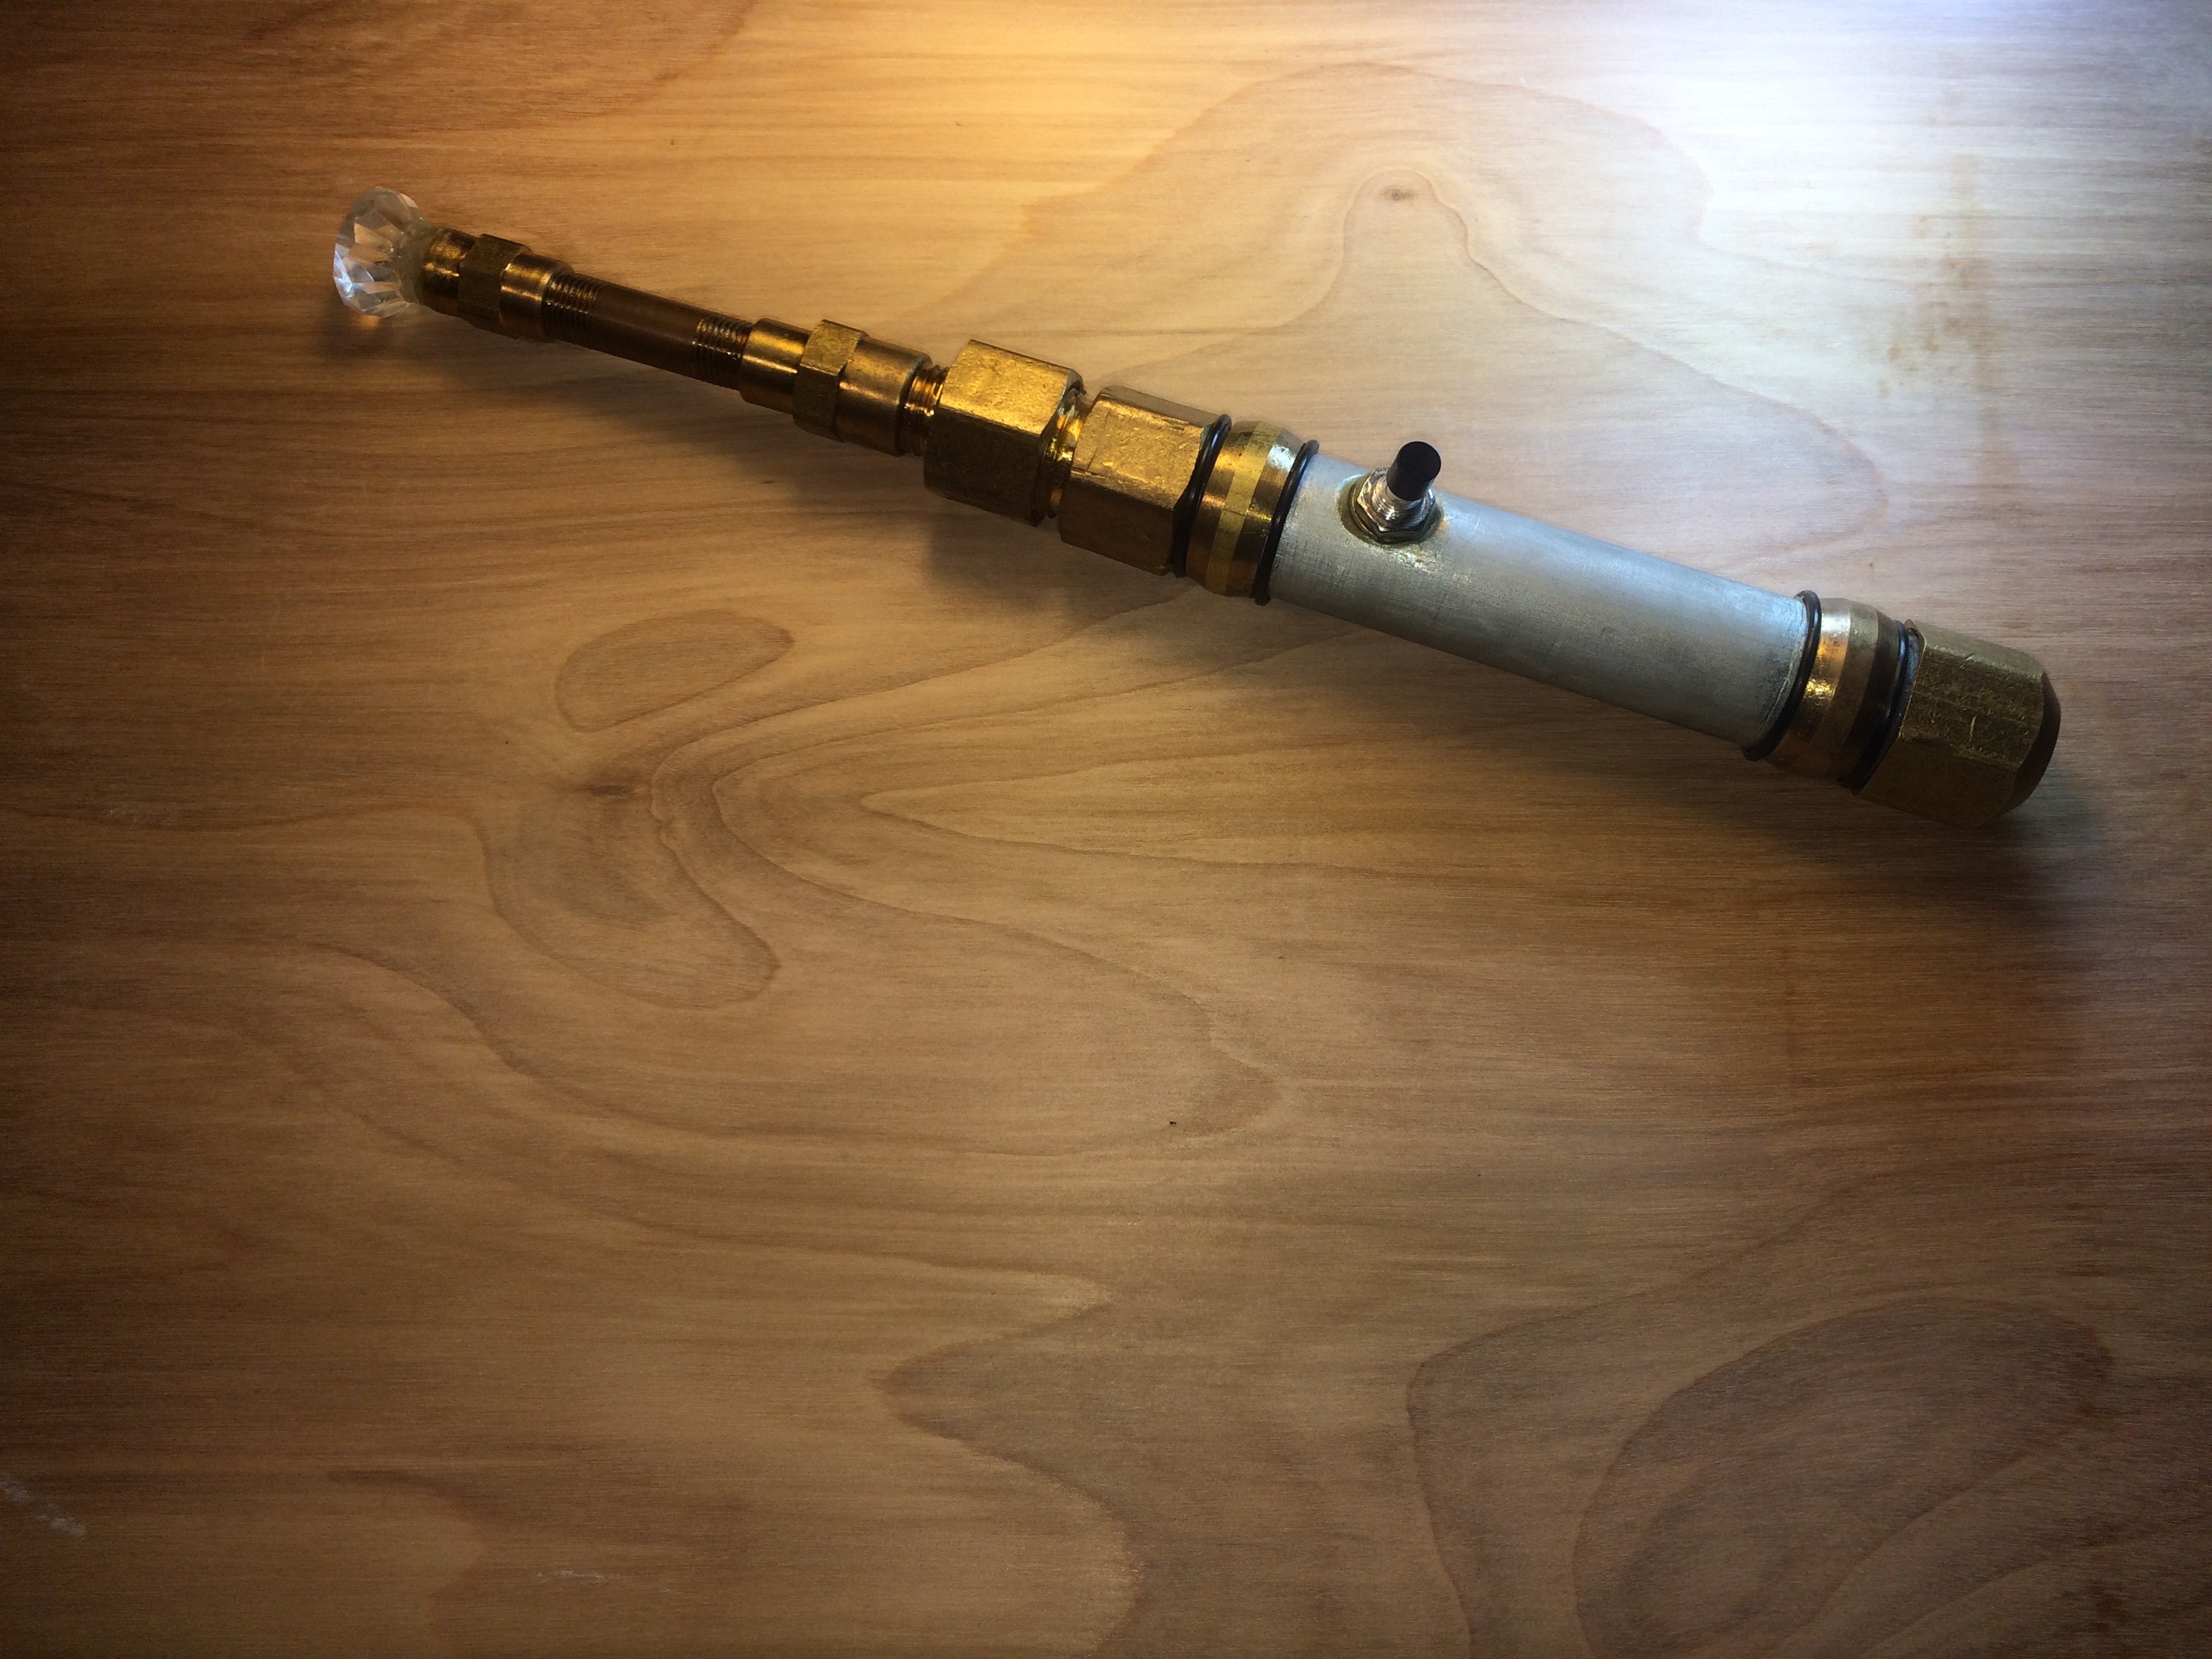
This is a relatively easy weekend project, but does require some drilling, wiring of electronics, and soldering. This project is based around a sonic toothbrush that I found at a discount store for a few bucks. I cracked it open and removed the guts to build my sonic screwdriver around. To get everything else I required, I just needed to head to the hardware store for a pipe and brass pipe fittings to house the battery, switch, and a small electric motor.

The finished build has nice heft and is sturdy enough for cosplay.  May it provide many hours helping in your child’s adventures as an intrepid time traveling hero.

IMG_0241

Project Steps

Materials

Gather your materials. See the list above under Tools and Parts.

Momentary switch

For the switch, use a momentary switch that works only when pressed to save on battery life. Drill a hole in the pipe and mount with clear epoxy.

The housing

You can use a variety of different pipes that are made for plumbing. I had a metal pipe (22/32″ minimum diameter) approximately ¾”, with threaded ends then used reducers and brass fittings to create the base, the stem, and the housing for the LED. I crowned the tip with a plastic jewel (craft store item) and some epoxy.

Check the circuit and connect the wires

After opening the toothbrush, I saw that the original switch was still wired to the motor. Snip the wires that connect the batteries to the switch and motor. Use a breadboard to test the circuit and the switch. Make sure the motor provides enough resistance so you don’t burn out your LED. Once your circuit works solder the battery terminal wires to the switch and motor.

Fitting it all together

After the LED, the switch, the batteries and the wire are connected drill a hole in the pipe for the switch and use epoxy to hold it in place. Use 4 button cell batteries (you could use an AAA battery depending on the diameter and length of your handle).