Read articles from the magazine right here on Make:. Don’t have a subscription yet? Get one today.

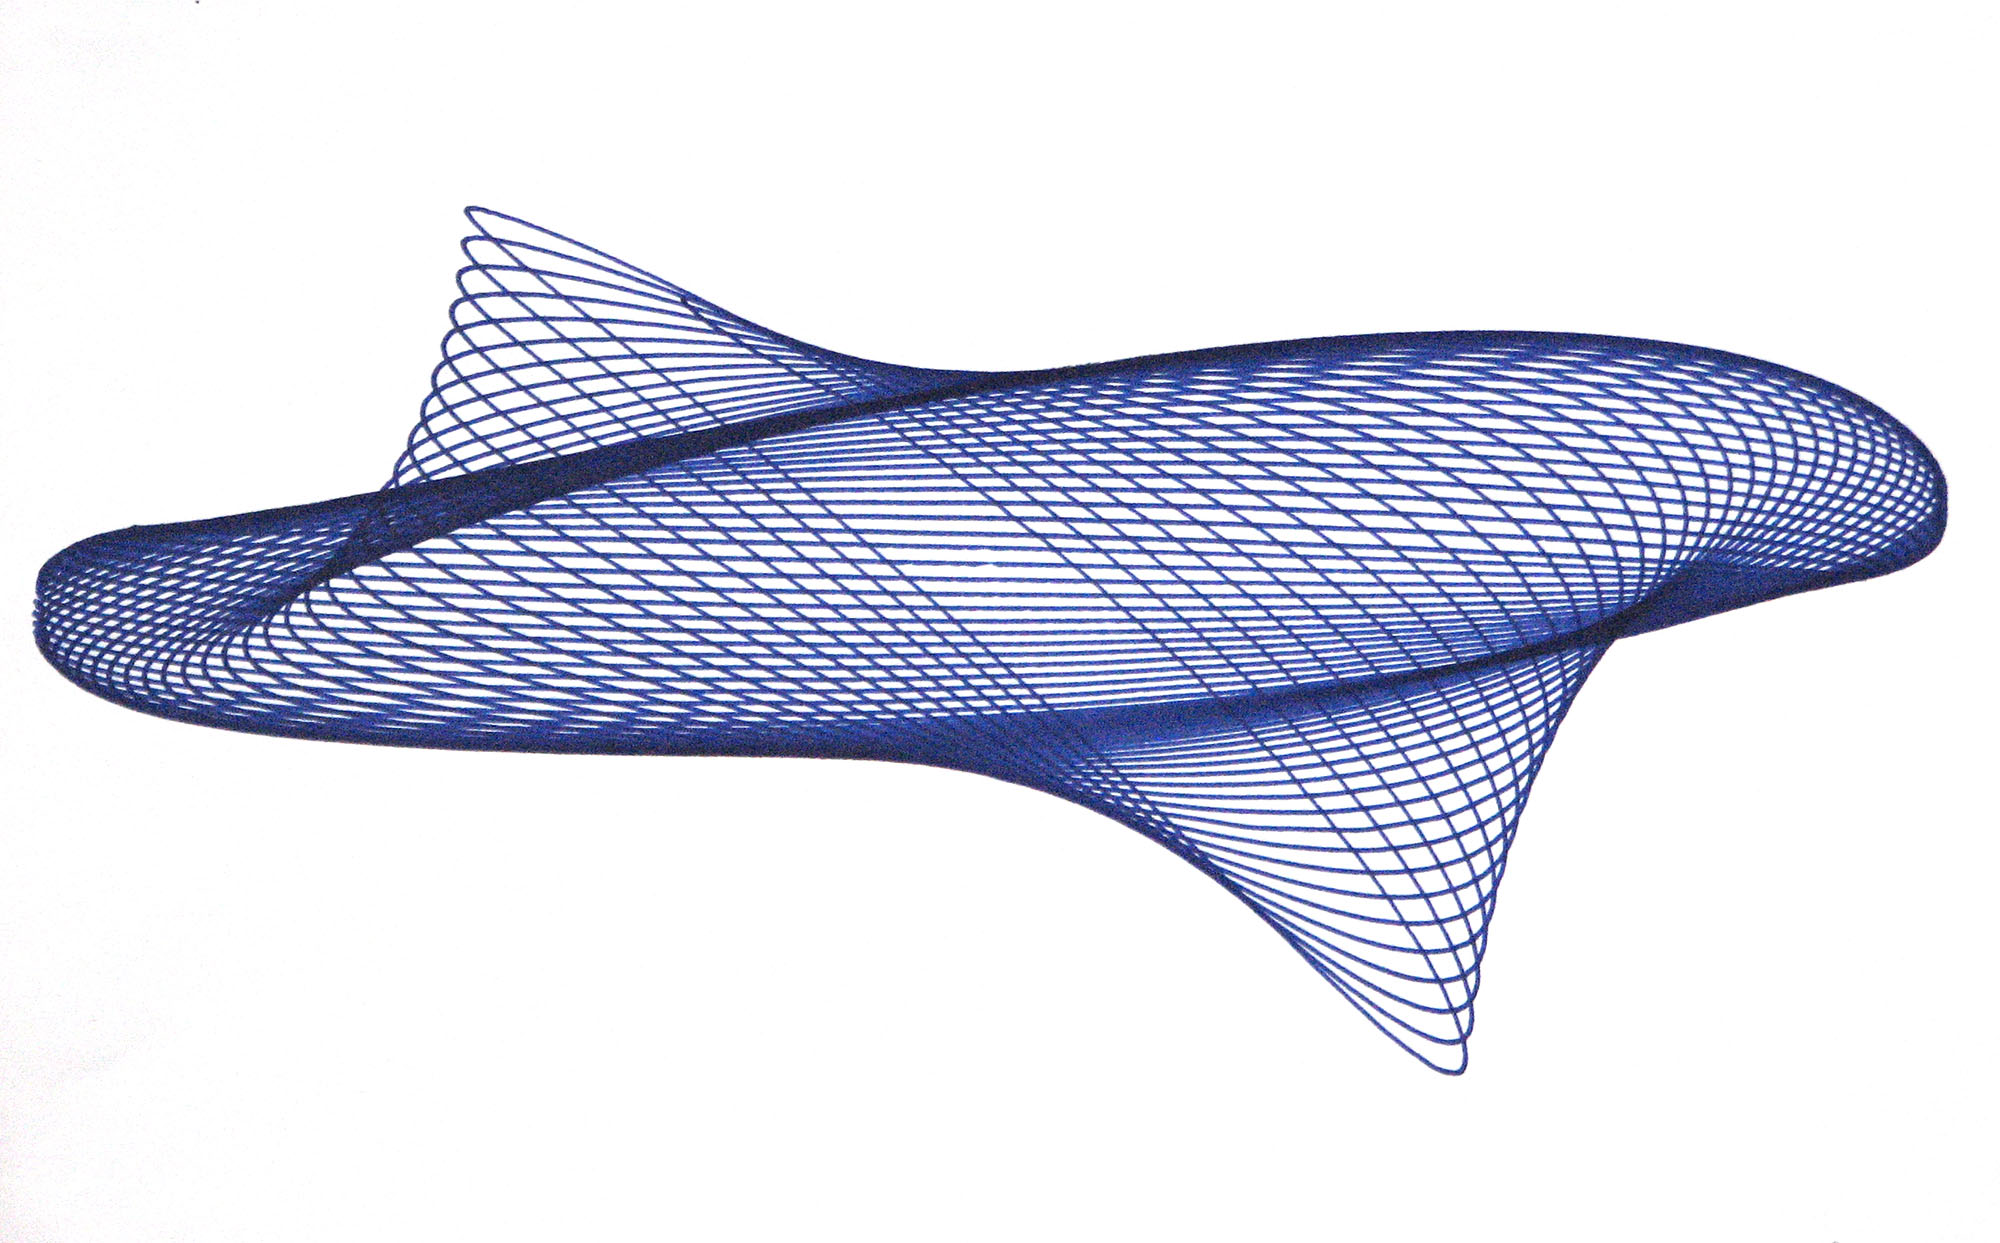
Harmonographs are mechanical devices that draw pictures by swinging pendulums, believed to be invented in 1844 by Scottish mathematician Hugh Blackburn. In my 3-pendulum rotary harmonograph, two lateral pendulums swing back and forth at right angles to each other (one side to side, another front to back) with arms connecting to a pen. A third “rotary” pendulum moves the paper by swinging on any axis or in circular motions.

This harmonograph gives a wide variety of pleasant results, and is fairly easy to build. It’s a great project to do with kids and can result in endless experiments creating new types of geometric designs. Here’s how you can create your own.

Project Steps

THE TABLE

The legs are about 37″ long (go shorter if you plan to fit this through a doorway) and splay out slightly to allow the rotary pendulum to swing without hitting a leg. The legs are attached to the tabletop and supported with braces (Figure A).

Figure A

PENDULUM HOLES

Three 3″-diameter holes are drilled through the tabletop for the pendulums. The hole for the rotary pendulum should be centered in a corner about 8″ from each edge, just clear of the leg brace underneath. The other two holes should be aligned with the first, about 8″ from the edge shared with the rotary pendulum hole, and 3″ from the opposite edge (Figure B). You’ll need a special, large circular drill bit (Forstner bit) for this, or a hole saw. Or drill a small hole, then cut a wider opening with a jigsaw.

Figure B

SUPPORT PLATES

Metal plates are mounted on each side of the two lateral pendulum holes. A small indentation is drilled in the center of each plate (Figure C), but unless you have a good drill press, it may be easier to position these indentations on the table after you create the fulcrum blocks with protruding screws, in order to accurately align them.

Figure C

PENDULUMS AND FULCRUMS

The pendulum shafts rest on hardwood oak block fulcrums, allowing them to rock on the table with minimal friction. For the two lateral pendulums, use 5″-long blocks, and for the rotary pendulum, use a 2¼”-long block. Drill a ¾” hole through the center of each block, and place a 1¼” #10 screw through each end. If you haven’t already created the indentions in the metal plates, start them now with a small drill bit (such as ⅛”) and then continue with a larger bit (such as ¼”). Be careful not to drill all the way through. Rest the screw tips in the indentations.

To create the pendulums, insert a wooden dowel through the ¾” hole in each fulcrum block (Figure D) such that the screw tips are 12″ from the top of the dowel and facing downward. The pendulum should hang down 36″ below the top surface of the table with about a 1″ clearance from the floor. Glue and/or screw the dowels in place.

Figure D

GIMBAL

A gimbal allows the rotary pendulum to swing in any direction. Mount blocks (you may want to sand down the edges to allow for clearance) to the underside of the table with screws protruding upward at an angle from either side (Figure E).

Figure E

Drill a matching pair of indentations into the bottom of the washer, then drill a second pair on top, offset 90° from the bottom pair (Figure F).The washer rests on the screws, and the pendulum rests on the washer.

Figure F

WEIGHTS

Slide your weights onto metal pipe nipples secured with a bushing screwed onto the lower end, and slide those onto the pendulum dowels. A steel clamp underneath the weights keeps them from sliding off, and allows easy height adjustment to give different swinging frequencies (Figure G).

Figure G

PAPER PLATFORM

Cut about 1″ off the top of the rotary pendulum dowel, so it is slightly lower than the other two. Then mount the 11″ square board to the top of this pendulum, using a small oak block glued to it for support, with a ¾” hole for the dowel. Wrap some tape around the top of the dowel to get a tight fit, or just glue it on (Figure H).

Figure H

Use rubber bands to secure the paper (Figure I), or small clips.

Figure I

ARMS

Connect a balsa stick to the top of each lateral pendulum using a thin nail. Bend the nail back and forth a little in the balsa to allow the arm to rotate smoothly and move up and down slightly. The nail hole will slowly loosen during use.

For the pen holder, drill a ½” hole on the end of one arm, and cut about 4″ down the center of the arm to make a clothespin-like device (Figure J). Alternatively, just glue a real clothespin to the end of one of the arms (Figure K). Attach the two arms together with a doubled-over rubber band.

PEN LIFTER

To raise and lower the pen gently without disturbing the motion of the pendulums, insert a 30″ dowel into a hole near the center of the table, just far enough from the paper platform that it won’t be hit by it (about 12″ from the rotary pendulum hole). Attach an oak block under the table for a deeper hole and better support. Tie a string to the balsa arms where they are connected together, lead it through a screw eye on top of the pole (Figure L), and back down to a small jam cleat (Figure M) or groove where it can hold the pen in place above the paper until you’re ready to lower it.

Swing into Action

Set up your paper, add a pen, and swing away! Start with the weights attached near the bottom of each pendulum so their frequencies are nearly in unison. Swing each pendulum so the pen is moving above the paper, and then gently lower the pen and watch.

Go Further

To experiment further, adjust the height of the weights on the pendulums, or add more or less weight.

WEIGHT HEIGHT

Adjust a pendulum’s weight height to change its swinging frequency. The frequency of a pendulum varies with the inverse of the square root of its length, so to swing twice as fast, the length between the fulcrum and its center-of-mass would need to be 1/4 of the original length (which may not be practical with this harmonograph). For a 3:2 or 4:3 frequency increase, the weights would be raised around 19″ or 15″ respectively, although you should probably do some timing tests to find and mark these heights experimentally.

WEIGHT AMOUNT

Add more weight to a pendulum to counteract friction and make the swinging last longer. I’ve found that 5 pounds (two of the 2½ weights) on the rotary pendulum, and 7½ pounds (three 2½ weights) on the other two works fairly well. Adding more weight does not generally change the frequency.

PHASE AND AMPLITUDE

Each time you swing the pendulums to make a new drawing, the relative phases and amplitudes of each pendulum will vary. Try swinging the rotary pendulum and the lateral pendulums initially in a circular shape in the same, or in opposite directions. Then try swinging the lateral pendulums in phase to make a diagonal line.

Conclusion

Pendulum Results


TWO-PENDULUM

To simplify things, you can lock down the rotary pendulum by unclipping that weight so it rests on the floor and prevents the paper platform from swinging at all. Attach the other weights at their lowest position to start, since a slower pen speed tends to give smoother lines. If the two other pendulums swing in unison at the same frequency, you will get simple patterns of circles, ellipses, or lines. If their frequencies are slightly different, the pattern will slowly change from circles to lines and back again as it decays. This will give eye-like designs. When the frequencies are very different, you may get chaotic looking results. However, if you find a position that is near a “harmonic” ratio of frequencies such as 3:2 or 4:3 you can get pleasant Lissajous figures, figure eights, or fish-like shapes.

THREE-PENDULUM NEAR-UNISON

The effect of the 3rd rotary pendulum increases the variety of possible results. Some of the best designs occur when the three pendulums all swing at similar, but slightly different, frequencies with the rotary pendulum swinging around in a circular motion. Note that the mass of the paper platform on top of the rotary pendulum causes it to swing at a slightly slower frequency when all weights are at their lowest position, so you would raise that one slightly if you want it to match the frequency of the other two.

THREE-PENDULUM HARMONIC

Various star-shaped designs can be made by raising weights on both the lateral pendulums, or just the rotary pendulum, to give harmonic frequency ratios. A 3:2 ratio often results in 5-pointed stars and a 4:3 ratio tends to give 7-pointed star shapes.

Achieving higher frequency ratios, such as 2:1, 3:1, 4:1 etc. can be difficult with this type of harmonograph, because a quickly swinging pendulum with its weights way up tends to slow down too soon. It may be preferable to add some weights on top of one or more pendulums above the fulcrum. This will decrease the frequency.