SAM_4289
One of these stamps was made with store-bought art supplies. The other was made with garbage.

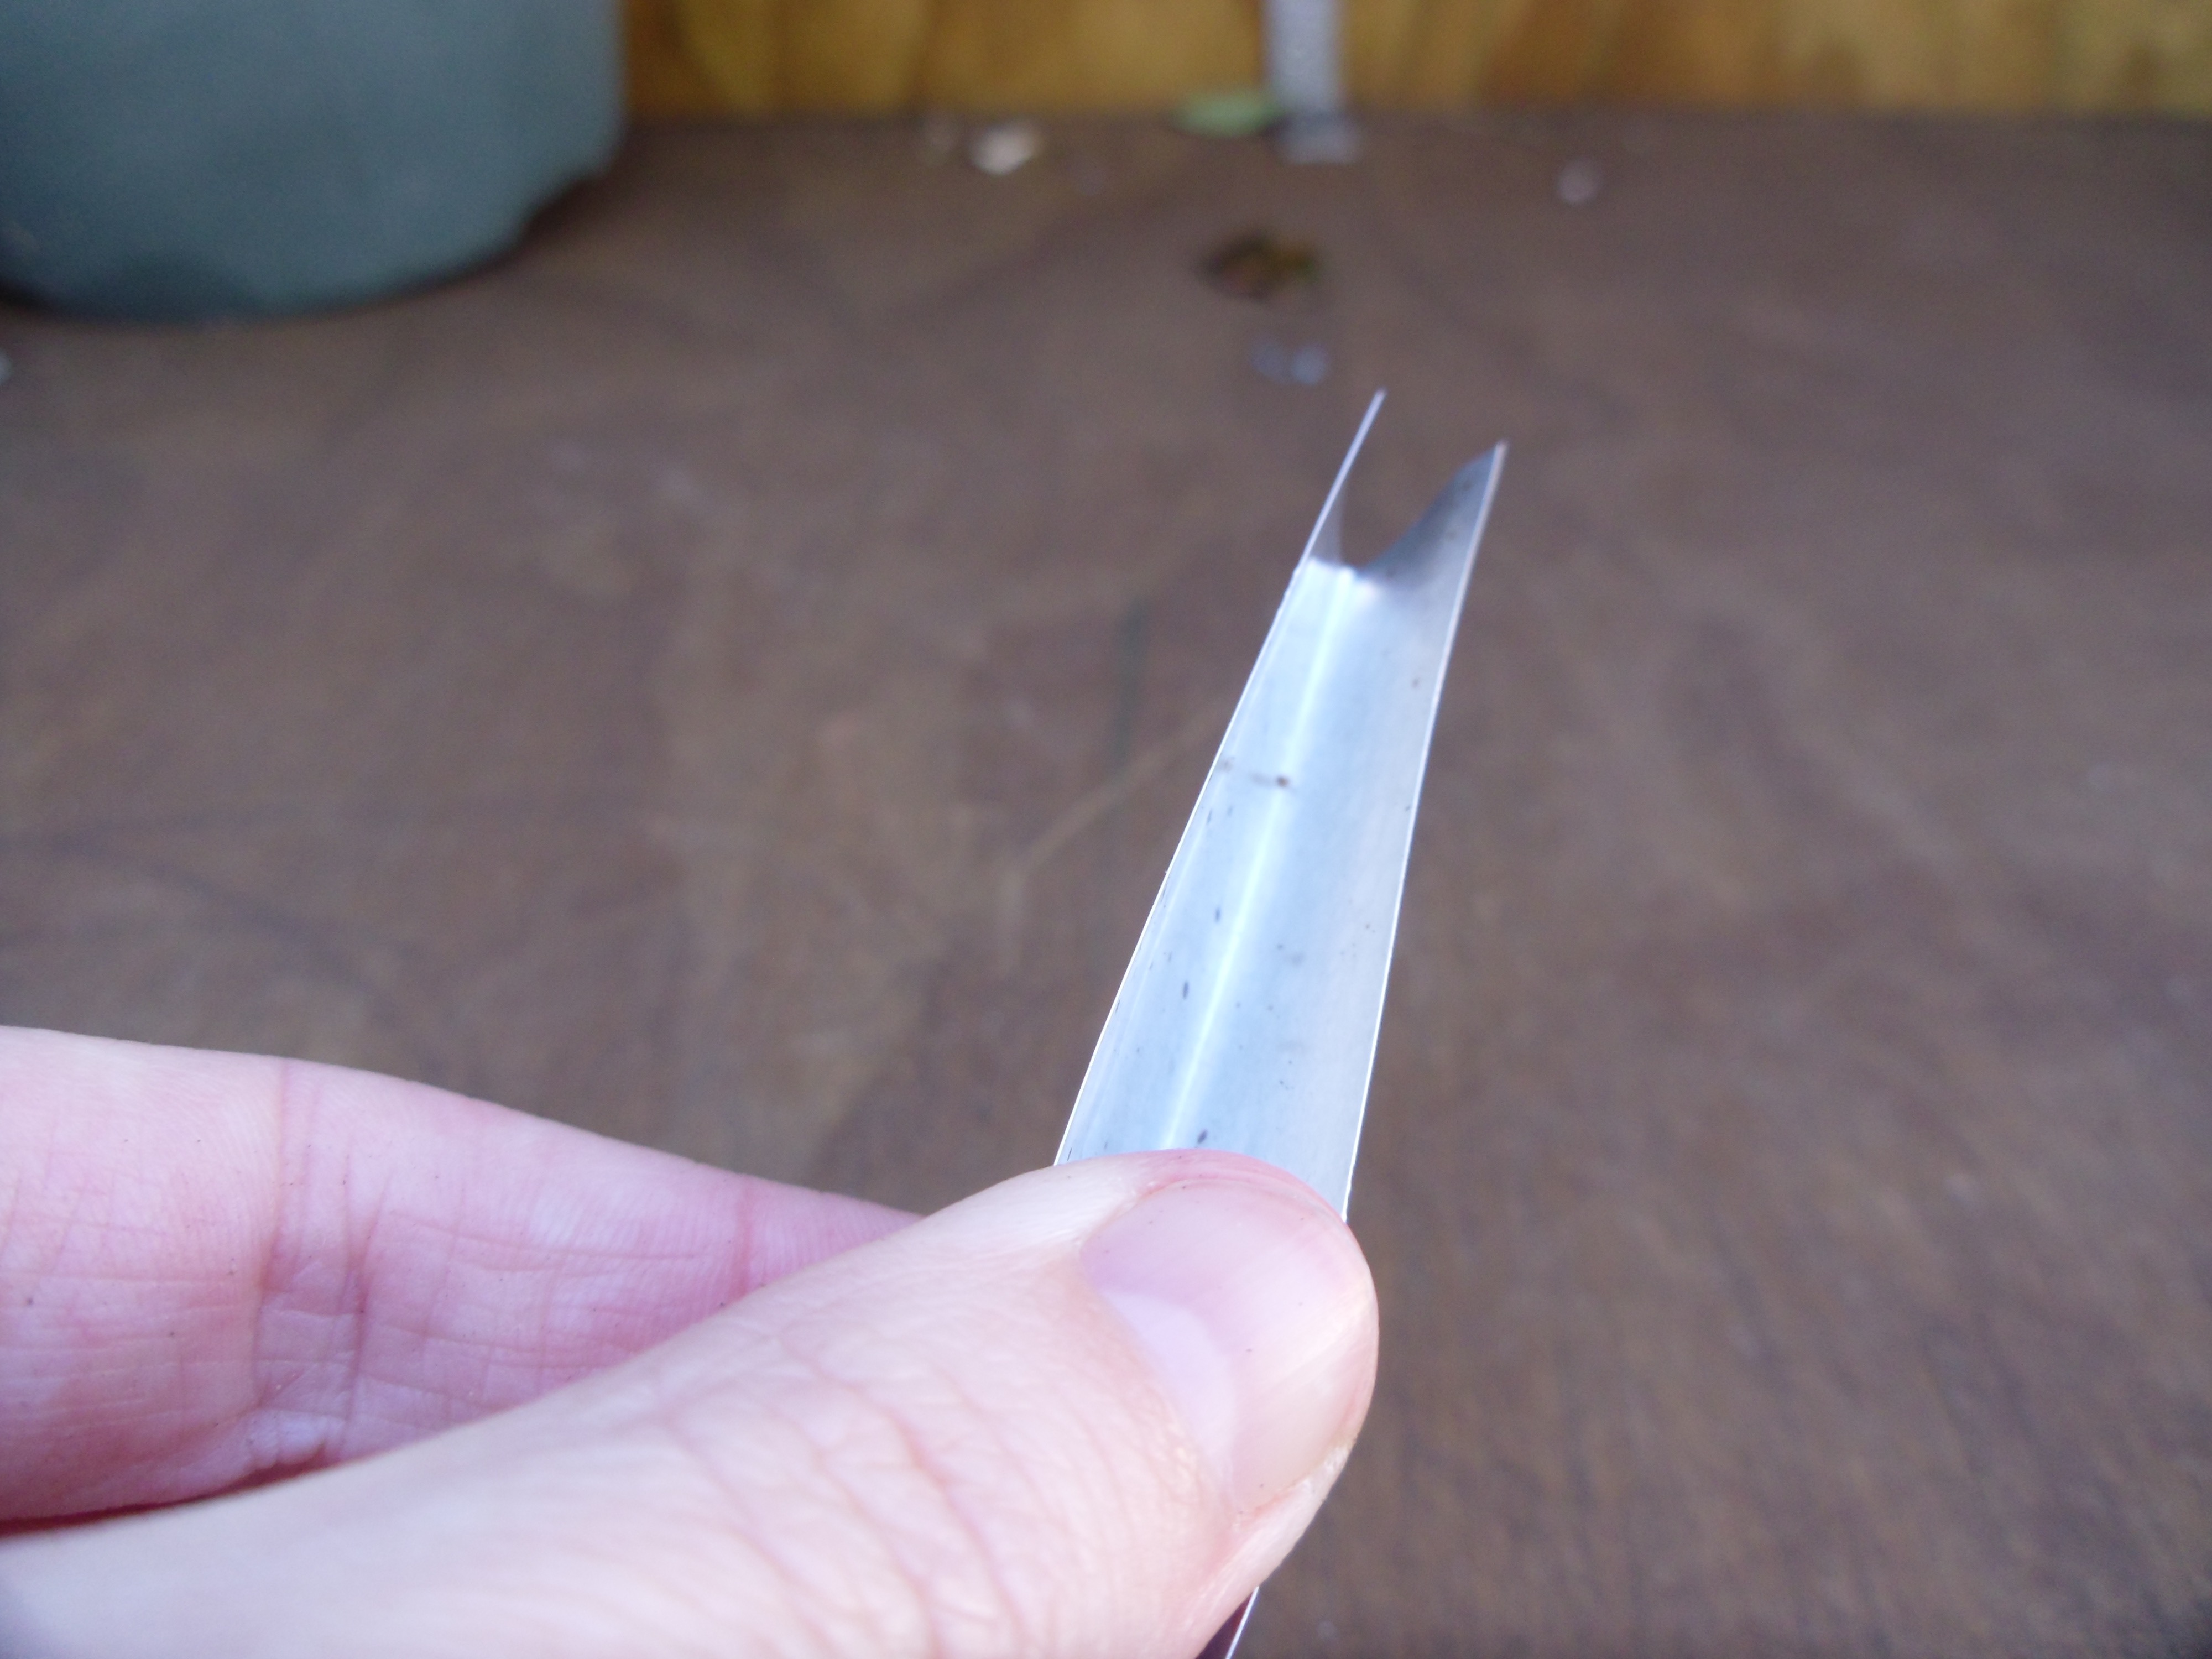
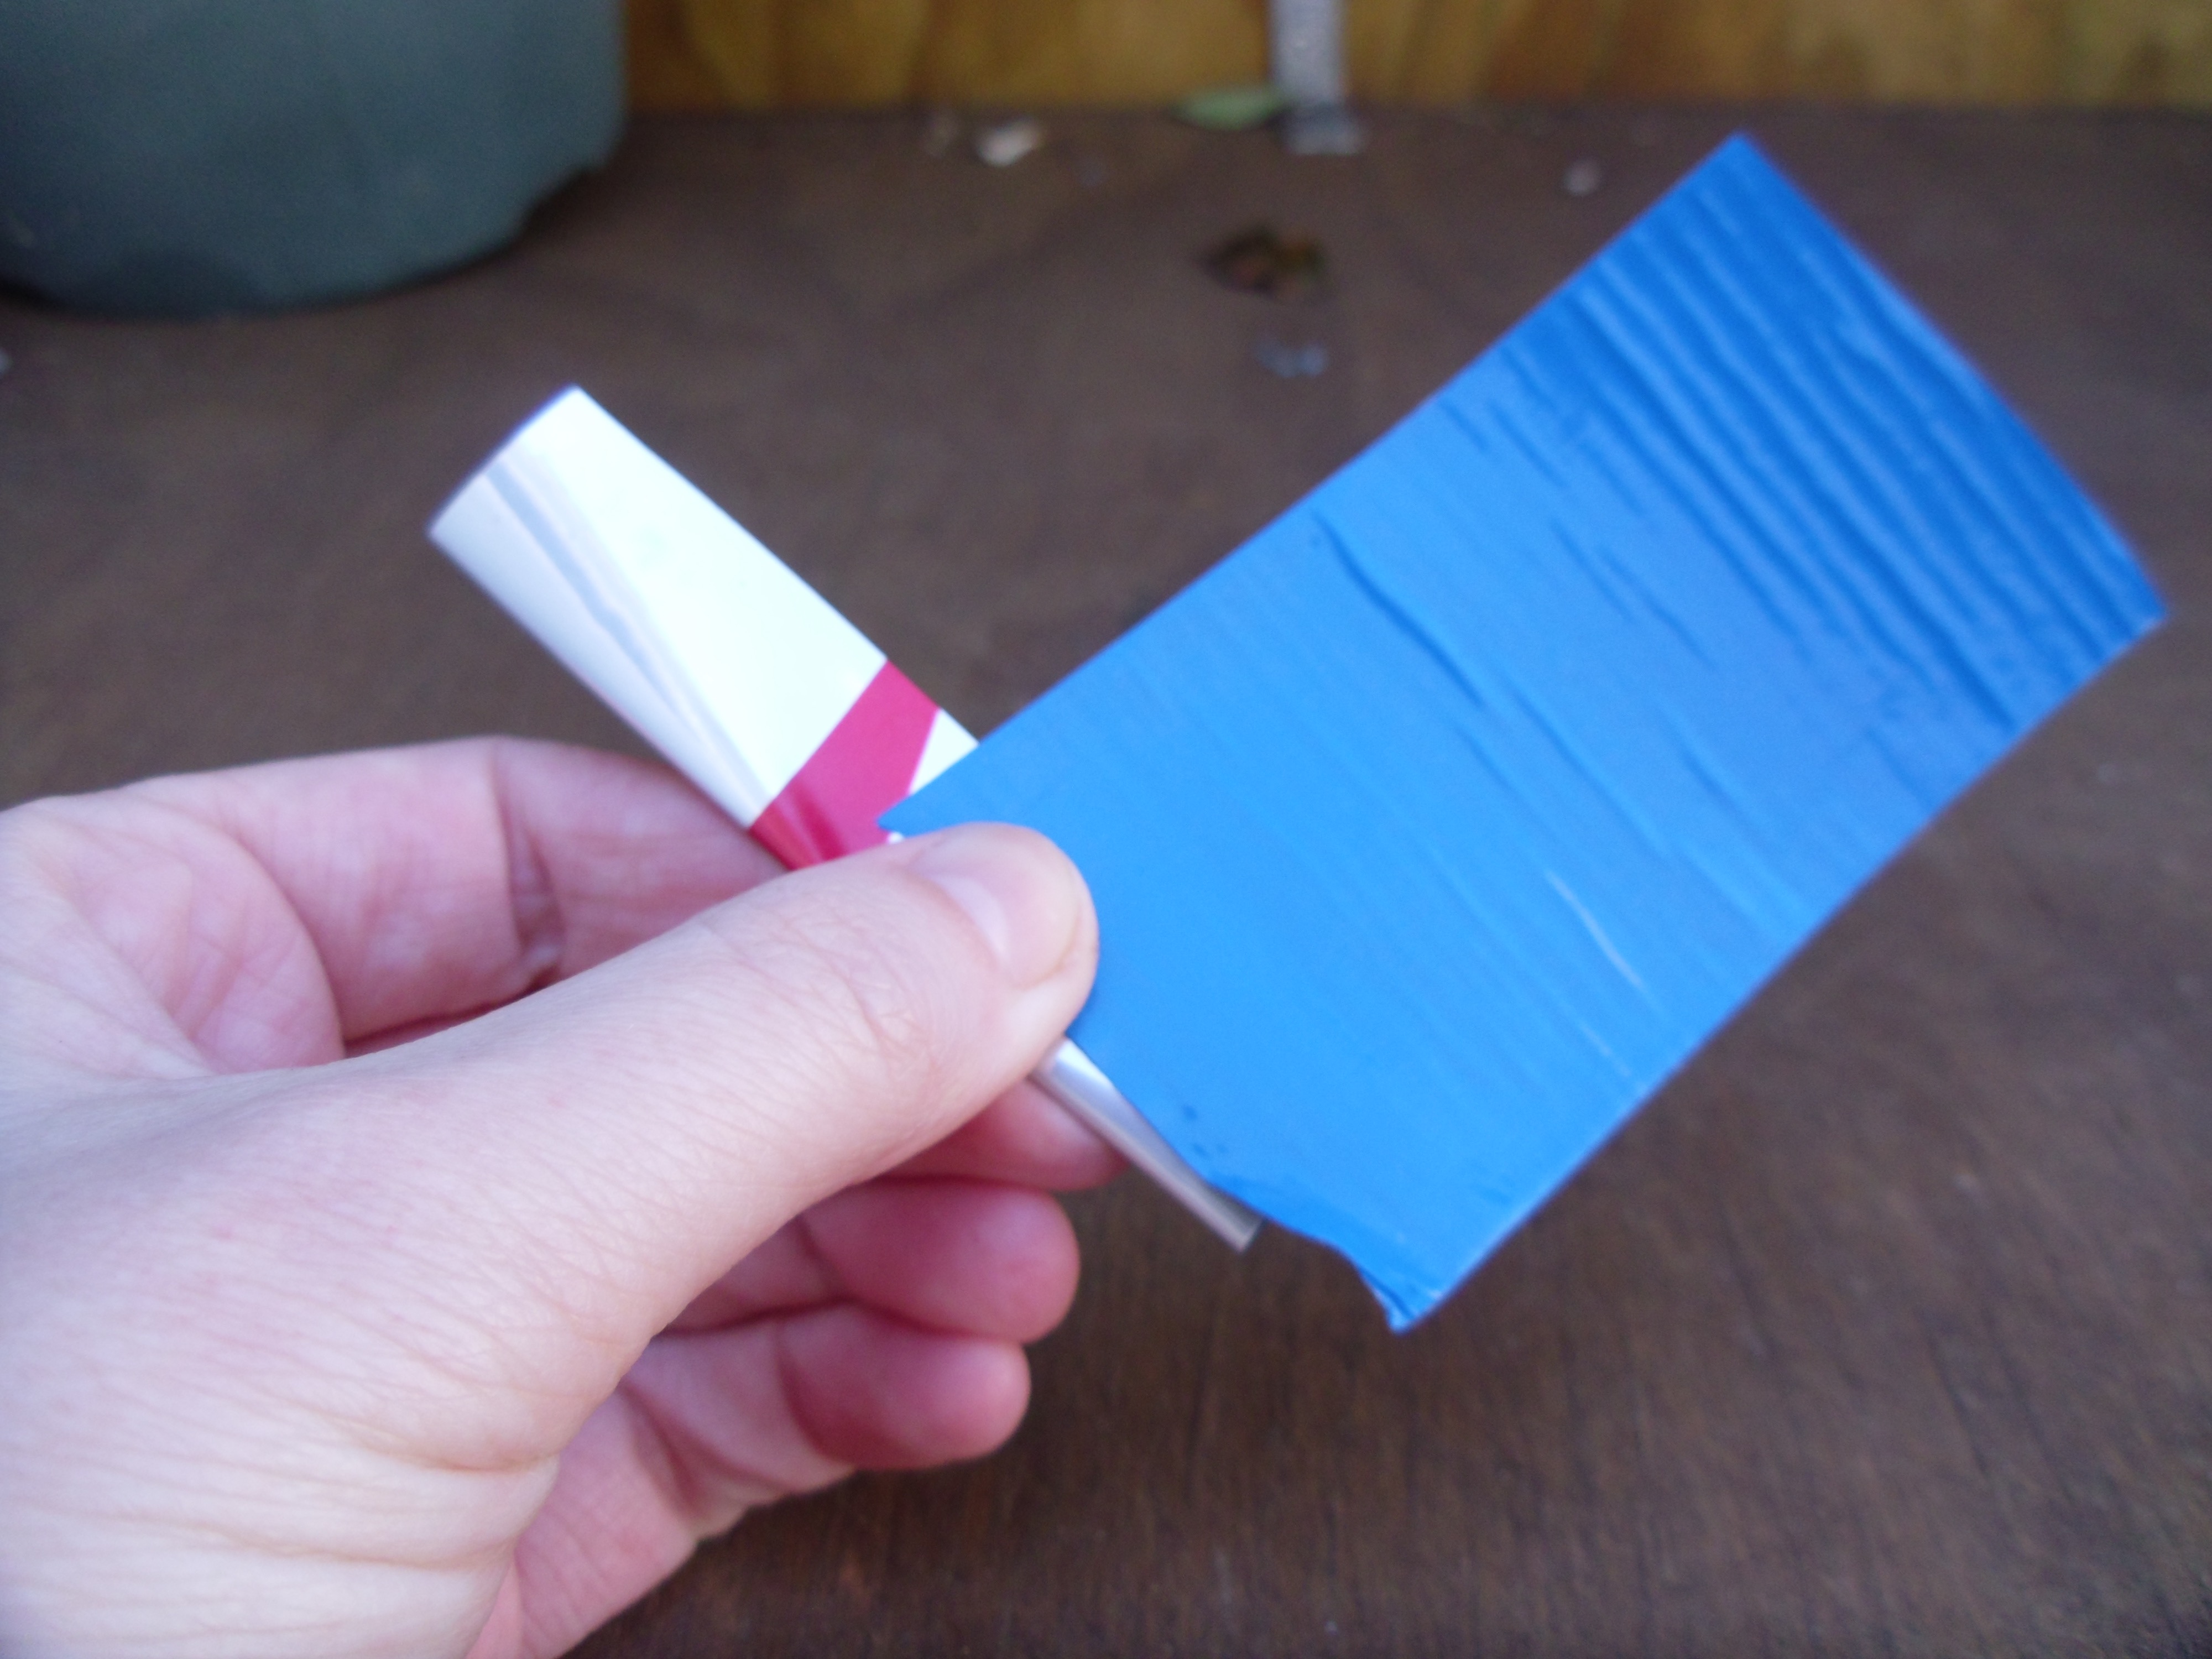
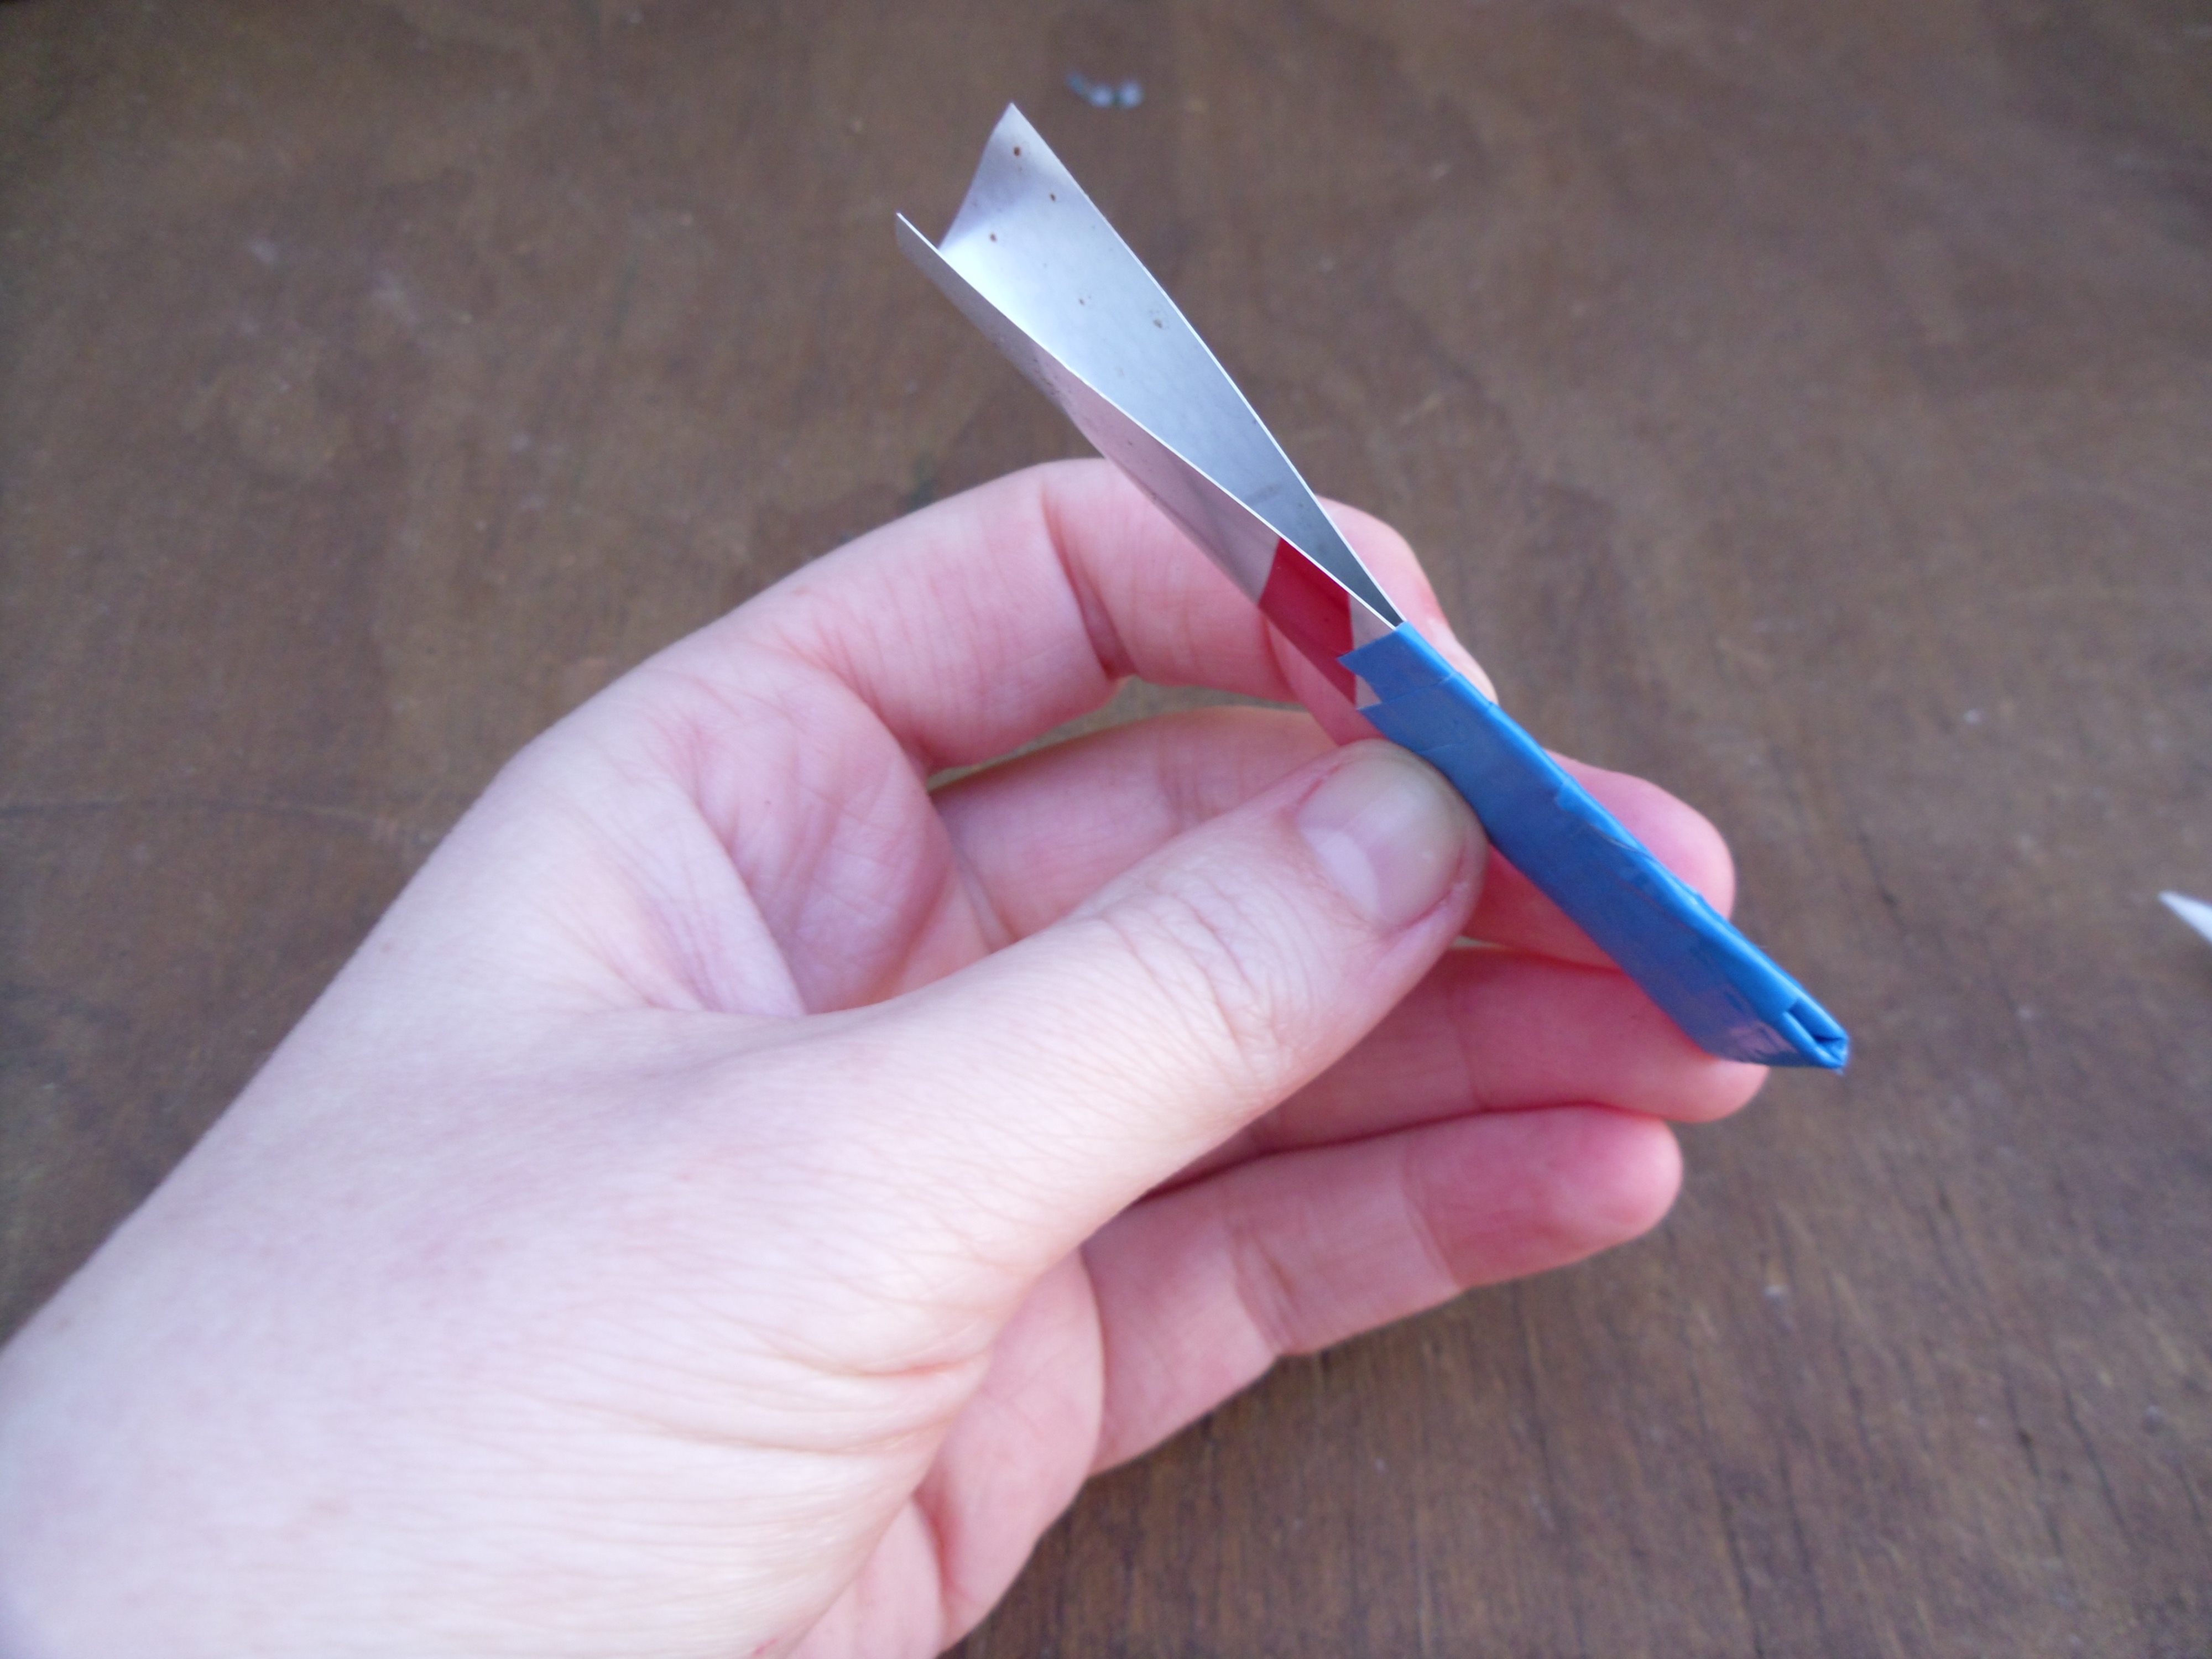
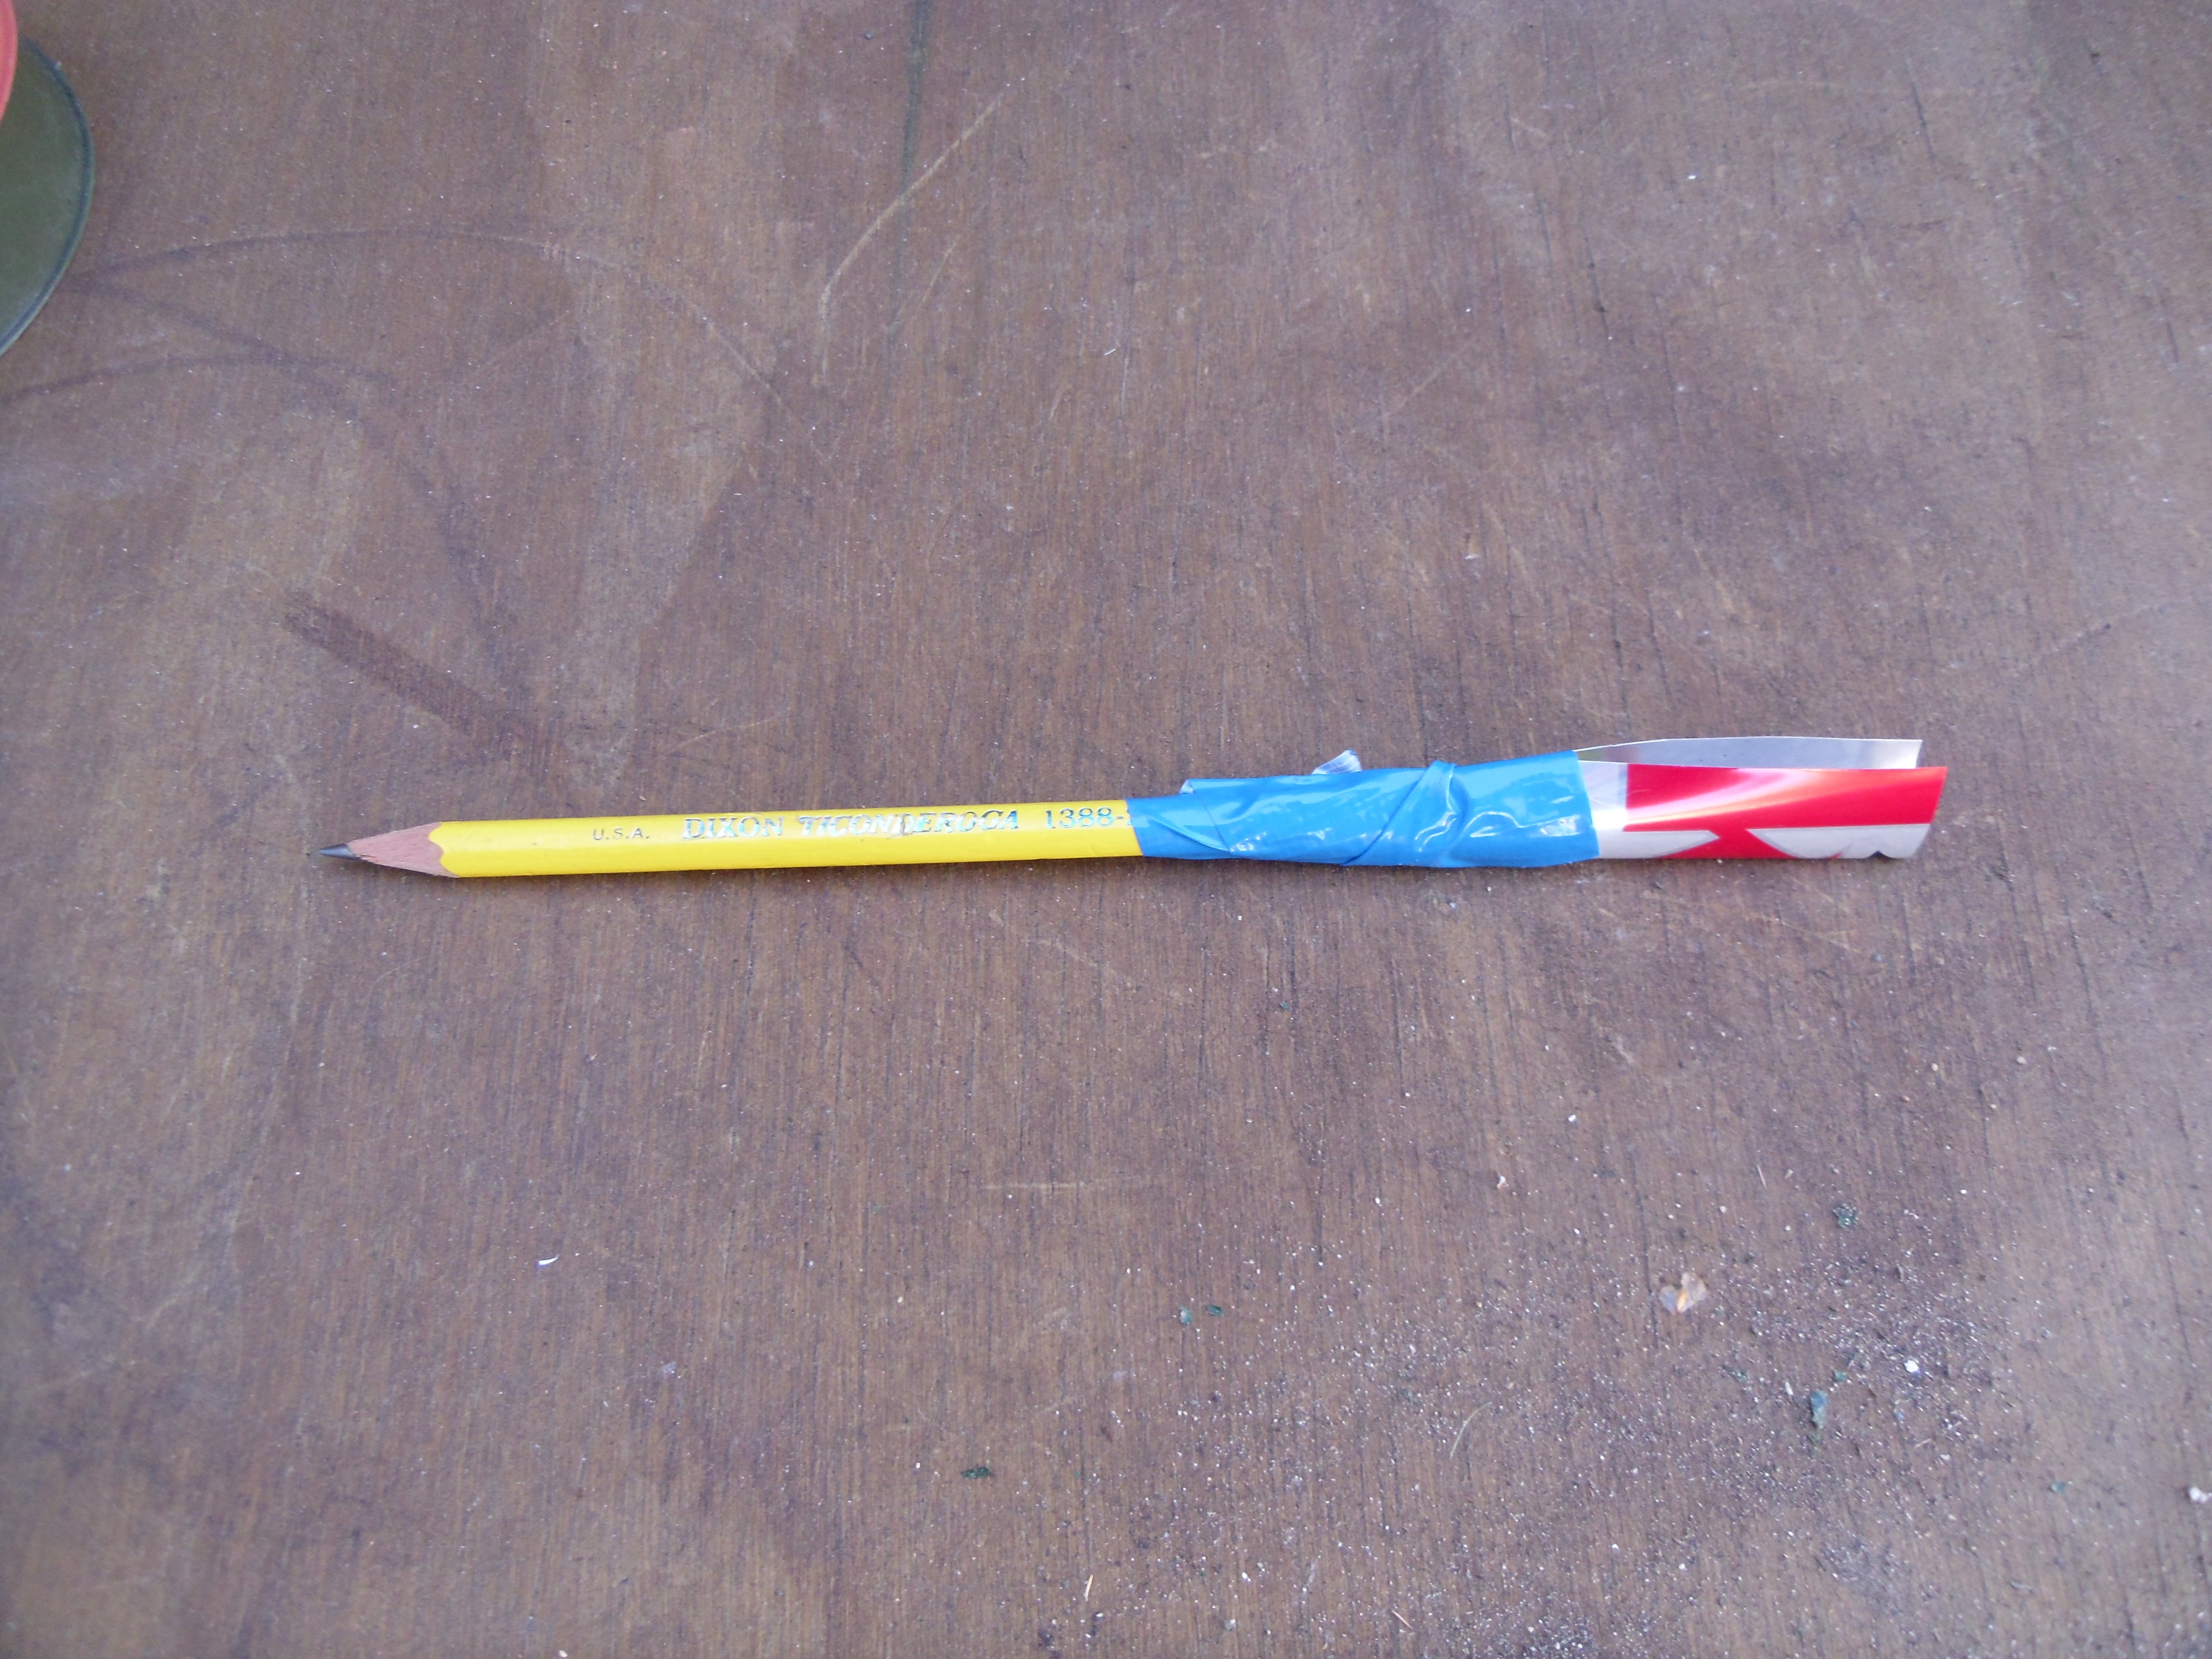
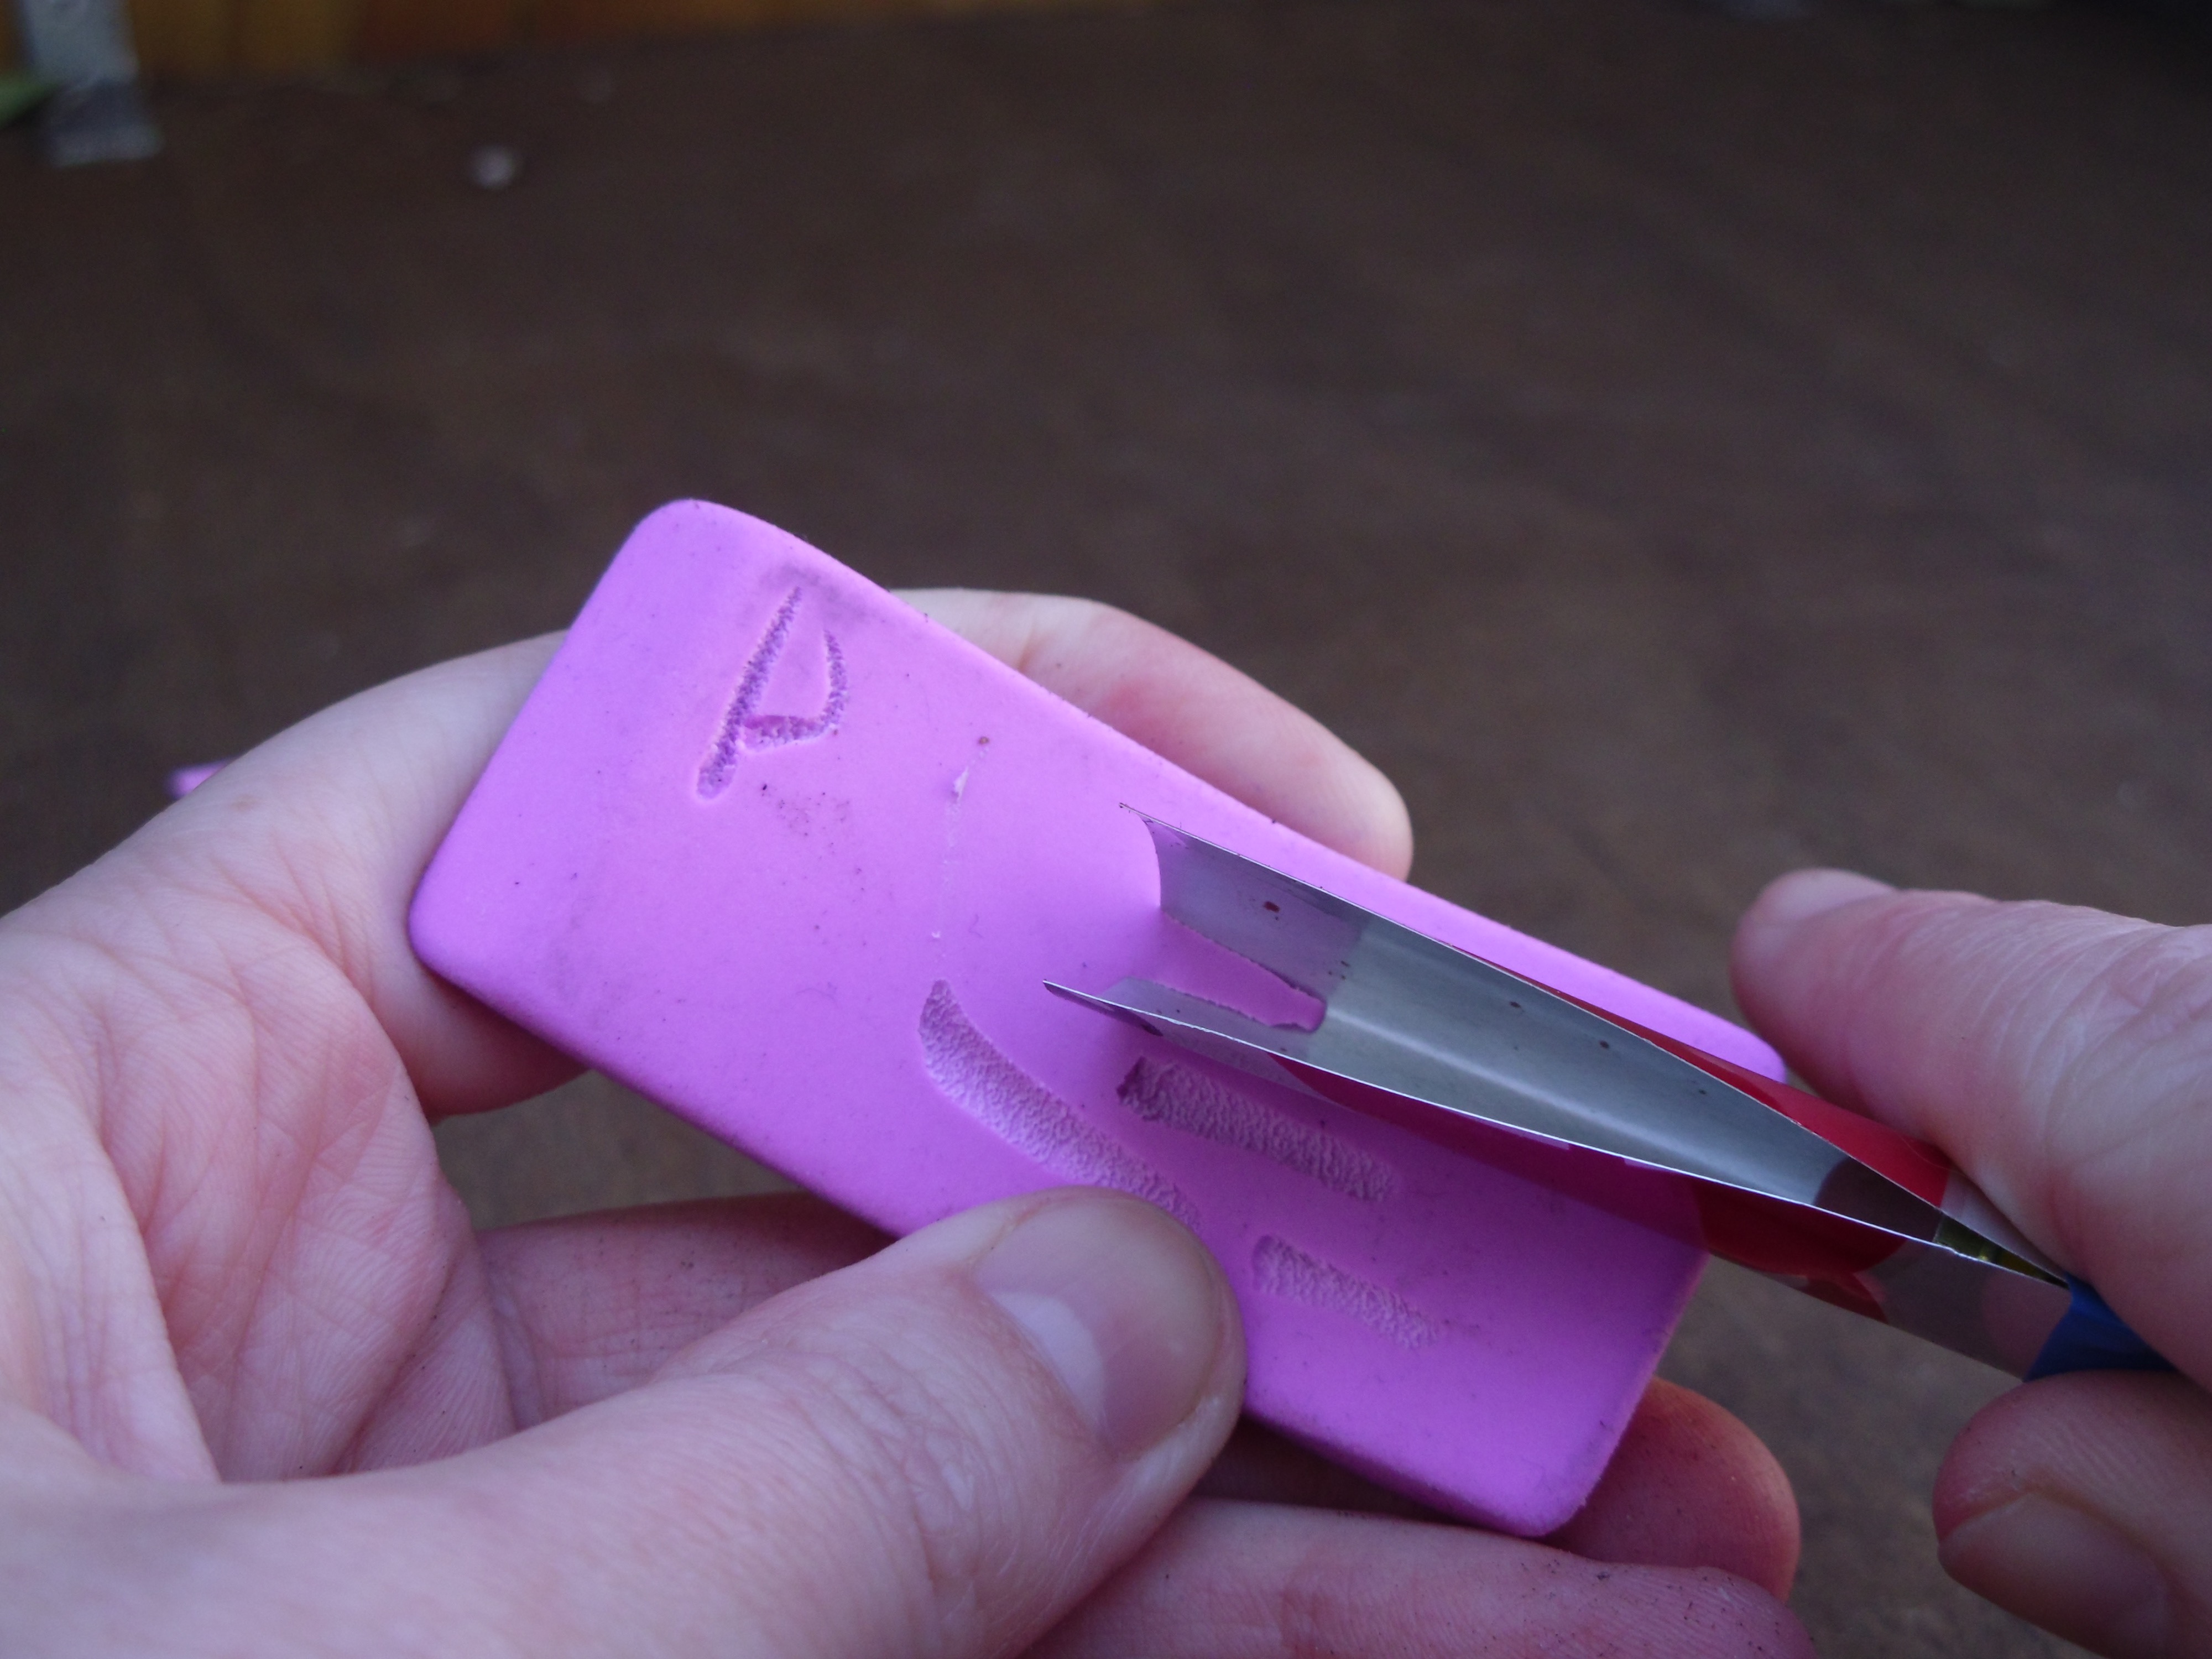
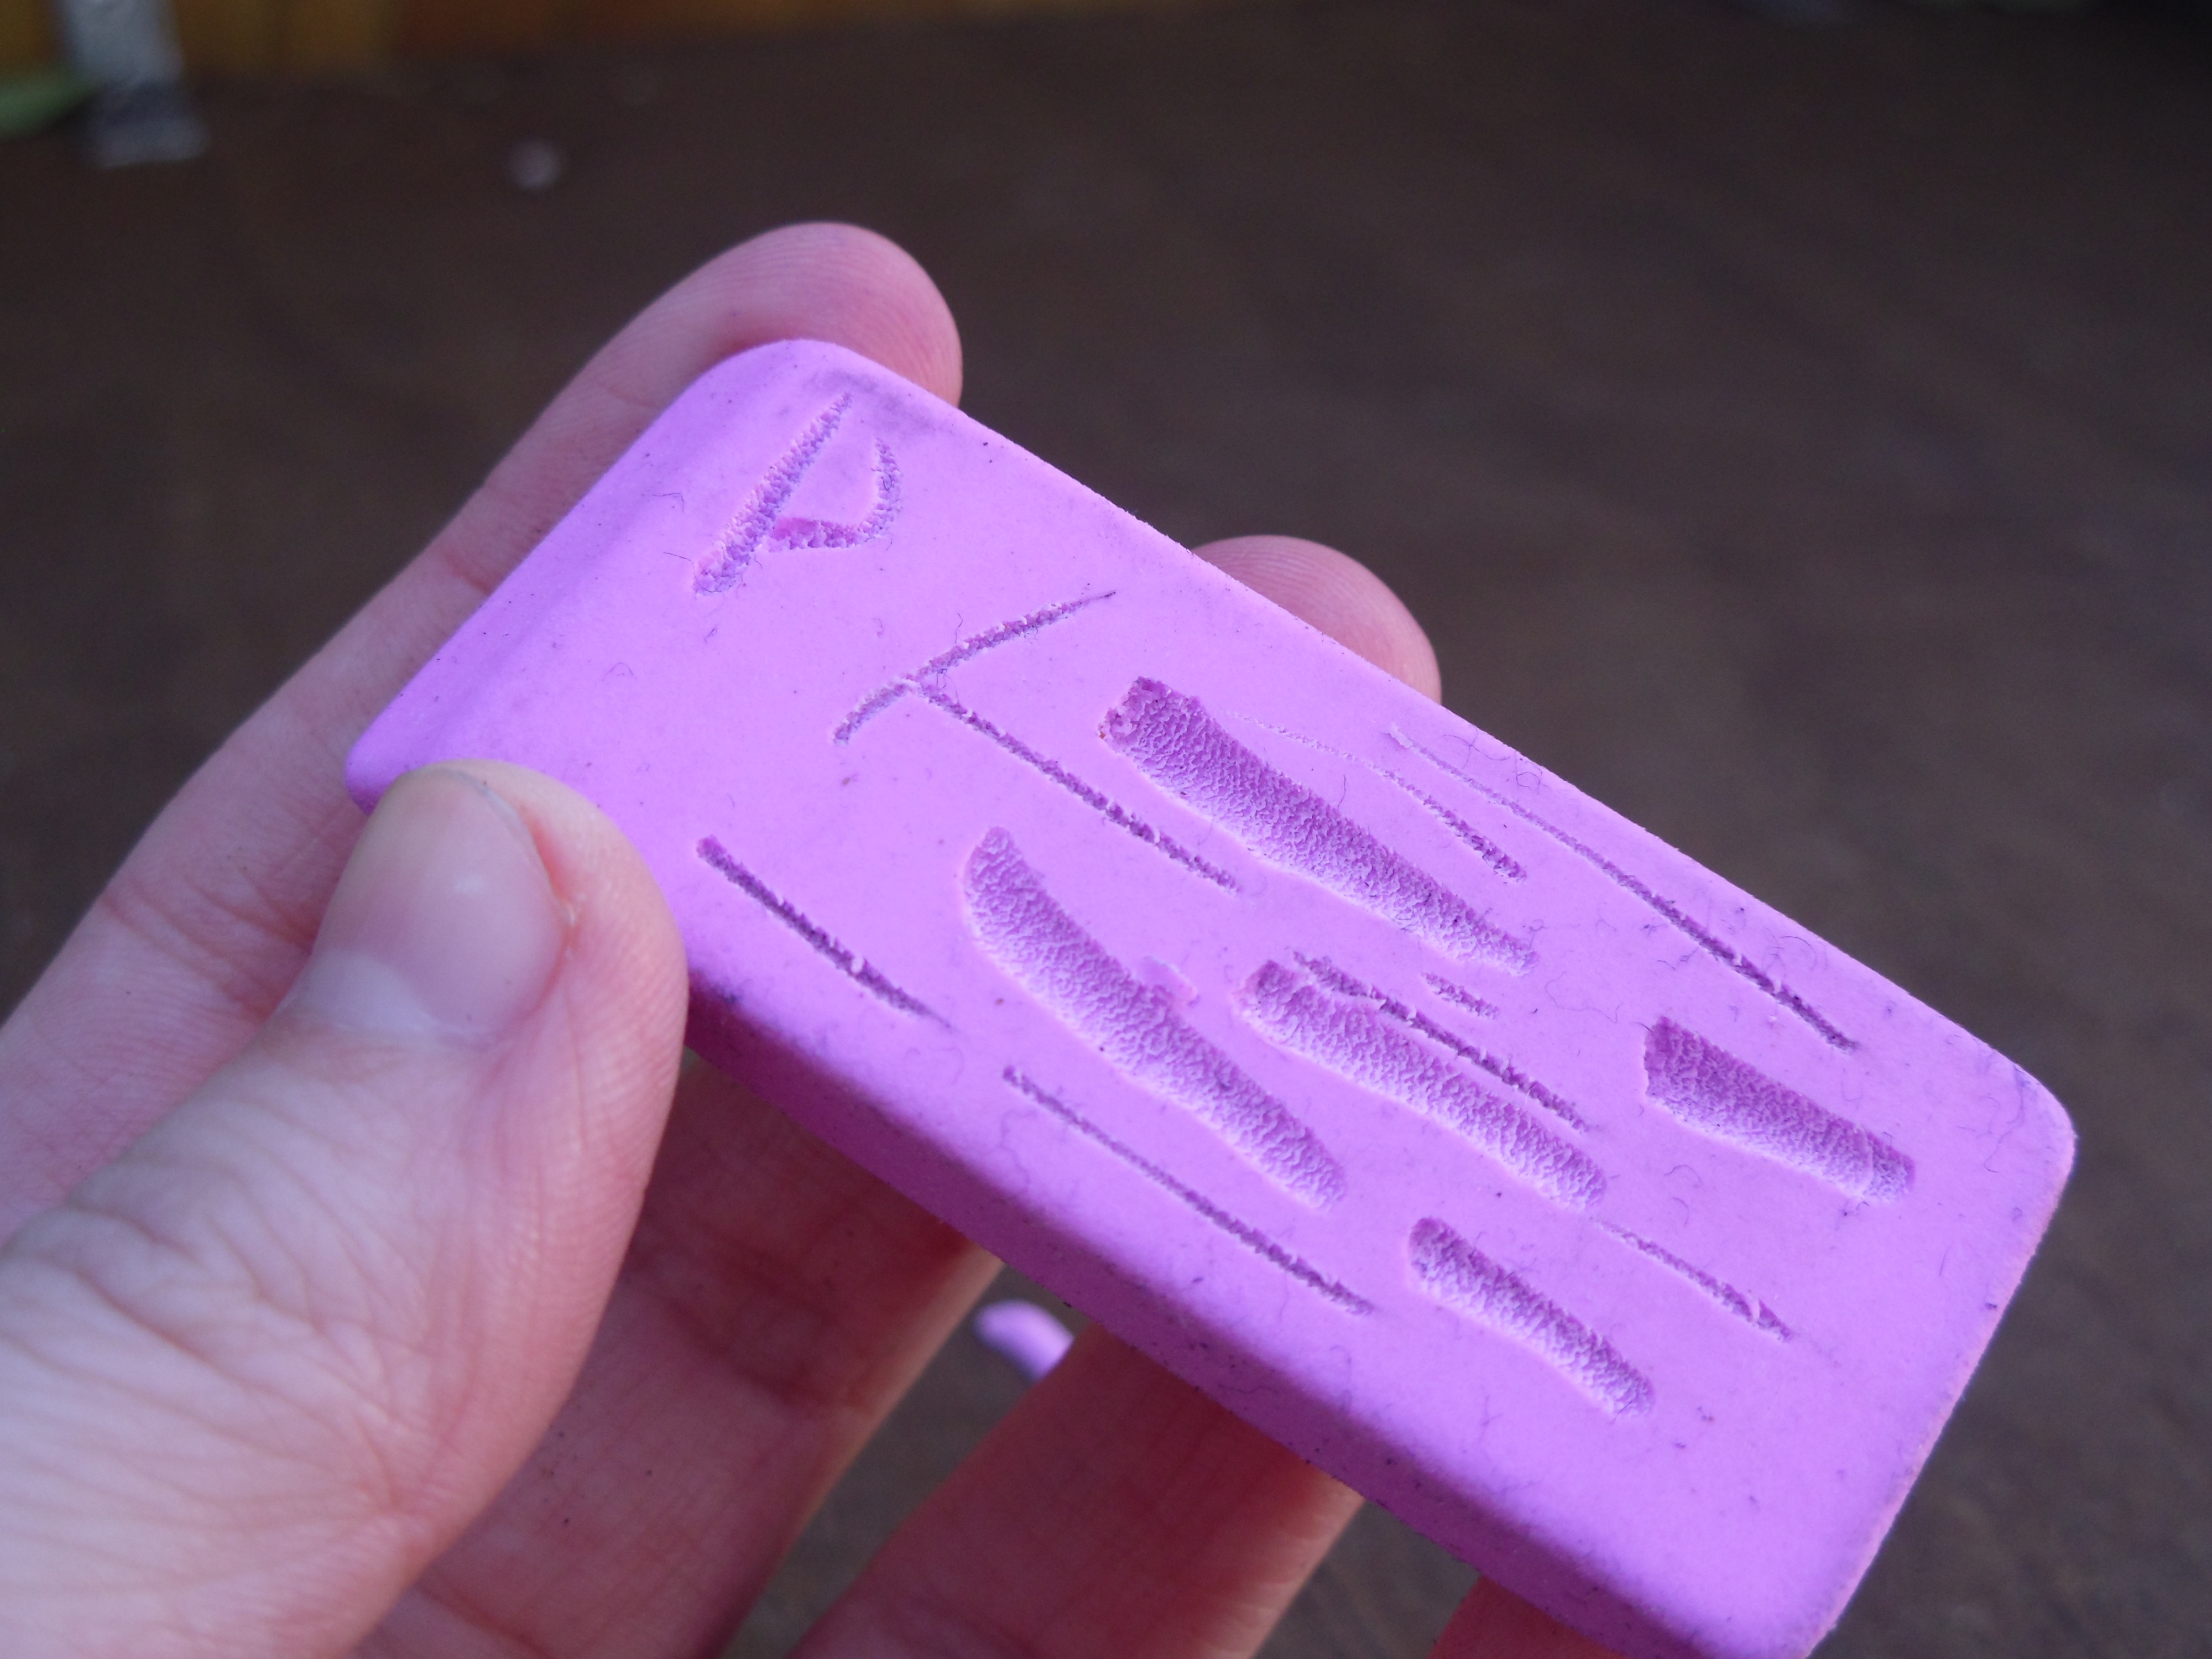
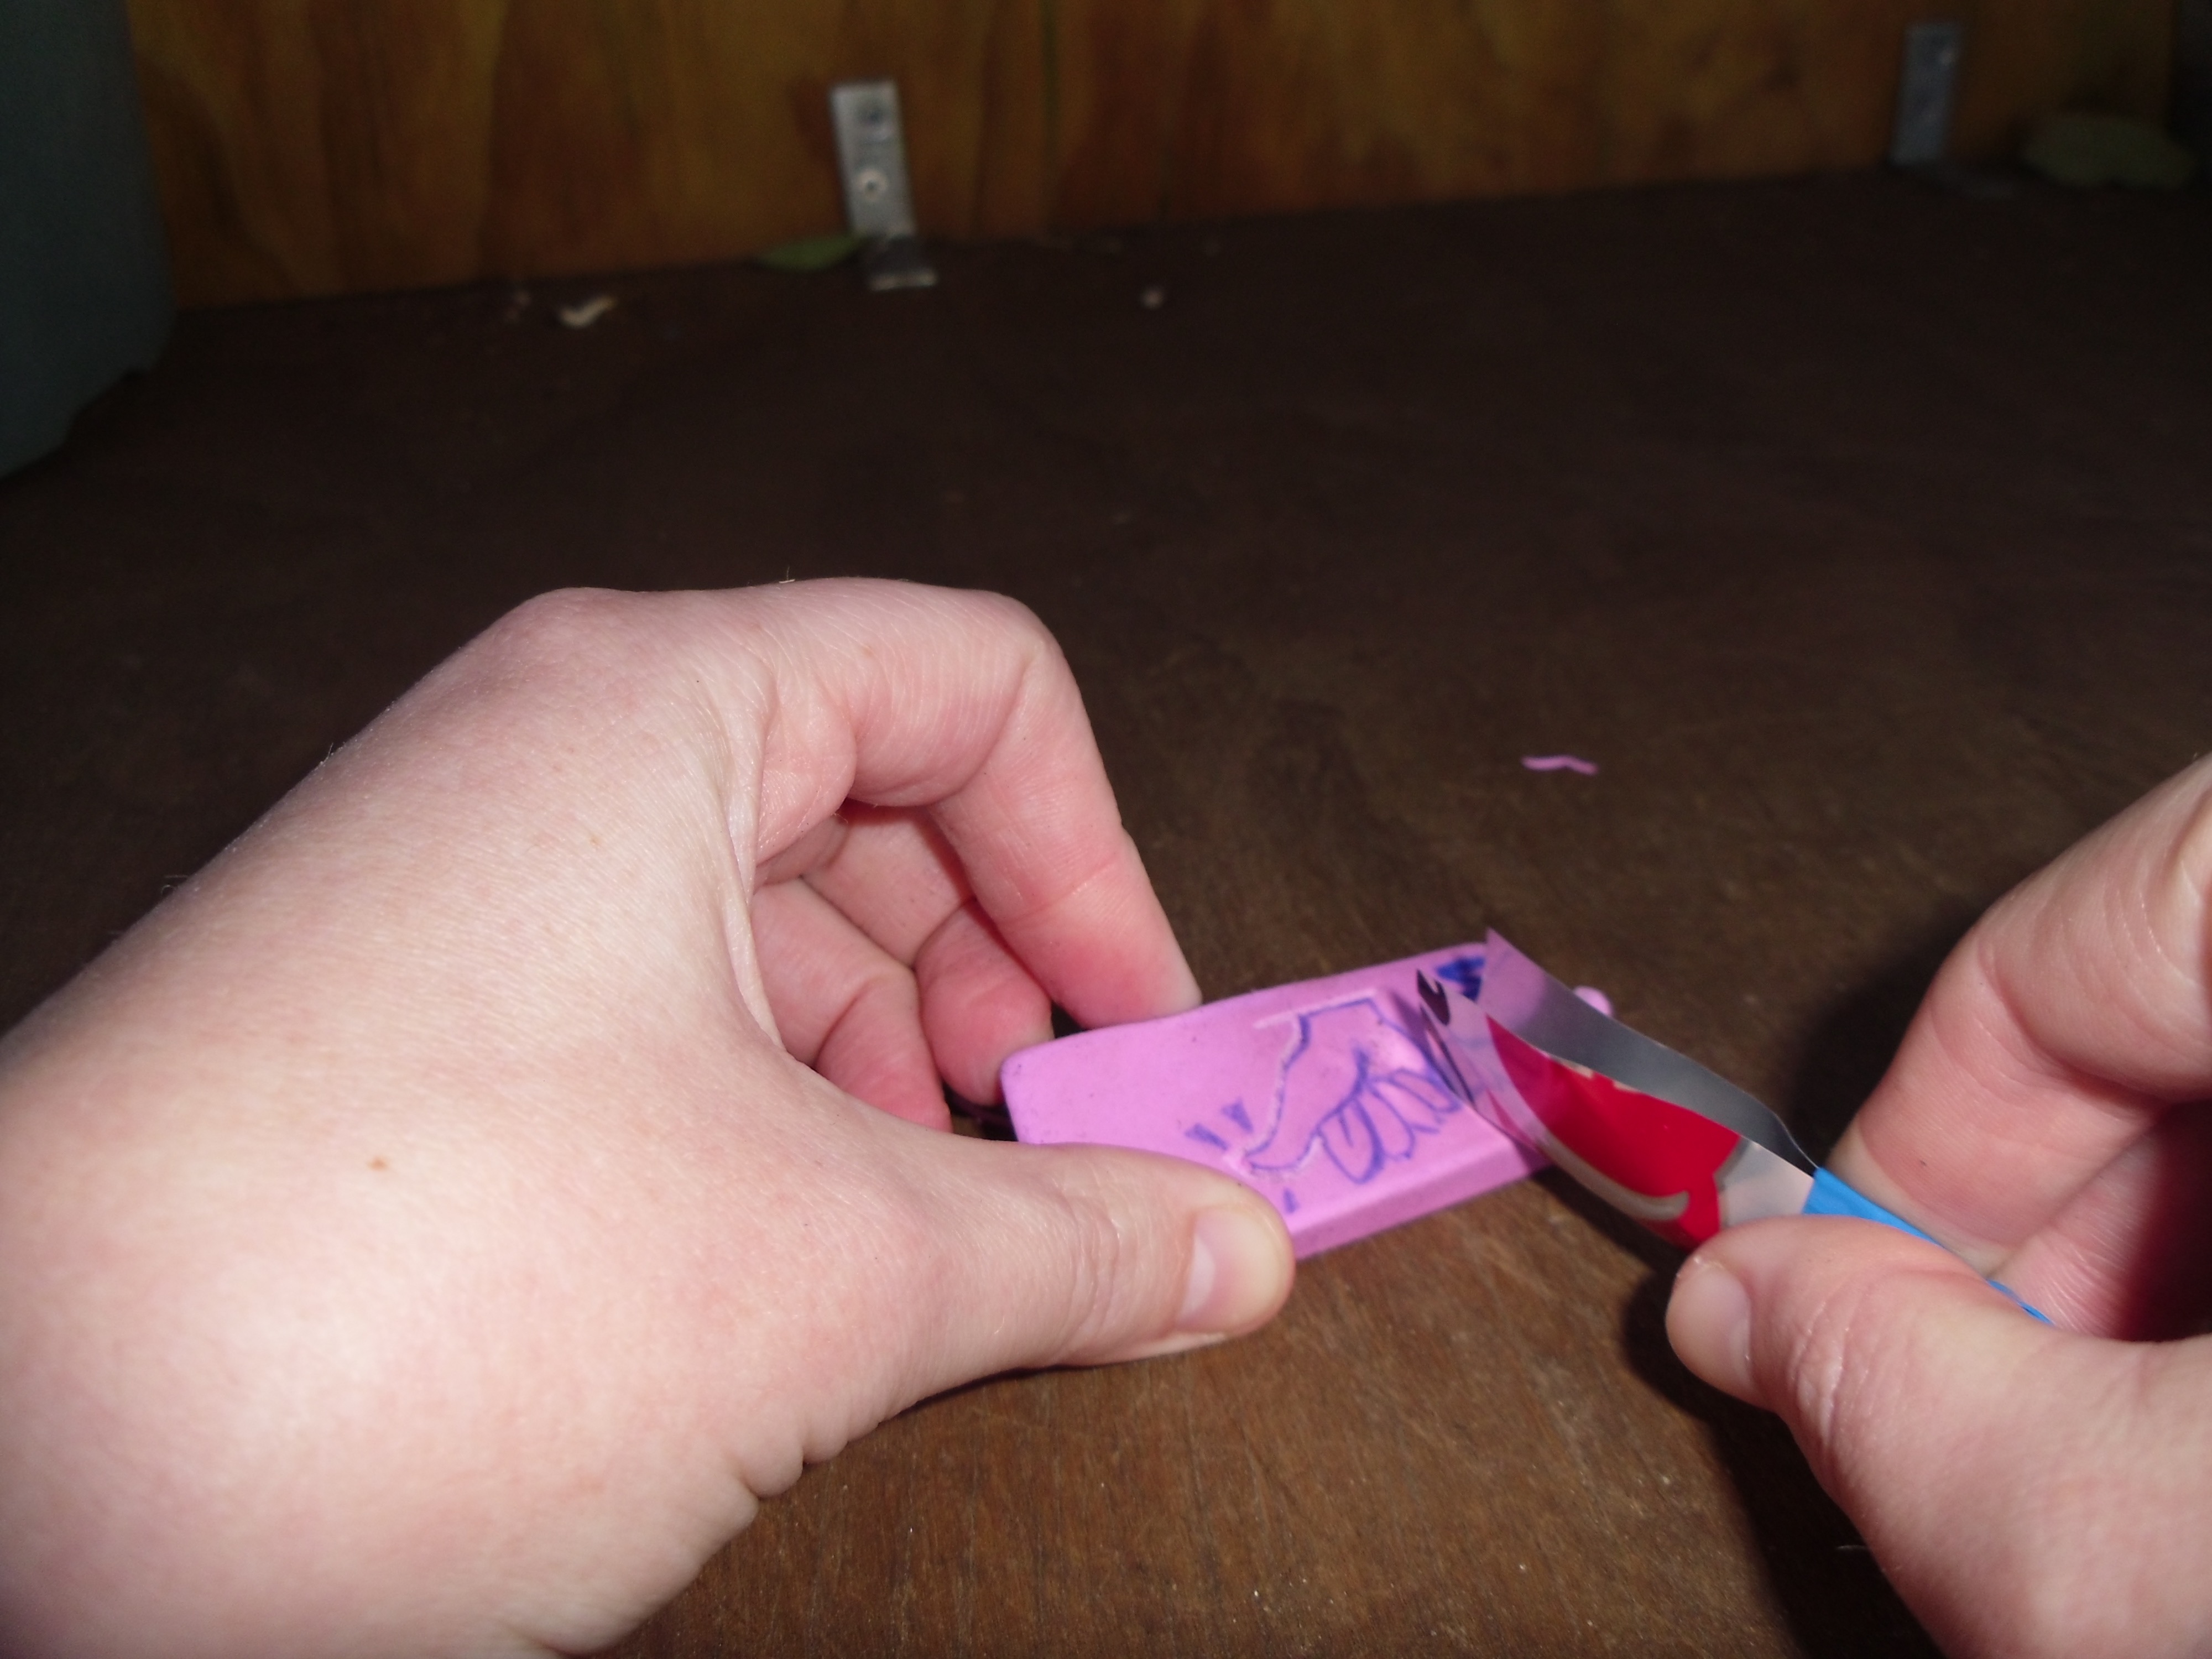
Recently, I saw some really impressive DIY calligraphy pens made out of soda cans, and I wanted to take that same idea and see if I could apply it to some other tool. The sharp edge of a cut aluminum can would lend itself well to the easy-to-carve material used for linocut printing and stamp-making, so I gave it a shot. I decided to take it a step further by using household items for the carving block and ink as well, meaning this project was completely free to make.

Let’s get real: you can buy a decent beginner’s linocut carving set, a 4″×6″ piece of artists’ linoleum, and ink for somewhere between $20–$30. By many standards this is not so expensive that the price of materials poses a major barrier to entry. So why try to make something that’s already pretty cheap for a pretty decent quality, and try to make it for free?

The flippant answer would be: Why not? A valid enough response for many of the things we make, but for me the real answer is curiosity without commitment. You can try before you buy using stuff you likely have in your recycling bin and junk drawer.

Even if you’re reading this at 2 a.m. and all the art stores in your town are (reasonably) closed, you could try this out right now and see if it’s right for you. Later, you can buy sturdier supplies if you find this whets your appetite for art, but for now this can be an extremely cheap (and by cheap I mean free!) start.

Project Steps

Cut the can

Cut a strip from a soda can. It should be somewhere between ½” and ¾” wide.

Try to cut out a slightly larger piece than you need and then trim it down with scissors so that there are no jagged edges

CAUTION: Be very careful cutting aluminum, as the sharp edges can easily slice your hand. Consider wearing cut-resistant gloves for added protection.

Fold

Fold your piece of aluminum in half. It doesn’t have to be a tight crease to begin with. You can always make the crease tighter as you go on, but this will affect how wide your cuts are.

Tape a handle

Wrap duct tape around one end of the aluminum to create a short handle. Leave enough tape over the back edge to fold over the end so there are no exposed edges where you will be holding it.

You can also insert a pen or pencil into the wedge of the aluminum and tape your makeshift gouge to that if you’d like a longer handle.

Try it out

No lino? Didn’t think so. We’ll be using an eraser instead.

Artist’s linoleum is typically made from some combination of linseed oil and cork dust or tree resin. You probably don’t have a piece of this lying around, so you can try carving a basic pink eraser instead. The “feel” of carving an eraser is very similar to that of linoleum. The major drawback of a pink eraser is size, texture, and durability. You get more grainy pieces when you cut, but these can be brushed out of the grooves.

Hold the gouge away from you and push forward through the material. Don’t point the gouge at yourself while you cut. Besides the risk of jabbing yourself in the eye, pointing the gouge towards your body is just a very awkward hand position.

The V-shape of the creased gouge means that deeper cuts will be wider, so experiment with that.

Practice until you feel confident that you can make a controlled cut with your makeshift gouge when you’re actually carving your design.

Carve your design

Draw a design out on the eraser. Your design will appear as a mirror-image when it’s actually stamped on paper, so keep that in mind, especially if you want to use text.

The eraser wants to stretch a bit, which can make edges tricky.

If you find the edge of your makeshift gouge seems to be dulling or bending inward, you can trim it for a fresh edge.

Print

So… assuming you didn’t have any of the normal supplies for this project, I’ll assume you don’t have ink either. The ink from a permanent marker won’t be absorbed by the eraser, so you can draw the ink directly on the stamp.

Full disclosure: the black ink on the left was done with block printing ink. It’s more opaque.

Comparison and caveats

For comparison I made another stamp with the same motif using my store-bought carving gouge and a speedy-carve lino block. There’s not a huge difference in quality between the finished prints, but there is a big difference in performance.

Each cut is smoother and cleaner with the lino block and gouge, making details like the letters at the bottom easier and faster to finish off. It was also easier to carve away larger negative spaces.

My personal carving gouge is obviously more durable. While I only used the aluminum can gouges for this small stamp before tossing them, I have been using this speedball carving gouge for years. Durability also makes carving curved edges easier than with the soda can gouge, which wants to bend if it’s not moving in a straight line.

Conclusion: if you want to give this a shot, the aluminum can gouge and eraser carving block will make an alright stamp. The household nature of the supplies make this an easy way to get started. However, you’ll get better longevity and control if you choose to buy specific tools for the job.