lego-candle-35

I’ve been fascinated by fire ever since I was a kid. It’s not exactly the safest thing in the world to explore, especially for children. While growing up, my older brother taught me a lot of fun things: making fire balls we could toss at each other using toilet paper and rubbing alcohol, creating torches by modifying BIC lighters, and how to temporarily set my hand on fire with butane gas…

Clearly, he was never concerned with personal safety. However now that I’m older, I try not to unnecessarily compromise my safety; I’ve channeled my fascination with fire into an interest in candles. I’ve found a lot of joy in learning how to burn and maintain candles of different sizes and shapes (did you know there’s a proper way to burn them? You can’t just light a candle all willy-nilly!), but I’d never actually made one myself. I just assumed that candle making would be like what I’d seen on TV: dipping a wick into molten wax over and over until reaching the desired size.

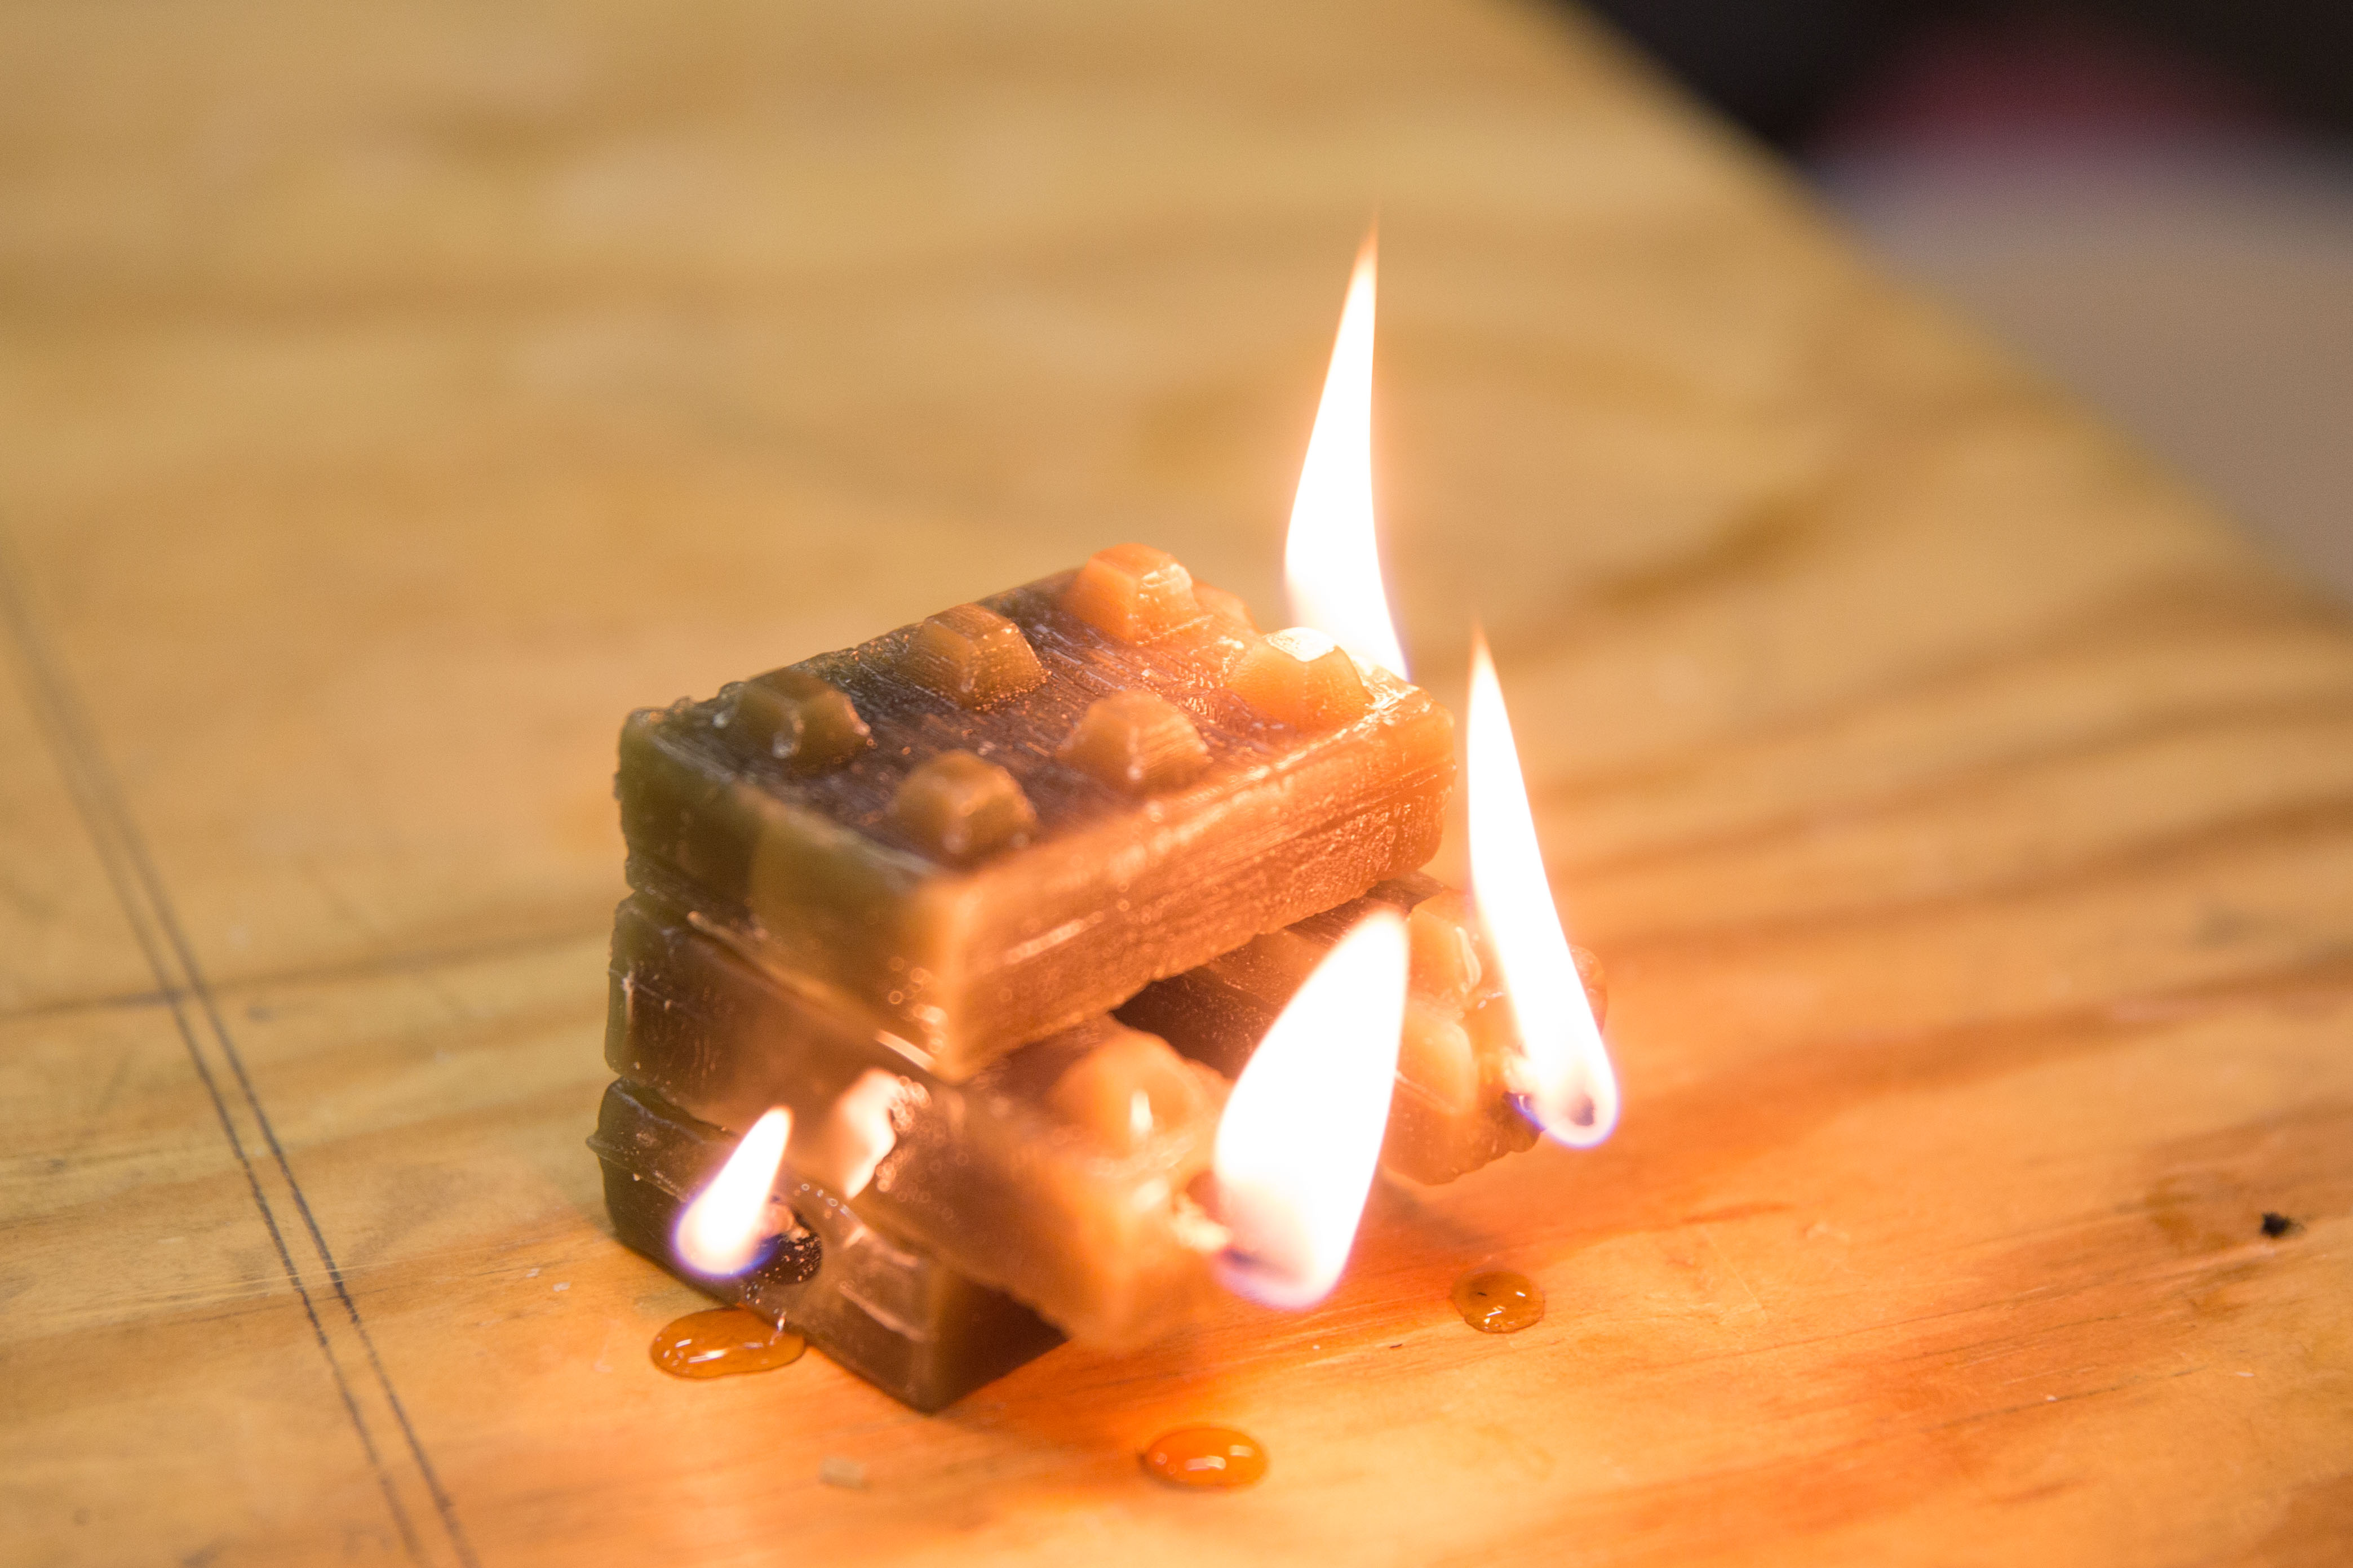
Recently, we were celebrating a birthday in the Make: Lab and I had the privilege of going to the store to buy the candles. I found these really awesome Lego-like candles and I thought they would be the perfect candles for a Maker. When I got them out of their packaging, I was disappointed to find that unlike actual Lego, these candles could not be stacked on each other. It didn’t matter that candles aren’t for building with, the fact that they could not be stacked really bugged me, so I set out to make some that could using a process similar to sandcasting.

This project will show you how to make candles using a two piece mold. With this method, you can cast any object you want out of wax and have the entire form come out exactly as you want it. In my project, I 3D printed a pattern, which included built-in sprues and registration keys. However, it’s just as easy to 3D print the object itself and add in the sprues and registration keys as you go. You don’t actually have to 3D print anything at all if you’ve already got an object you want to replicate!

Project Steps

Create the pattern

In order to cast wax (or anything really) you must first create a pattern. Using 3D modeling software, your imagination, and a 3D printer, you can create any object your heart desires.

These are some elements to keep in mind when designing a pattern for casting:


  • the location of the sprue(s) (i.e. where the wax will be poured into the mold)
  • the location of the registration keys (these help the two parts of the mold match up properly)
  • draft angles (so your candle will come out of the mold and not get stuck)
  • and finally, the location of the gates, if you need them (they let the molten wax flow from one cavity to the next when there are separate parts)

Since we’re making candles and aren’t really concerned about incredible accuracy, we don’t have to worry about various allowances/tolerances which are important when casting something that is going to be machined.

Once your model has taken into account all of these things, print it out. If you want to create the same candles I’ve made, you can download the STL file for my pattern from Thingiverse.

If you’re not creating a design from scratch, you can embed the object you want to replicate into modeling clay and use acorn nuts as registration keys. If you use this method, make sure to include a sprue and gates, as needed.

Clean up and prepare the pattern

If you are not 3D printing anything, you can skip this step entirely.

Use a handheld rotary tool to clean up any of the stray filament strands.

Once the print is cleaned up, brush on a coat or two of 3D print coating epoxy to make sure that your pattern is nice and smooth. You’ll want to make a tray out of aluminum foil to extend the amount of time the epoxy will stay liquid. If it’s concentrated in a small area, it will quickly heat up and harden before you’re done brushing it on.

If you are impatient and don’t want to wait for it to dry, you can speed up the dry time by using a heat gun. Once it’s dry, sand as needed.

You may once again need to use a handheld rotary tool to clean up the pattern where too much epoxy accumulated.

Create a frame for casting

Make a frame to hold the rubber silicone while it sets around the pattern. When planning out my pattern design, I did not include a lip on which to place the frame so I had to get creative with my casting process. I ended up creating an enclosure that was slightly larger than the pattern itself.

Use clamps to help keep all the pieces together while screwing/nailing together the frame.

The plywood I was using was too thin to hold together with screws so I used nails to keep my enclosure together. Since I was going to take the enclosure apart once the mold was set, I drilled pilot holes to make it easier to remove the nails later.

Prepare for silicone casting

Use a hot glue gun to seal all of the edges so that the liquid silicone does not leak during casting.

I created a perimeter of modeling clay along the inside of the enclosure to further seal the pattern so that only one side would be cast at a time.

Insert the pattern into the enclosure. If your design takes into account the frame, the modeling clay would go around the perimeter of the frame where it meets the pattern to create a seal.

Cast the first half of the pattern

Mix the silicone rubber according to the manufacturer’s instructions.

Pour the liquid mixture onto the lowest point of the pattern. Make sure to pour slowly and to have a thin stream to prevent any air bubbles in the mold.

Let the mold sit for as long as required by the manufacturer.

Cast the second half of the pattern

Once the first half has set, separate the frame from the pattern and mold, but make sure not to pull the cast silicone off of the pattern quite yet.

Place the pattern and cast silicone mold back into the enclosure with the second side face up so that it can be cast.

Prepare more of the liquid silicone compound and pour it into the frame to cast the second side.

Let the mold sit for as long as required by the manufacturer.

Clean up the silicone mold

Once the second half of the mold has set, remove it from the enclosure.

Remove the pattern from the mold.

Use a craft knife to clean up the mold. Remove anything that should not be on the mold.

Prepare for the mold wax casting

Cut two pieces of cardboard that are the same size as the the silicone mold. These will help distribute pressure evenly as the wax is hardening later.

Place wicks in the mold for each candle. The clips of the wicks that I bought were too wide for the mold so I had to trim them a bit.

Put the two parts of the mold together and sandwich it between the cardboard pieces.

Evenly space rubber bands around the mold.

Prepare the wax

Put wax in a glass container.

The best way to melt wax is via water bath. Fill a stove-safe container with water so that it comes up to about 3/4 of the height of the glass container. Put it on a hot plate.

Once the wax is melted, this is the time to add in any fragrance oils to create scented candles.

Cast the candles

Stand the mold upright and remove the glass container with the melted wax from the water bath.

Slowly pour the wax into each sprue.

Use paper clips to help keep the wicks centered in the candles. Be sure to pour the wax before securing the wicks with paper clips, or it will be extra messy.

Put the mold in the refrigerator and leave it in there for at least 1 hour, longer if the candles are larger.

Clean up the candles

Once the candle wax has set, remove the candles from the mold.

Use a craft knife to carefully remove the sprues, while making sure not to cut off the wicks. Use the knife to clean up the rest of the candle as needed.

Cut the wicks so that each candle has a 1/4″ wick.

Enjoy the candles

Since these candles can be stacked, if you make enough, you can build anything you want with them (without lighting them).

Light the candles and let them fill your home with lovely scents and satisfaction.