Many people start seeds early indoors to give their plants a head start, especially in places with a short growing season. I don’t know about you, but I don’t like having lots of little containers of dirt and water hanging around in the house – I prefer to start my seeds outside in the garden. However, some plants need those few extra weeks. Here’s a way to plant seeds outside when it’s still too cold, and reuse containers besides!
Projects from Make: Magazine
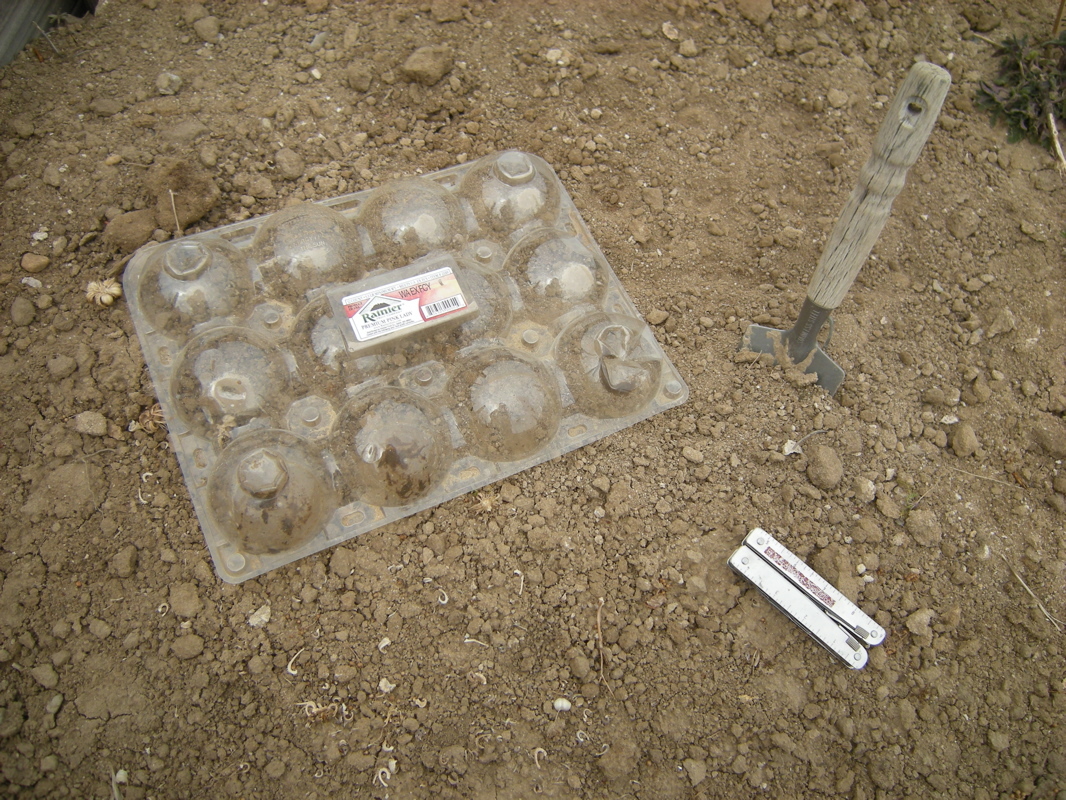
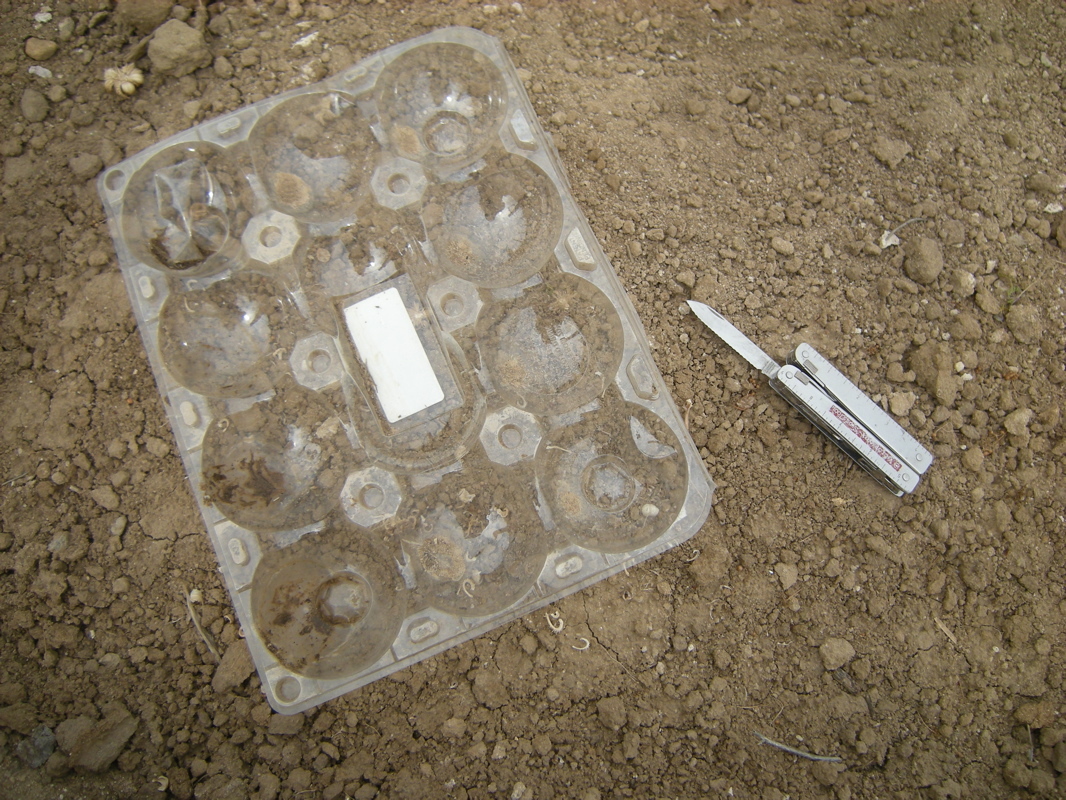
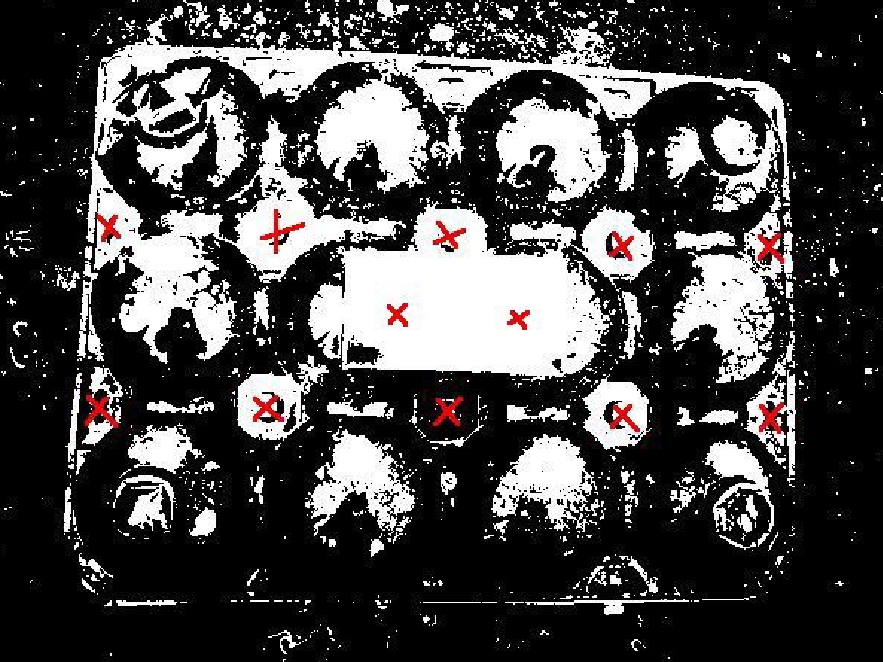
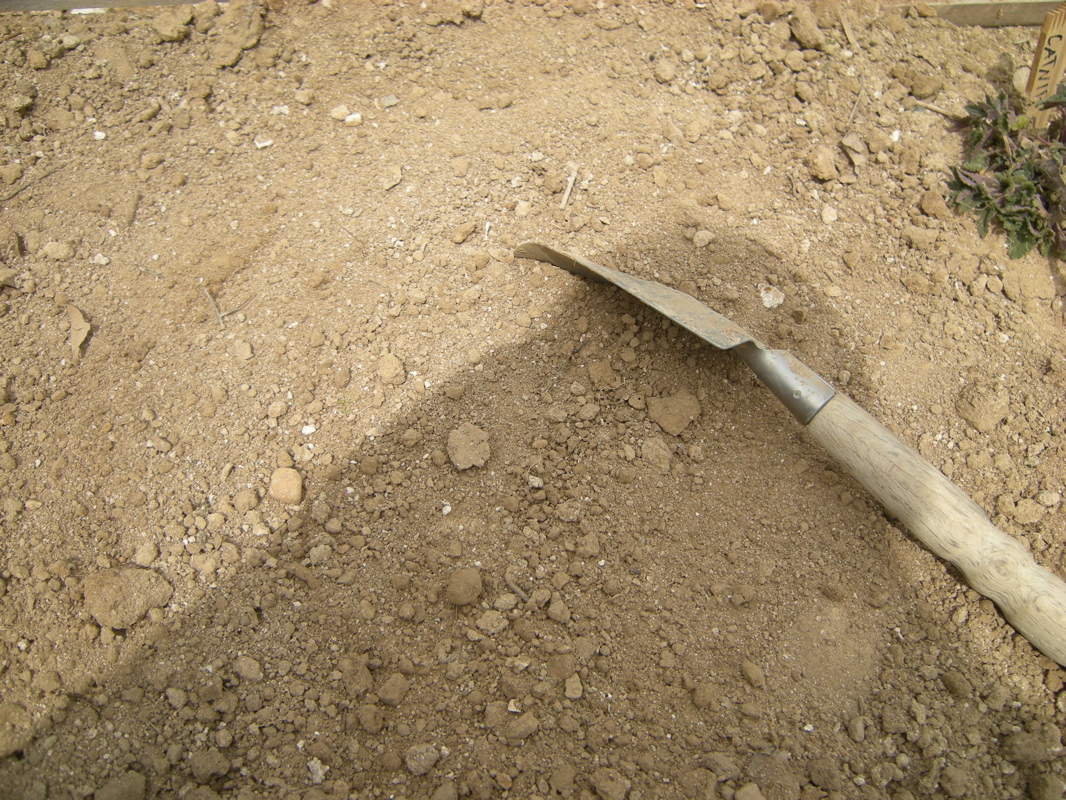
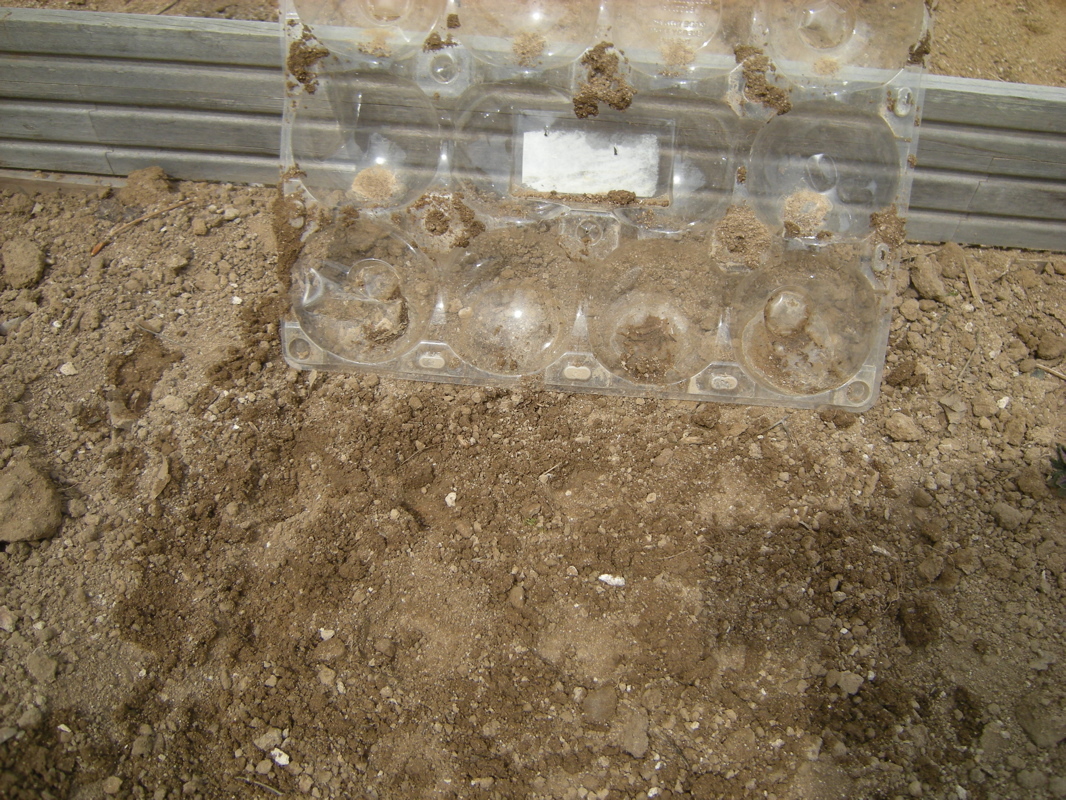
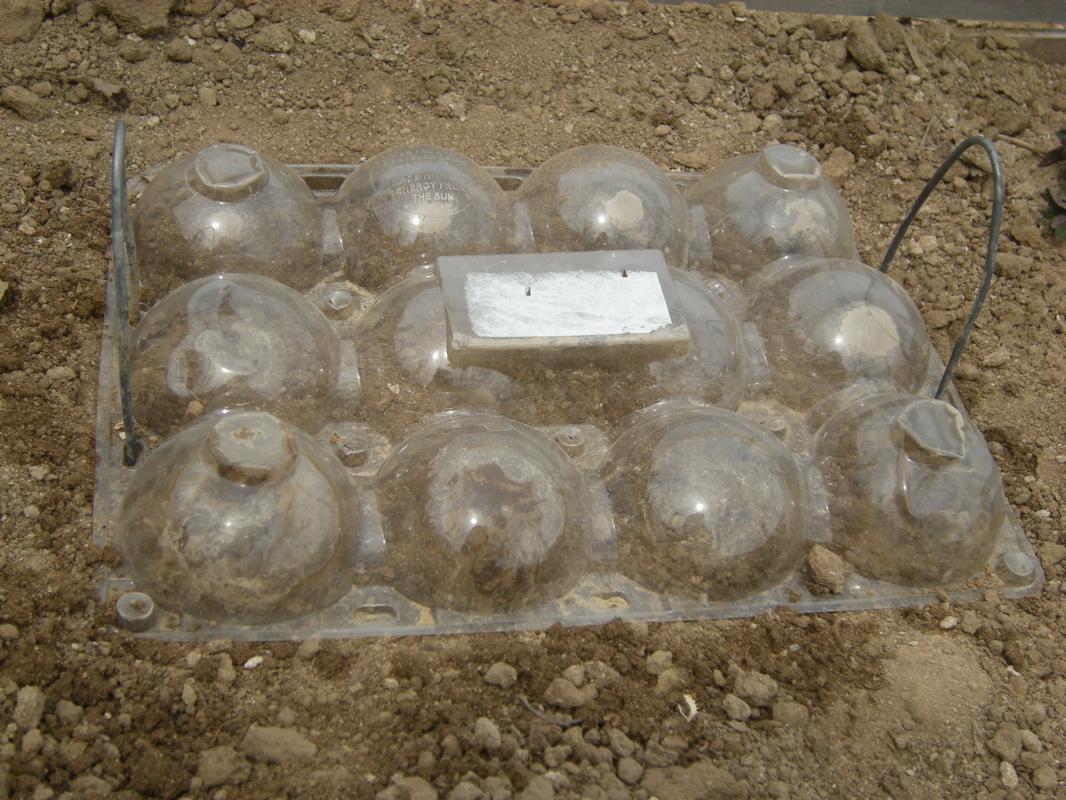
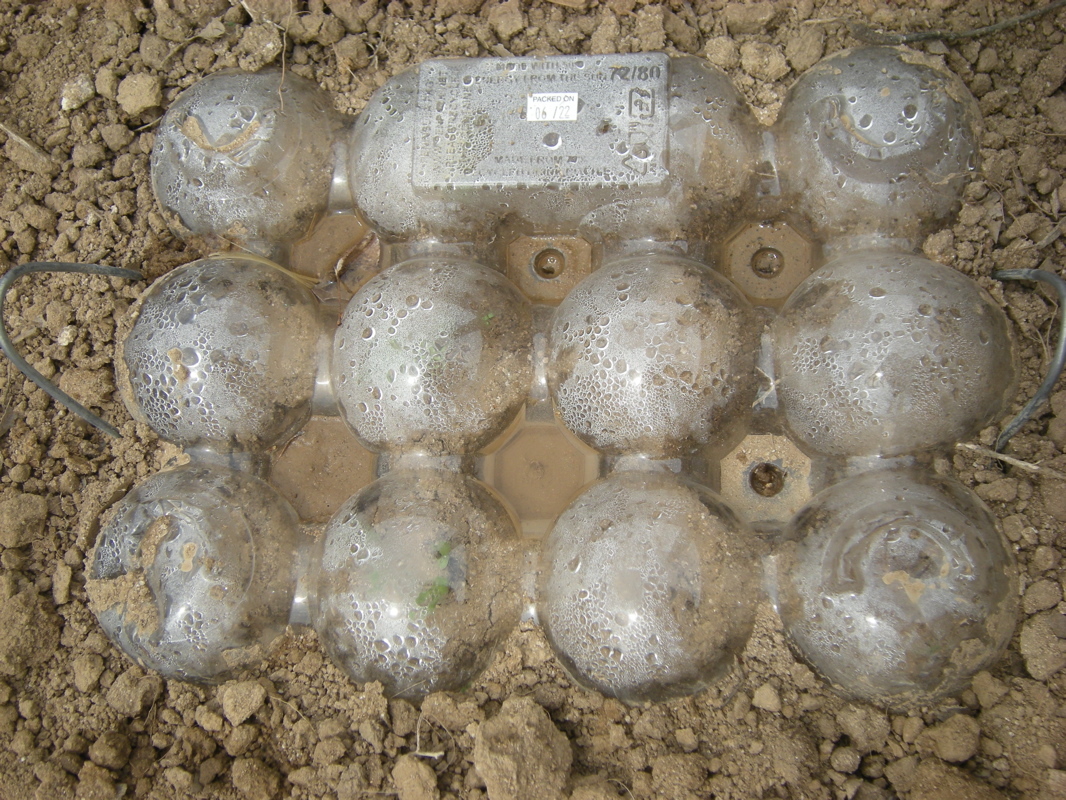
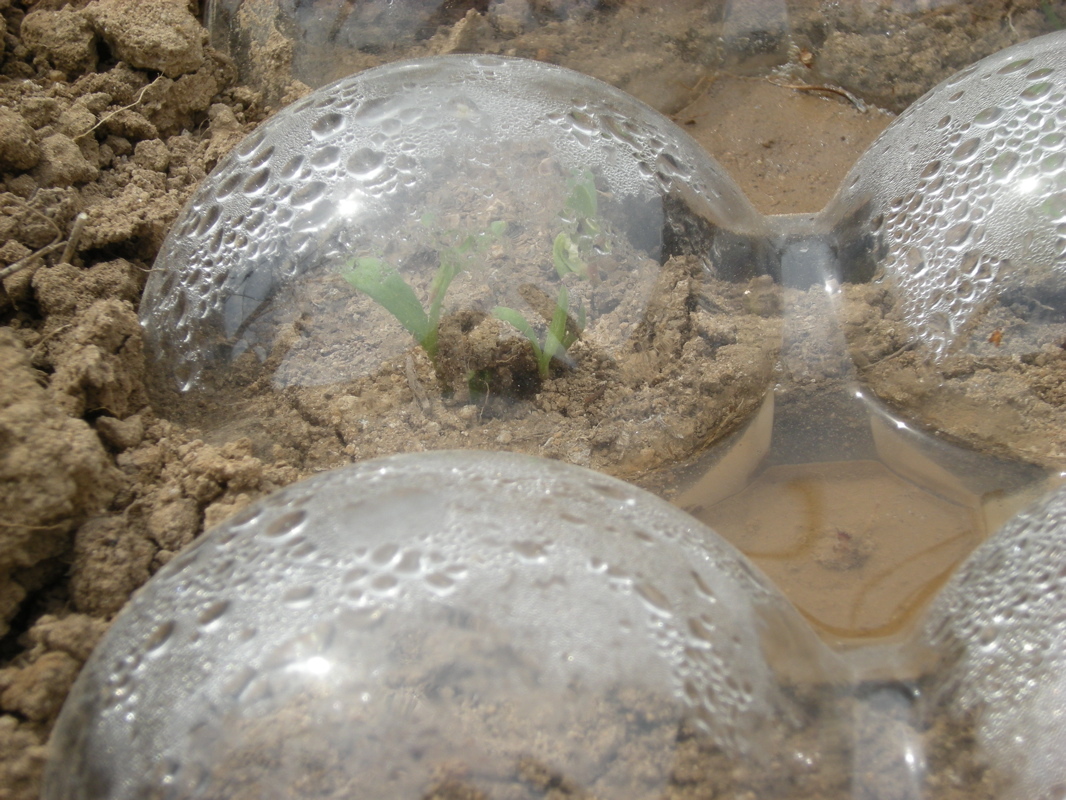
Cheap & Easy Mini-Greenhouses
Make cold-weather plant covers for starting seeds outside when it's still cold.