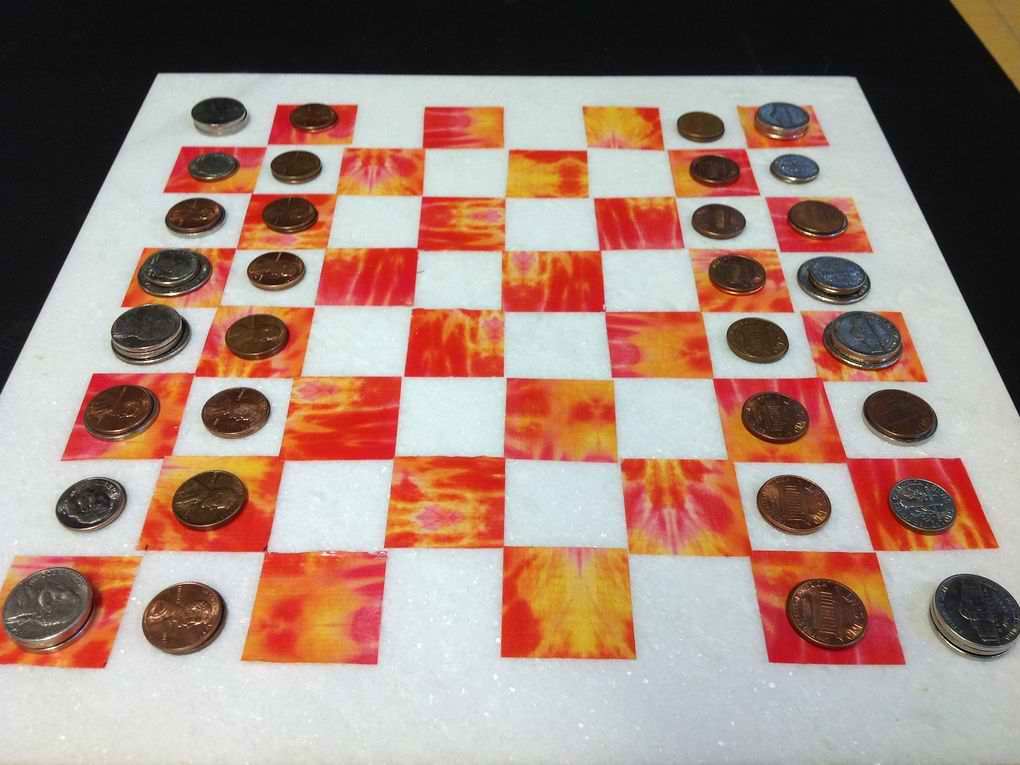
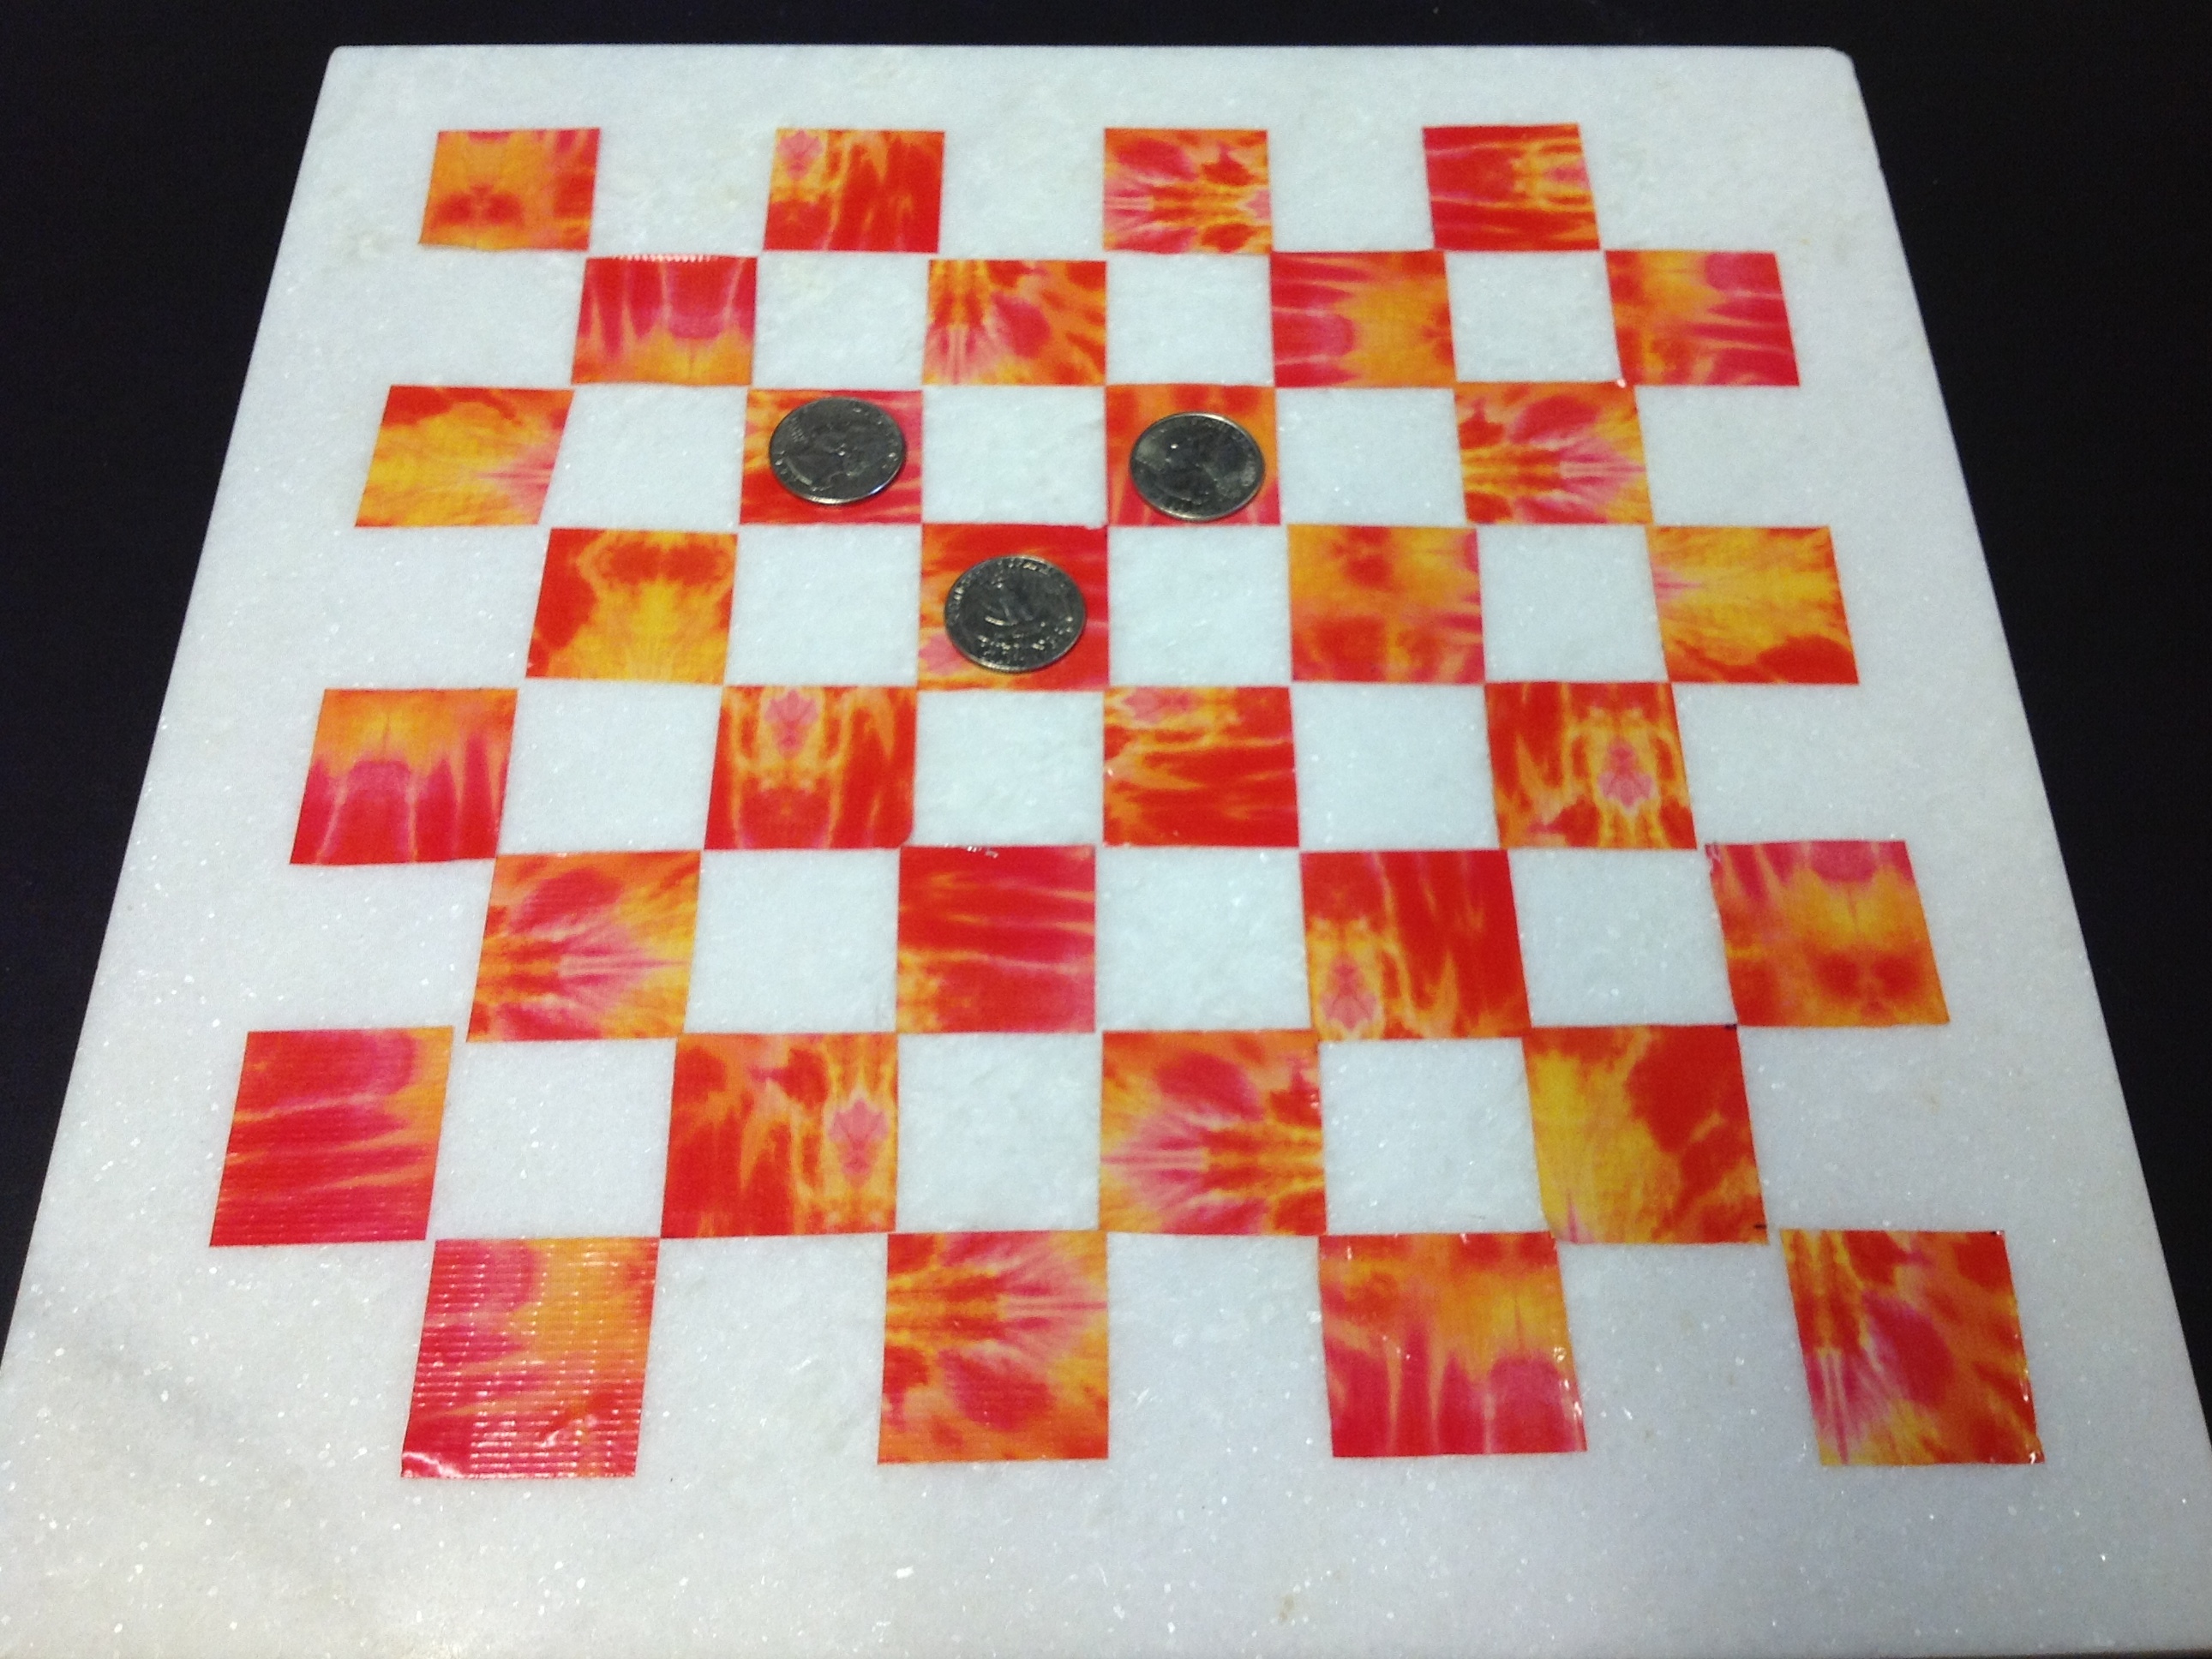
My kids love to play chess/checkers with their colorful new boards made from remnant 12″x12″ marble! Duct tape is an amazing material. We made it easy to work with by adding aluminum foil before the cutting process. Spare coins can serve as checkers or chessboard pieces!

Project Steps

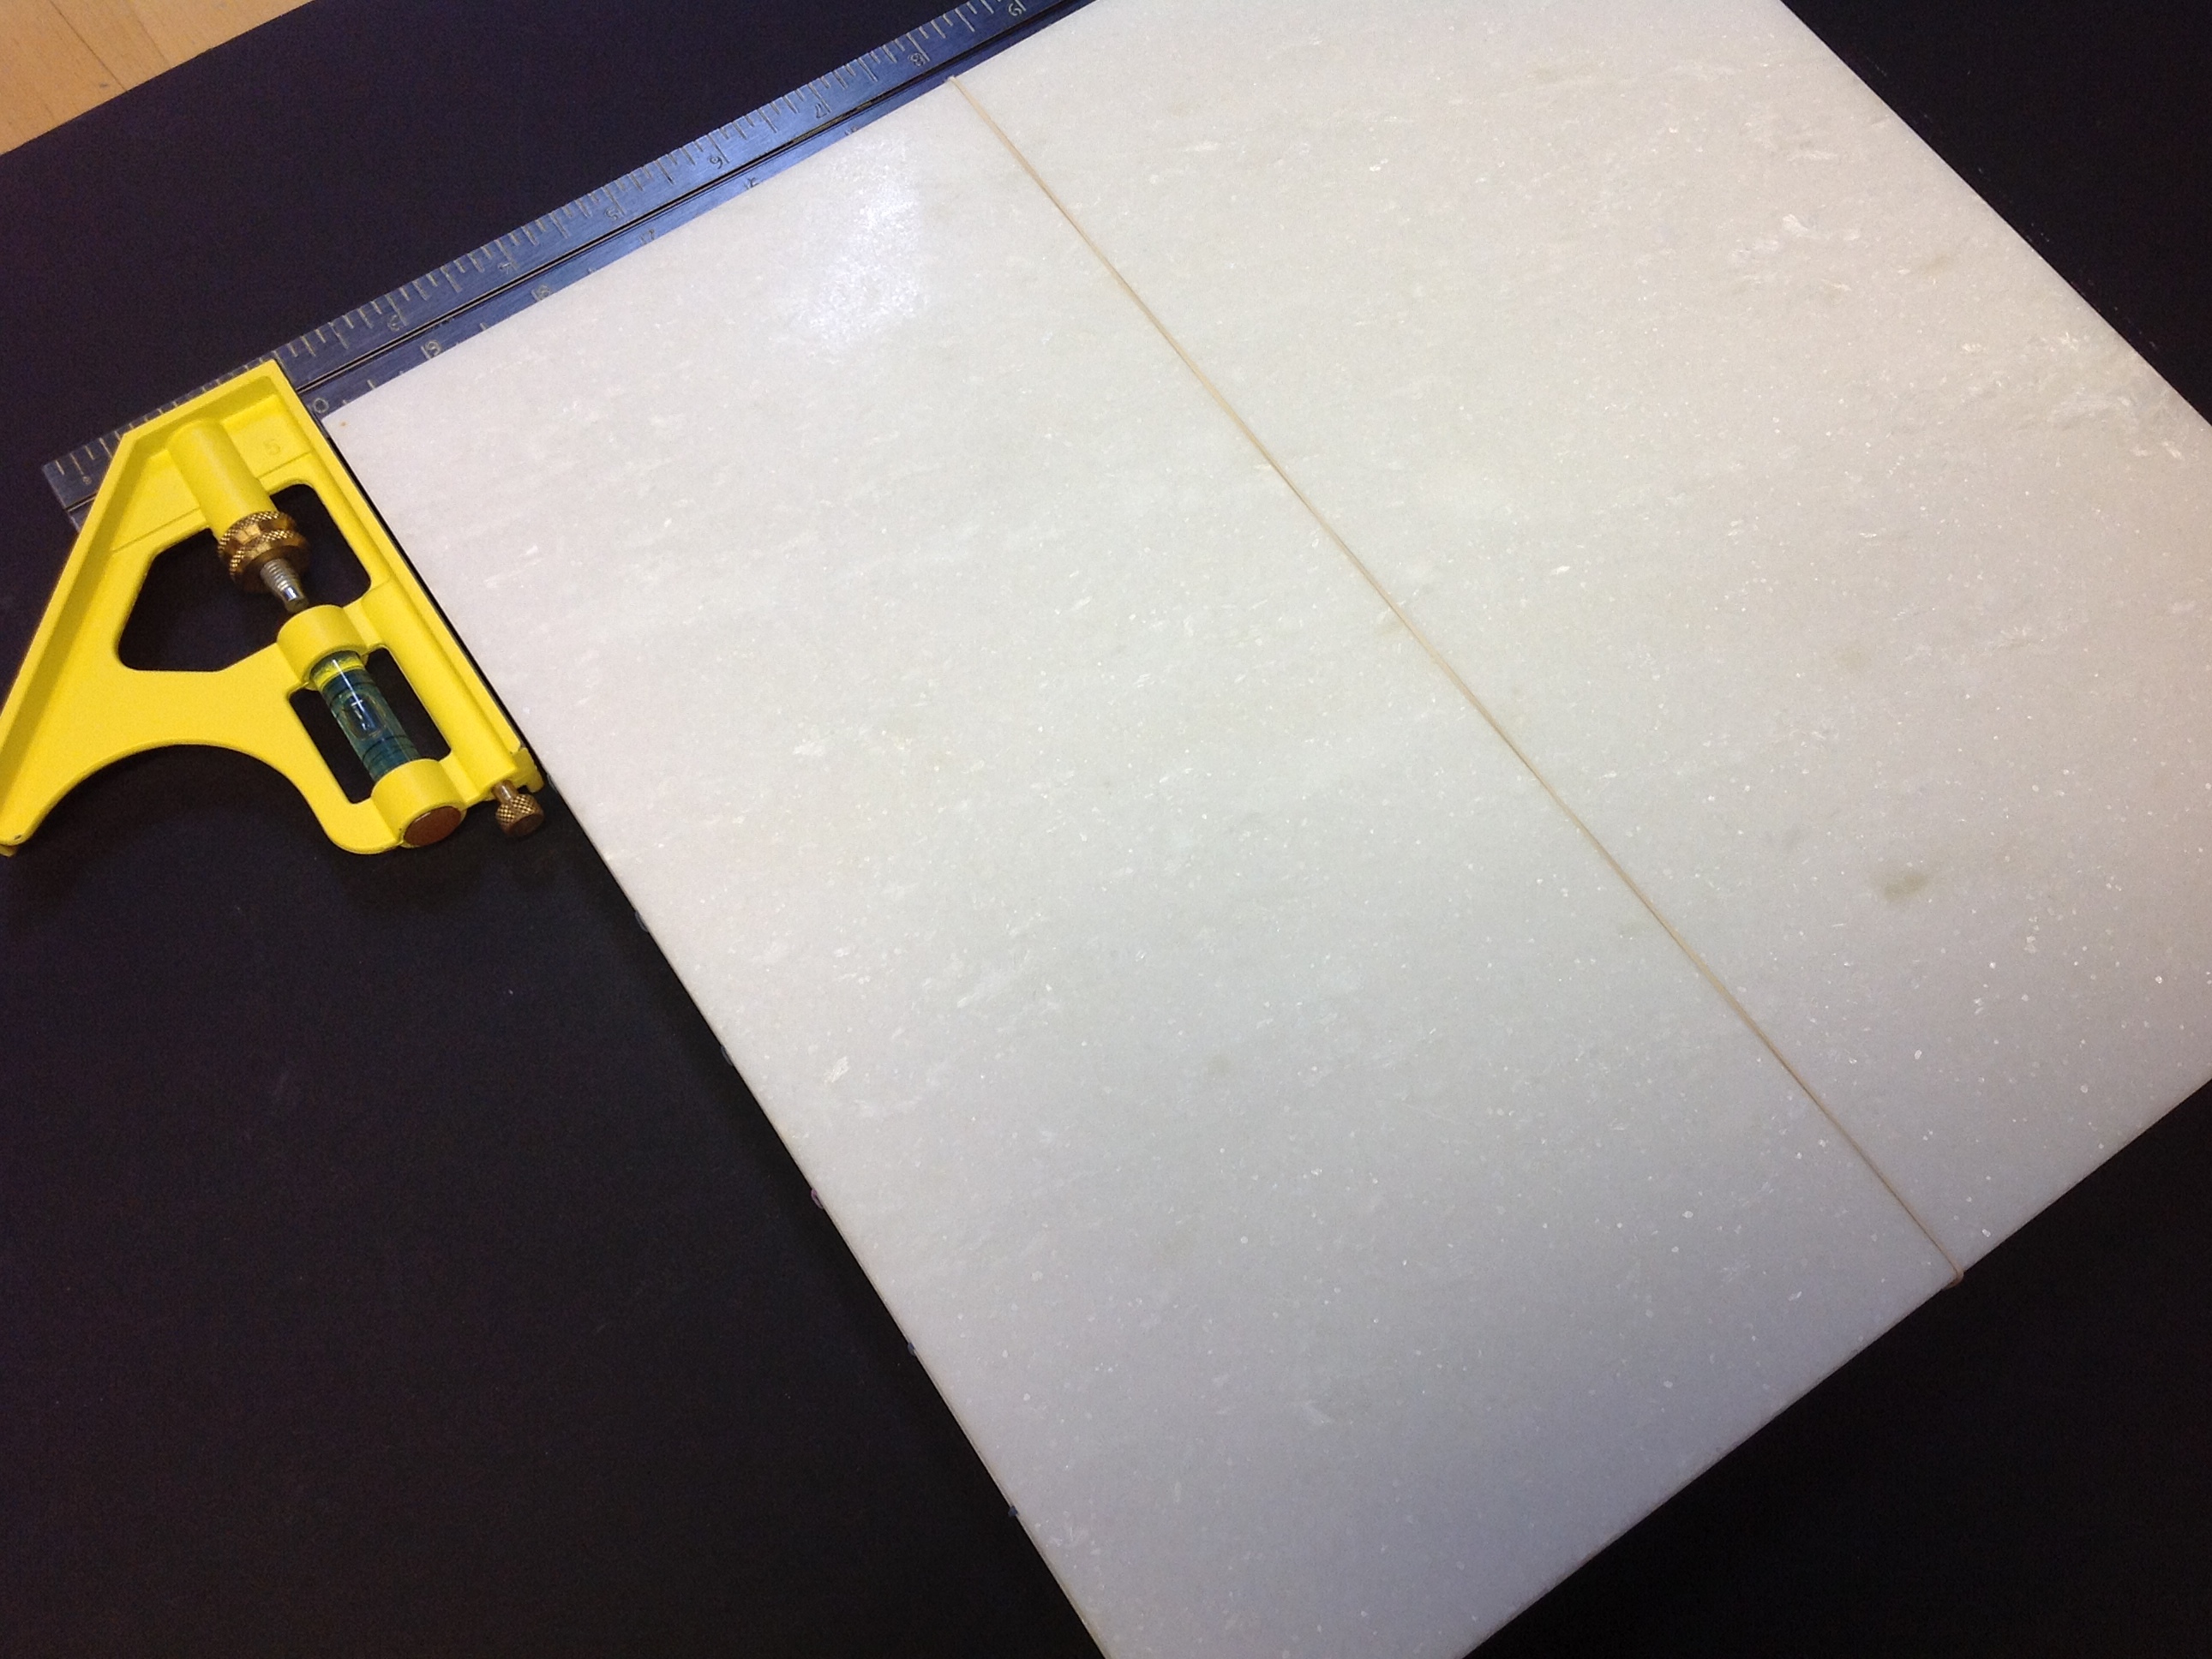
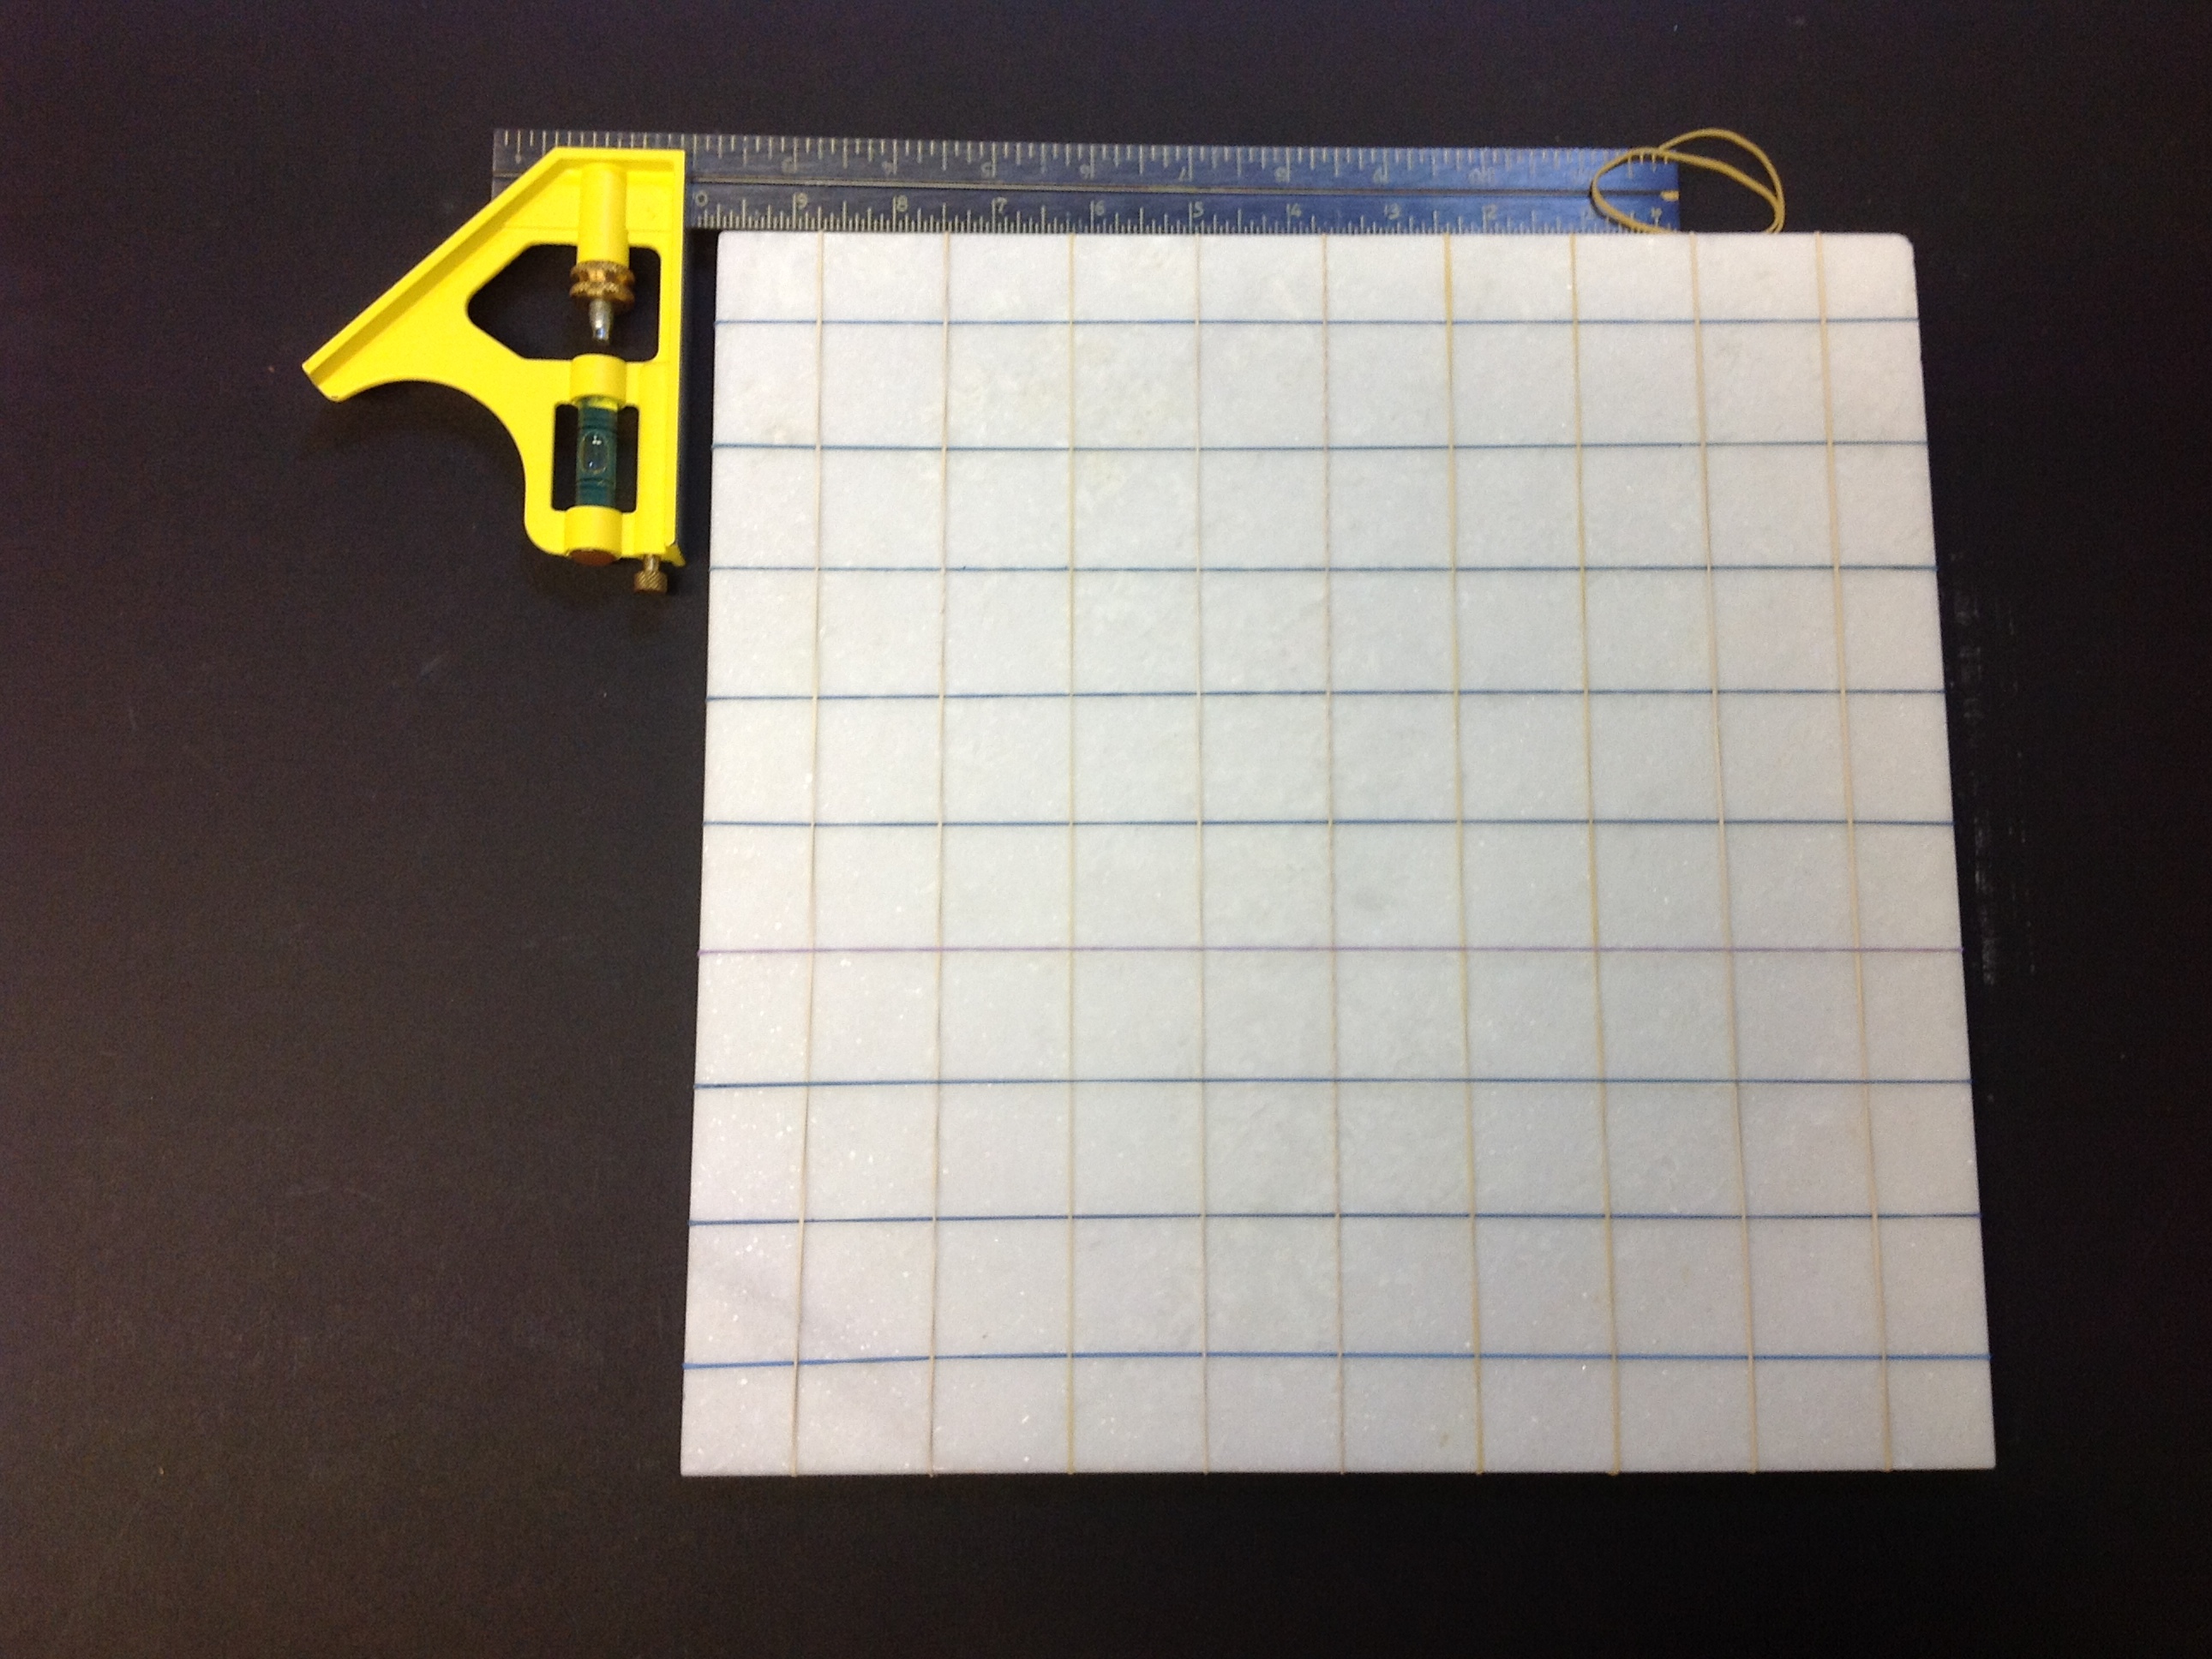
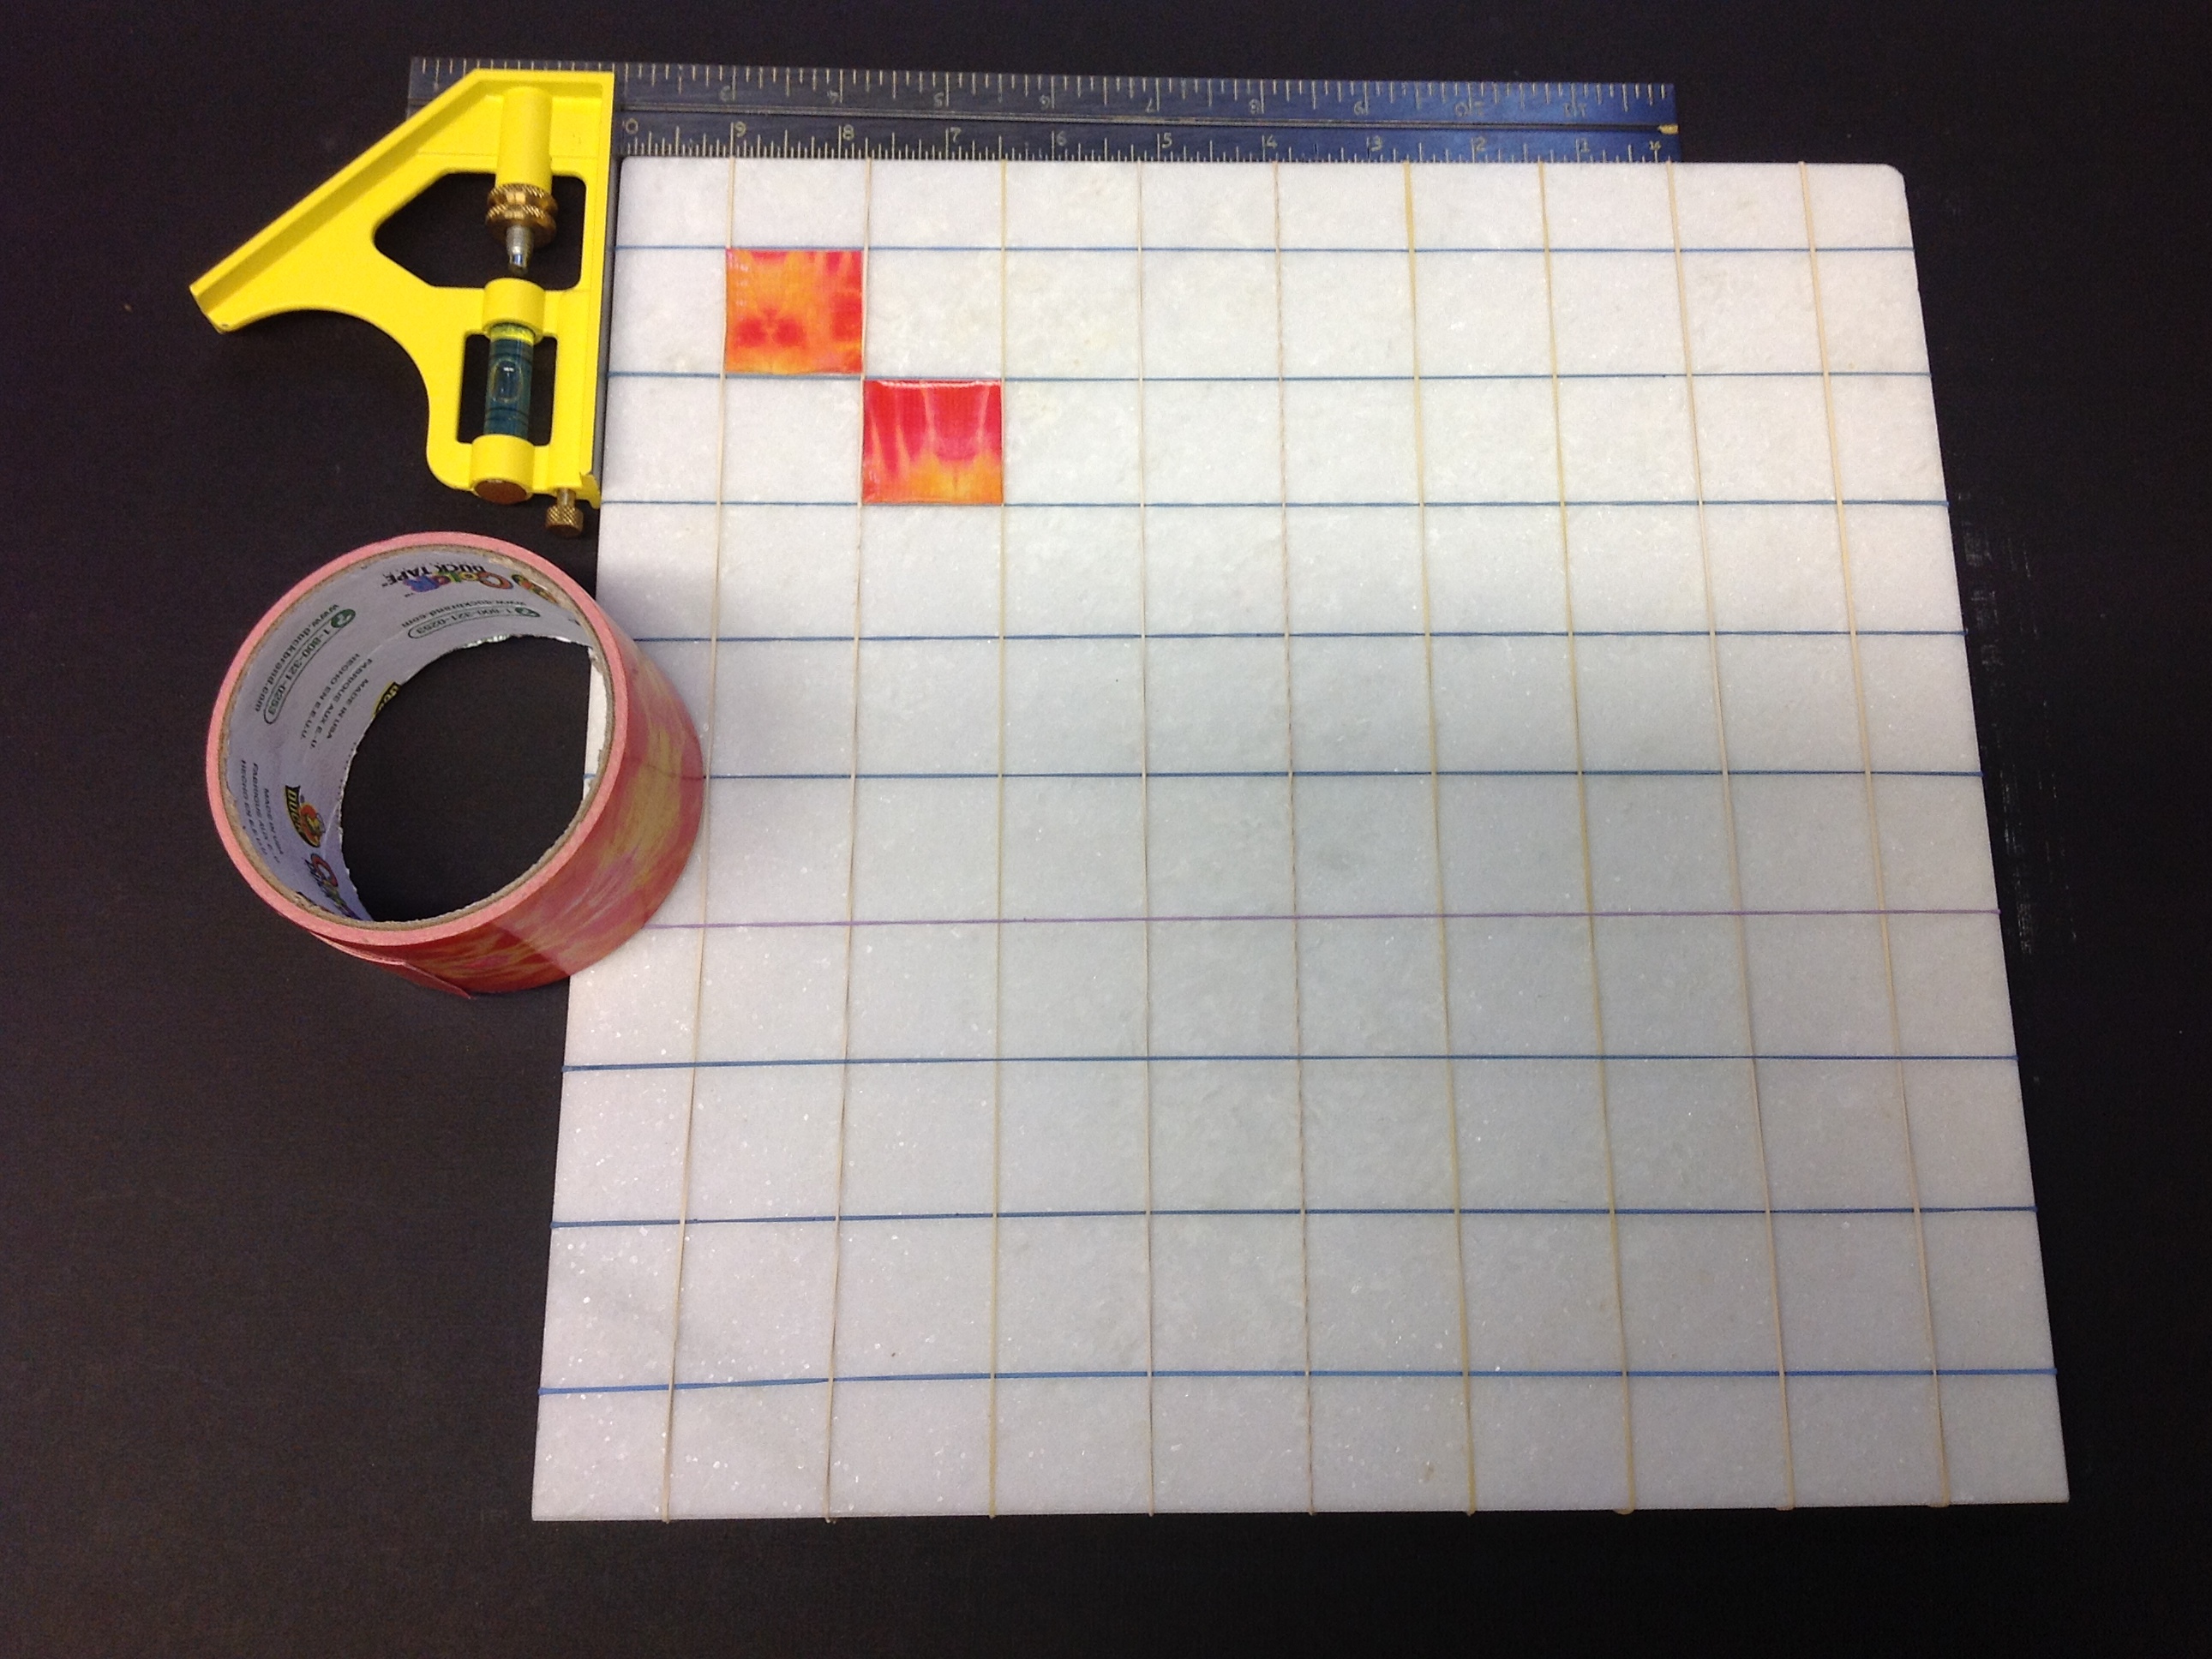
Wrap one rubber band at a time in rows across the 12”x12” tile/marble, starting with the first one in the center (add more from the edges, so it takes less time to roll). Space them evenly till they are 1¼ inches apart from each other with the outermost rubber bands spaced 1” from the edge of the tile.

Repeat the prior step to place rubber bands going across the other direction so that you have a grid of evenly spaced rubber bands (with the outermost rubber bands 1″ from the edges).

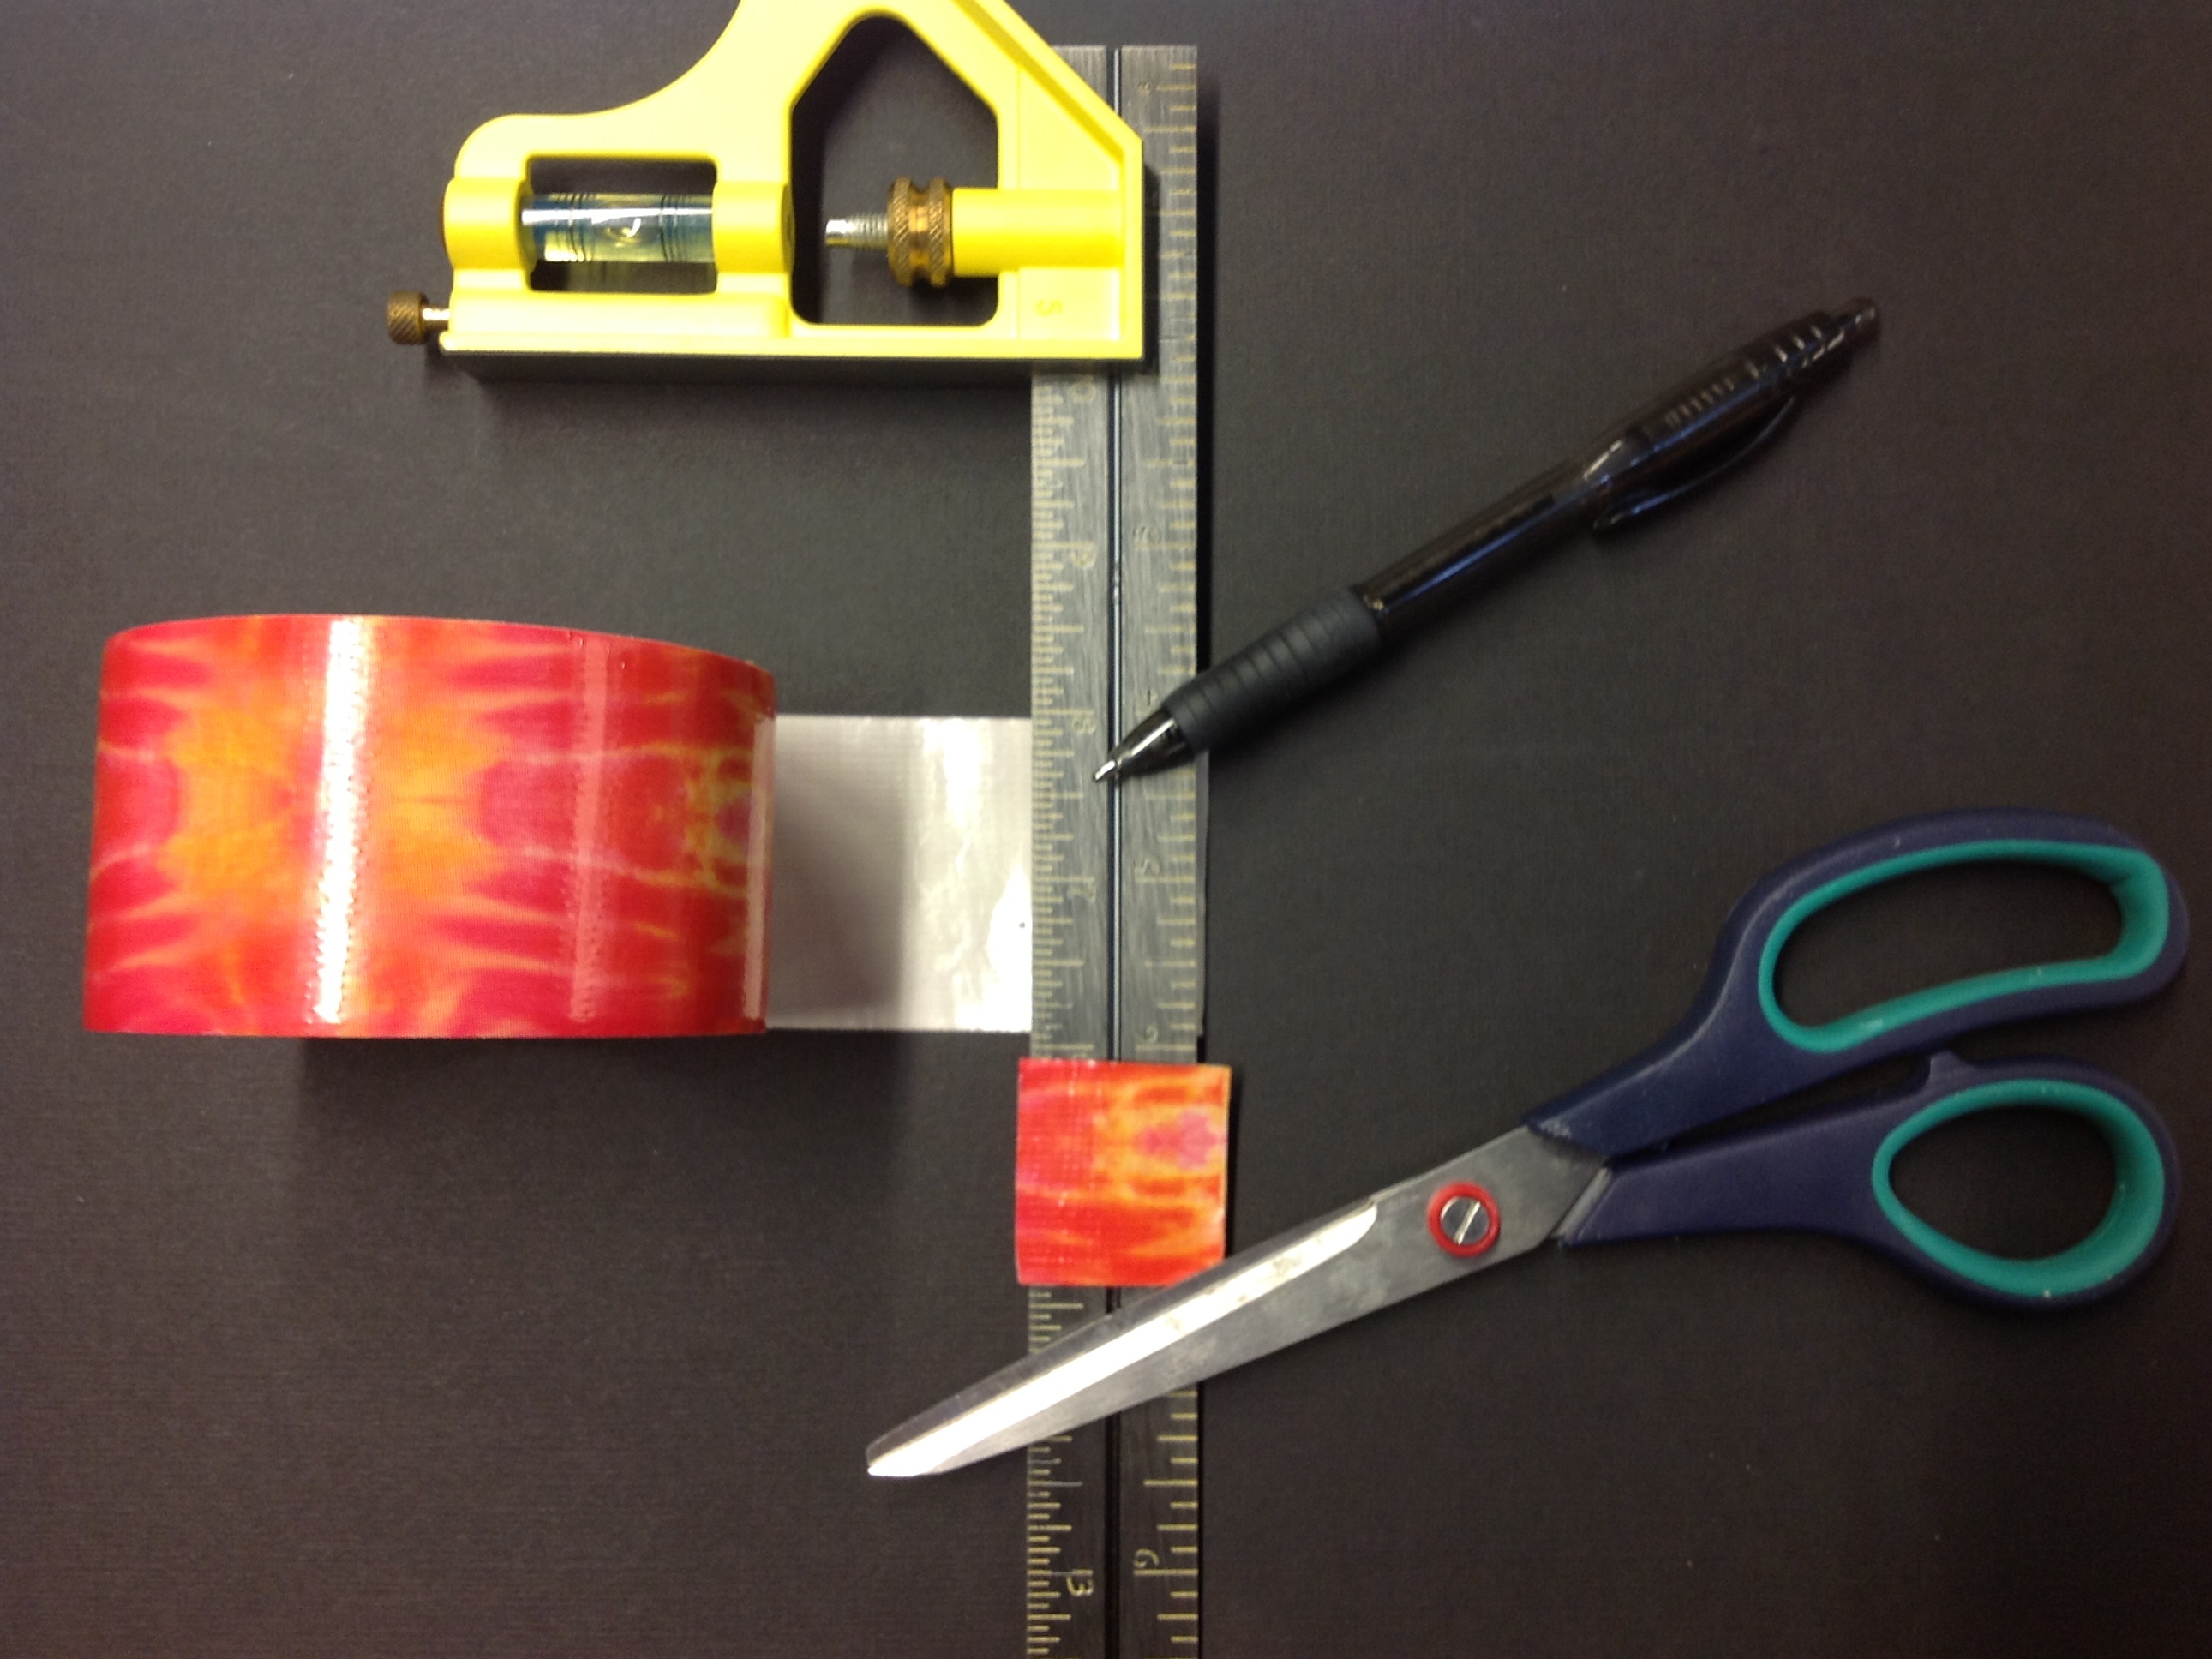
You will need 32 squares (1¼ by 1¼ inches) of your duct tape of choice.

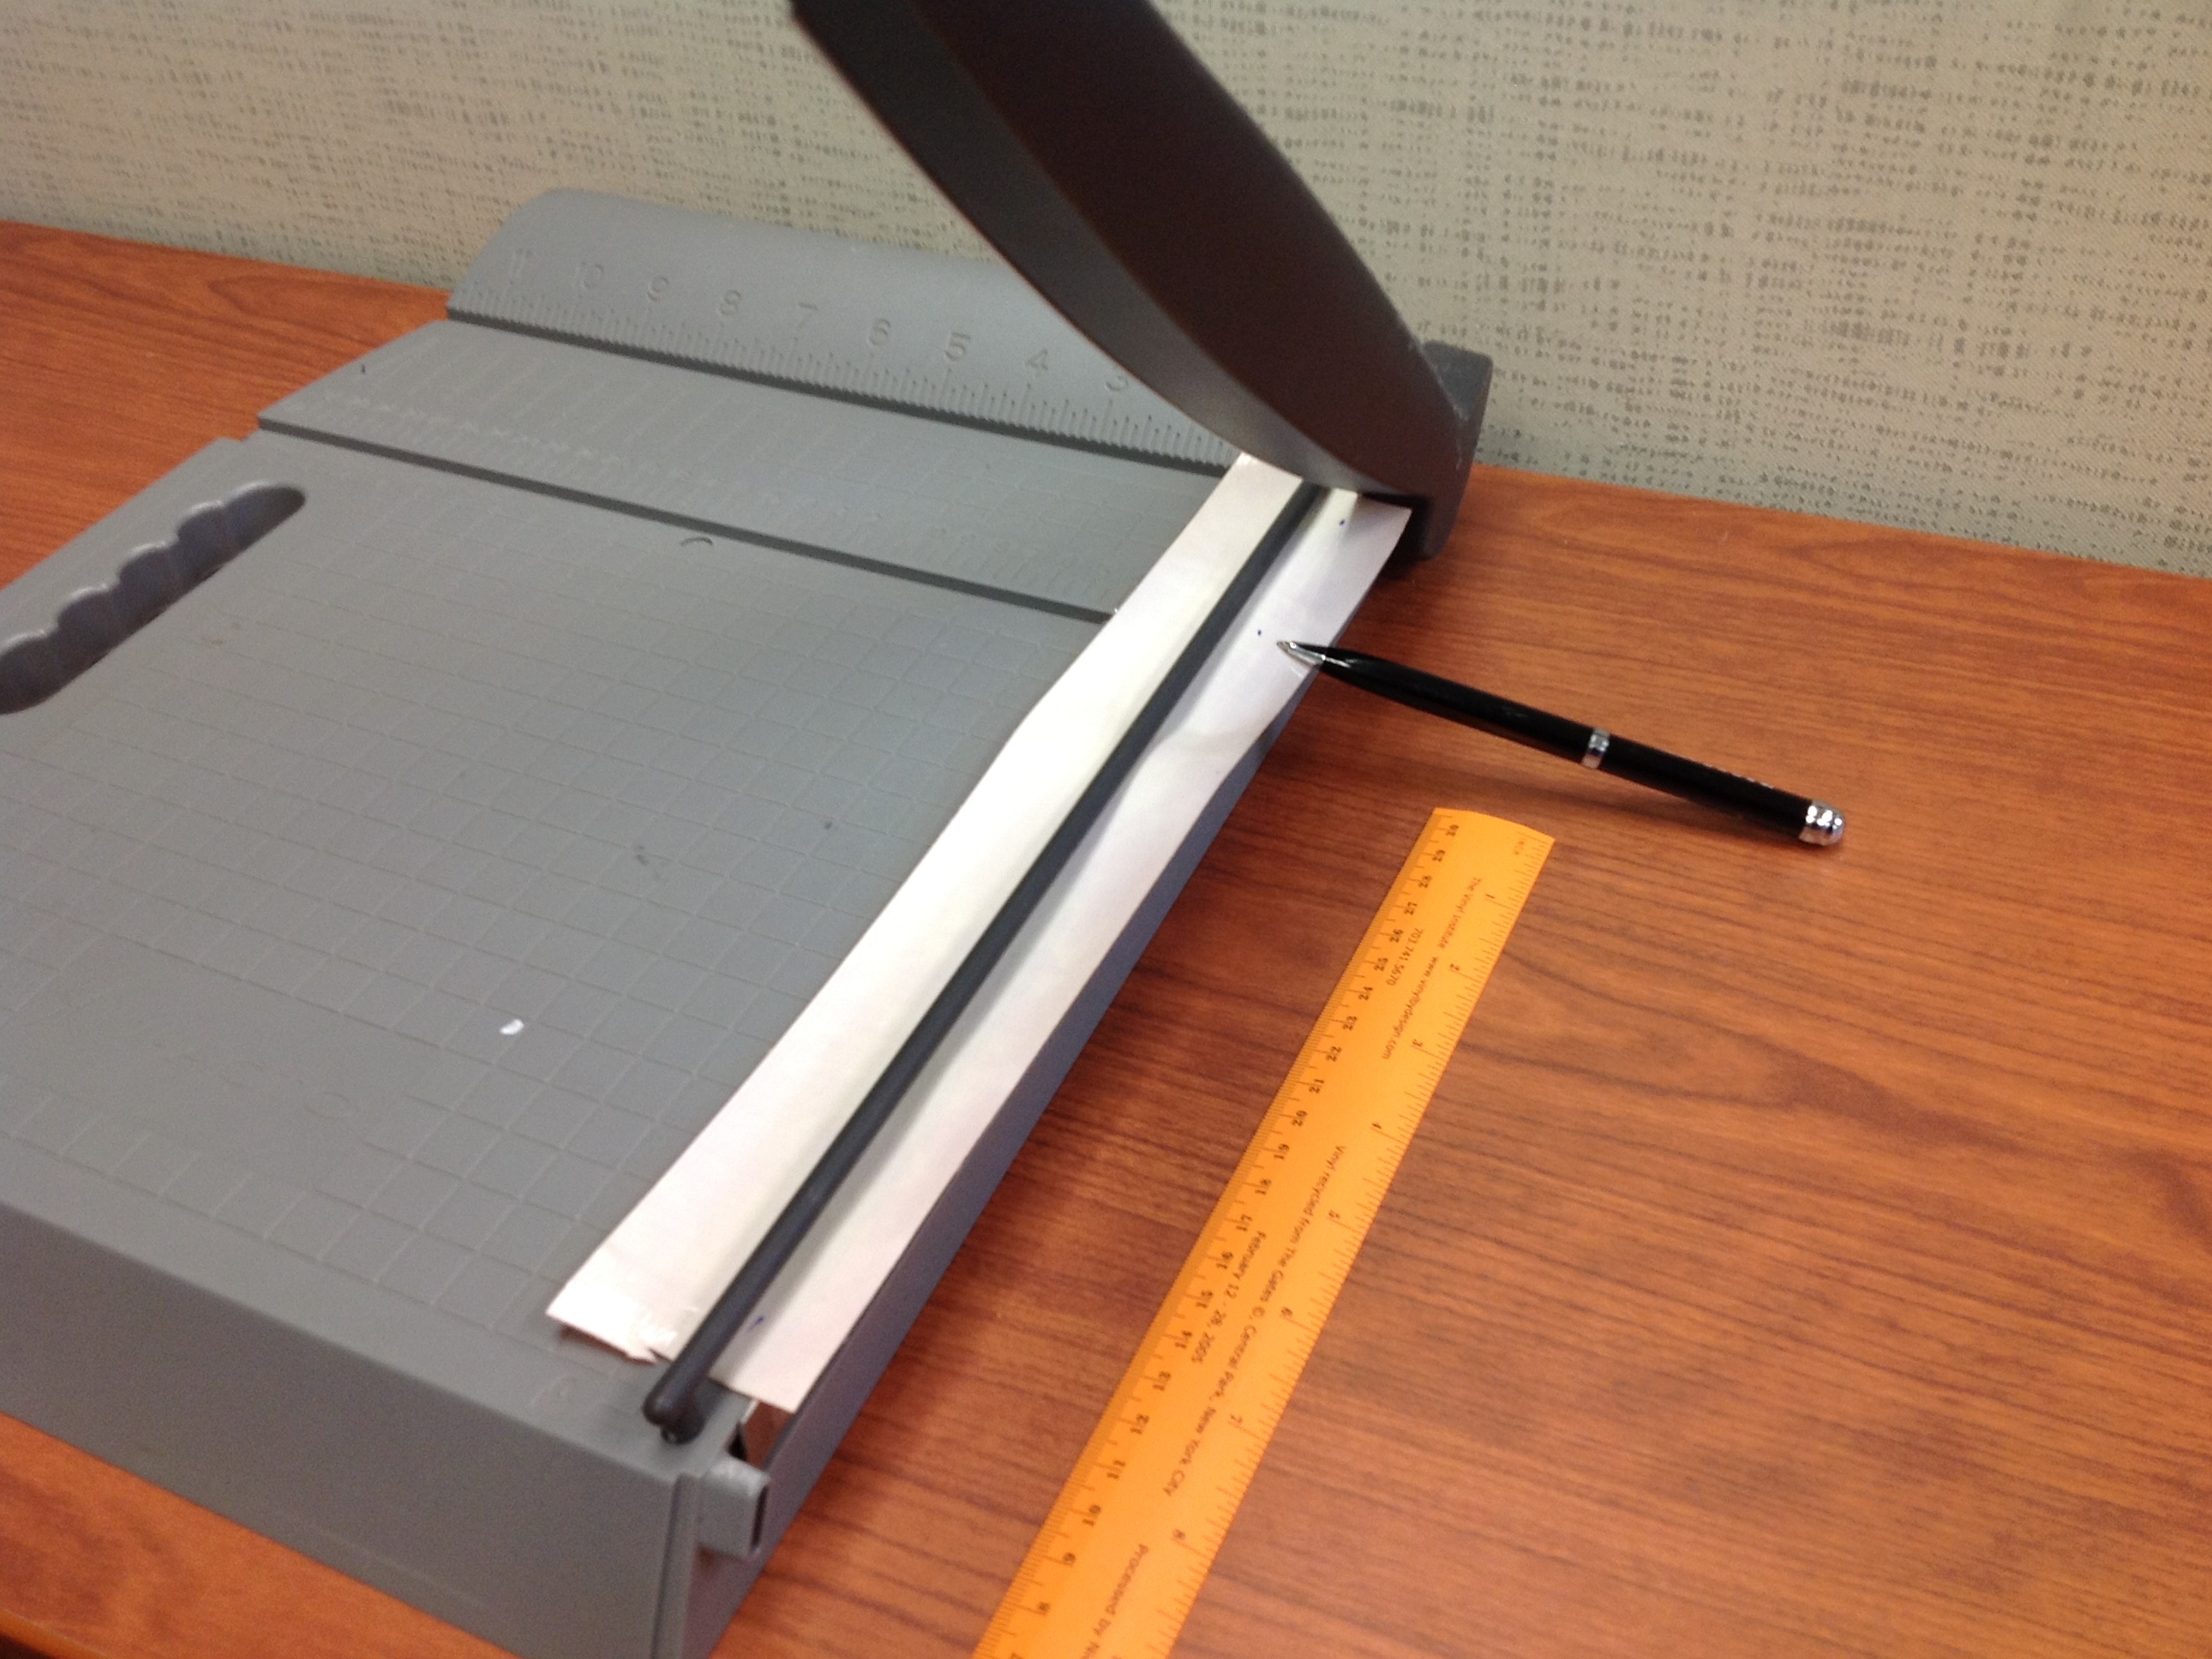
An easy way to cut duct tape is to mark it and cut it the long way with the sticky side facing up as shown in this image. Mark the tape in the areas you wish to cut (1¼”-wide strip) and cut it again with the sticky side facing up to make 1¼ inch by 1¼ inch squares.

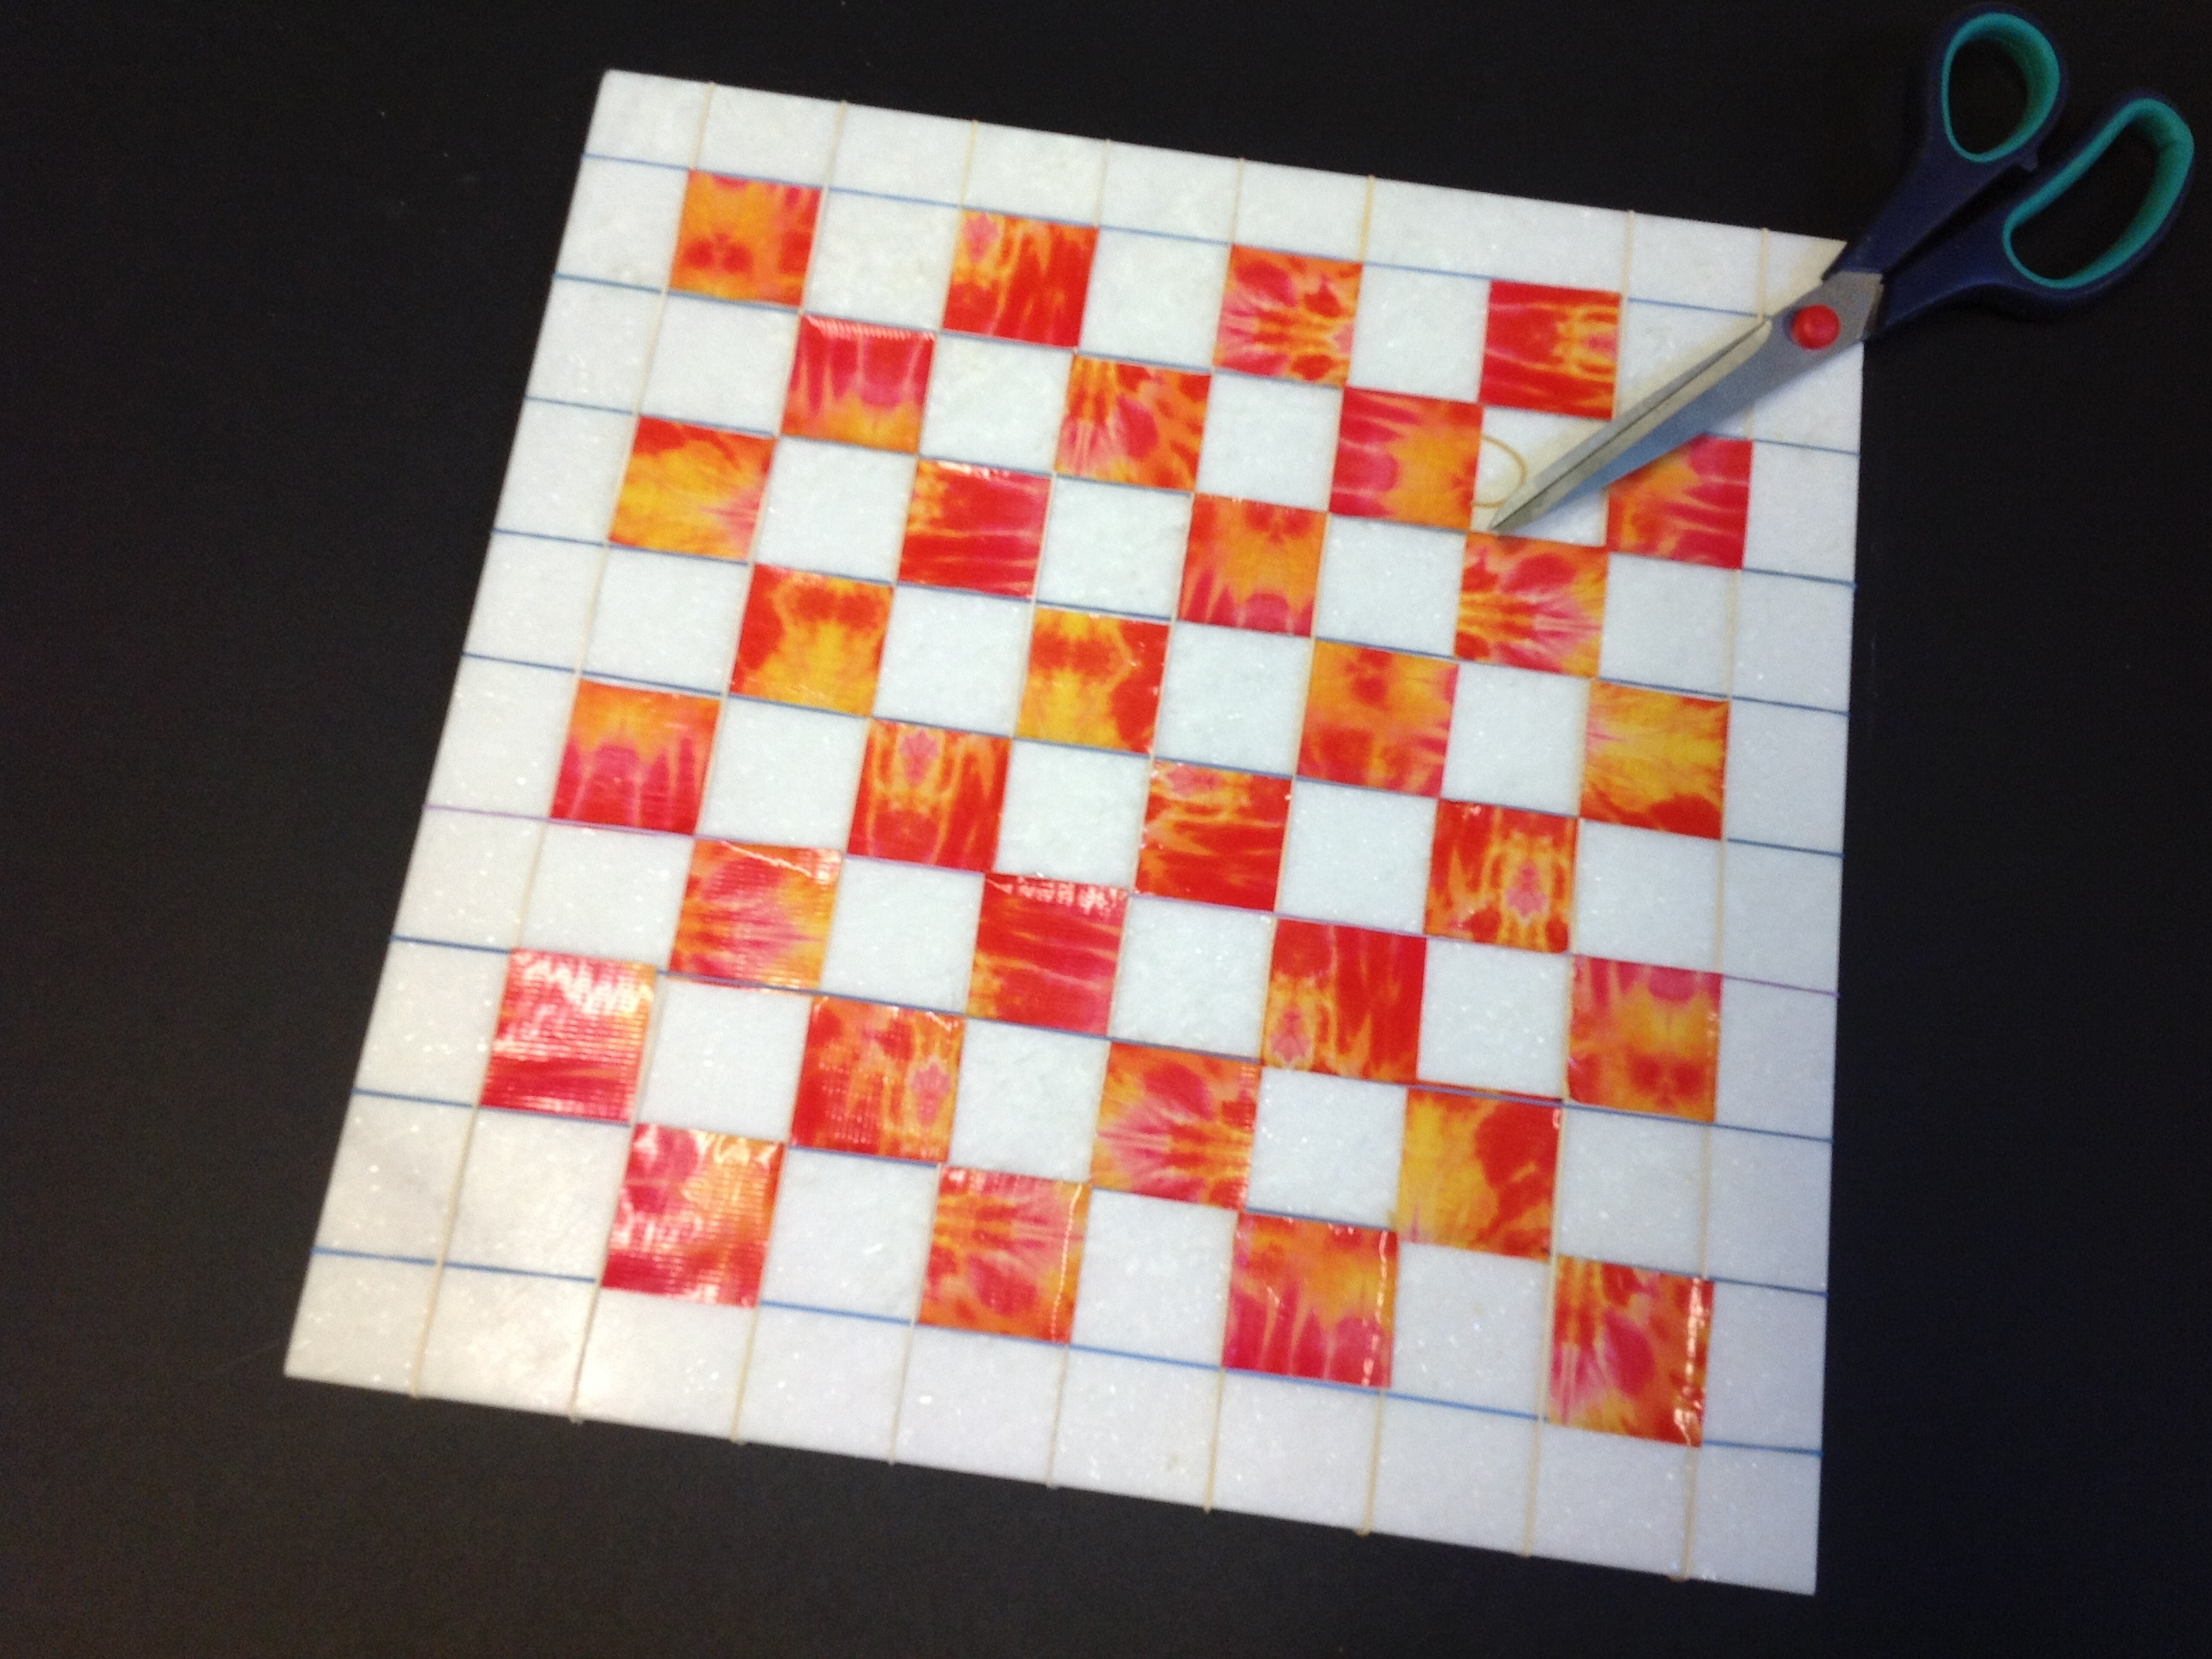
Place the duct tape squares along the areas of your chess/checker board in diagonals so that the corners are barely touching and they fit in the rubber band outlined square. Repeat this step in all of the rows till it begins to look like a chess/checker board.

Cut away the rubber bands and push down the tape so that it sticks better.

“Do you want to play a game?” Do you want to be heads or tails? GAME OVER!

Please take our survey (answer questions concerning chess/board part of survey): http://www.surveymonkey.com/s/G3WKLC3

Too see other ideas look up “Tile Number Sign” on this website.