The history and customs of many cultures have been expressed through textiles for centuries. In Southeast Asia, batiking has been the medium for fabric design for almost 2,000 years. While in Bali, I had the opportunity to learn about batiking fabrics, and though most of the designs there showcase mythical themes, I wanted to make something more personal. Sitting on a grass mat under a mango tree, amongst the roving chickens and dogs, I created my own personal history through batiking.

Traditionally, the technique entails using wax to block the dyes used to color the fabric. I used wax and shades of cold-water dye on cotton fabric.

Project Steps

Prepare the fabric and stretch the fabric.

Using a cold water cycle, wash the cotton fabric using Synthrapol or a natural detergent without dyes or brighteners. Hang to dry.

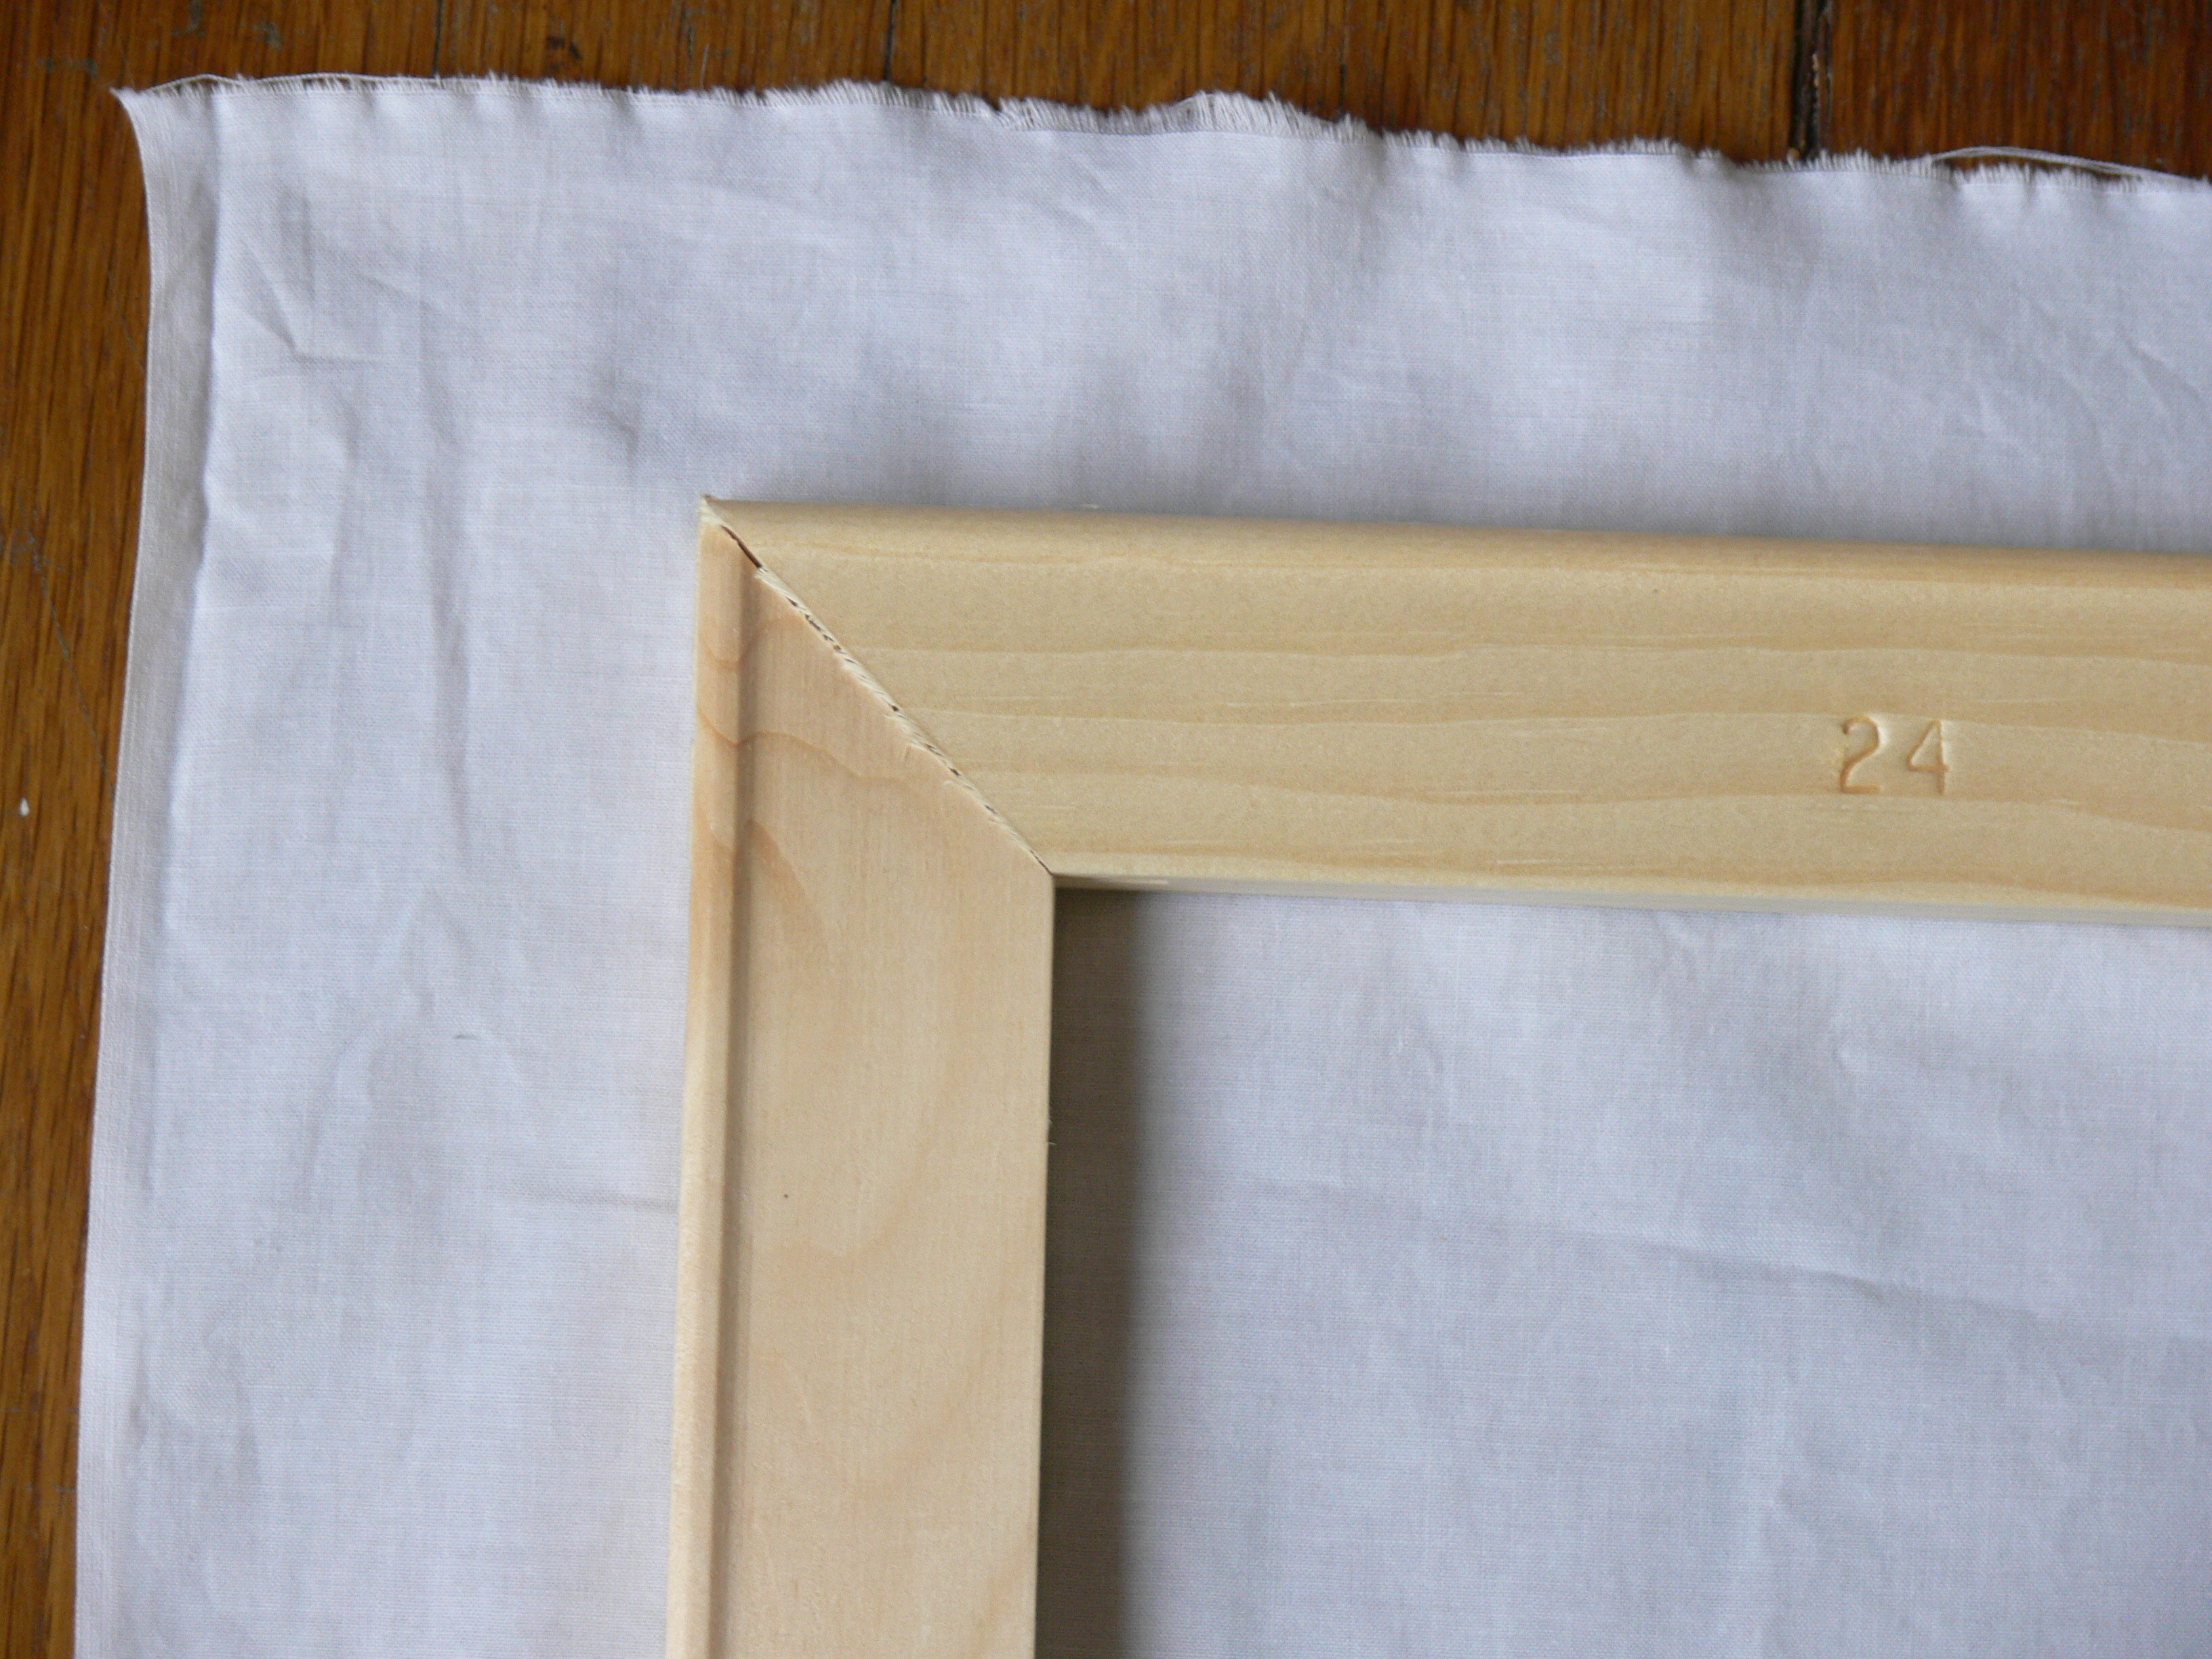
Measure the amount of fabric you’ll use by laying it out on a flat surface and placing the stretcher frame on top. Using scissors and a measuring tape, cut the muslin so that there’s at least a 2″ overlap on each side of the stretcher frame. Using a 20″×24″ frame, your fabric should measure approximately 24″×28″. Remove the frame and iron the fabric to eliminate any wrinkles.

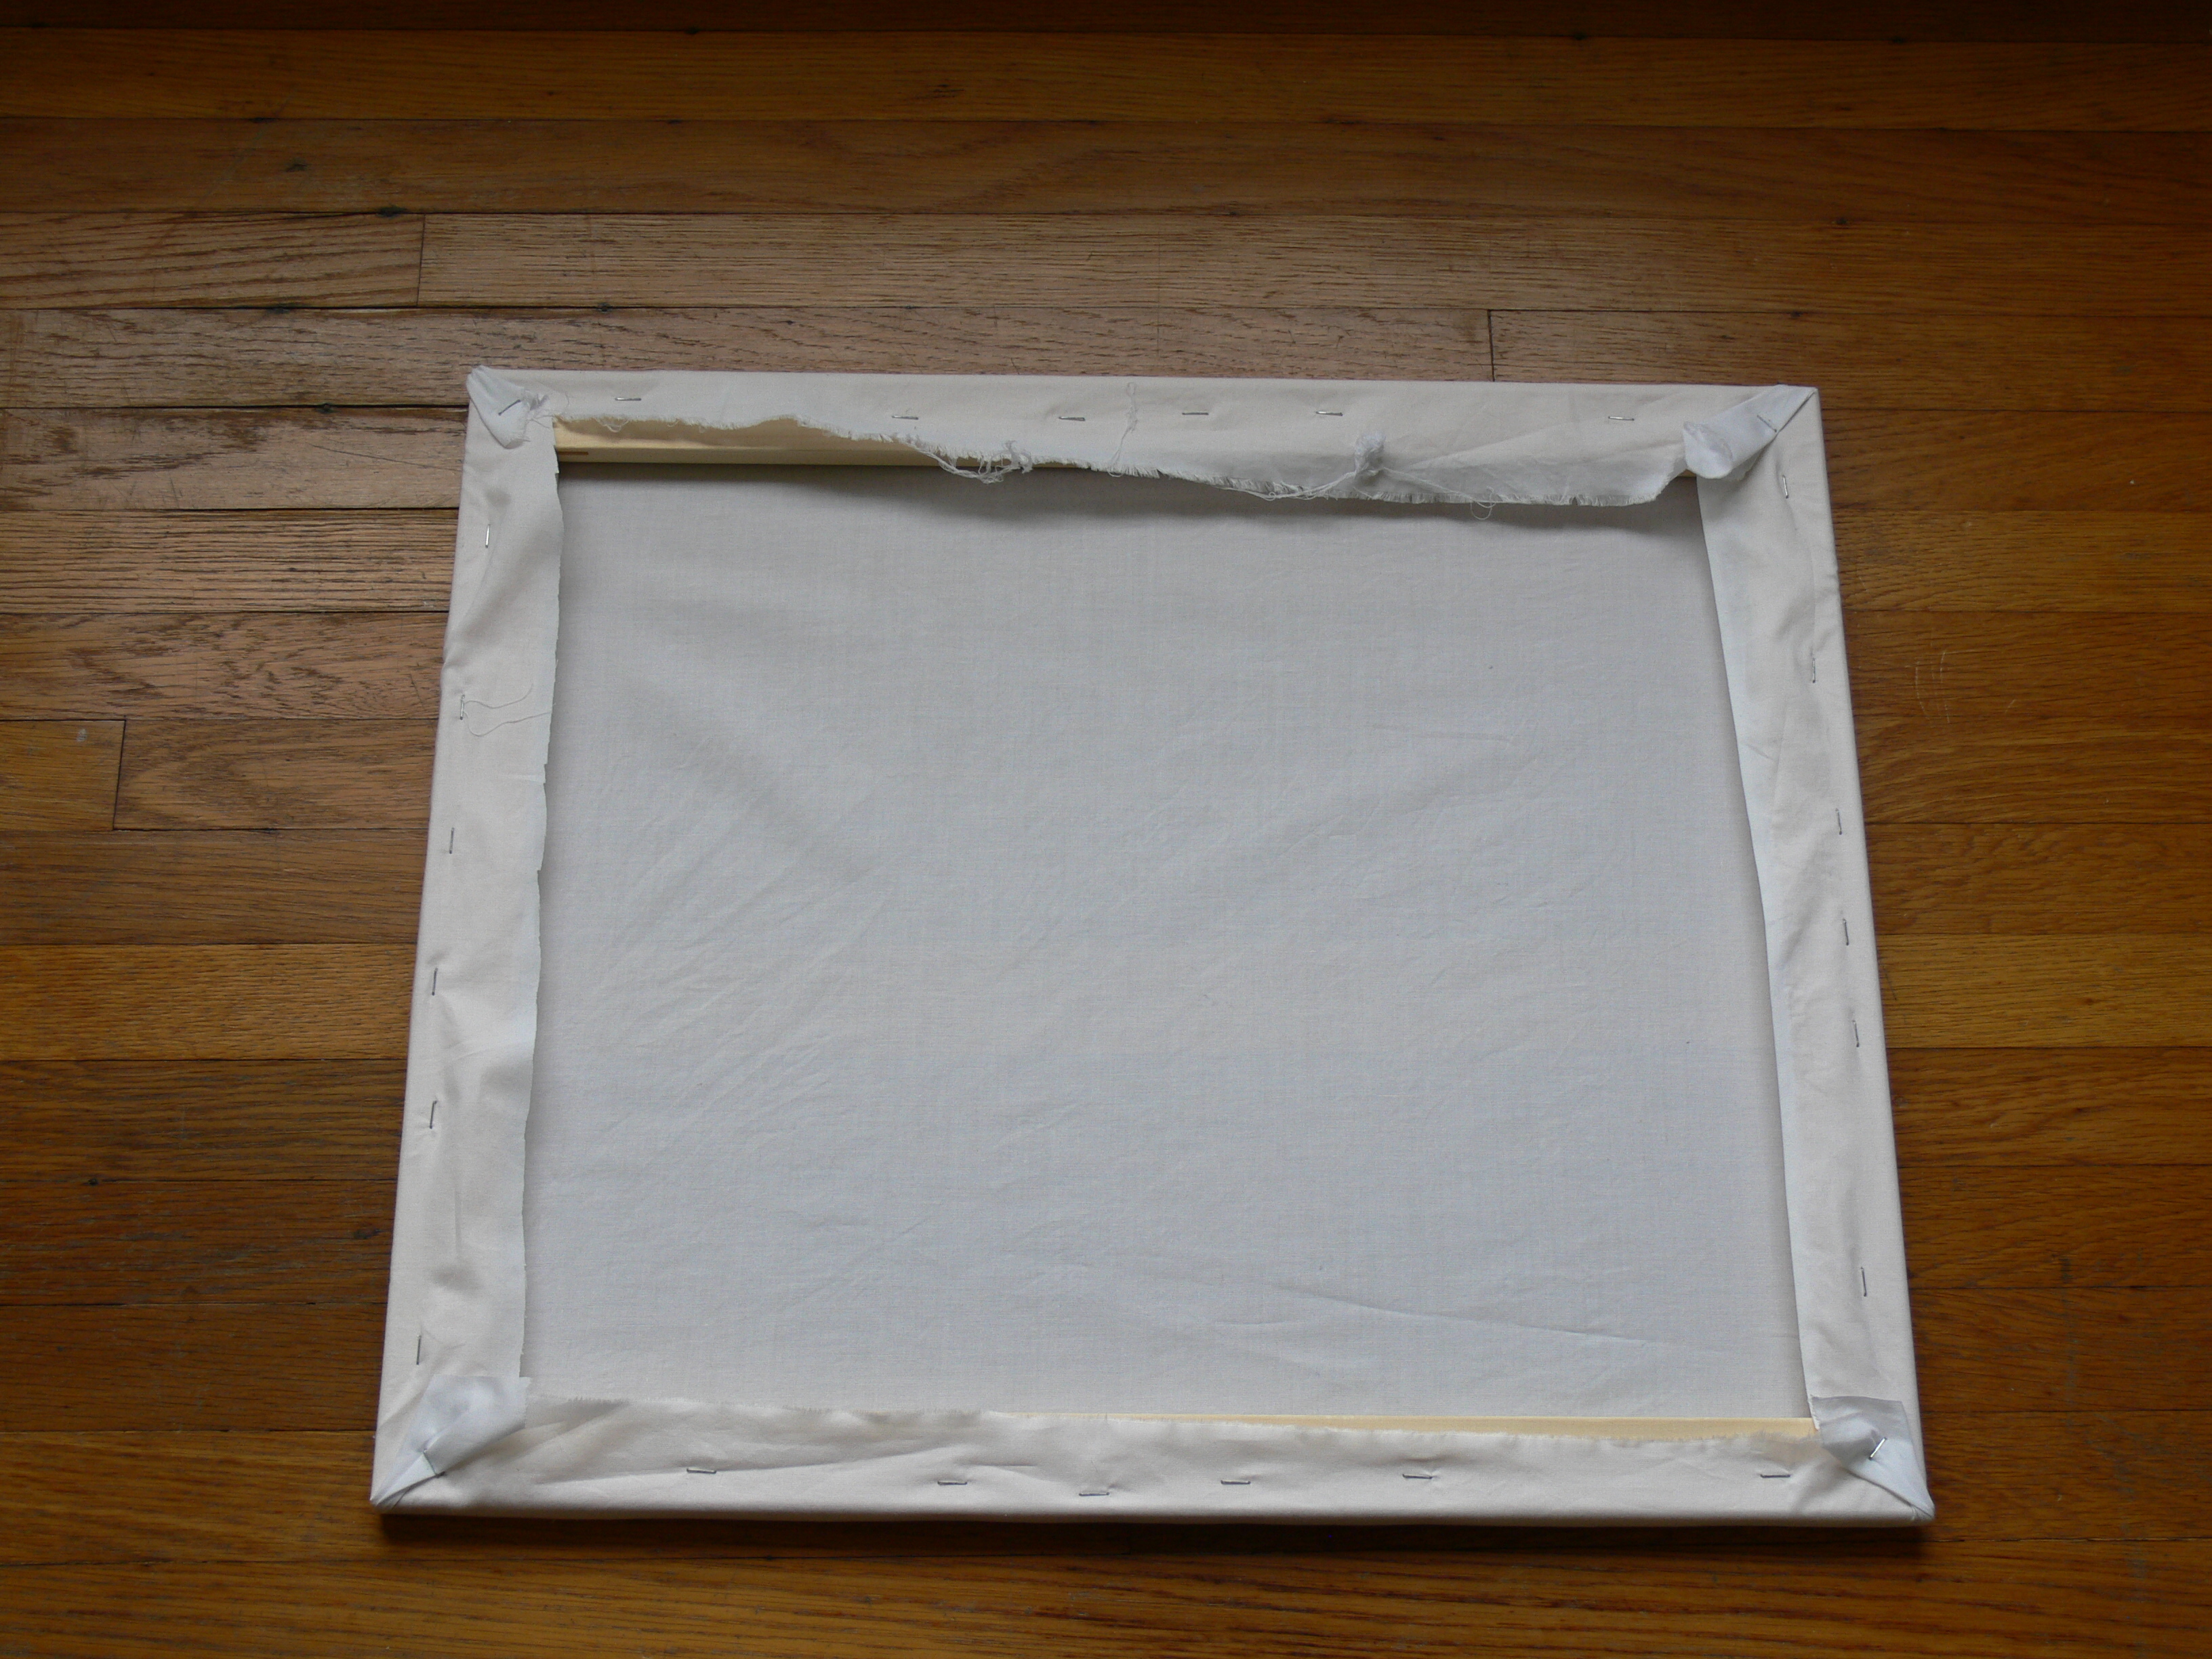
Lay the fabric on a flat surface, and place the stretcher frame in the middle. Starting on 1 side of the frame, fold the fabric over and staple it down at the center. Add a staple to the left and right of the center staple, approximately 2″ apart.

On the side opposite to where you started, fold and staple the center in the same way, keeping the fabric taut. Rotate the frame, and staple the 2 remaining sides the same way.

When each side is securely fastened, continue rotating and stapling outward from the centers, pulling the fabric taut and placing each new staple opposite the last. Staple until you reach the corners of the frame.

Trim the excess fabric from the sides, so that the fabric is about even with the inner edges of the frame. Staple each corner down with a single staple.

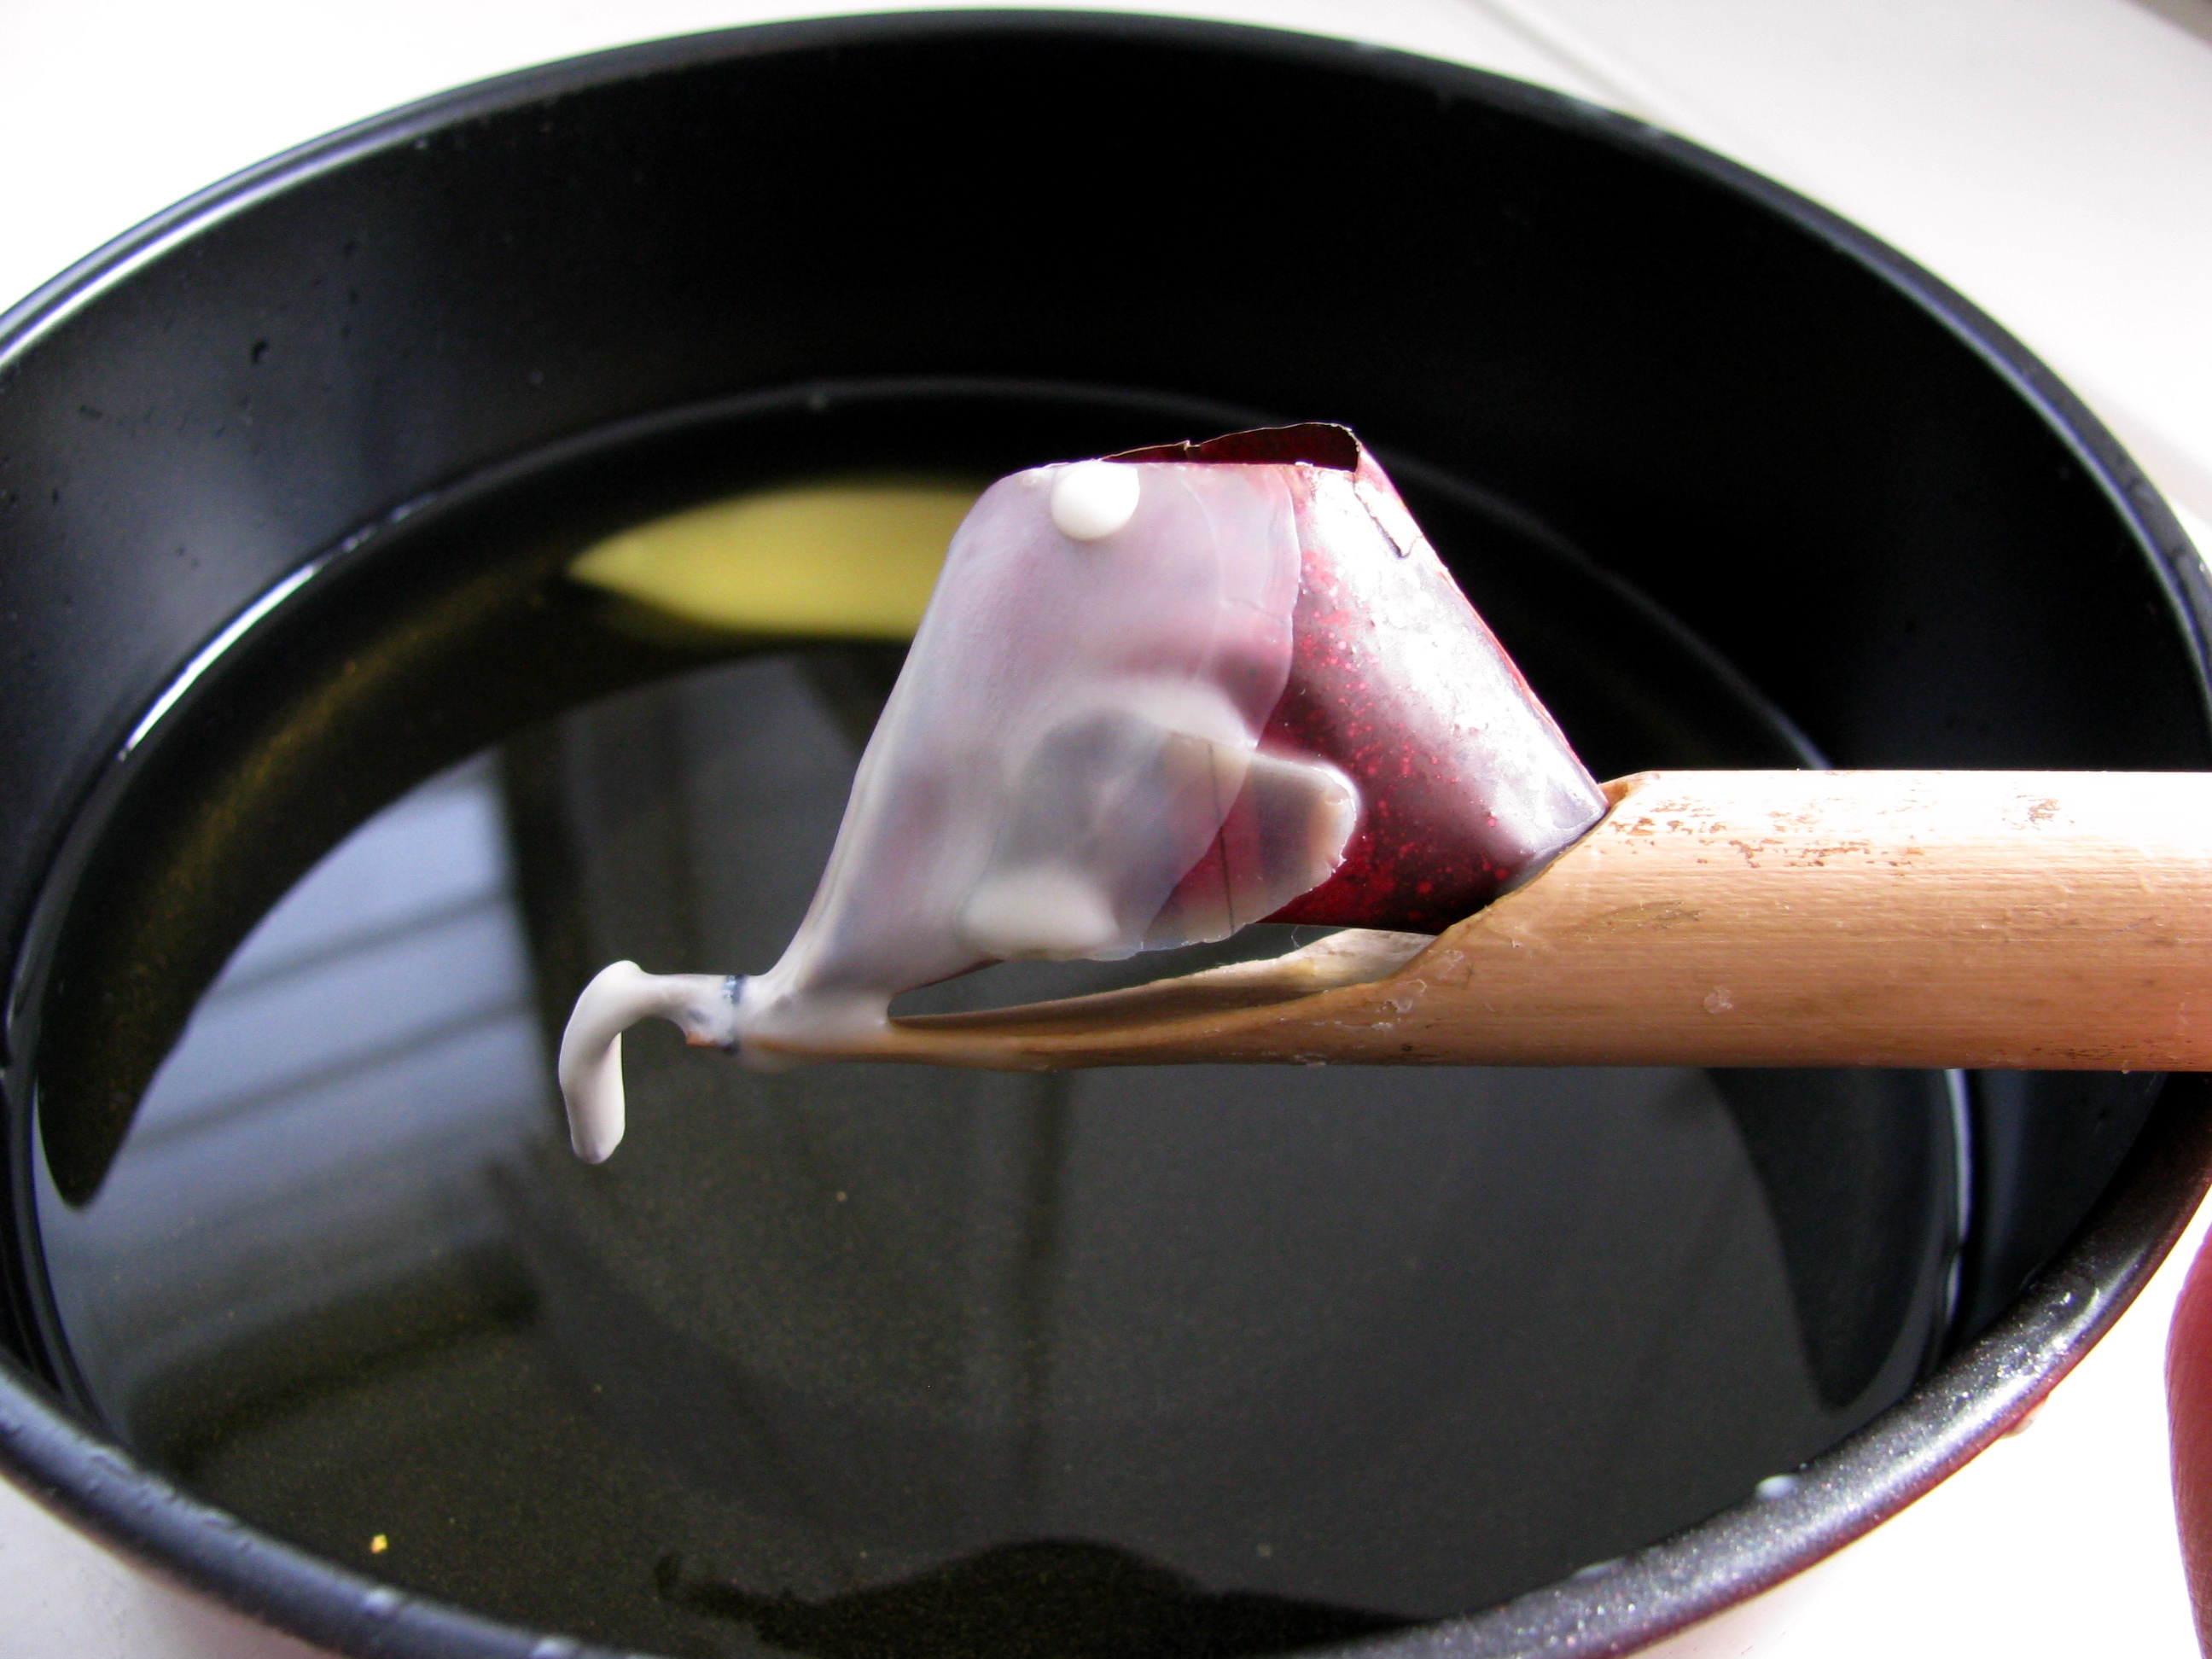
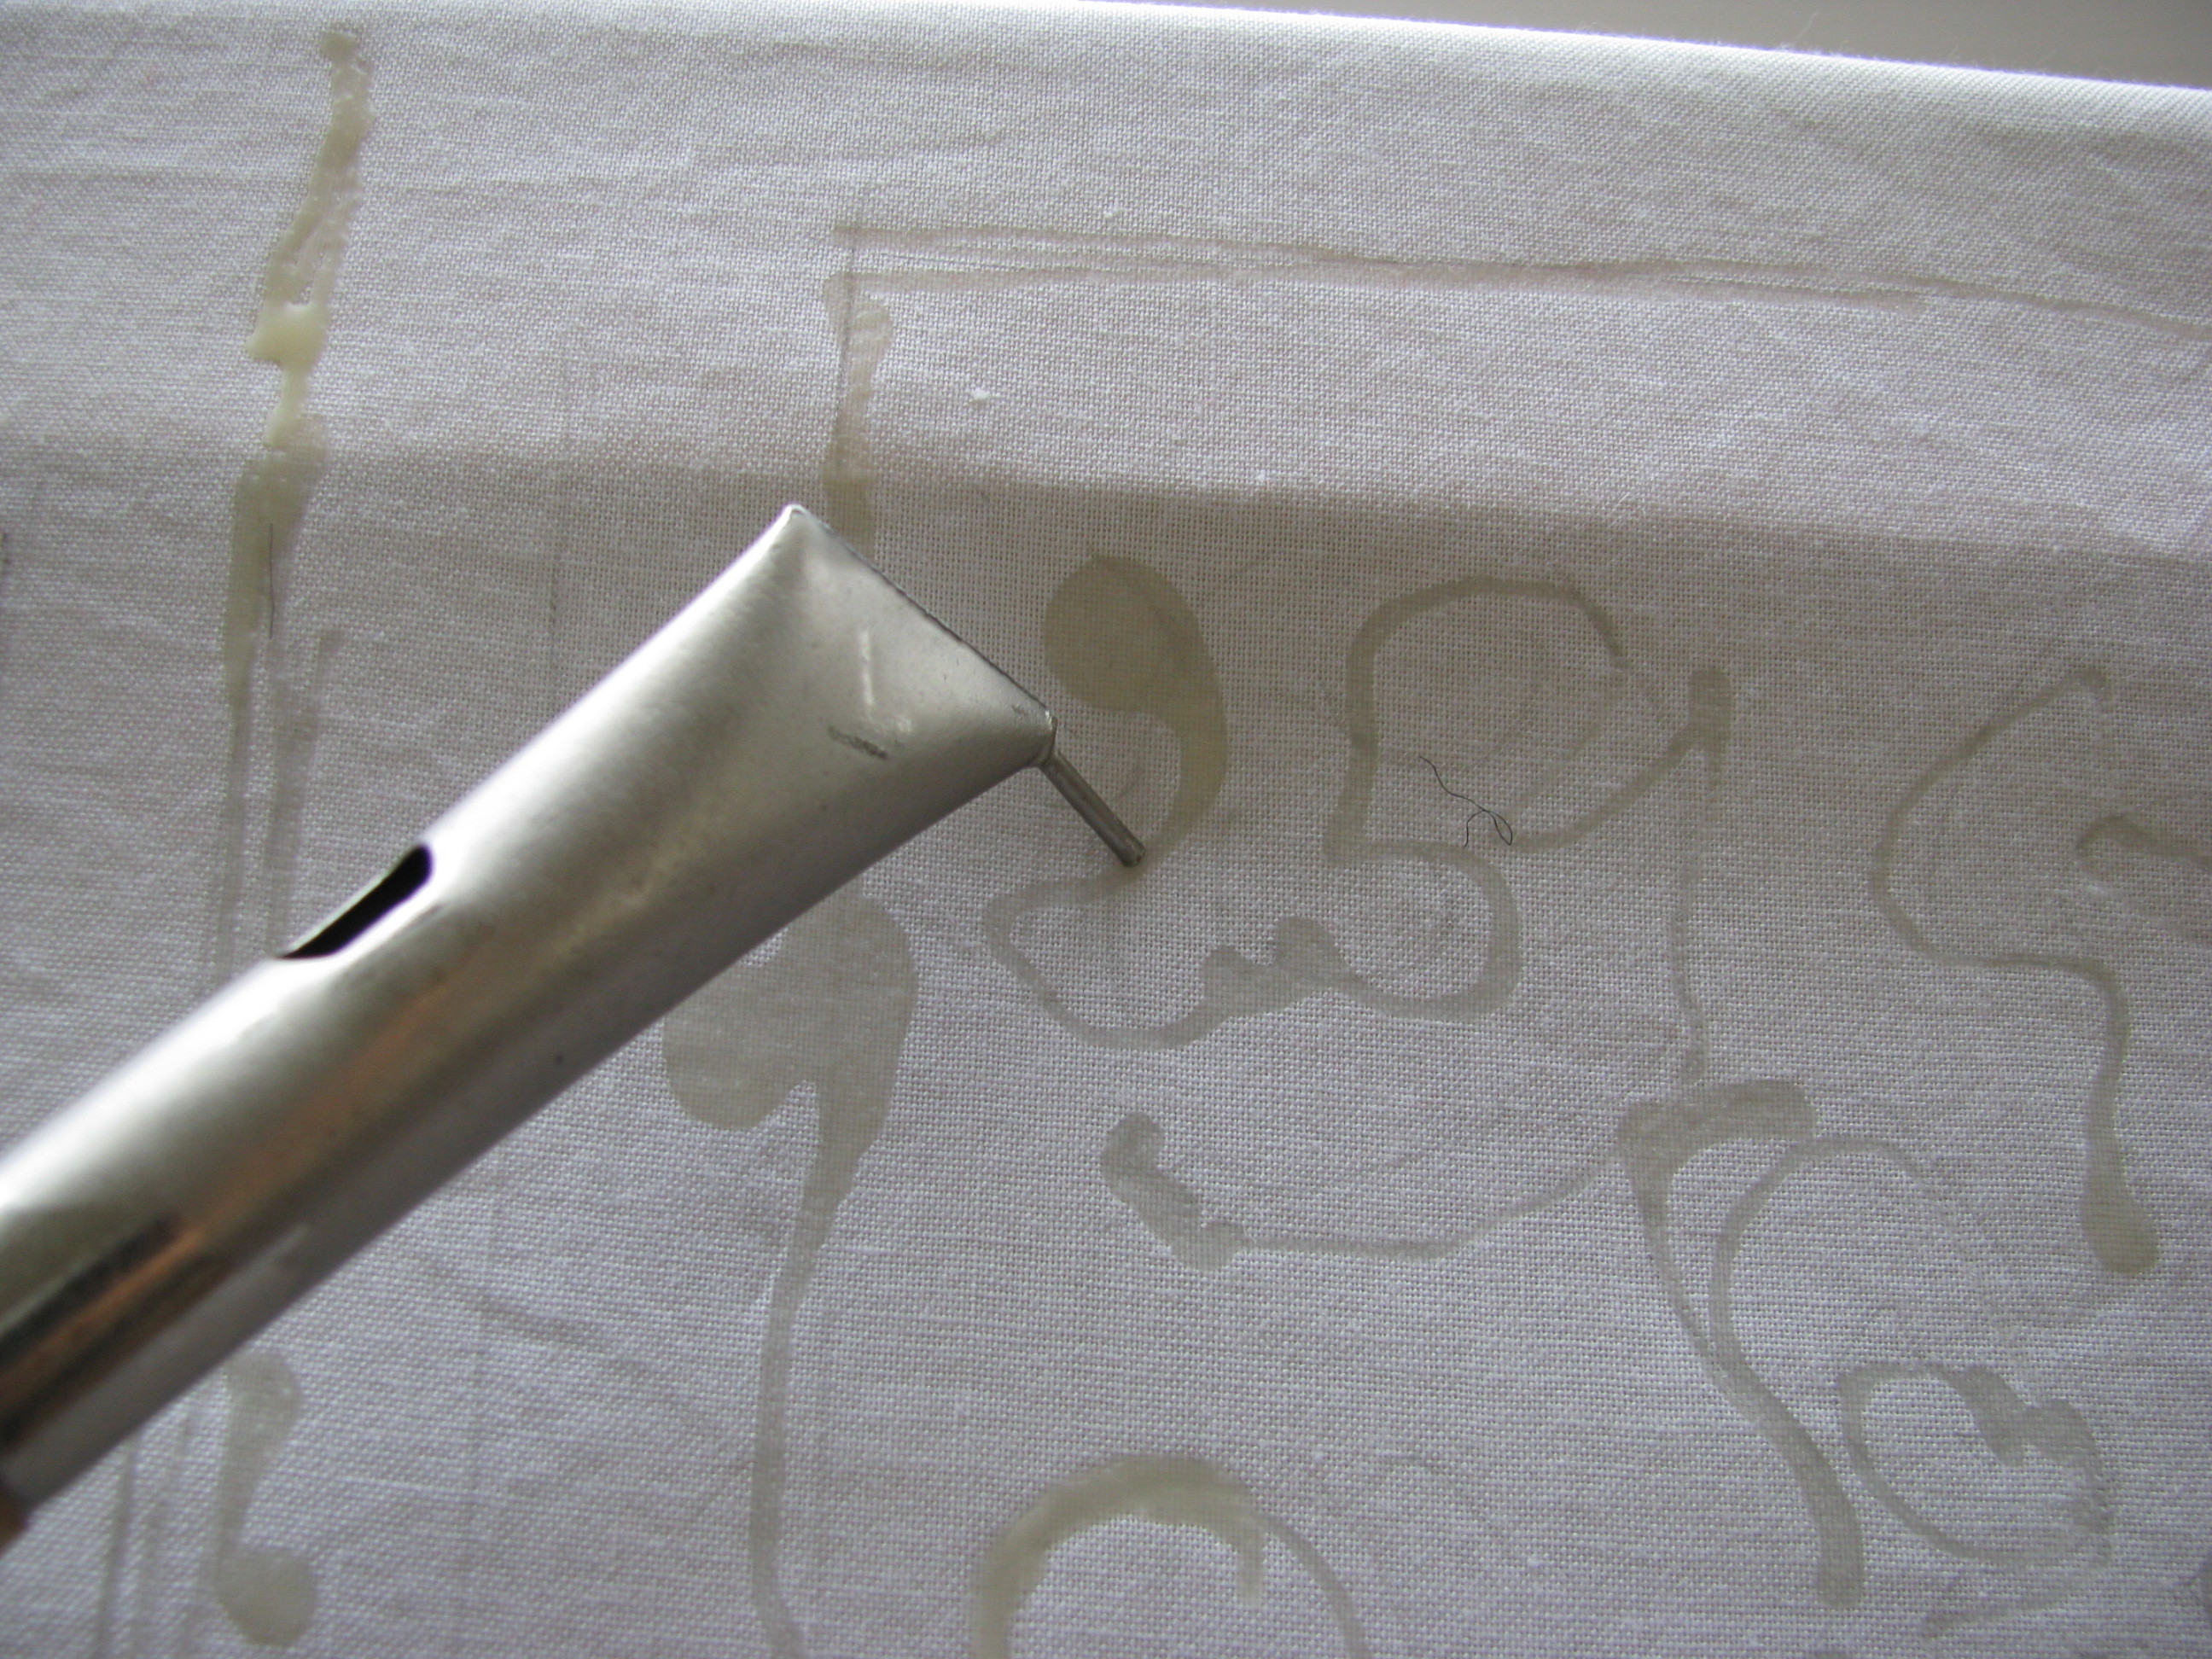
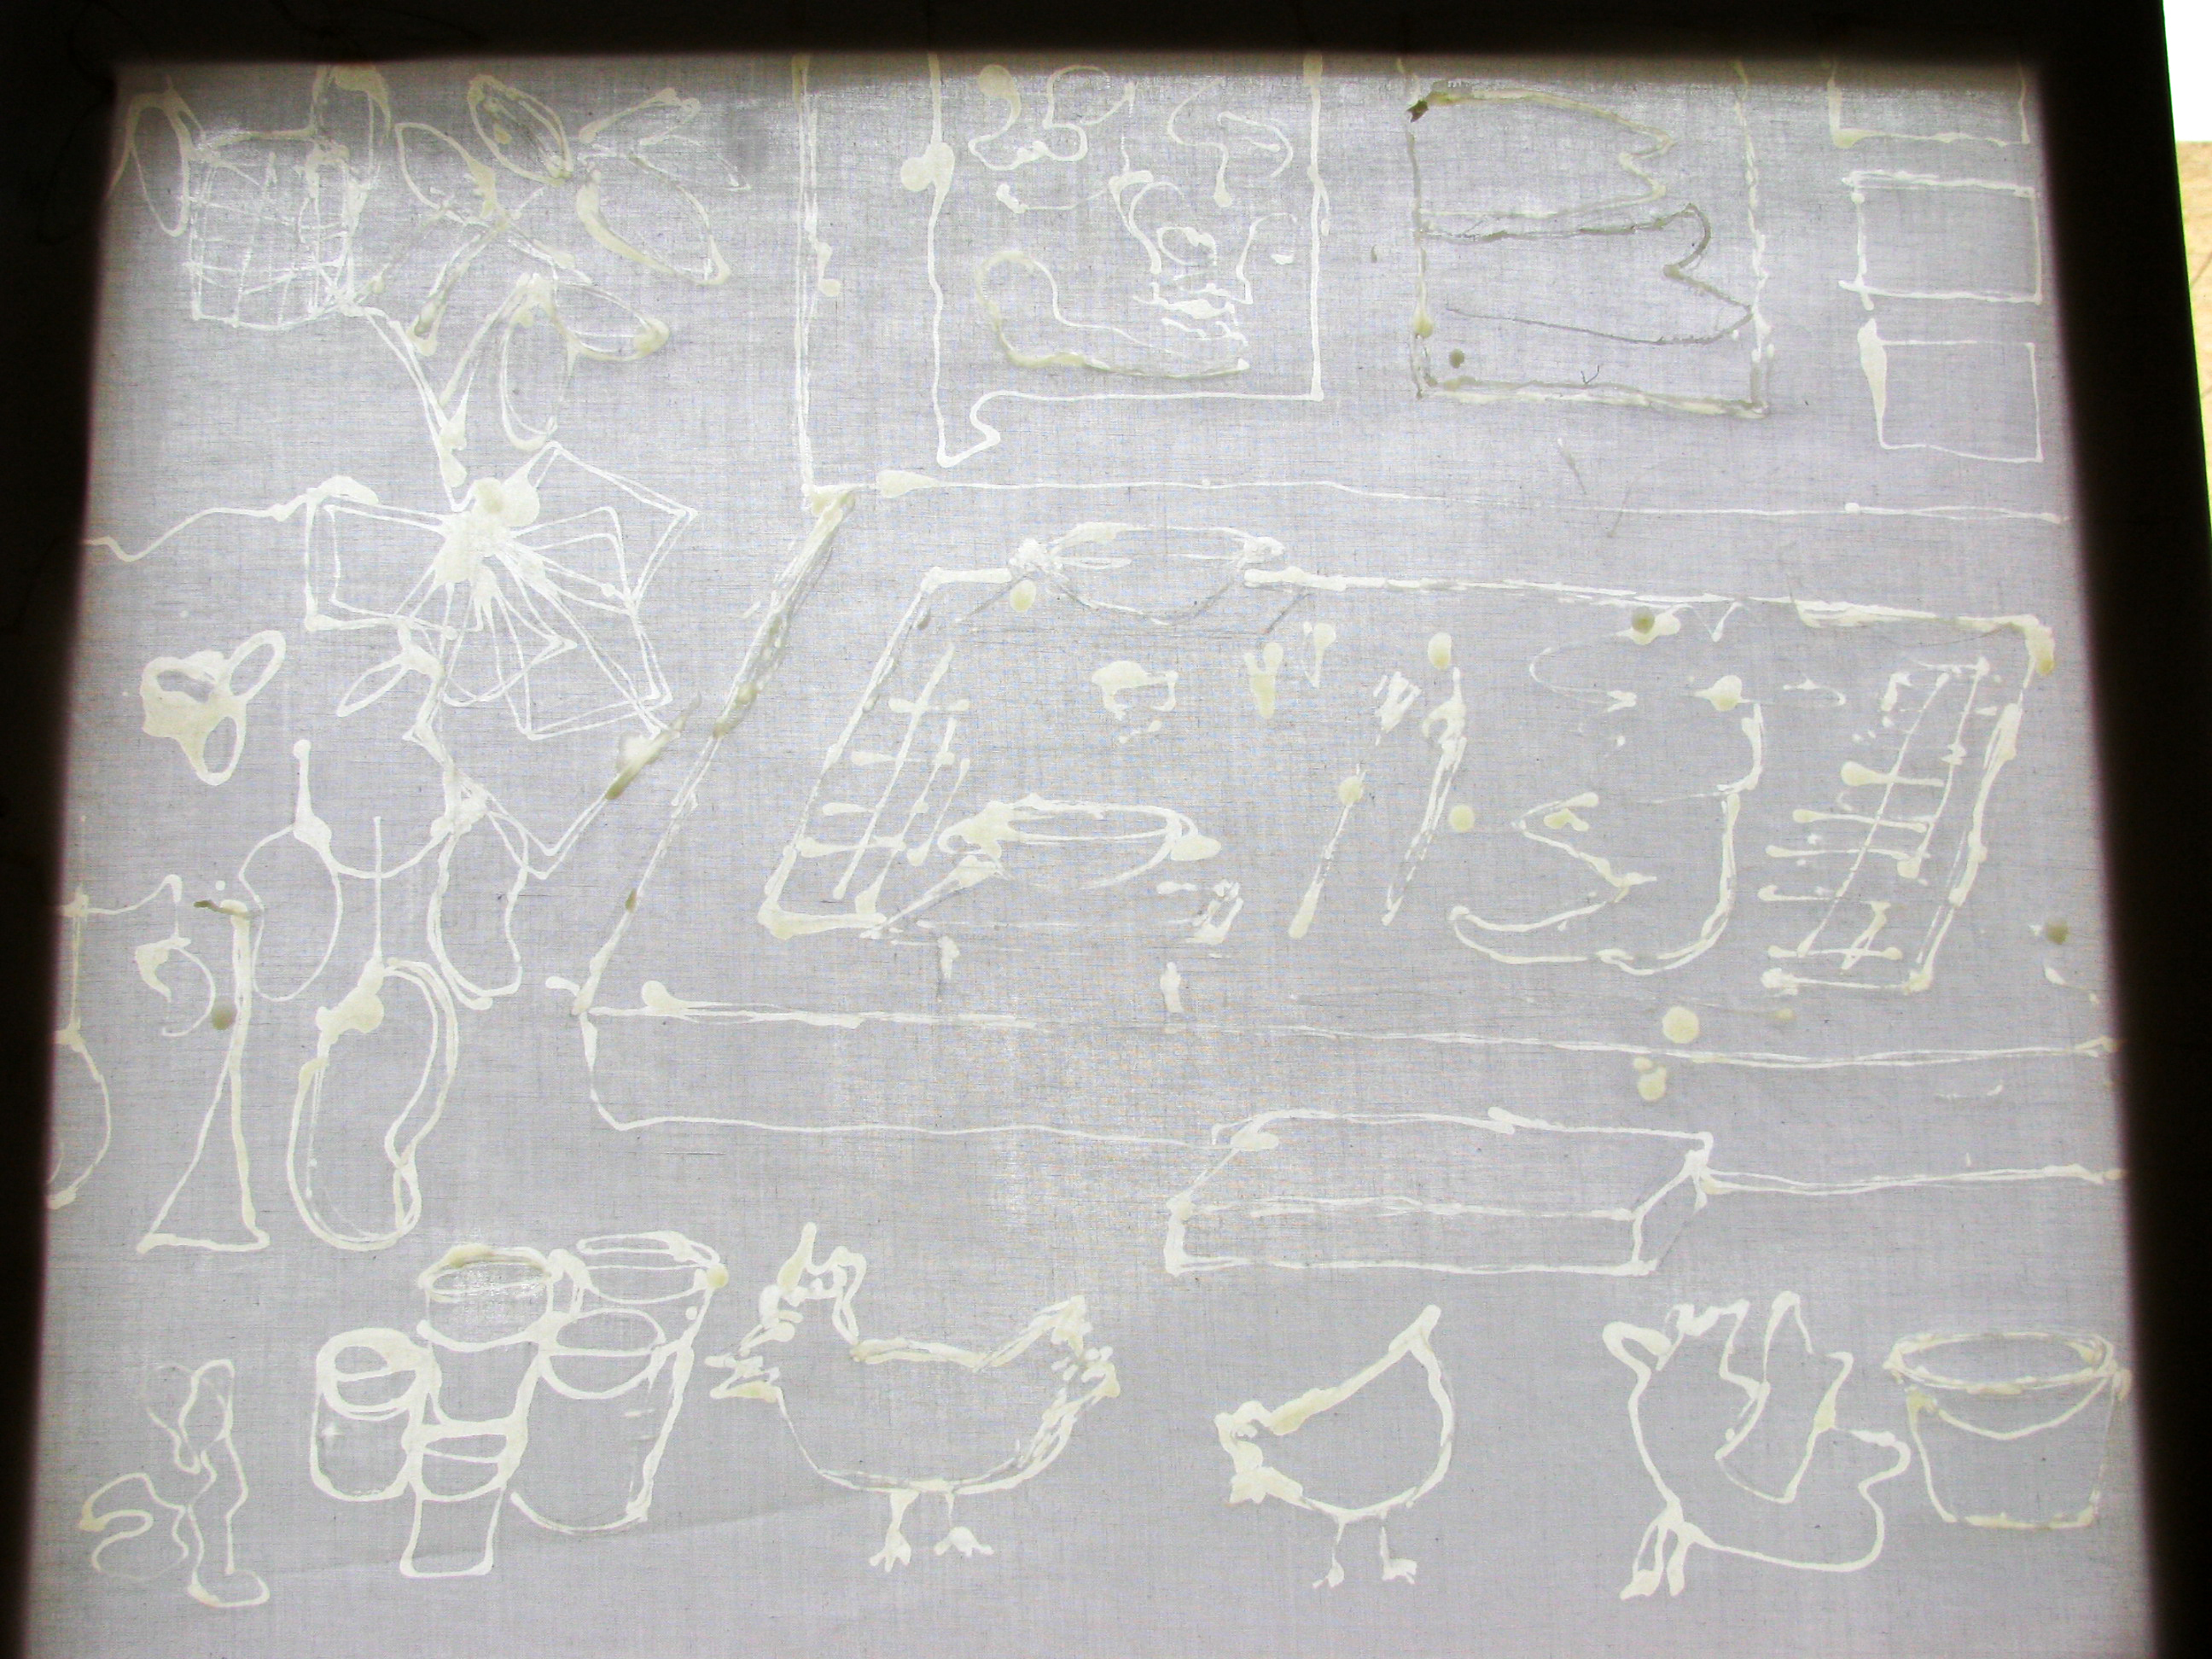
With a pencil, sketch a picture onto the fabric. I chose to sketch a picture of my surroundings in Bali. It’s helpful to note somewhere the colors you’d like to see associated with the elements in you picture.

Waxes & wax tools

A tjanting (pronounced chahn-ting) is a traditional tool used for applying hot wax to fabric, available in various line widths. I use one to draw lines and dots.

A cheap natural bristle brush is also helpful for applying hot wax to large areas of fabric. Be sure to use natural bristles, as synthetic brushes may melt in the hot wax.

Different waxes produce different resist effects on fabric. For this project, we’ll use beeswax and a batik wax made of paraffin. Apply each wax, one after another, and use separate brushes for each of them. Beeswax is yellow in color, honey-scented, and produces a thin, flexible film on the fabric. I use beeswax to draw outlines of shapes and objects, and to block out large areas of solid color. Paraffin wax is white in color and more brittle than beeswax; so it cracks easily, producing a veined, crackle effect, which I like to use on larger areas of fabric.

Apply the wax.

The batik process involves applying wax and dye to fabric in succession. Wax is applied first, to block off white areas. The cloth is then dyed, and then a second application of wax is made to block out areas of this dyed color. The fabric is continually waxed and dyed with additional colors, until it’s fully colored.

Although traditional batik is dyed in a vat, for this project, we’ll apply the dye to the fabric using a brush. Steps will be repeated in succession until the cloth is fully colored.

The following steps are essential to the batik process. We’ll apply wax to the fabric for each color we use in the dyeing process. Allow some time to get comfortable with handling hot wax and using the various tools.

Melt the beeswax in a small pot over an electric burner. If the wax begins to smoke, quickly remove the pot from the burner. You need at least 1″ of melted wax in the pot so that you have enough for your batik tools to dip into. For paraffin wax, use a separate pot. Paraffin wax has a lower smoking point than beeswax, so make sure you keep a close watch on the paraffin to avoid flare-ups!

When the wax is almost melted, place your tjanting in the wax to heat up. You’ll notice that a crust of wax will form, indicating that the tjanting is too cold. When your tjanting is sufficiently warm and ready to use, no solid wax should be visible on any part of the tool. Dip the tjanting into the pot and collect wax in the reservoir. To ensure that no cold wax remains in the reservoir of the tjanting, pour the wax out into the pot, then continue to collect and pour out the wax a few more times. Repeat this step each time you collect wax from the pot.

Fill the tjanting reservoir with melted wax, wiping the side of the tjanting against the side of the pot to remove excess wax. Use a paper towel to catch any drips.

Apply the wax, continued.

Test that the wax is hot enough by drawing a few lines on a piece of newspaper. When the applied wax is translucent in color and seeps through the newsprint onto the other side, the wax is ready. If the wax is opaque and sits on top of the fabric, then the wax is too cold. Continue heating and testing the wax until the applied wax is translucent.

When the wax is hot enough, use the tjanting to apply it to the pencil sketches you drew earlier on the stretched fabric. Apply to both the front and back. A brush can also be used to apply wax to larger areas of the fabric. Warm the brush first in the wax before applying.

Be sure to apply wax to both the front and the back of your sketch.

Allow an hour for the wax to fully harden. If you used paraffin wax, use your index finger to apply light pres- sure to the hardened wax. The wax will crackle with applied pressure.

Mix and apply the dye.

Don your rubber gloves when handling dyes and solutions. The dye is only good within a few hours of mixing; so only mix the dye you’re going to use at the time.

To make each dye solution, combine the following:

1tsp urea

1⁄2tbsp noniodized salt

1⁄2tbsp sodium carbonate

1–2tsp Procion MX dye (see table at right)

In a glass jar, add 1⁄4c of boiling water to the dry ingredients, and stir until everything is fully dissolved.

With a clean paintbrush, apply the dye solution to sections of the fabric that you want colored. If you’re mixing 2 primary colors, apply one color first, then apply the other color on top using a separate brush. Allow the fabric to dry before applying more wax.

Repeat the wax-and-dye process.

Repeat wax process for each color of dye. For my batik painting, I used yellow, blue, light red, dark red, and black dyes.

First I applied wax to the stretched fabric, allowed it to harden, then painted yellow dye on the mango trees and the mangos. Then I applied wax to sections that remain yellow, and applied blue dye to the foliage and mangos to make them green.

For the section that required several different colors, I initially outlined the painting in beeswax on white fabric, then painted on yellow dye, then blue dye, which results in green. I then applied beeswax on top of the green to add water accents.

After the beeswax hardened, I painted light red dye to make brown, set it outside to dry, then made another application of beeswax to highlight brown water accents and light red fish scales. After that hardened, I painted dark red dye on the borders. Once dry, I applied paraffin to the borders. And when the paraffin wax hardened, I applied pressure to it to create a crackle effect.

Finally, I painted on the black dye, which seeped underneath the cracked paraffin. The black dye also contributed to the black accents found in the fish.

Set and rinse the dye.

Allow the dye to react. With the last application of black dye, check that the stretched fabric is damp with black dye. Wrap the damp frame and fabric in a plastic garbage bag. Roll down the opening to ensure that the bag remains sealed and the frame and fabric stay moist. Place the bagged frame and fabric in a warm place for 12–24 hours.

Rinse the fabric. With the fabric still on the frame, put your rubber gloves on and rinse the fabric with cold water until the water runs clear. Then follow with a rinse in hot water. Thoroughly air-dry both the fabric and frame.

Remove the wax.

Pry the staples out of the frame with a screwdriver, then remove the fabric. Then sandwich the fabric between 2 layers of paper towels and newspaper. The paper towels should be closest to the fabric.

With a hot iron adjusted to the cotton setting, iron slowly over the newspaper and paper towels until the wax melts out of the fabric and is absorbed by the paper. Change the paper towels and newspapers frequently. When most of the wax has been removed from the fabric, the fabric should feel slightly stiff.

You can now showcase your batik painting by framing it, or by stretching it back onto the frame you used to make it.

An alternate method is to boil the wax out of the fabric using soap flakes and boiling water. I find that this technique, while better at removing wax from the fabric, tends to cause the dye to fade out of the fabric.

Conclusion

This project first appeared in CRAFT Volume 07, pages 84-91.