33 Final assembly 2cropped
Photo by Hep Svadja.

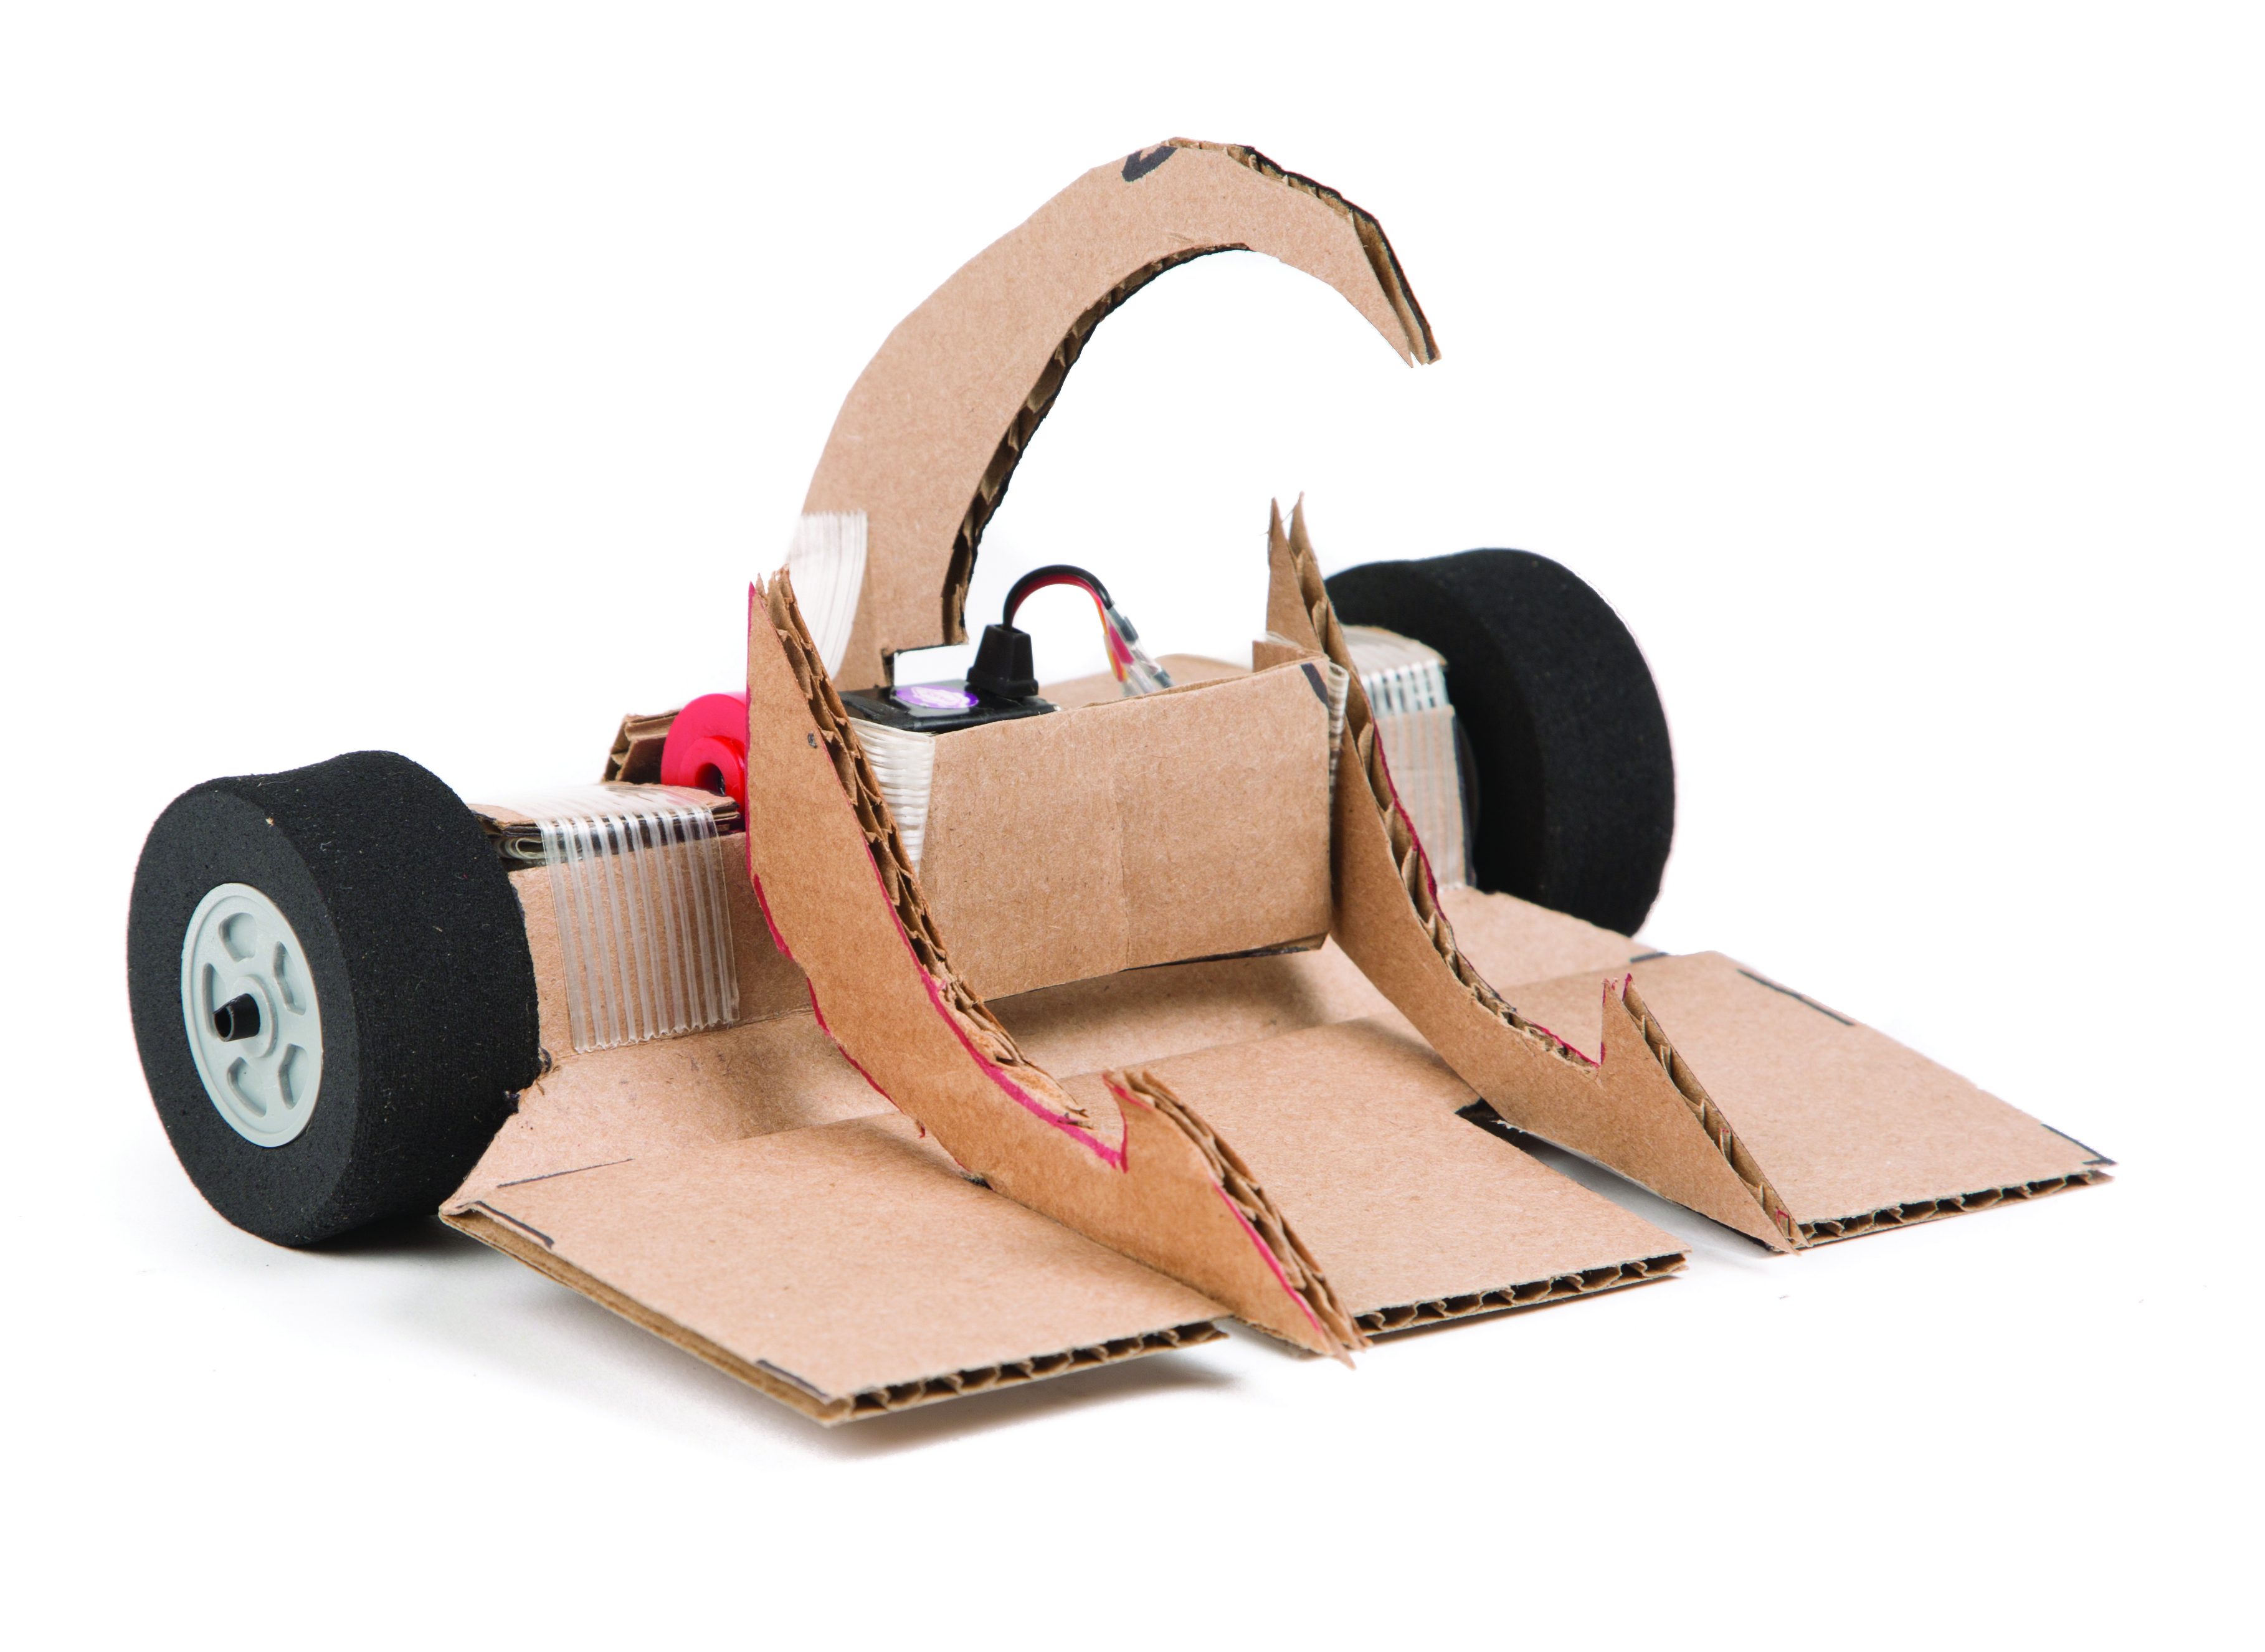
Engineering professors call it “hobby shop engineering,” but my robotics team refers to our design method as “C.A.D.,” nerd code for Cardboard-Aided Design, the low-tech tool for testing new robot designs.

Often, people ask how I get my ideas for making new fighting robots. New designs evolve in many different ways. It could be something I see, think of, dream of, or brainstorm with other people. Ideas can come from handling the materials and from fighting the robots, but you can try various methods.

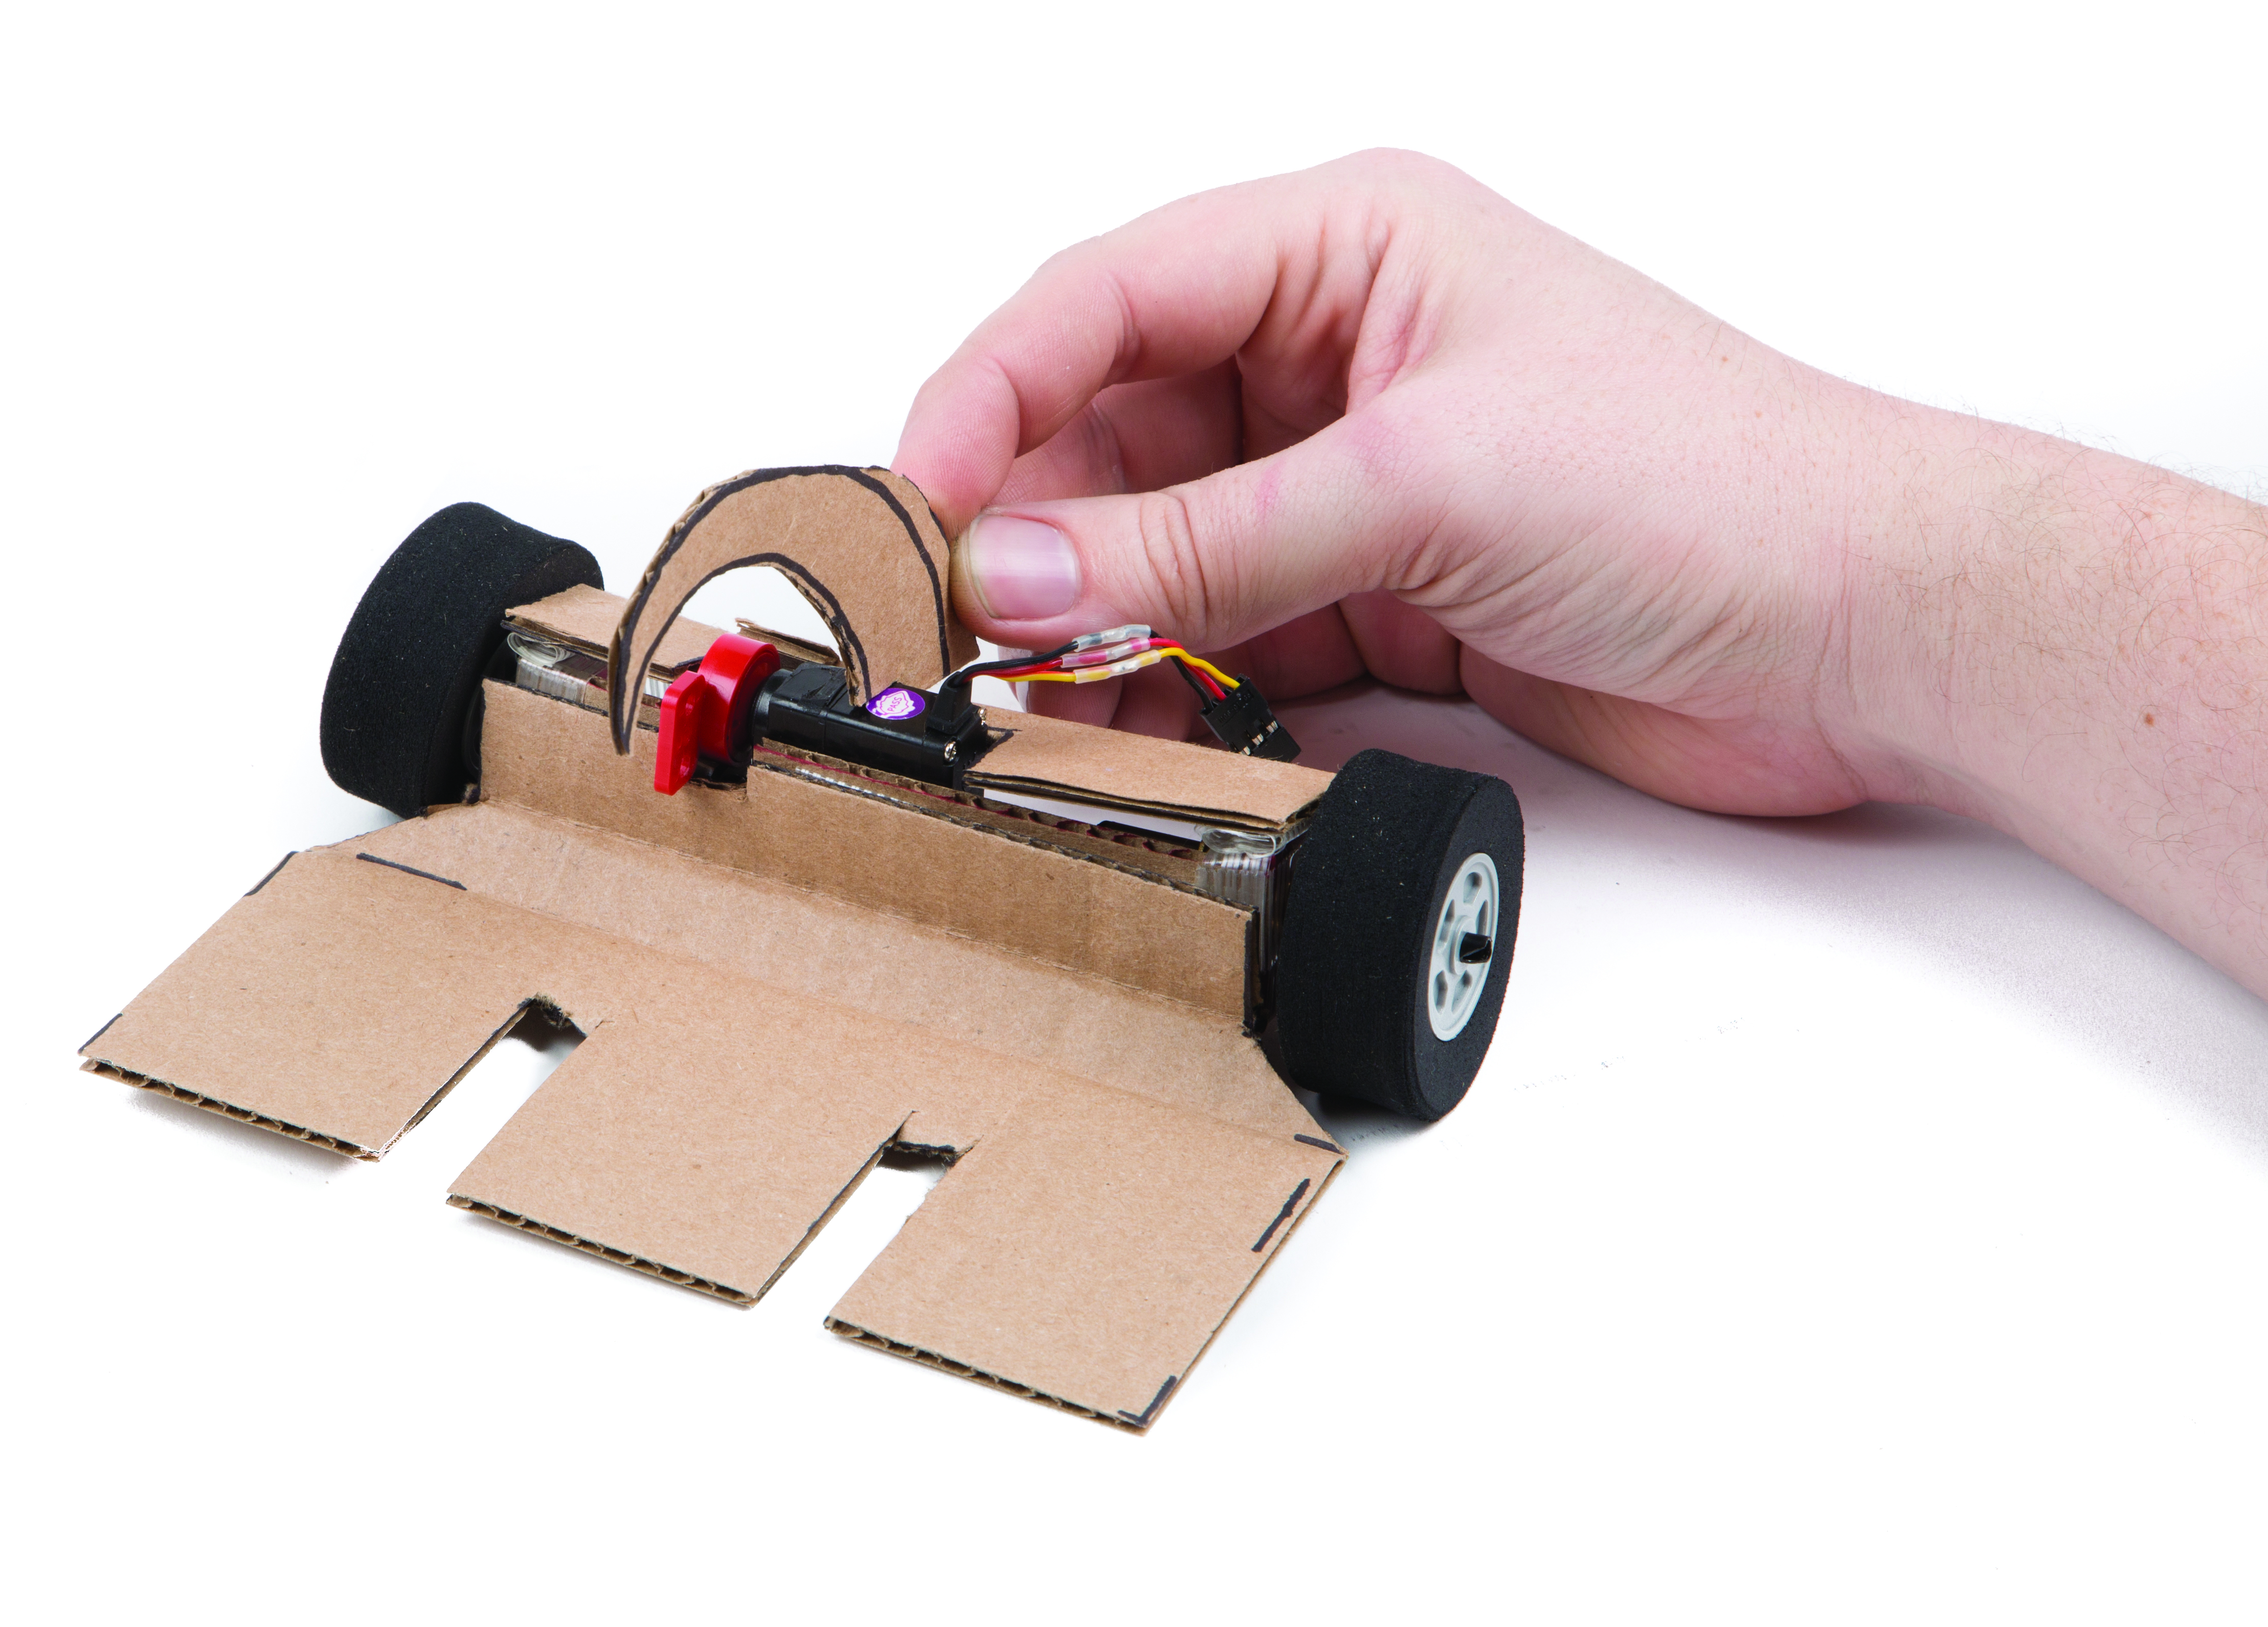
In this process, you draw and cut out the pattern of the parts you plan to use and mock them up in actual size. This way, you can test your ideas in cardboard before cutting out the final materials.

Weigh Your Design Options

There is no one right way to design a robot, but there are some design hurdles to consider. There are endless debates on four wheels vs. two. Should the wheels be exposed or enclosed? Which weapon is best, and do you want more than one? The answers depend what you are comfortable with. Try to build one that fits your personality and drive style.

There will be trial and error. A two-wheeled robot turns quickly and is easy to build, but is difficult to drive straight. A four-wheeled robot turns slower, but is easier to control, and makes it tough for opponents to “high center” you. Exposed wheels can be torn off, but wheel guards can get bent, pinning the wheel. You may be better off losing a wheel and still having three good wheels.

Multiple weapons can overcomplicate the robot or make it too heavy. However, it is highly recommended to always have a wedge — they help get under your opponent and give you leverage. Every great saw, lifter, and crusher has to start as a good wedge. Even if your weapon is completely broken, you can still continue the match as a wedge robot.

m45_CardboardRobot_FaceoffOpener

Software Versus Paper

I have designed robots with computer models and every part precisely machined, such as The Bomb, which has won four RoboGames’ gold medals. However, for another medal winner — my first champion, named Micro Drive — I used only one piece of cardboard and three pieces of graph paper. This took a fraction of the time the computer models did, and it won two gold medals and a silver. The real question: Would you rather spend your time in front of your laptop, or in front of your workbench?

What will the next generation of Make: look like? We’re inviting you to shape the future by investing in Make:. By becoming an investor, you help decide what’s next. The future of Make: is in your hands. Learn More.

Project Steps

Determine Moniker and Function

I recommend coming up with an evocative name to describe something about the robot, like “Captain Hook” or “Jaws.” Once you have that, pick the function of the robot — what it’s going to do.

For example, you could make a clamp robot with a bottom jaw that moves up and down in order to lift its opponents’ wheels off the ground. Or, you could feature a saw or hammer. Look up some past champions to spur creative ideas.

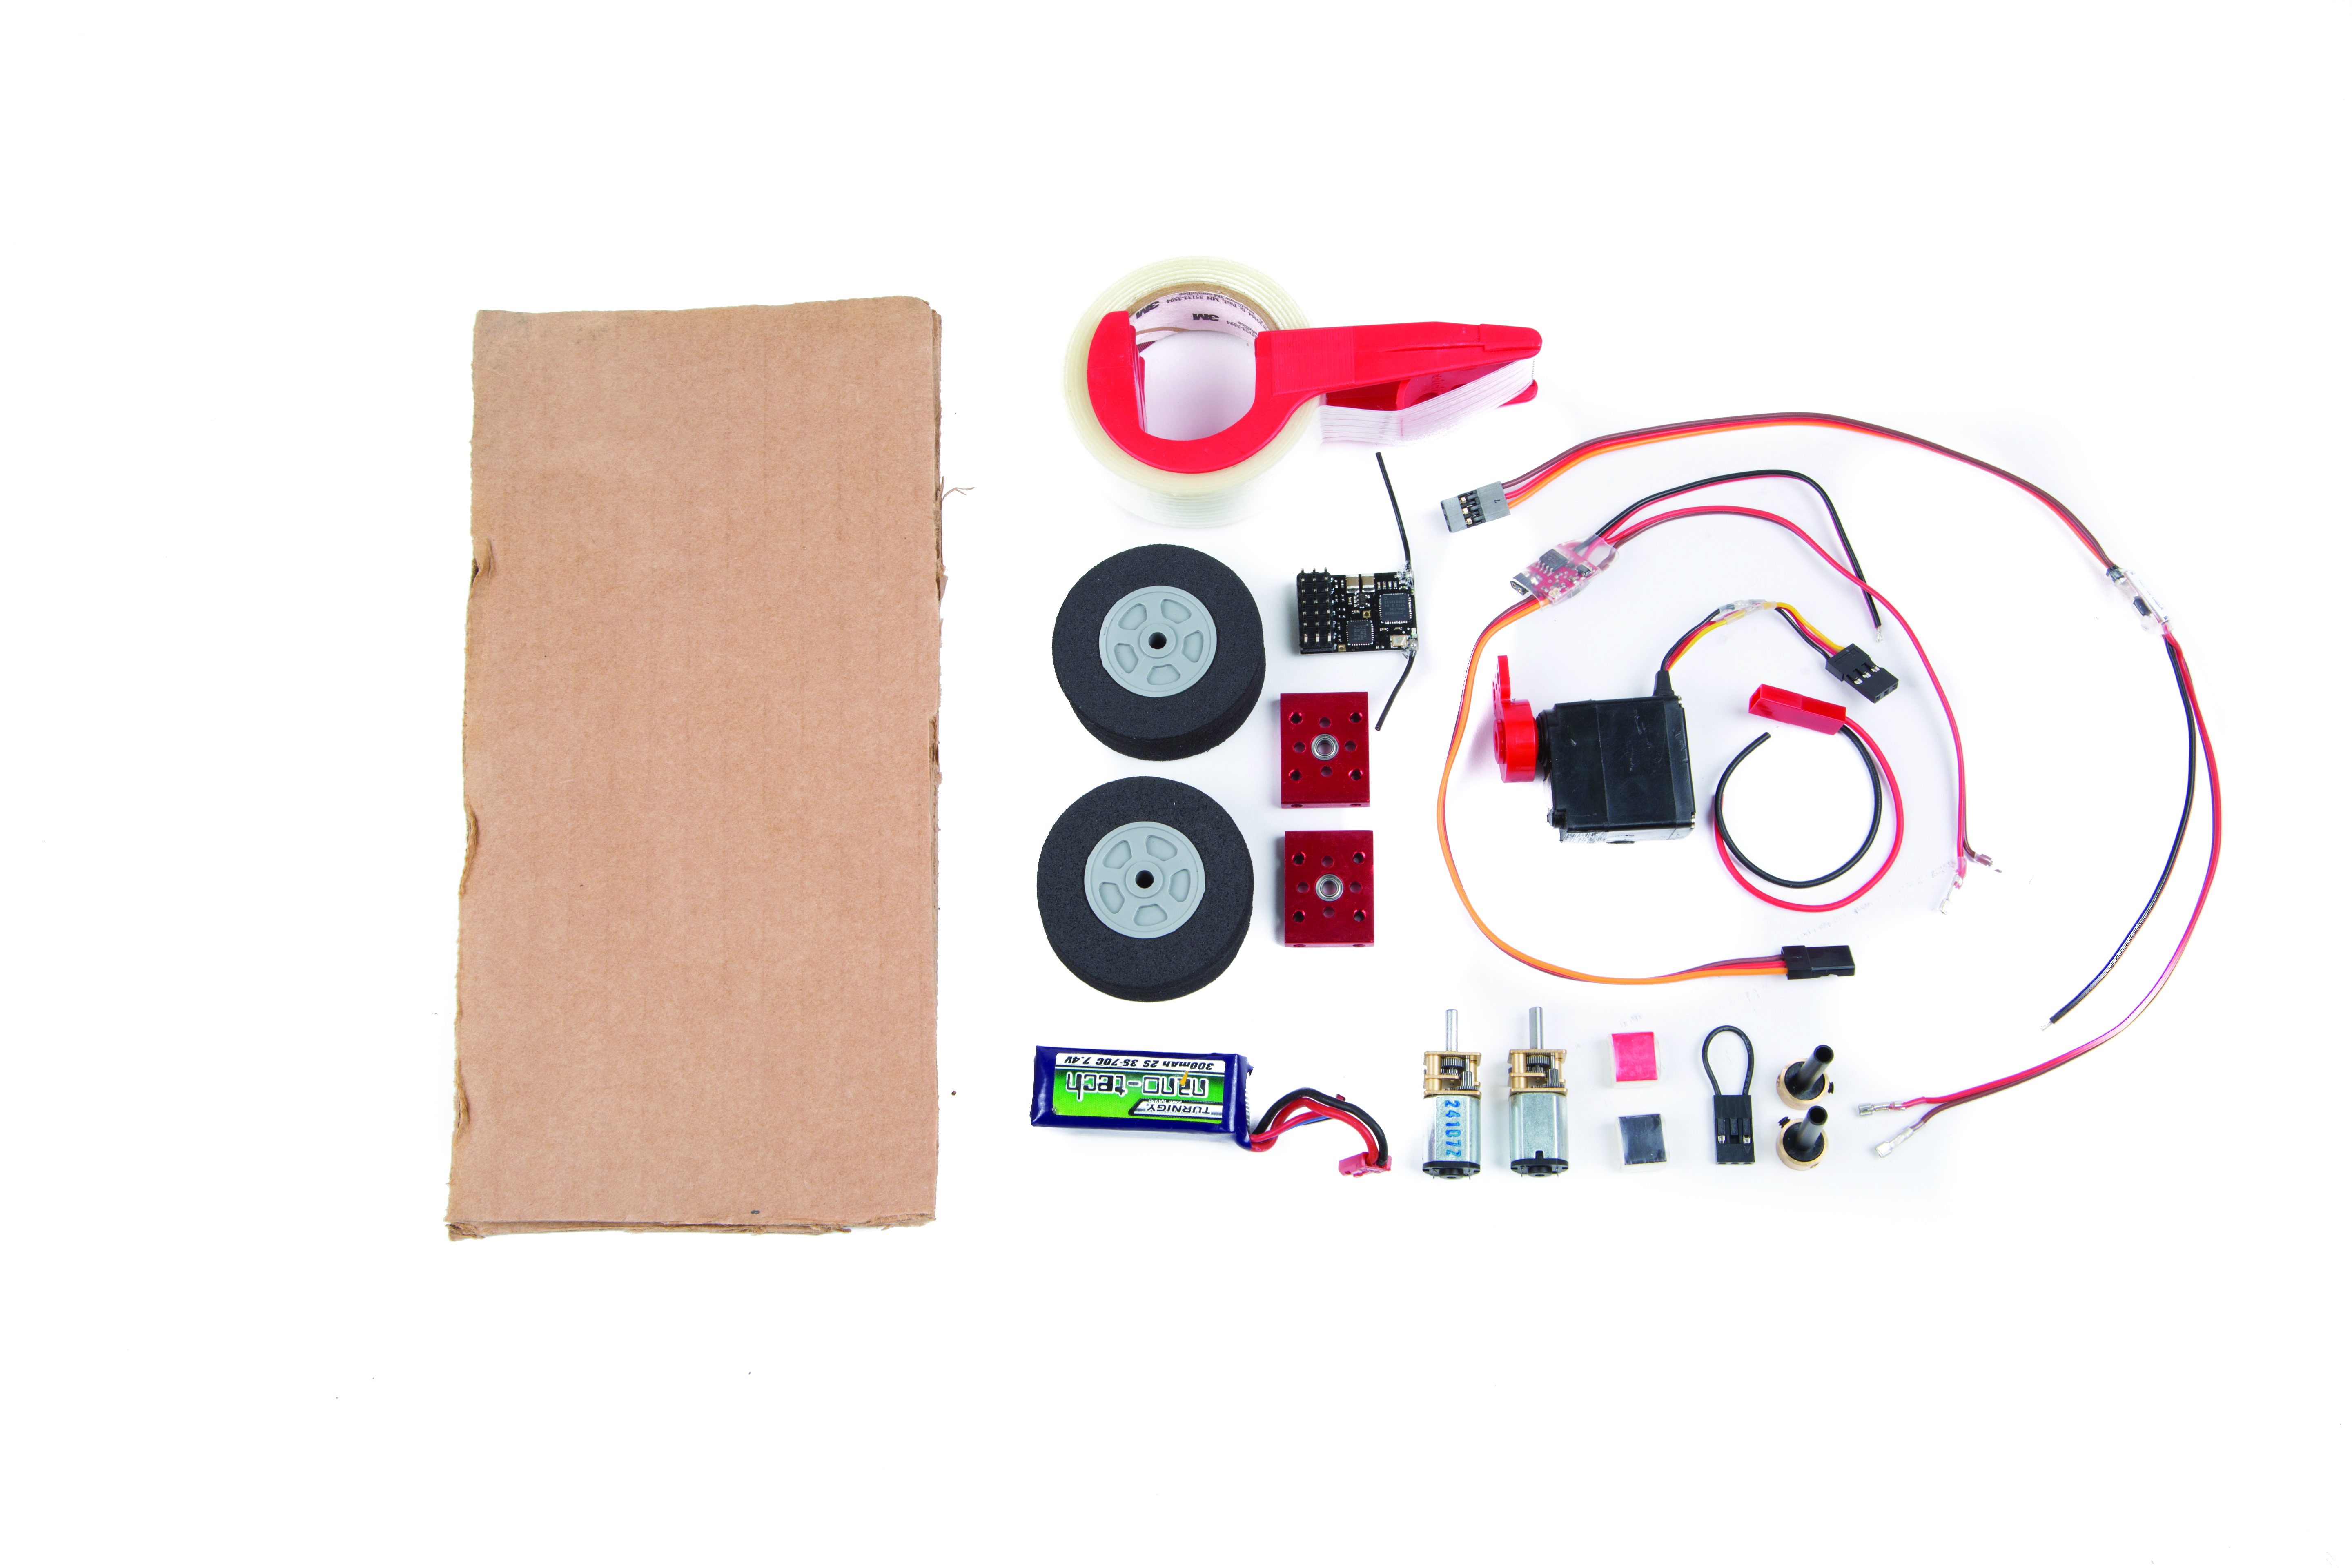
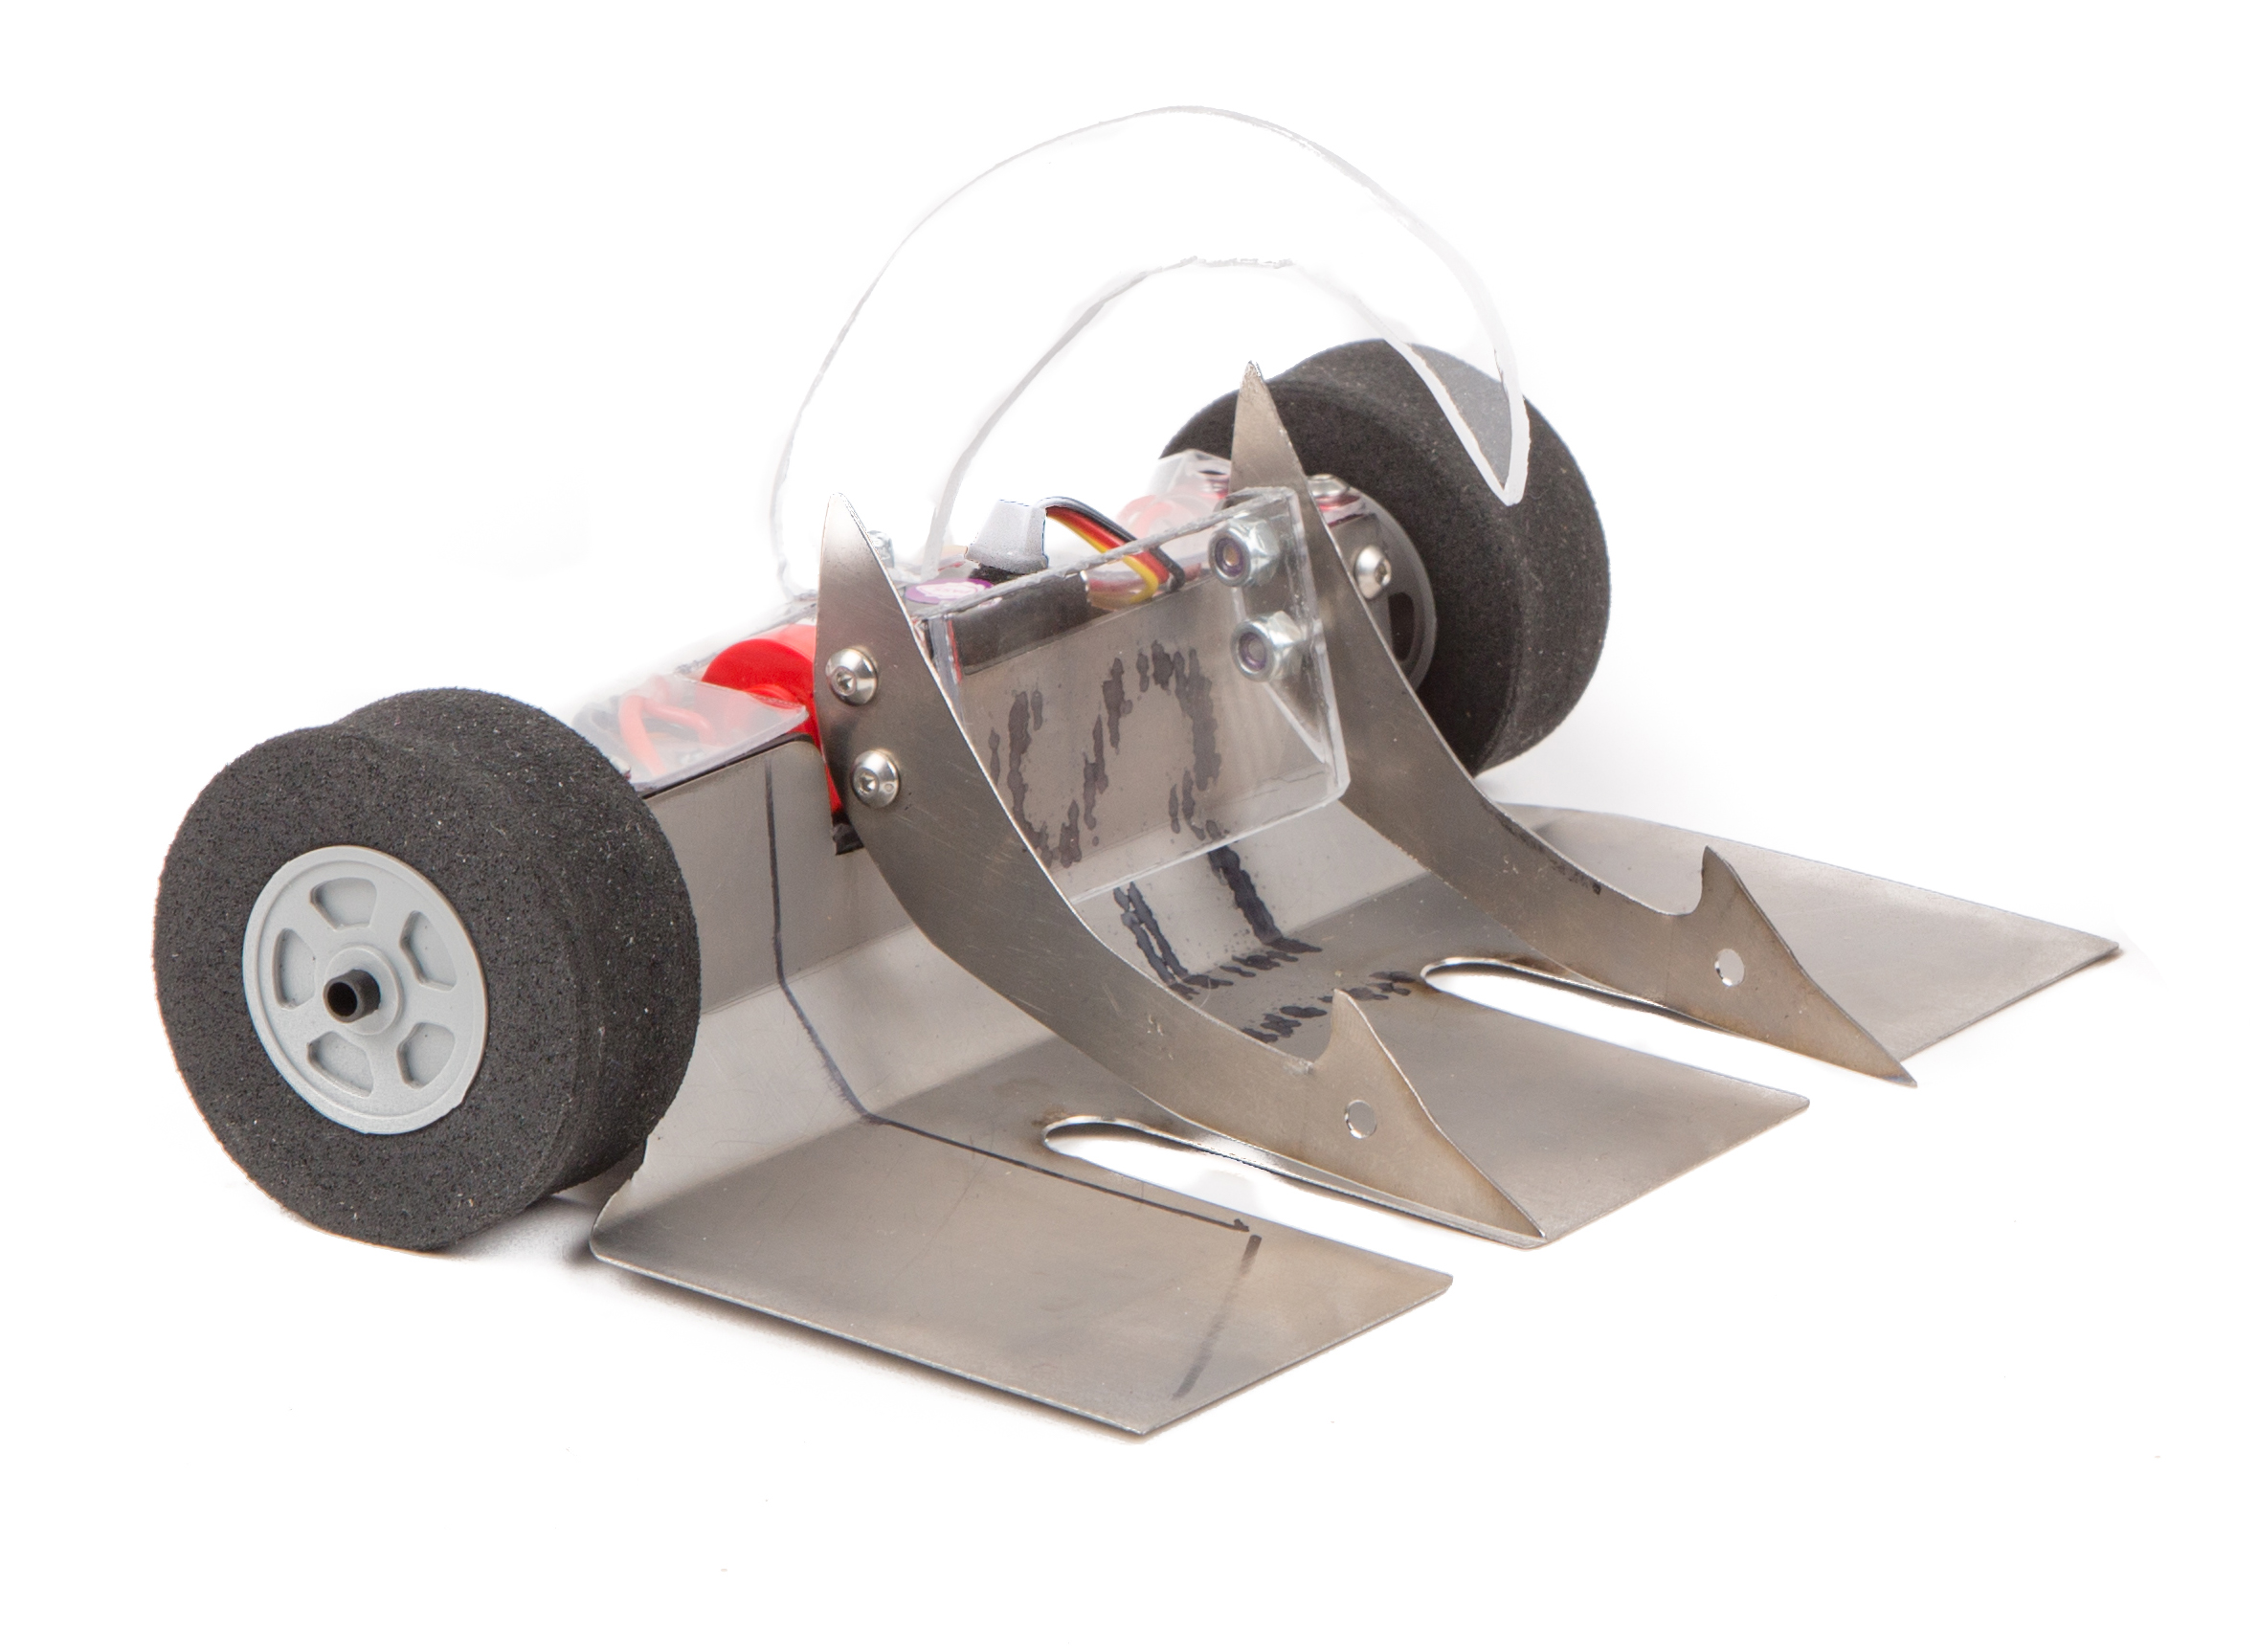
Whatever you decide, start with rough sketches to get an idea of what the robot will look like, then assemble a parts list. Select parts you are familiar with or ones that have received good reviews. For the robot you see here — called UnderBite — I used mostly FingerTech parts, along with a Hitec servo and a pair of 50:1 Sanyo motors.

This fun project will take you about 4 hours and $200 to recreate.

Create your Cardboard Template

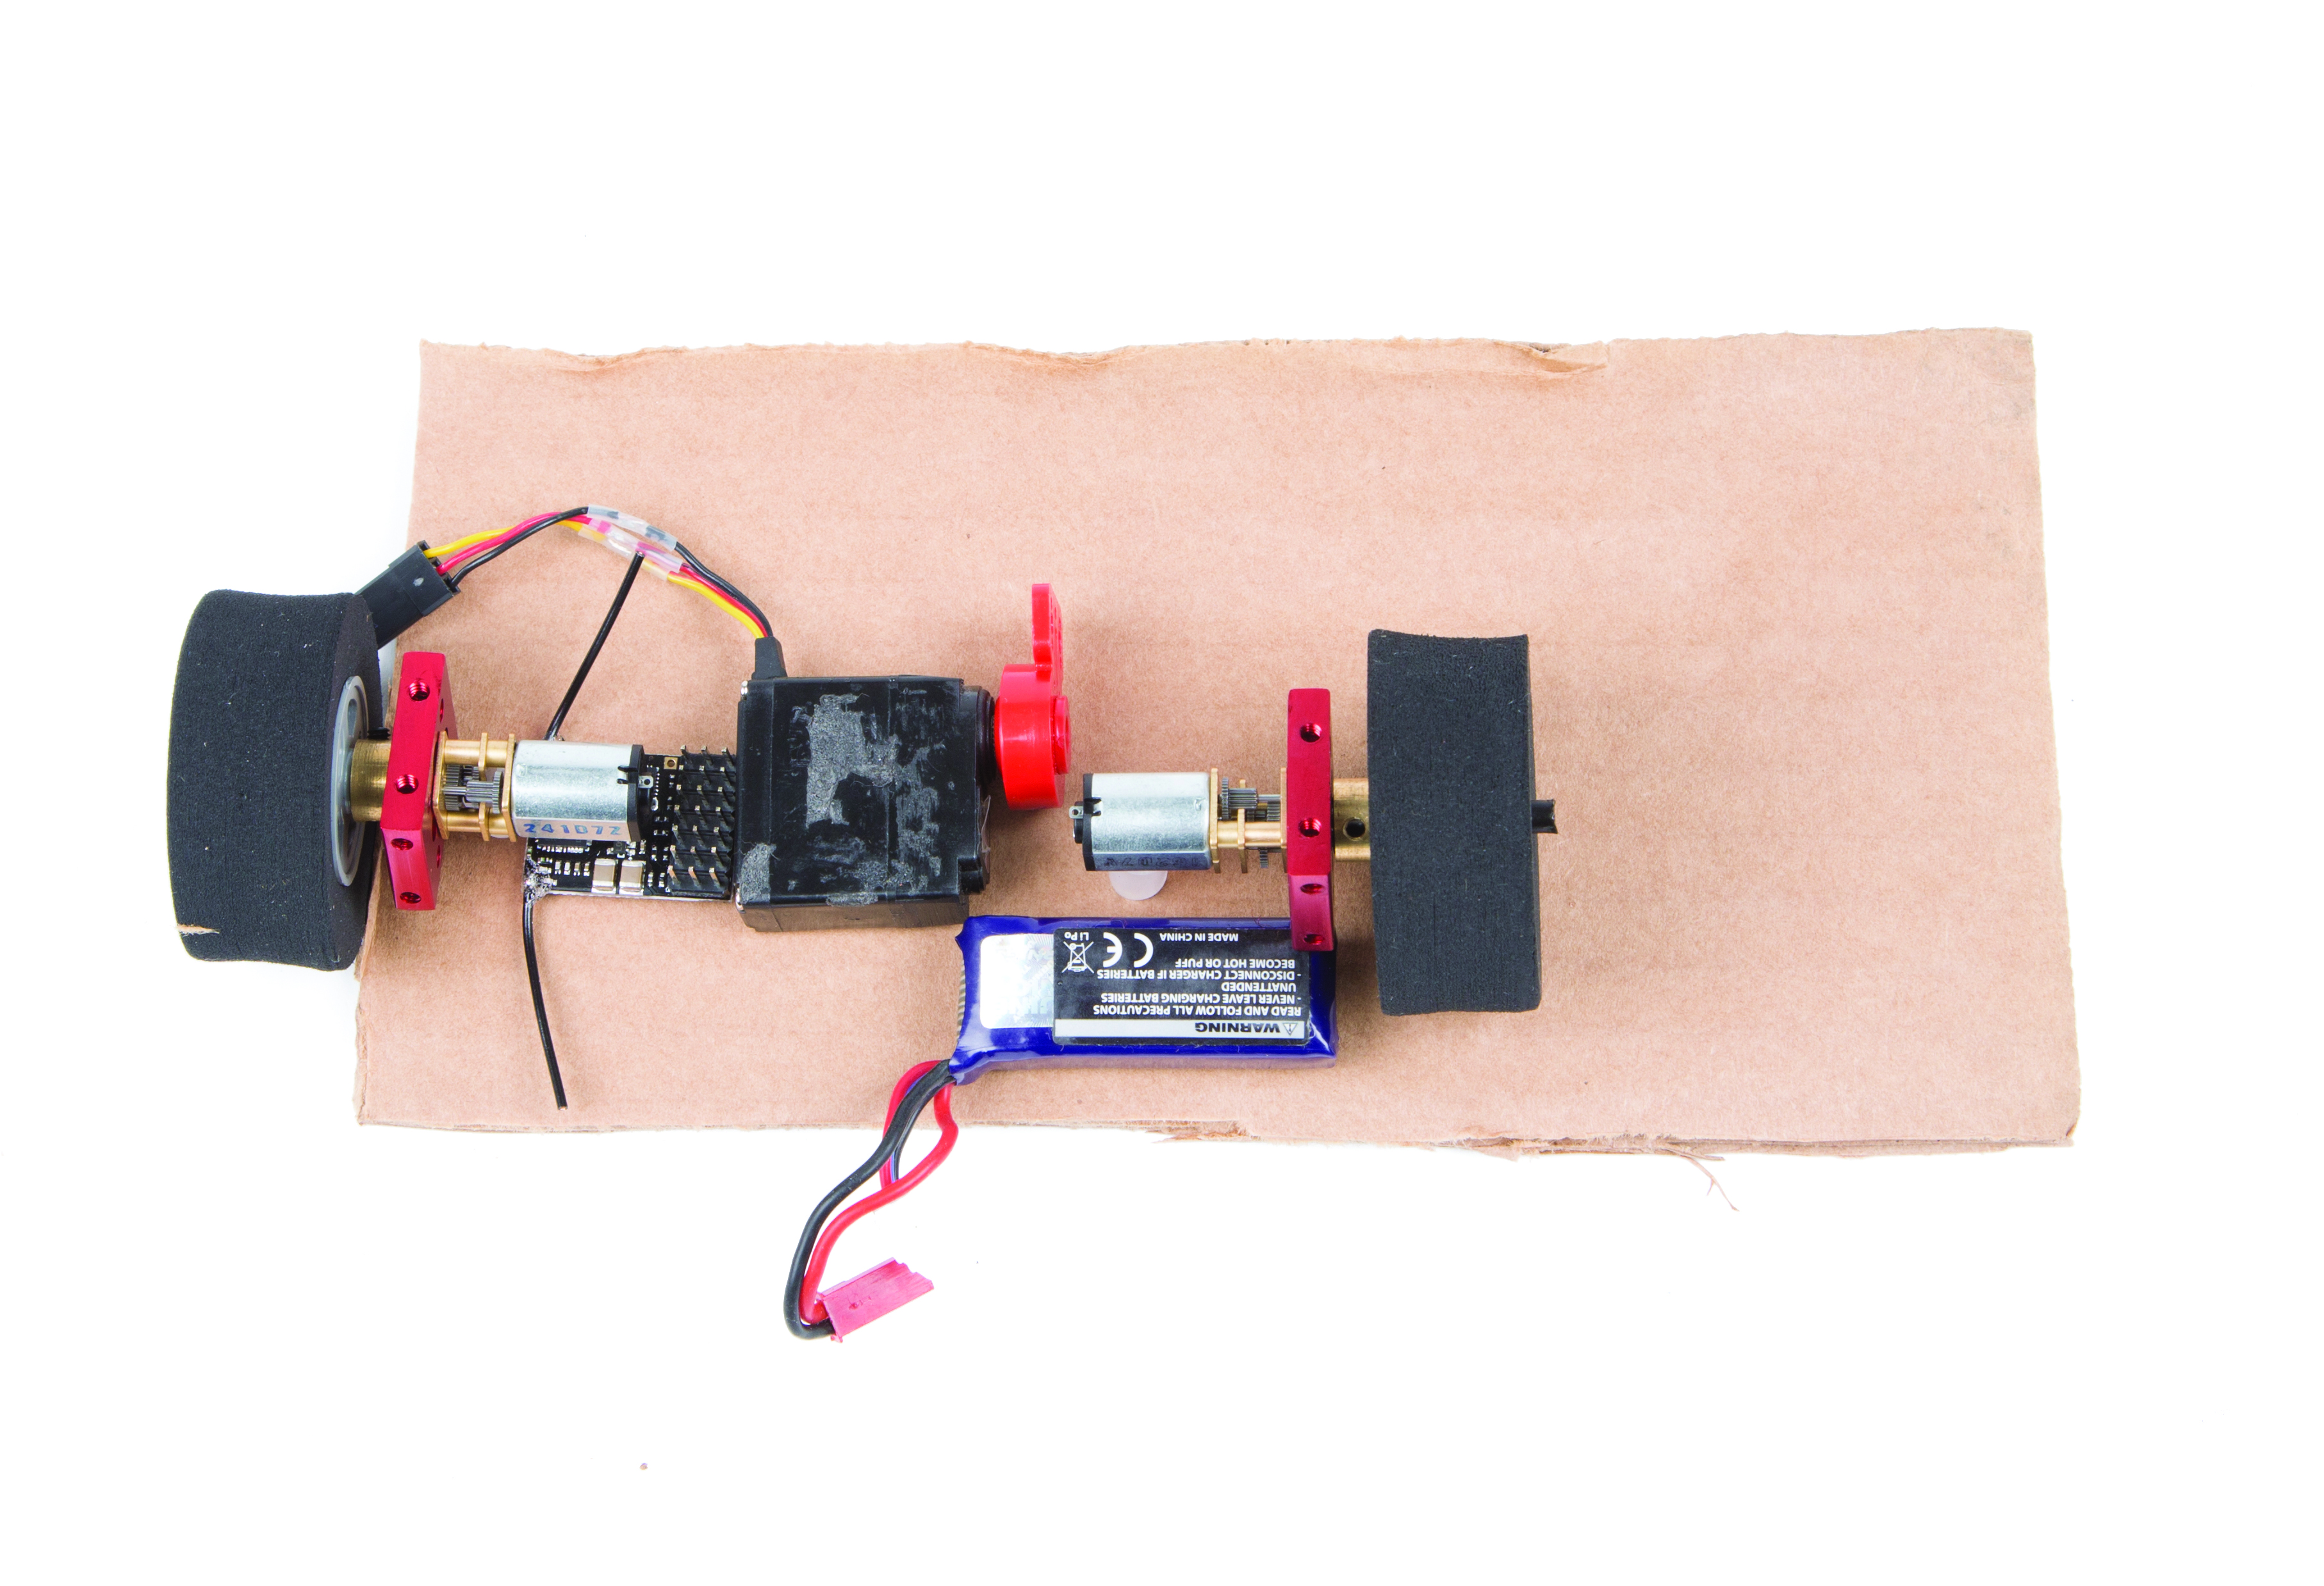
Start by laying the parts out on a piece of cardboard; try to arrange them in the tightest possible orientation. Trace out the shapes and cut out the pieces of cardboard — but cut carefully, as this will serve as a template when you start building. After cutting out the base piece, tape the parts to it and start working on the front wedge. (Use masking tape to avoid leaving residue on the parts.) Once the front wedge is cut out, tape it onto the front of the robot. Then attach the wheels and check the ground clearance.

On Underbite, I noticed something looked off after attaching the wedge — it was too large for the robot. I scaled it back about 20%, cutting ½” off all sides of the wedge.

This is the true beauty of C.A.D.; you can look at your robot and make modifications without having to take it apart. If you don’t like the way something looks, simply get a pair of scissors and change it.

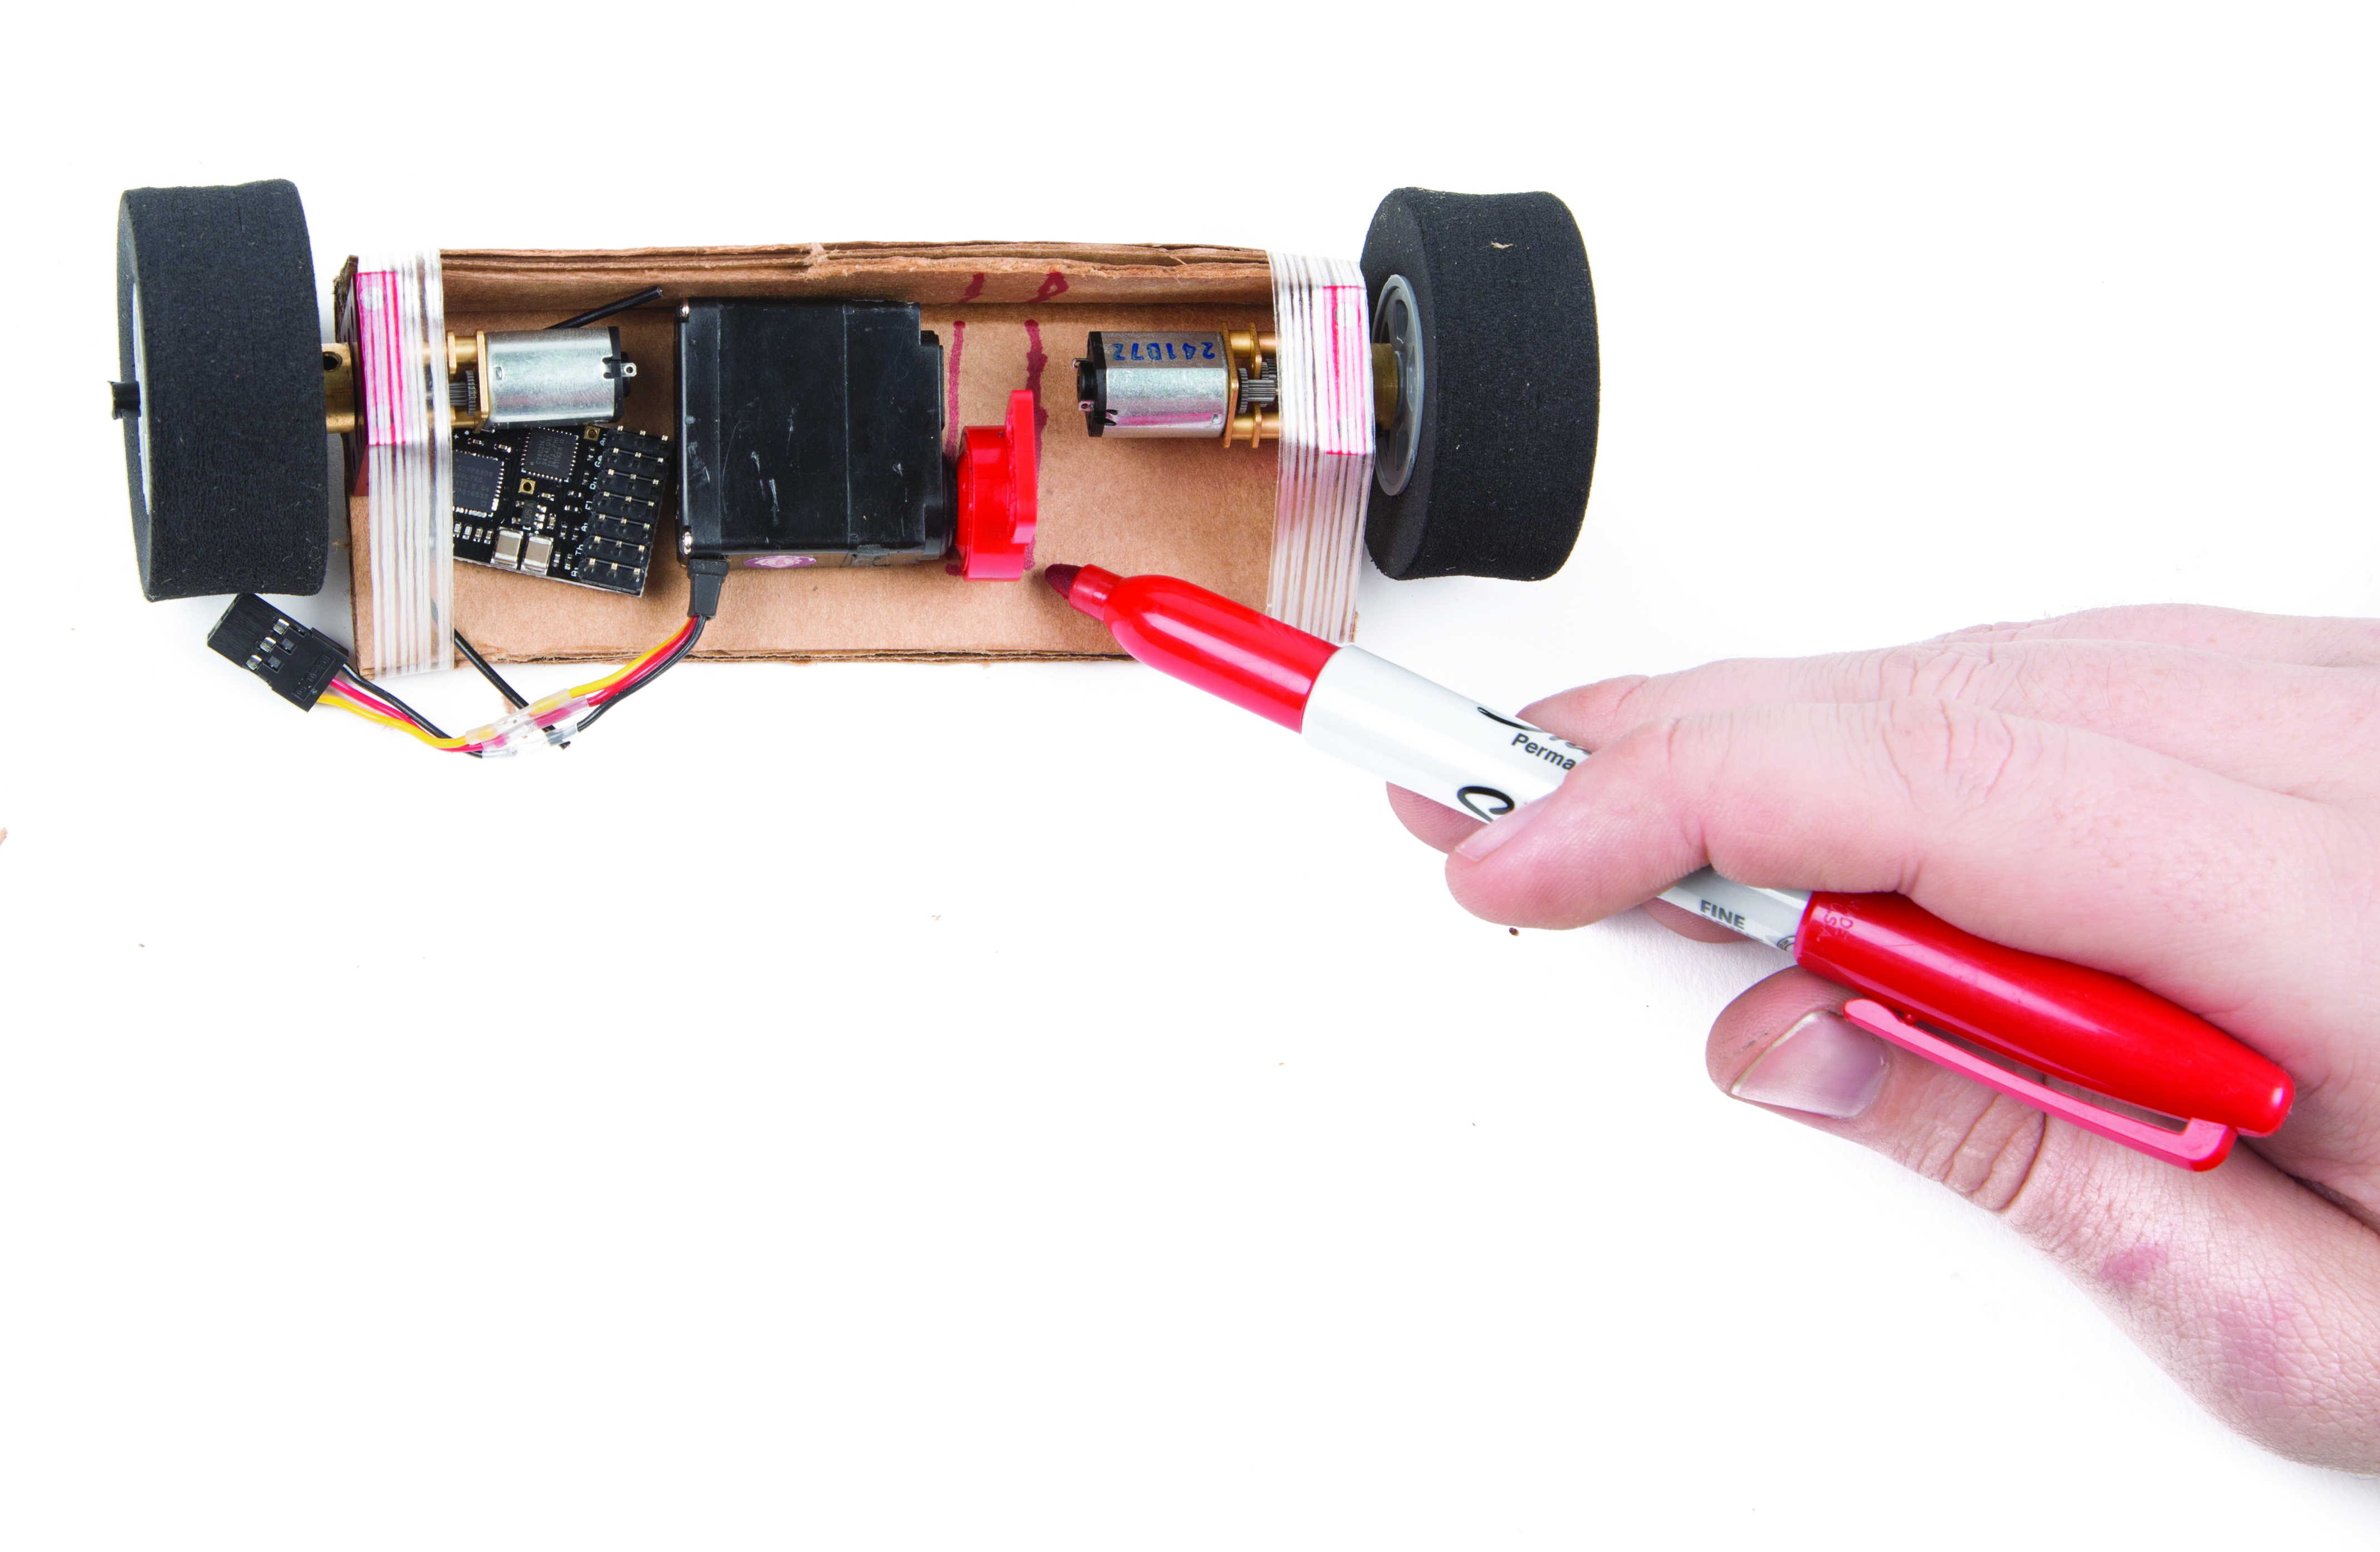
Next, I cut a hole in the frame for the servo horn. However, it did not turn out the way I pictured it: In order to make a hole big enough to clear the entire servo horn, I would need to cut the robot nearly in half, which would destroy the structural integrity of the design. In order to fix this, I flipped the servo 90°. Once again, this illustrates the power of C.A.D.’s flexible design process. After rotating the servo, I only need a small slot to accommodate the servo horn.

Incorporate Self-Righting

A big concern for any fighting robot is how to flip back over if you get upended. In my rough sketch the idea was to do a static roll, where the top jaw is shaped in such a way that the robot naturally rolls back onto its wheels. To do this, the curve of the top hook will have to be very carefully designed. The robot’s center of gravity must be low and to the back. This is where C.A.D. shines.

First, I placed the battery (the heaviest component) near the back. Next, I cut a piece of cardboard into a hook shape and attached it firmly to the frame. I set the robot upside down, to see if it rolled back onto its wheels. After several attempts and careful trimming of the cardboard, it officially executed a self-right.

Mock up the Weapon

Finally, I needed to cut out two more pieces of cardboard for the weapon. I typically conceptualize the name and weapon together — it’s usually the first thing people notice about the robot, and it makes it more memorable. I mocked it up in cardboard, and moved on to the metal version.

For this version, I made UnderBite’s weapon out of three parts: Two sharp, titanium rails that are filed to a point (to look like teeth) and a bulletproof plastic piece that will be bent into a “U” and mounted directly to the servo horn. The plastic piece will be flexible and allow the weapon to bend and absorb impacts. The titanium pieces will keep their edges, allowing you to get under your opponent’s wedge. To make UnderBite live up to its name, I put teeth at the end of the forks. Now, I’m ready to cut the frame out of metal.

Conclusion

This is just one of many possible designs — you can use C.A.D. to experiment with your next robot. It is a quick way to test a new idea and is the method I’ve used to design most of my robots. It saves money and materials, is adaptable for most designs, and it gives you complete control over the aesthetics of your robot, making it easier to put some personality into your frame and weapon. Cardboard, scissors, and some free time are all you really need to start building a fighting robot.