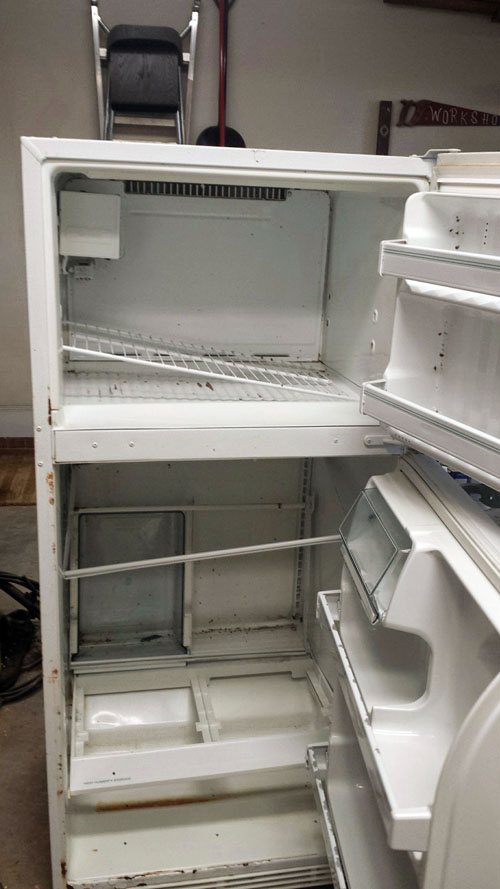
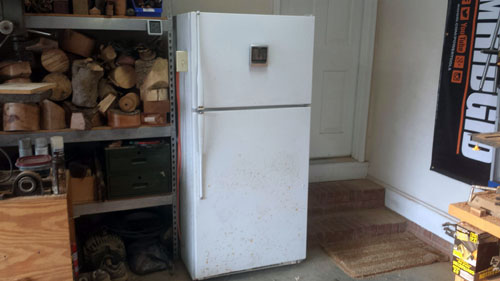
I’m going to take you through the process of turning an old fridge into a wood kiln, or as I call it: the kilnerator.

Remove Partition, DIY Kiln

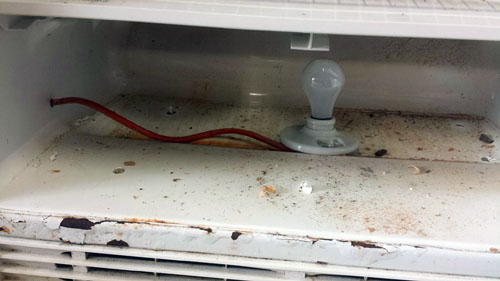
The kilnerator is great for drying out green (wet) lumber, which is its sole purpose in my shop. This wood kiln design is simple as it does not need a dehumidifier, fans, or even a thermometer to work. This design relies solely on the heat generated by a single incandescent bulb to create a convective current in the kiln and dry the wood.

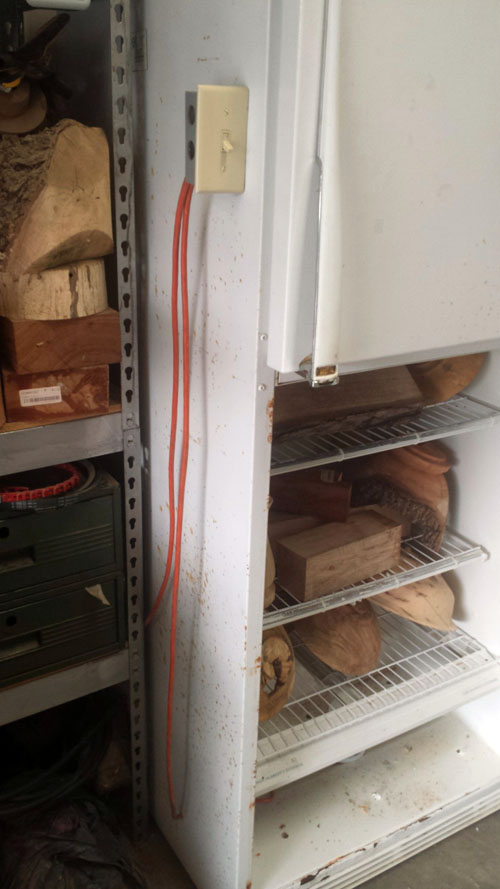
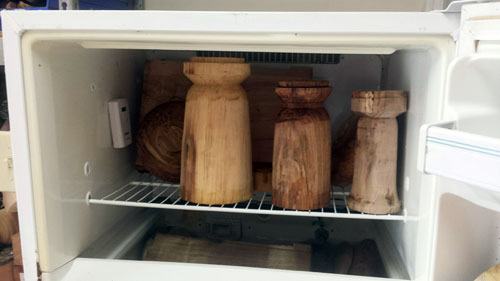
I generally use my kilnerator for drying wooden bowls as a step in the woodturning process. However, it can also be used for drying small to medium sized pieces of lumber.

The process is simple. First seal the end grain of your boards or bowls with a green wood sealer and let it dry. I use Green Wood Sealer made by Klingspor because it’s much cheaper than Anchor Seal and works just as well.

Finised, DIY Kiln

I typically let my boards and bowls air dry to between 20-30% MC (moisture content) before putting them in the kilnerator. My target MC is 9%, but if I’m in a hurry 12% MC is ok. I use a battery powered hydrometer mounted inside the fridge to get this reading.

When loading the kilnerator, I’ll put the drier pieces closest to the light bulb. So with the boards and bowls between 20-30% MC, I start off with a 40w incandescent bulb and let it cook for about a week. After a week or at about 16% MC, I switch to a 60w bulbs and leave that on for another week. If it’s winter time or I’m just in a big hurry, then I’ll swap out the 60w for a 75w bulb when the pieces reach 12% MC and let the kilnerator cook for another week. Once everything is around 9% MC, I’m happy and done drying the wood.  

At this point it’s very important to let the bowls and boards cool down slowly. If you can’t contain your excitement and simply pull everything out of the kilnerator, you run a serious risk of having your pieces crack from cooling too quickly.

That pretty well wraps it up. Leave any comments or questions below and I’ll do my best to answer any questions you may have. Thanks for reading!

Project Steps

Clean!

First, take the shelves and drawers out of your old refrigerator and clean that sucker out. I kept the drawers to use as storage bins elsewhere in the shop and reused the shelf supports that were originally fitted with glass.

I sprayed down my fridge with mold killer (just to make sure) and then followed up with some 409. Do please be sure if using two different cleaners to not mix them, since you could inadvertently make some nasty chemical reactions.

Room for air

Now that things are cleaned up, it’s time for some modifications! Take a minute to make sure your fridge is disconnected from power. If your fridge is like mine with the freezer box above or below the freezer, you’ll want to either drill a handful of 1/2″ holes in the divider separating the two, or remove the separation completely.

If you’re going to fully remove the separation, put on some safety glasses and have fun with it! The sledge hammer, Sawzall, and your own inner redneck are all acceptable tools! By removing this divider, you’ll get better air flow to the top section and reduce the size limitations of your kilnerator.

I put five 1/2″ holes in the top and bottom of my kilnerator and laid them out as a square with one hole in the center to not concentrate the airflow in just one area. Whatever you do, be mindful to not drill through any of the components during the modification process.

Electrical

Now it’s time to add the light bulb. Drill a hole on whatever side of the fridge you’ll be mounting the light switch. The hole should be similarly sized to the power cord you’re using (mine was 3/8″.)

Cut off the socket side of your extension cord and wire up the light socket as shown below. Run the cable through the hole previously drilled and attach your socket to the floor of the kilnerator. Some people will put a cowling over the bulb for a little extra protection from water dripping on it or accidentally breaking the bulb while loading or unloading.

Go ahead and attach the receptacle box at a comfortable height and run the cable into the box. Wire up the switch and close up the receptacle box.

There are tons of resources online that cover basic wiring. This article is a great resource and one that I’ve visited in the past when taking on a new electrical project. Above all, use common sense and ask for help if you don’t feel comfortable with this step!

Shelving

Ok, so now we need to cobble together some shelves. I bought wire shelving used for closets and cut it to size for the supports in my kilnerator.

You’ll need either bolt cutters or an angle grinder with a cut off wheel to cut through this shelving material.

Zip ties are all I used to marry the wire shelving and supports. If wire shelving doesn’t do it for you, then let your imagination run wild. Anything from wood dowels and 2×4’s to a PVC pipe jungle gym will serve the purpose.

Thermometer

The final touch for this project is adding a wireless thermometer and hydrometer. This item is completely optional though. I put mine in the upper section of the kilnerator so that I didn’t get skewed temperature readings from close proximity to the light bulb. A couple screws and batteries are all I needed.