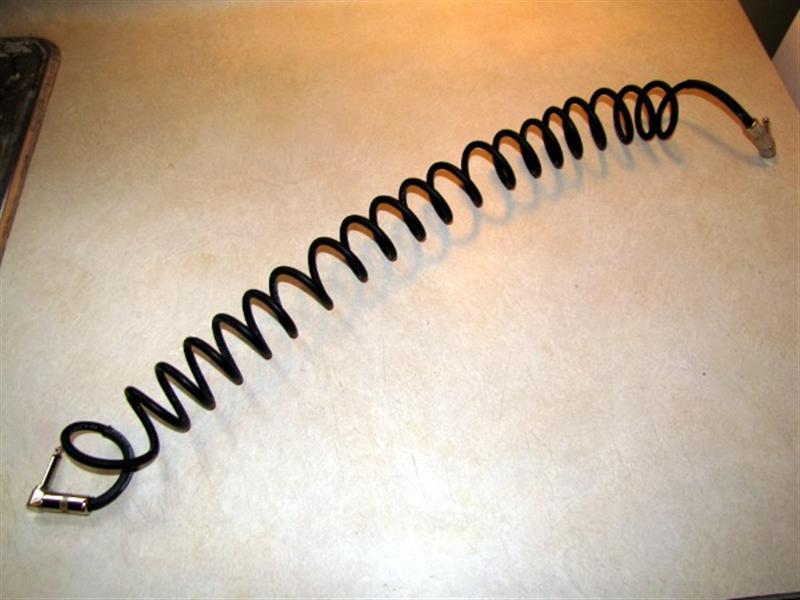
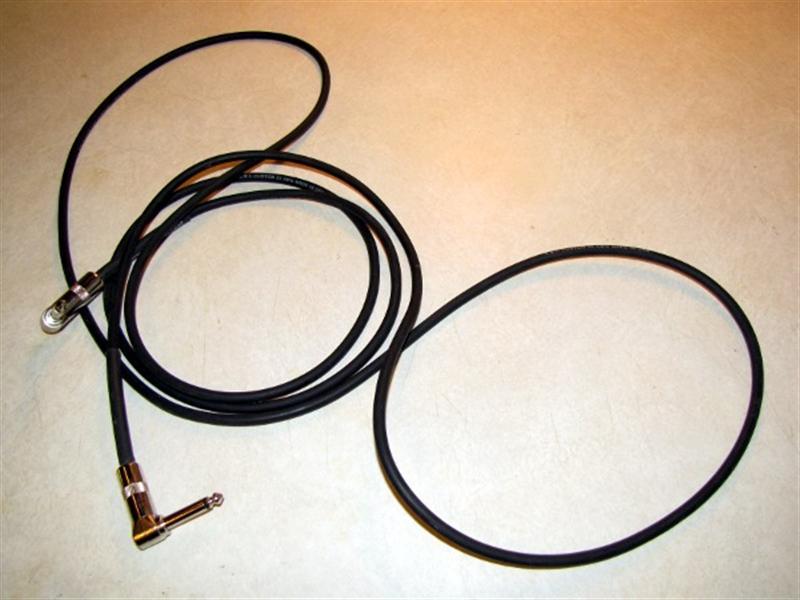
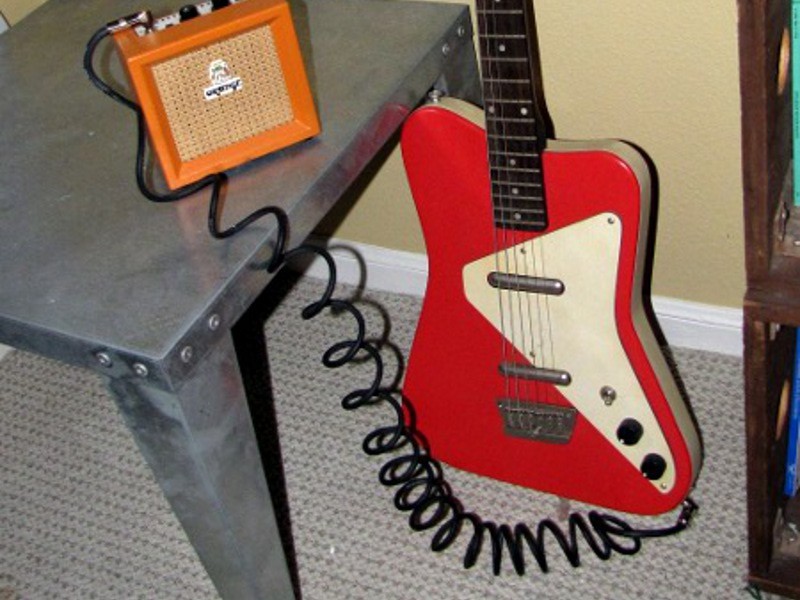
I really heart coiled cords. I think coiling is a very elegant way of dealing with the problem of unsightly slack cables, and often I find myself wishing that this or that appliance had come with a coiled cord. Replacement cords that are factory-coiled can usually be purchased and installed (if necessary), but that may be an unnecessary expense because, with some simple tools, it is easy to coil a straight cord yourself.

Update: Thanks to tips from Bart Patrzalek and Brian Adams, this is now a two-part guide. The second part describes how to reverse the coil using a hand drill for even tighter curling!

What will the next generation of Make: look like? We’re inviting you to shape the future by investing in Make:. By becoming an investor, you help decide what’s next. The future of Make: is in your hands. Learn More.

Project Steps

Wrap cord around mandrel

NOTE: If you’re planning to continue on to Part 2, Reversing the Coil, you might as well go ahead and take the connectors off, now. You’ll need to have removed them for that step, anyway, and this one will be a lot easier if you don’t have to worry about damaging them with the heat.

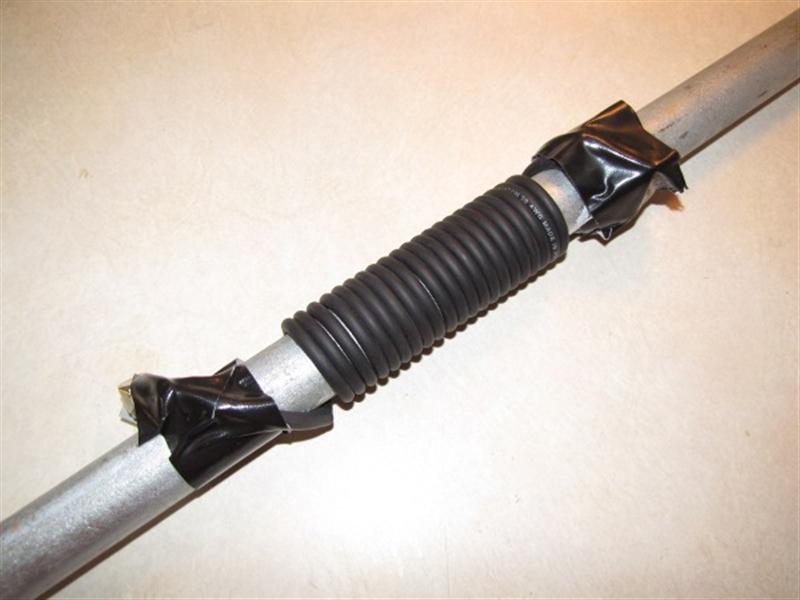
Find a metal round, the outer diameter of which is equal to the internal diameter of the coil you want to set.

Duct-tape one end of the cord to one end of the mandrel, as shown, and then wind the cord itself tightly around the mandrel until all the slack is taken up.

Duct-tape the other end of the cord.

Make sure to use plenty of tape so the coil doesn’t come loose with handling.

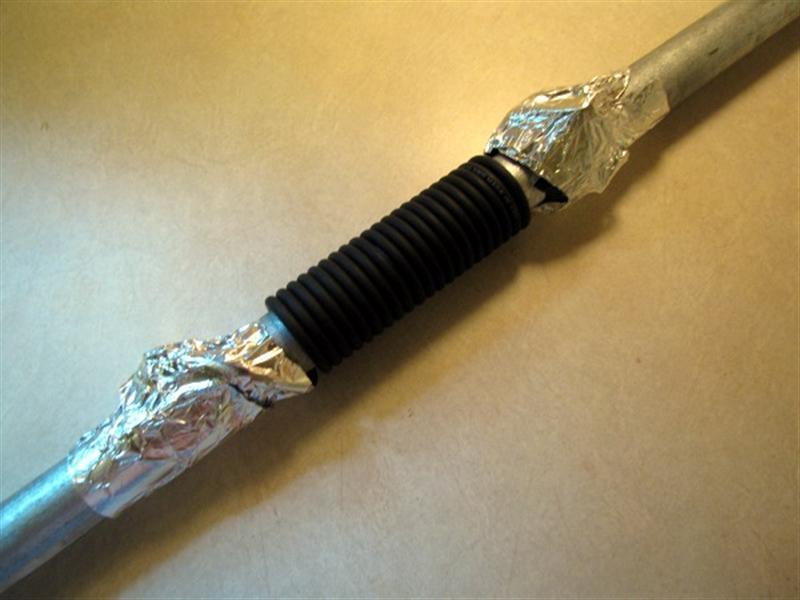
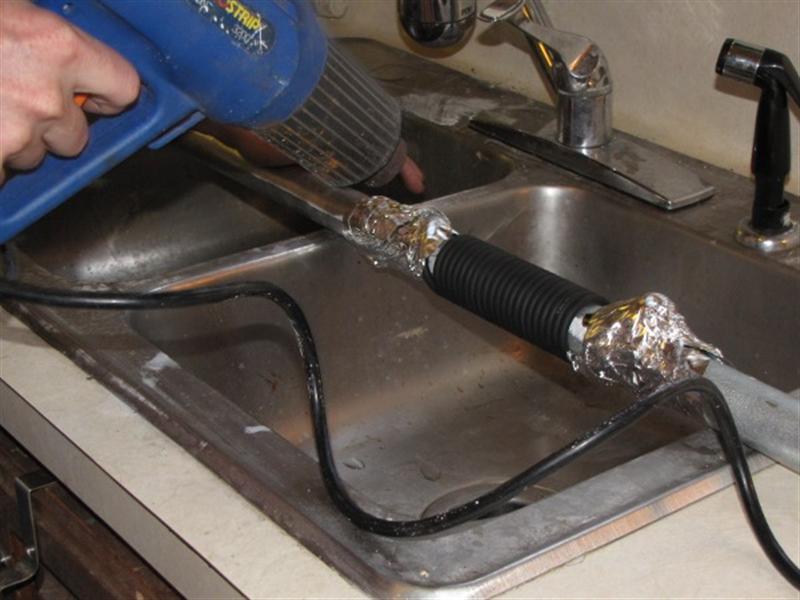
Protect connectors with foil

If your cord has a connector at either end, you have to be careful not to melt, warp, or otherwise damage it in the process of setting the coil.

Cover the taped ends of the cord with aluminum foil, reflective side out.

This will help to reflect heat from the heat gun away from those places you don’t want it to go.

Heat cord

Be sure to work in a ventilated area. If you do this correctly, the plastic will smoke only for a moment, but it’s good form to avoid exposing yourself to that smoke in any case.

Set the mandrel across a sink, as shown, and roll it back and forth with one hand (to distribute the heat evenly) while waving the heat gun with the other.

If you don’t have a sink or your coil is too long for one, you may have to improvise some other arrangement for rotating the mandrel while simultaneously applying heat.

Quench hot cord

Apply heat gradually, over the course of about ten minutes, until the plastic insulation just begins to smoke.

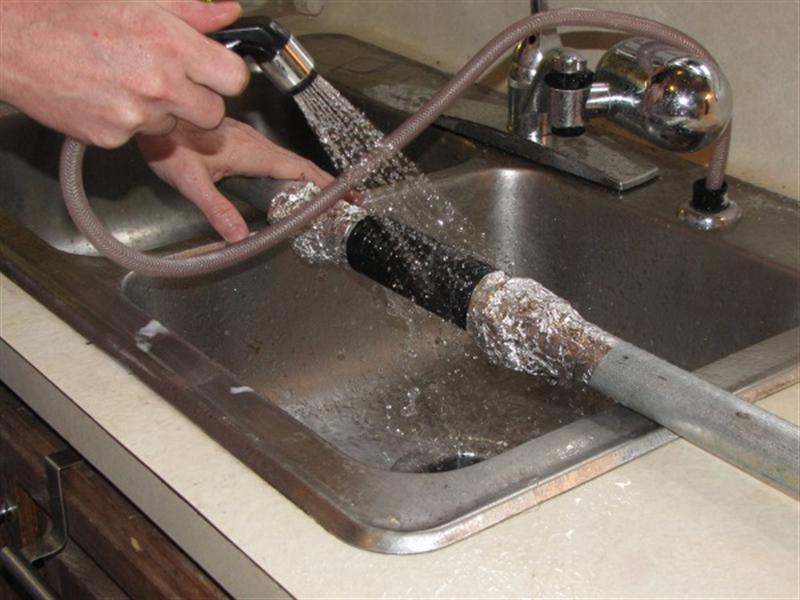
Immediately remove the heat and quench the hot cord with cold water. Continue cooling until the cord is barely warm to the touch.

Remove the cord from the mandrel and blow-dry it completely with the heat gun on a low setting.

Test cord before use

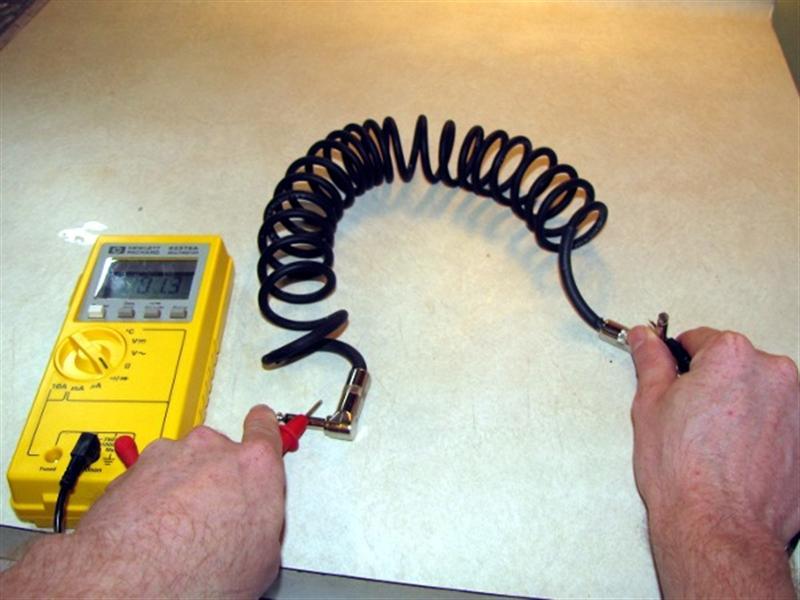
Do not attempt to use the coiled cord until you have verified with a multimeter that it is not shorted or otherwise damaged.

Using the continuity/ohmmeter setting, apply the probes to corresponding leads or contacts at each end of the cord. The circuit should close for corresponding leads, but should open when you move one probe to the other lead.

If the tape leaves behind residue on the cord, use a paper towel moistened with a dab of acetone to remove it.

Conclusion

Instead of rotating the pipe as you apply heat, it might be possible to direct the air from the heat gun down the length of the mandrel (assuming it's hollow) from one end, perhaps using a metal funnel to help channel the hot air. This operation should heat the circumference of the pipe, and thus the cord, more-or-less-evenly.

Update: Don't miss Part 2, Reversing the Coil. The best is yet to come!