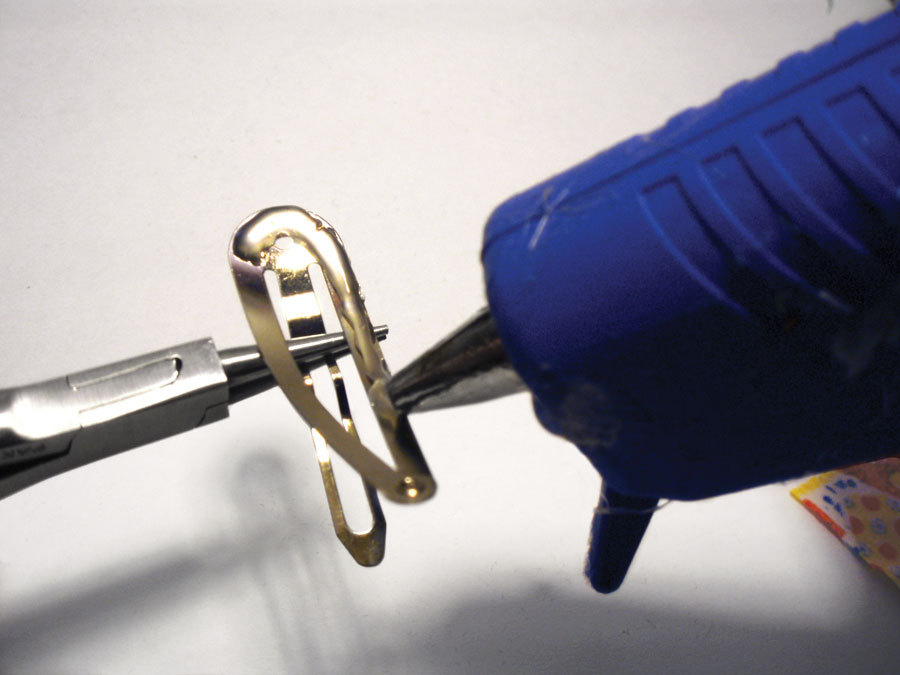
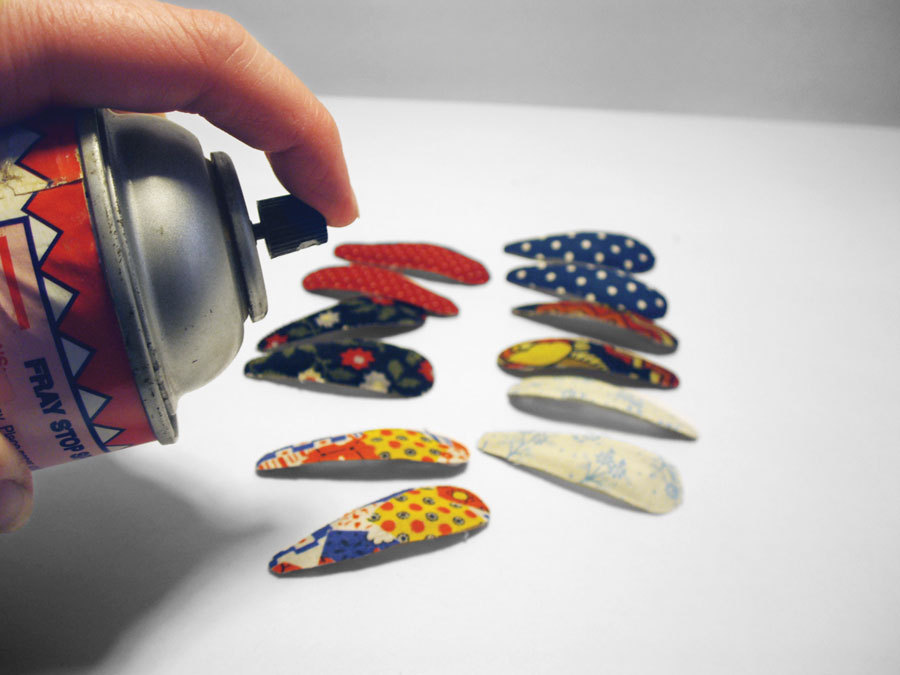
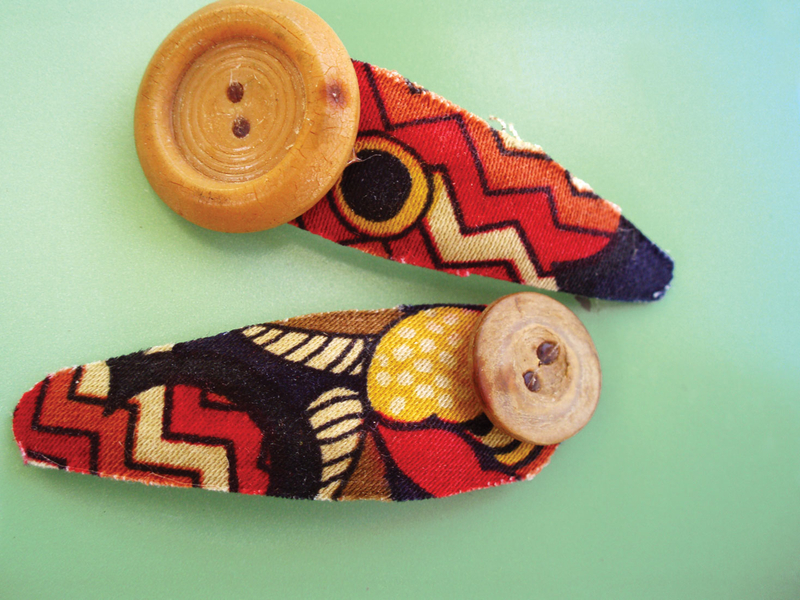
Are you a fabric hoarder? As a way to use some of my mountains of fabulous tiny scraps, I made these fabric-and-button barrettes. They’re fun, easy, and great for using little stashed vintage textile treasures and lonely buttons. You can make them in coordinating pairs or fun singles.
Projects from Make: Magazine
Crafty Barrettes
They’re fun, easy, and great for using up your fabric stash.
- By Lindseymnorth
- Time Required: 15 to 30 minutes
- Print this Project
- Like
- Digg
- Del
- Tumblr
- VKontakte
- Flattr
- Buffer
- Love This
- Odnoklassniki
- Meneame
- Blogger
- Amazon
- Yahoo Mail
- Gmail
- AOL
- Newsvine
- HackerNews
- Evernote
- MySpace
- Mail.ru
- Viadeo
- Line
- Comments
- Yummly
- SMS
- Viber
- Telegram
- Subscribe
- Skype
- Facebook Messenger
- Kakao
- LiveJournal
- Yammer
- Edgar
- Fintel
- Mix
- Instapaper
- Copy Link
Parts
- Sealer, Optional (1) No-fray spray, I find it increases the life of my barrettes.
- Barrettes (1) Non-painted barrettes I use binding or hem clips; they’re cheaper and bare metal. The glue has a hard time grabbing the painted barrette; if you only have painted ones, use a metal file to scuff up the paint to help the glue grab hold.
- Buttons (1) cute, flat (sew-through) buttons.
- Fabric (1) ironed fabric scraps.
Tools
- Hot glue gun with glue.
- Pliers or tweezers.
- Scissors
Steps
Advertisement
Cut ironed scraps of fabric into rectangles just larger than the barrettes. Choose cute buttons.
Apply hot glue generously to the top of the barrette. Use pliers to hold the barrette open while gluing.
Position the fabric on top of the hot glue. Press evenly as the glue cools, with medium firmness. Allow to cool completely. Trim around the barrette, taking care to leave a slight edge (less than 5") to allow for any needed fabric expansion when you close the barrette.
Spray the entire fabric side of the barrette with no-fray spray. Allow it to dry completely.
Conclusion
This project first appeared in CRAFT VOLUME 10, page 76.