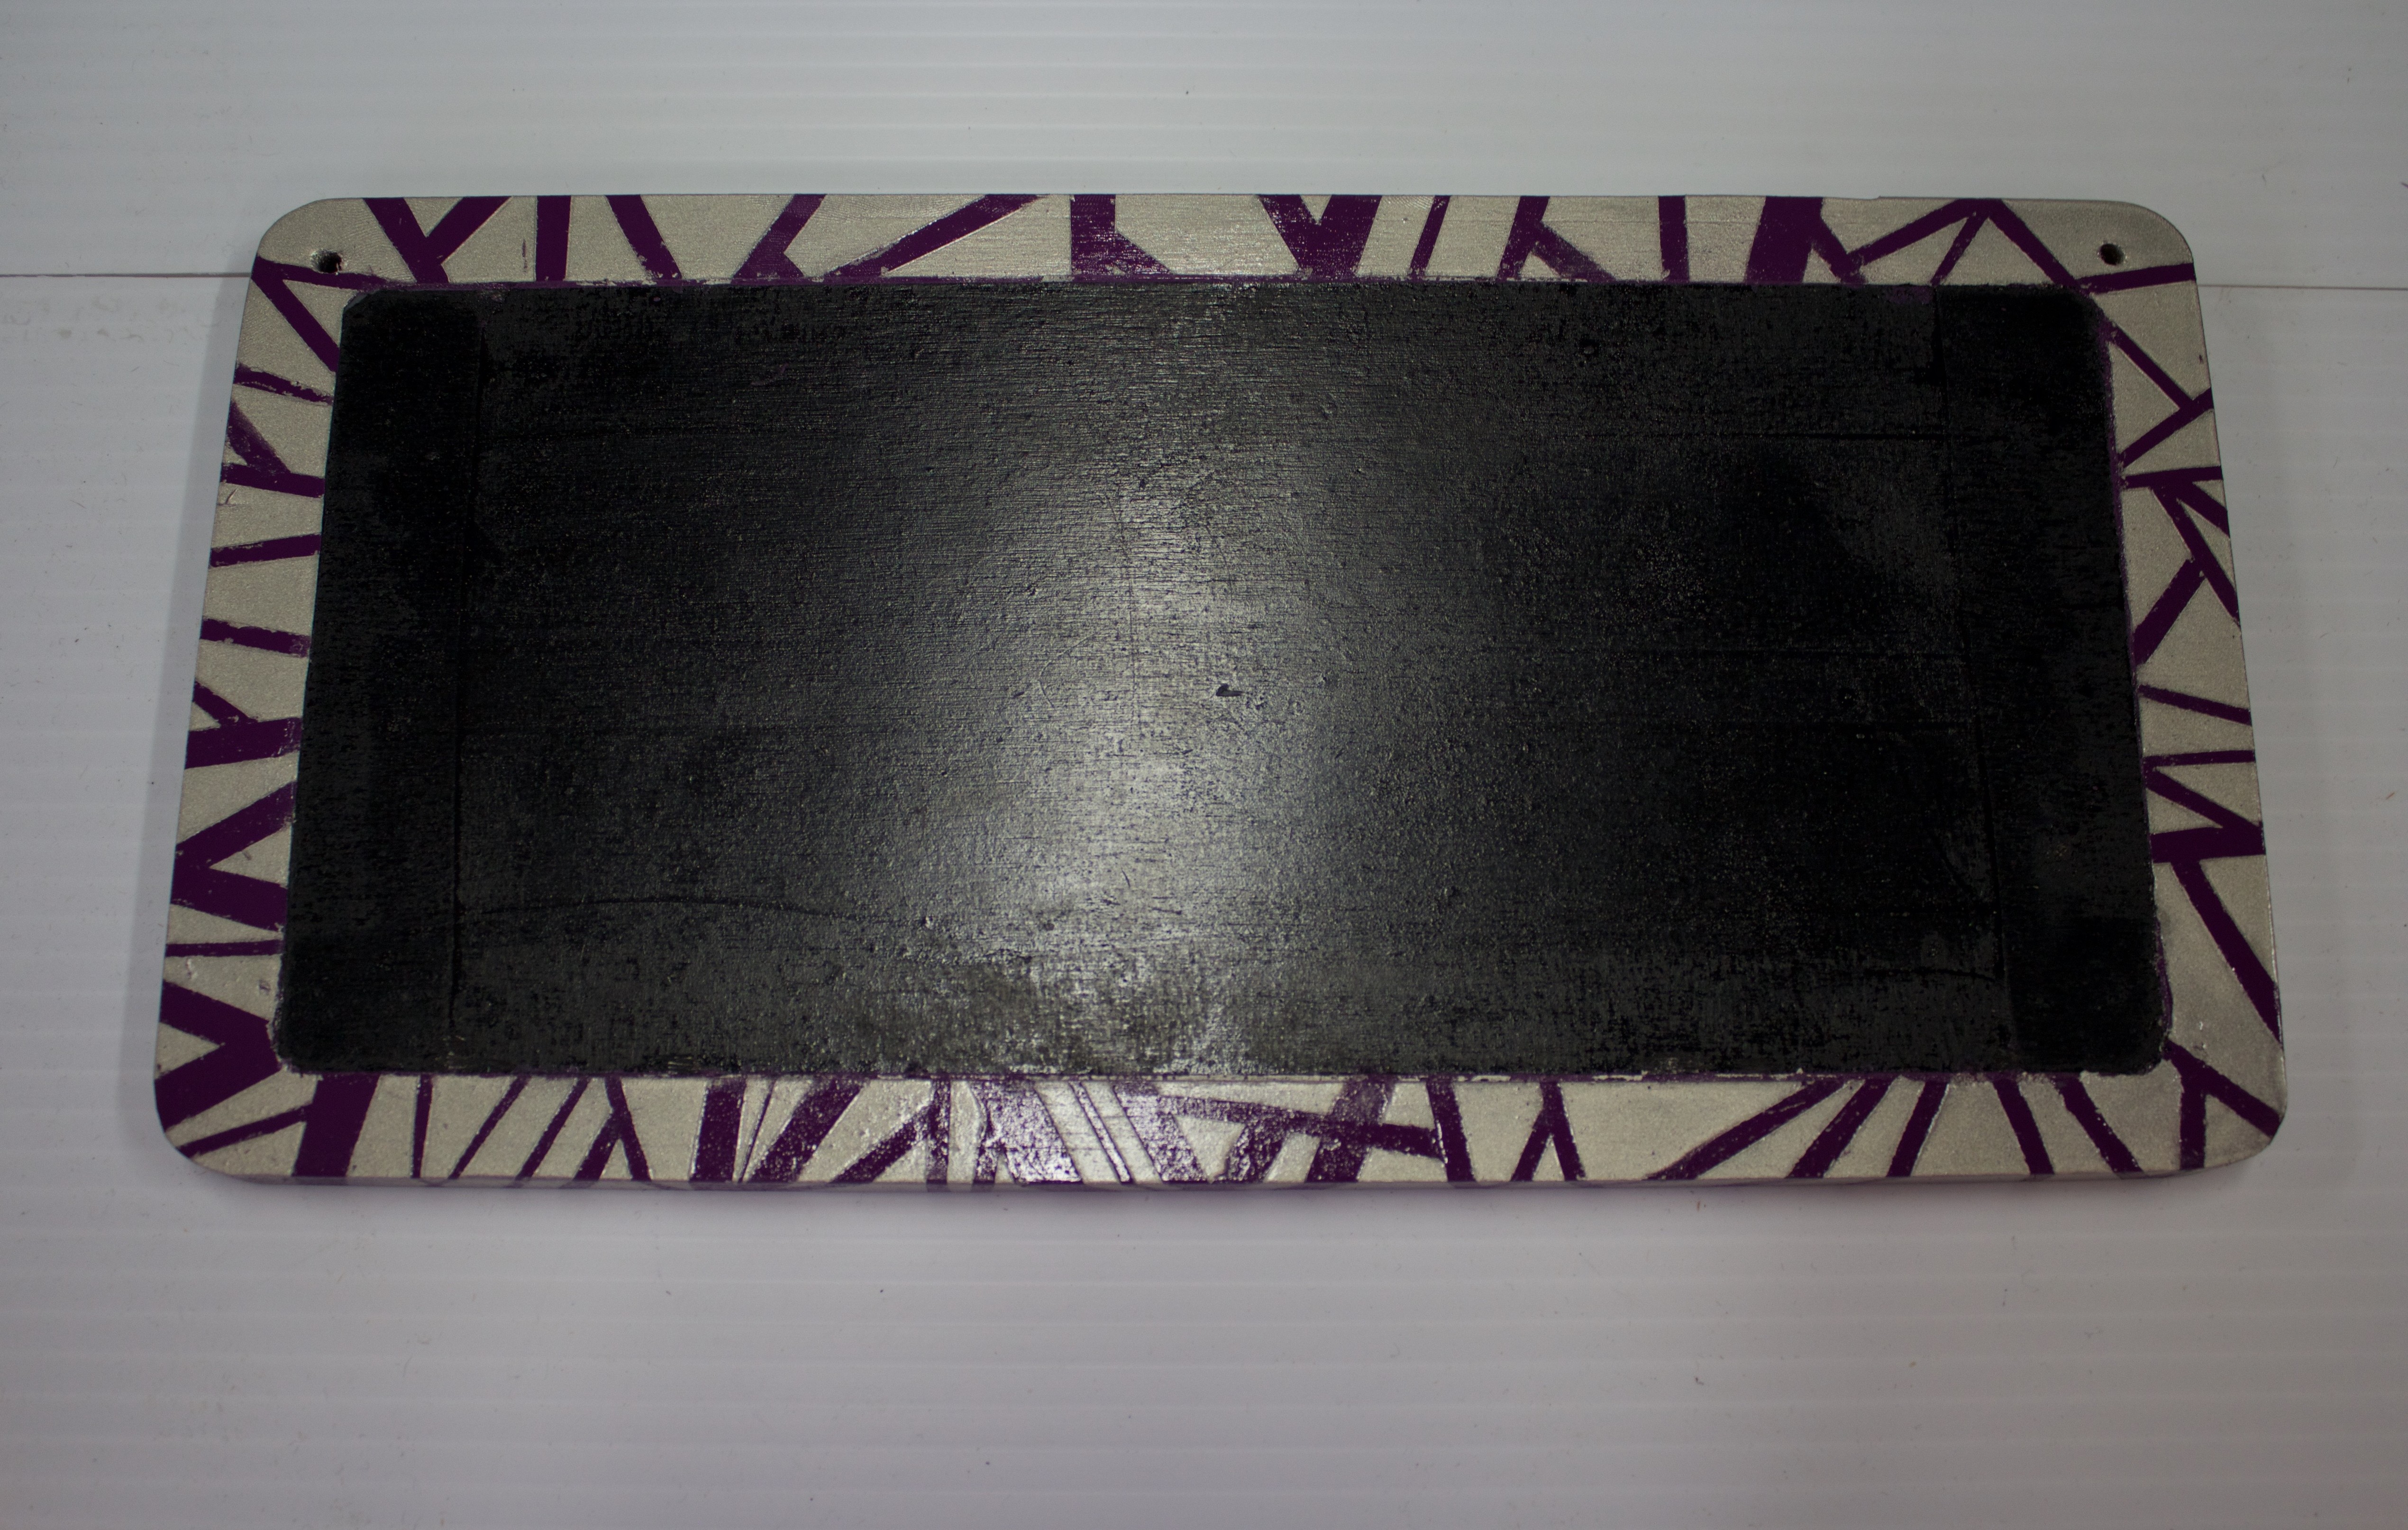
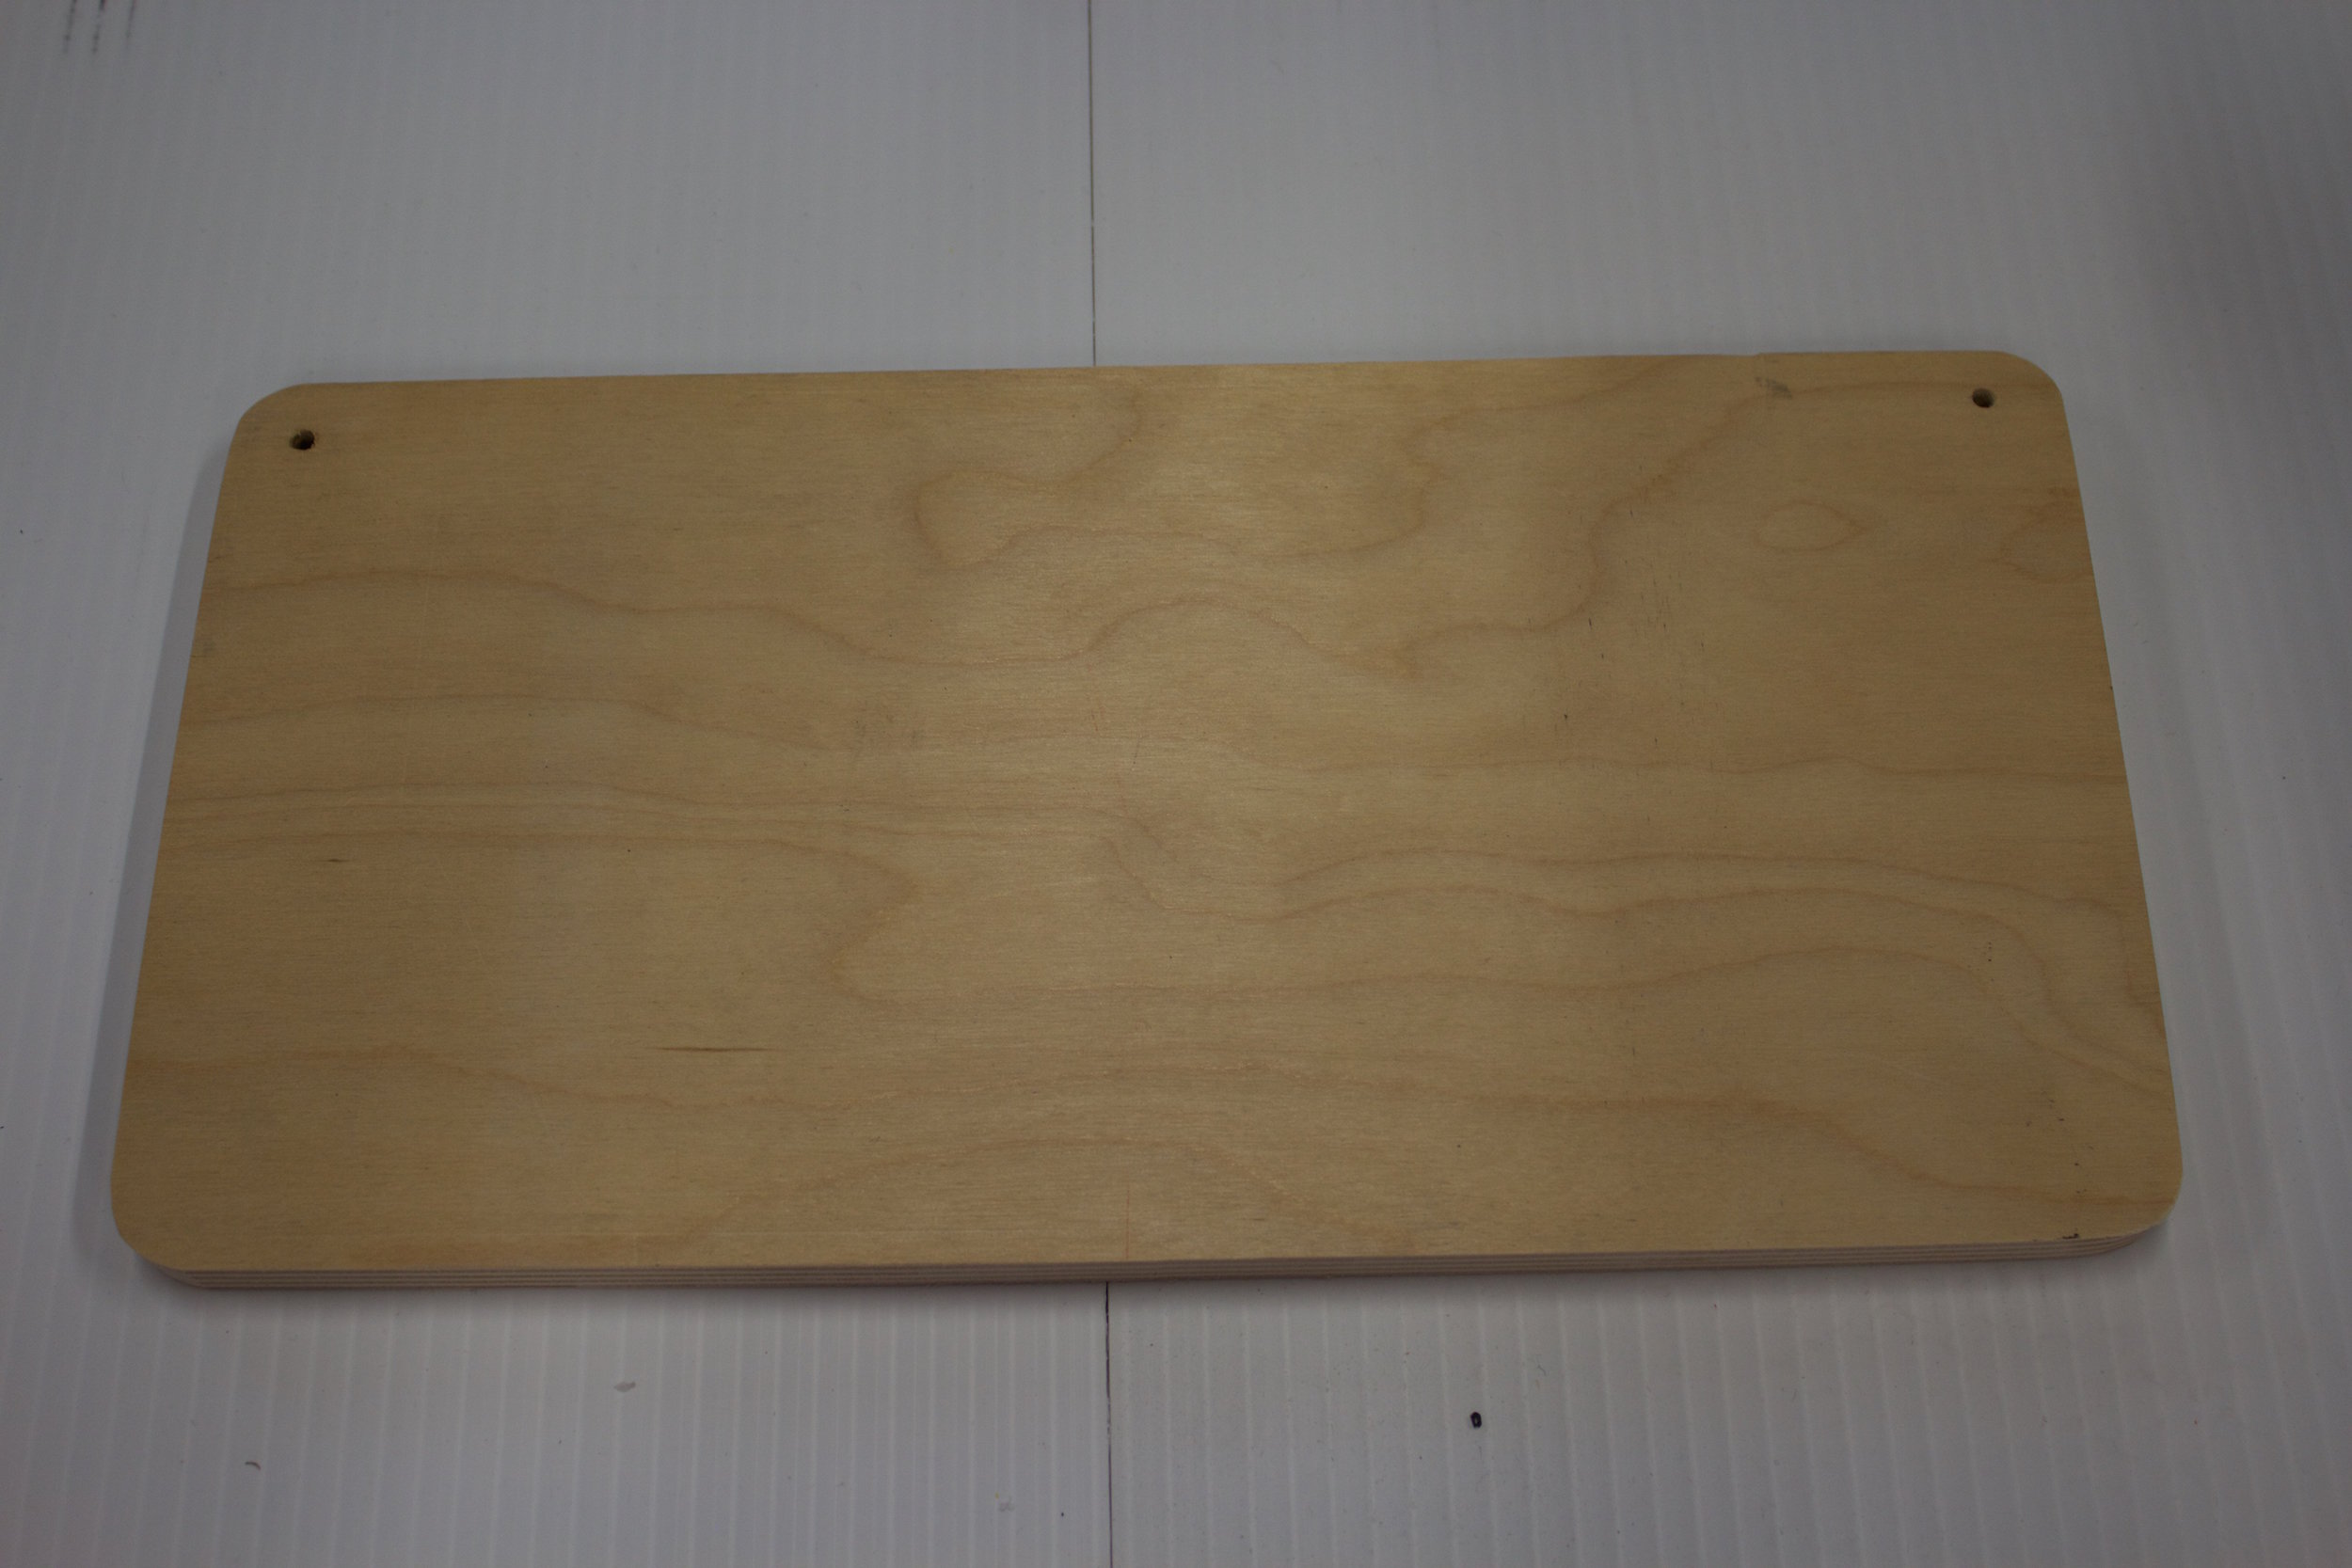
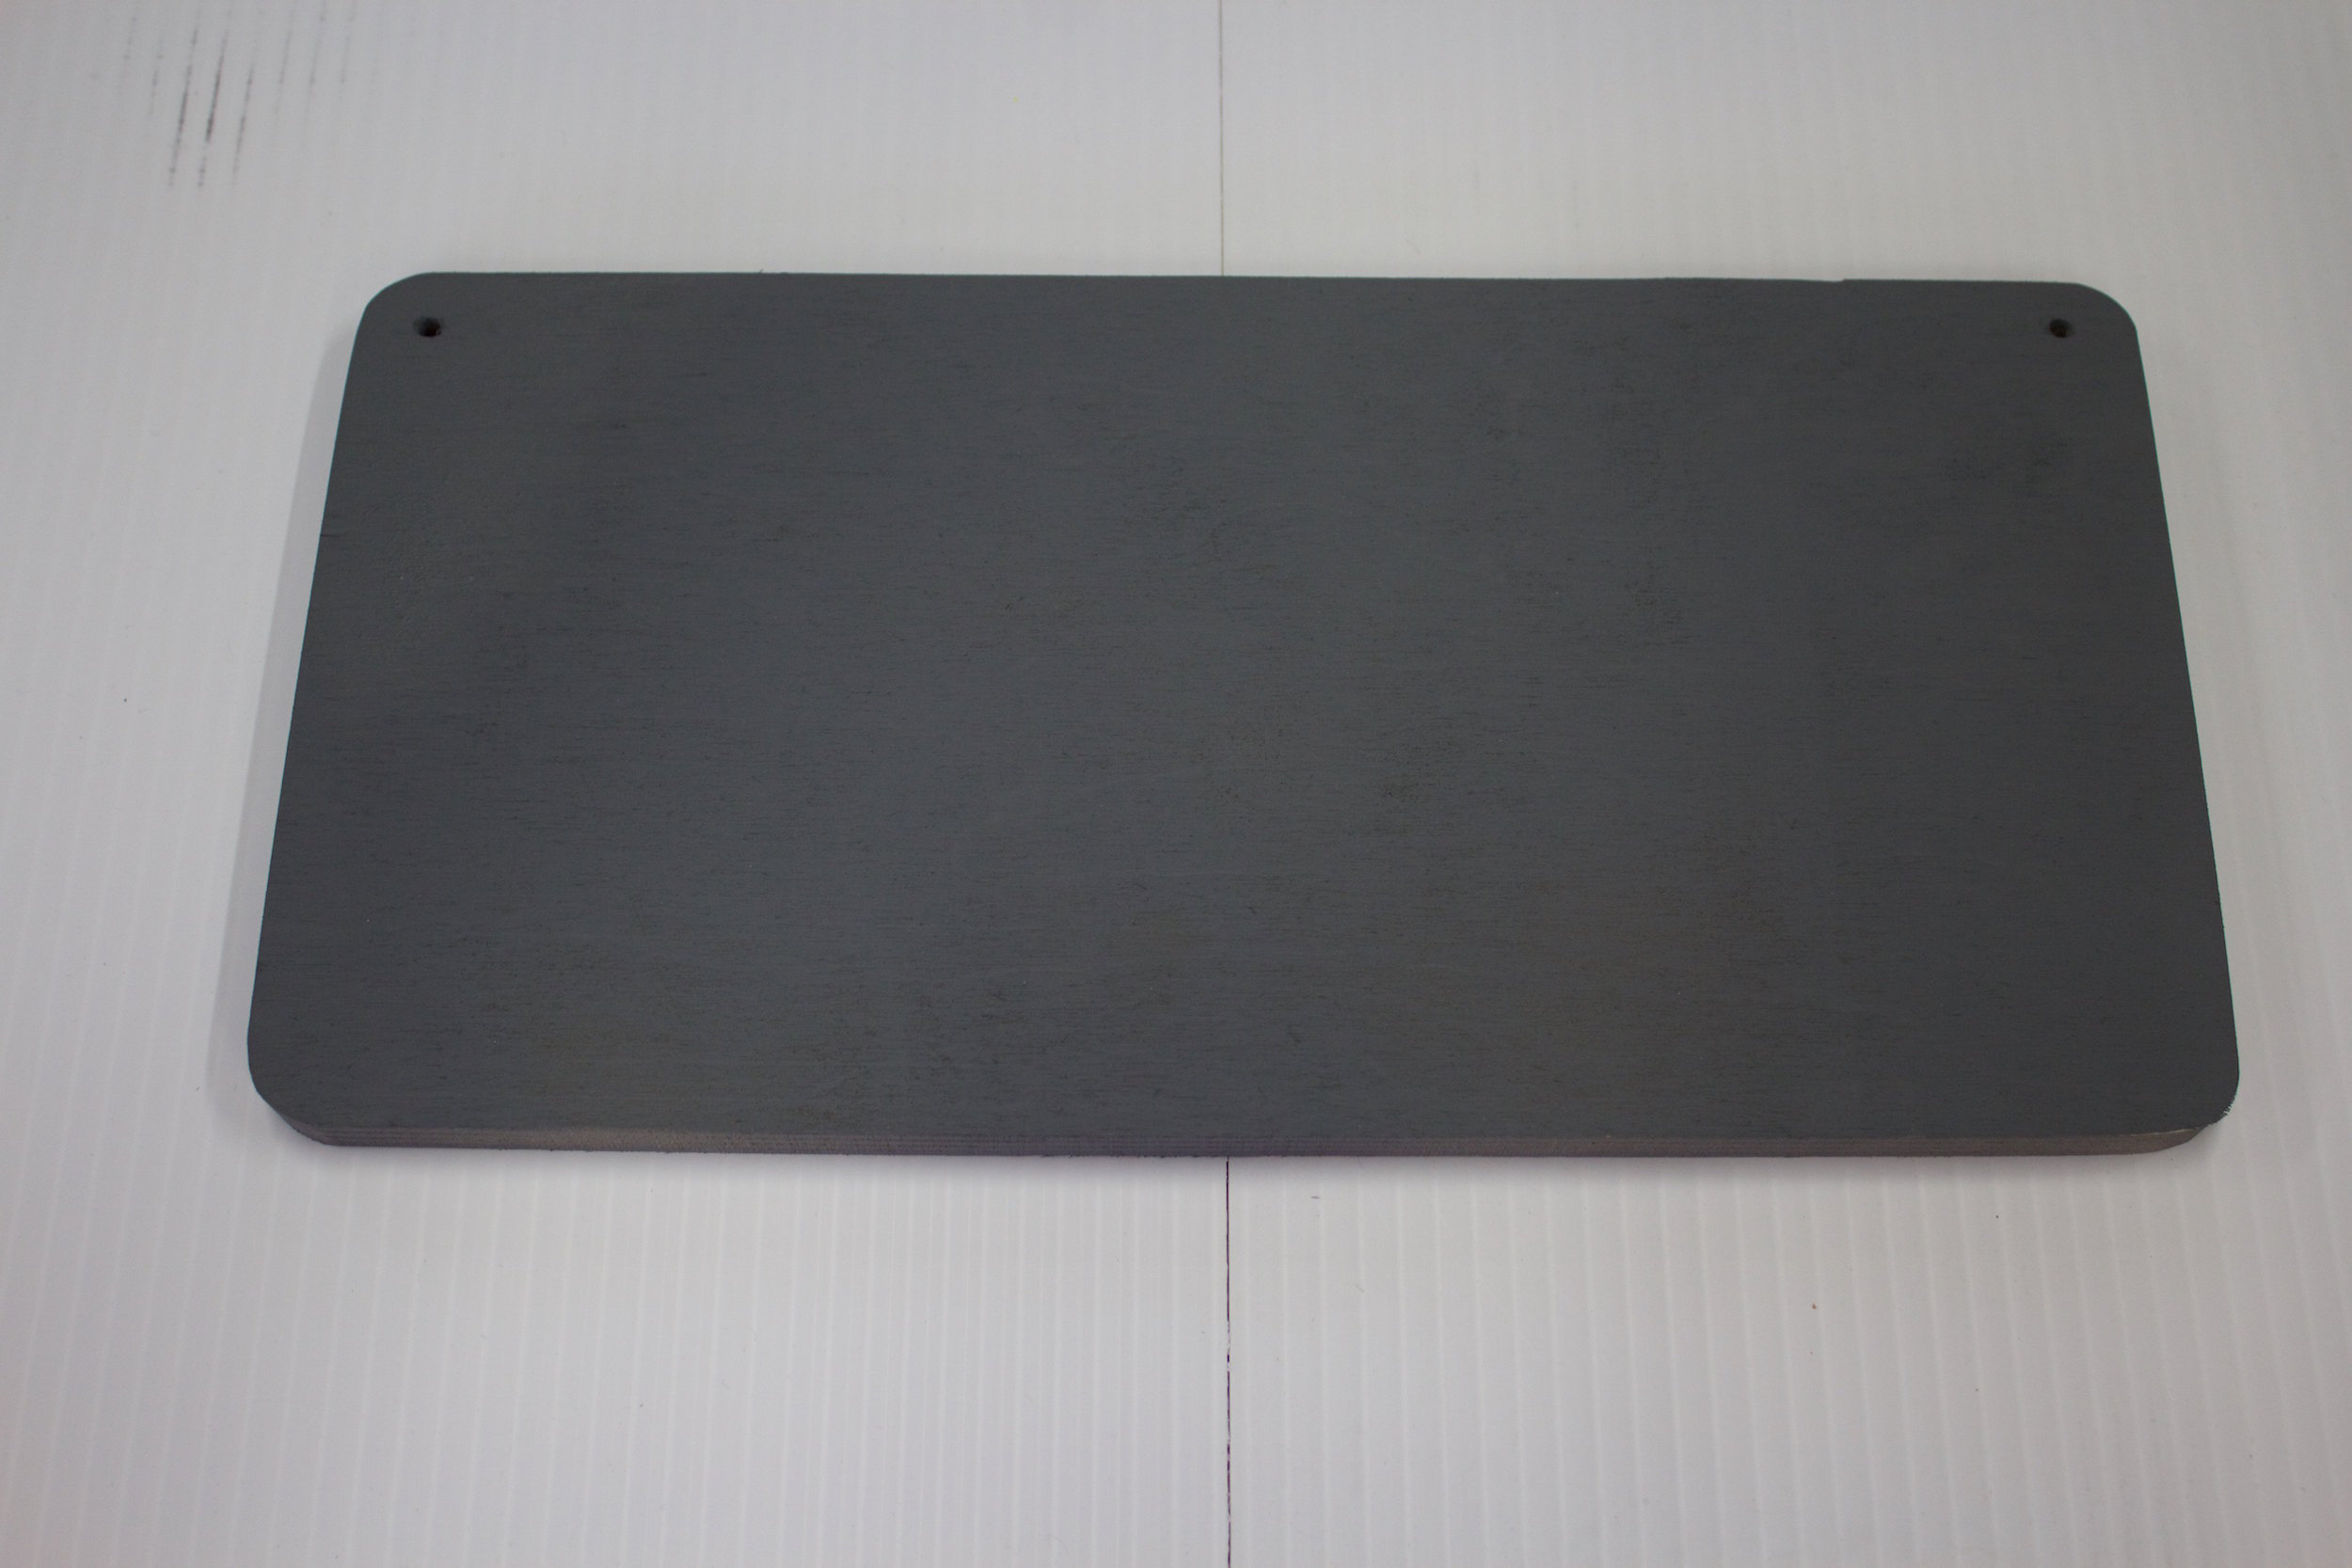
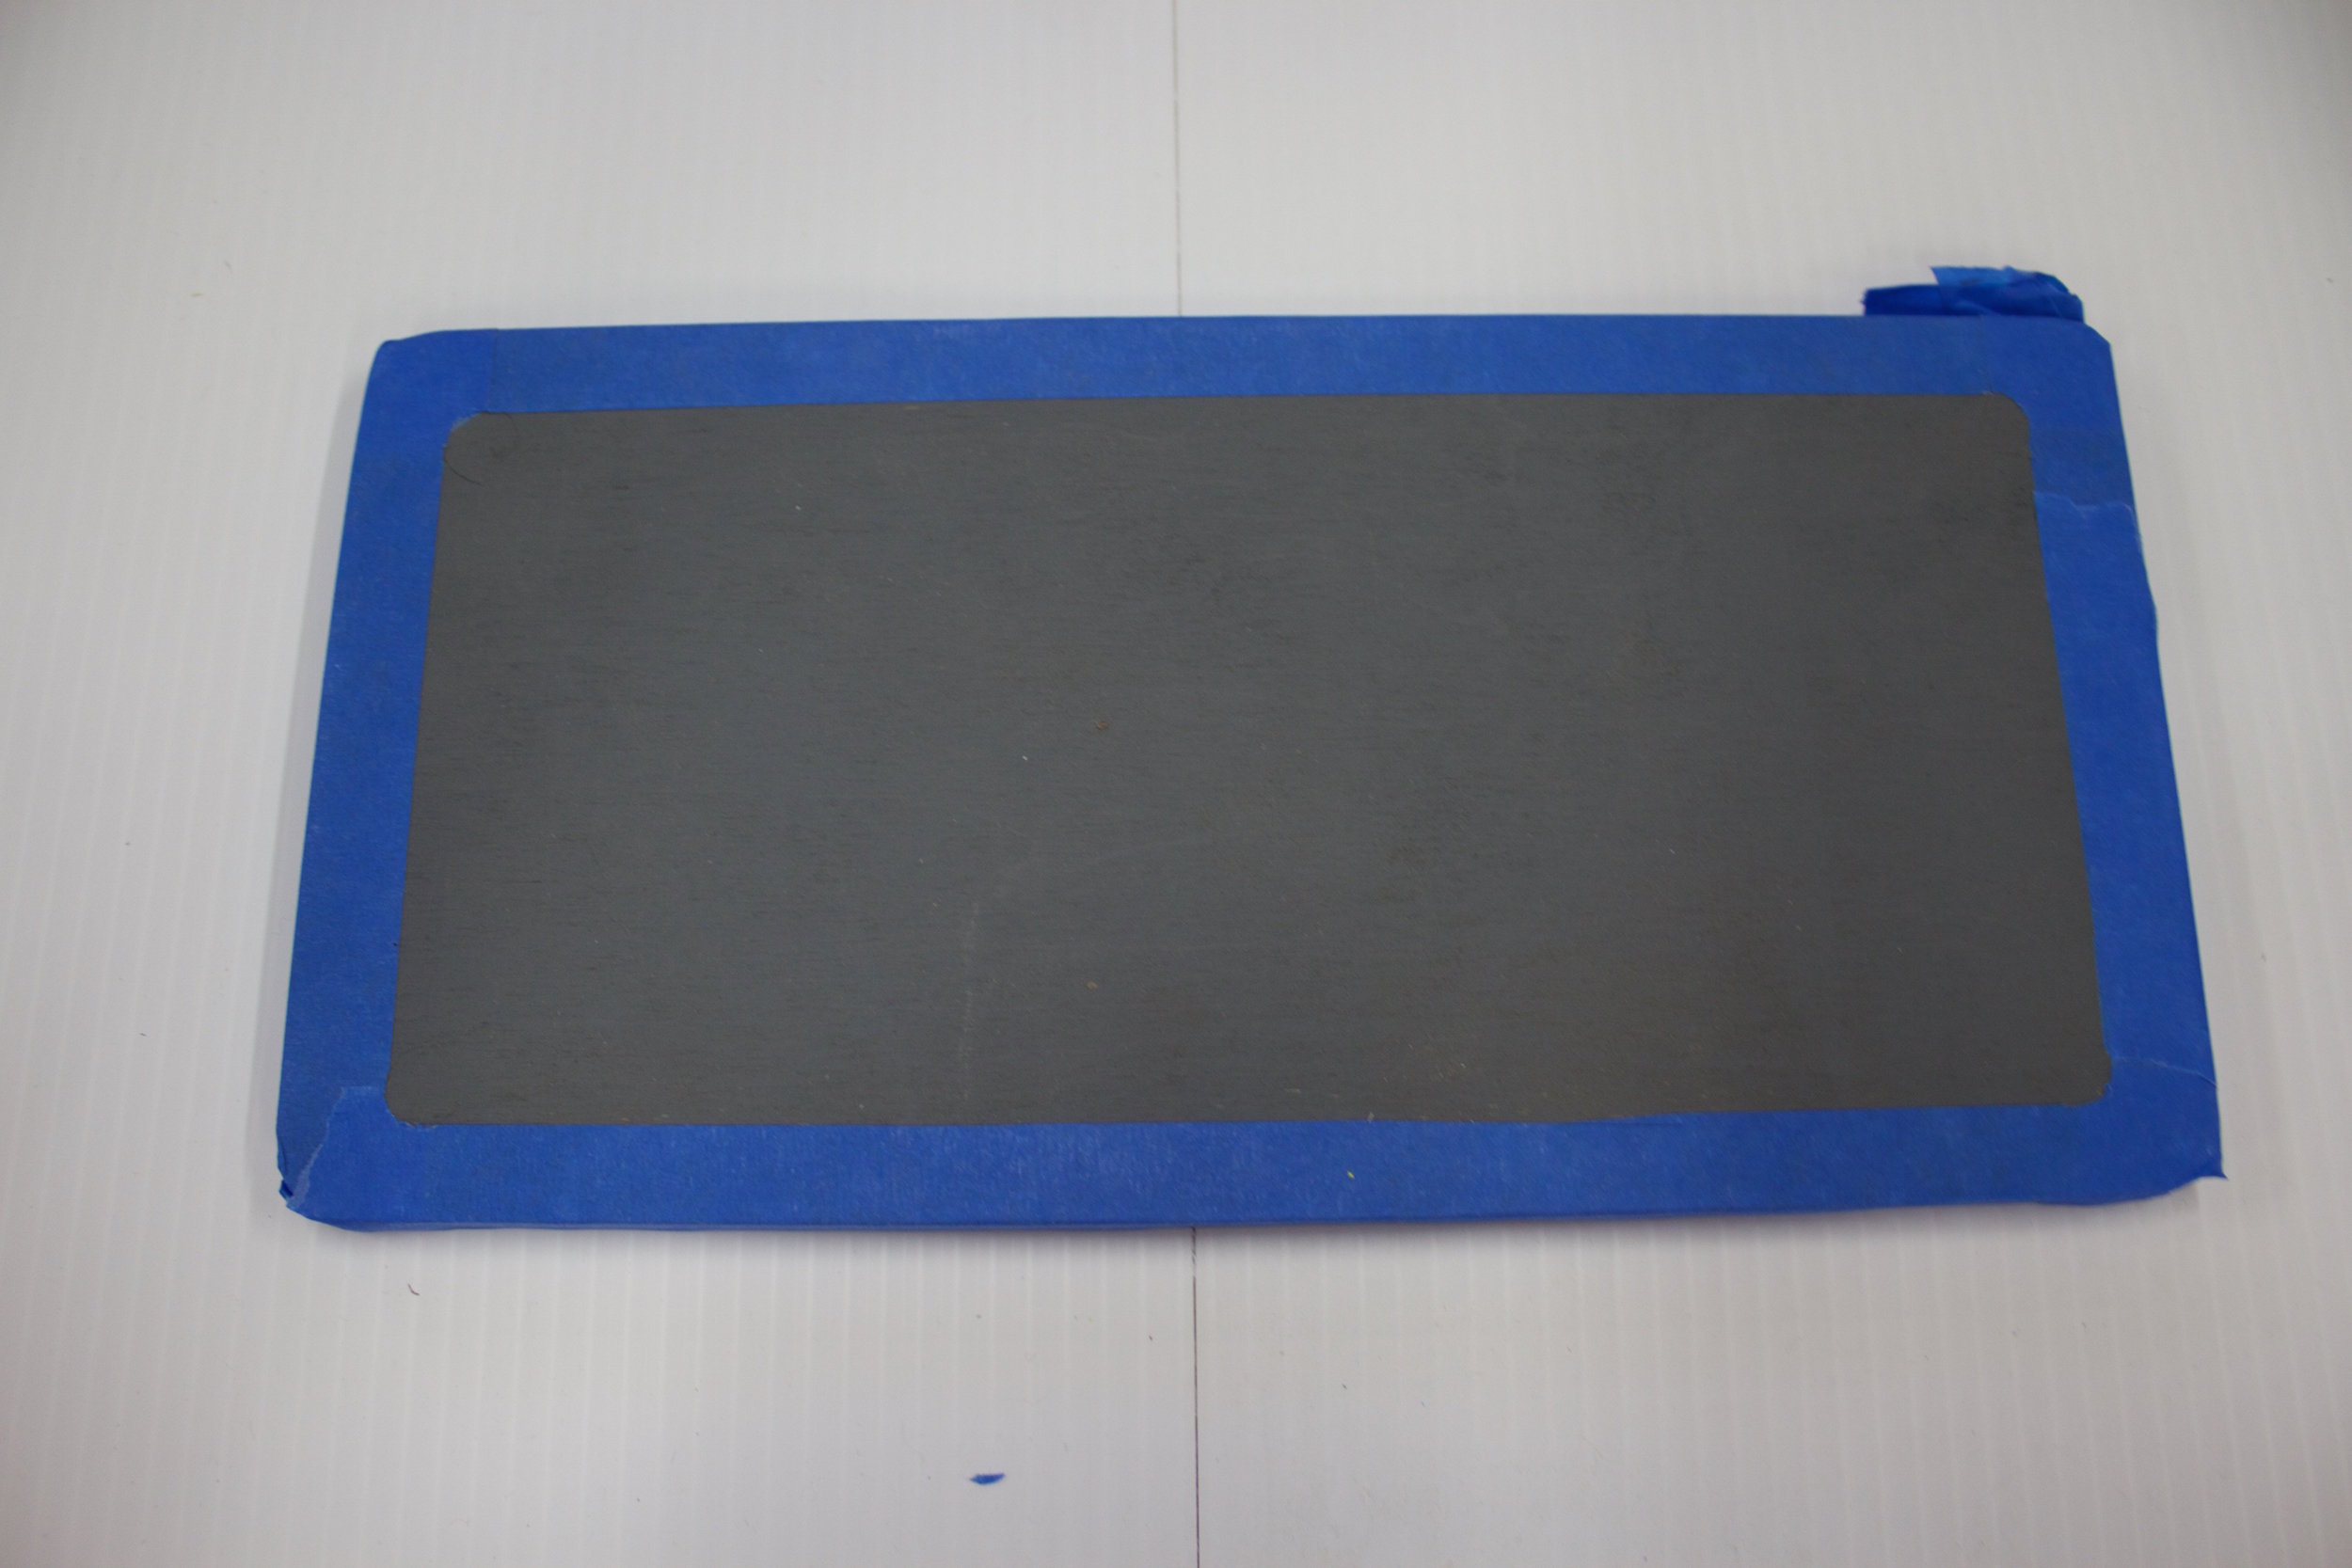
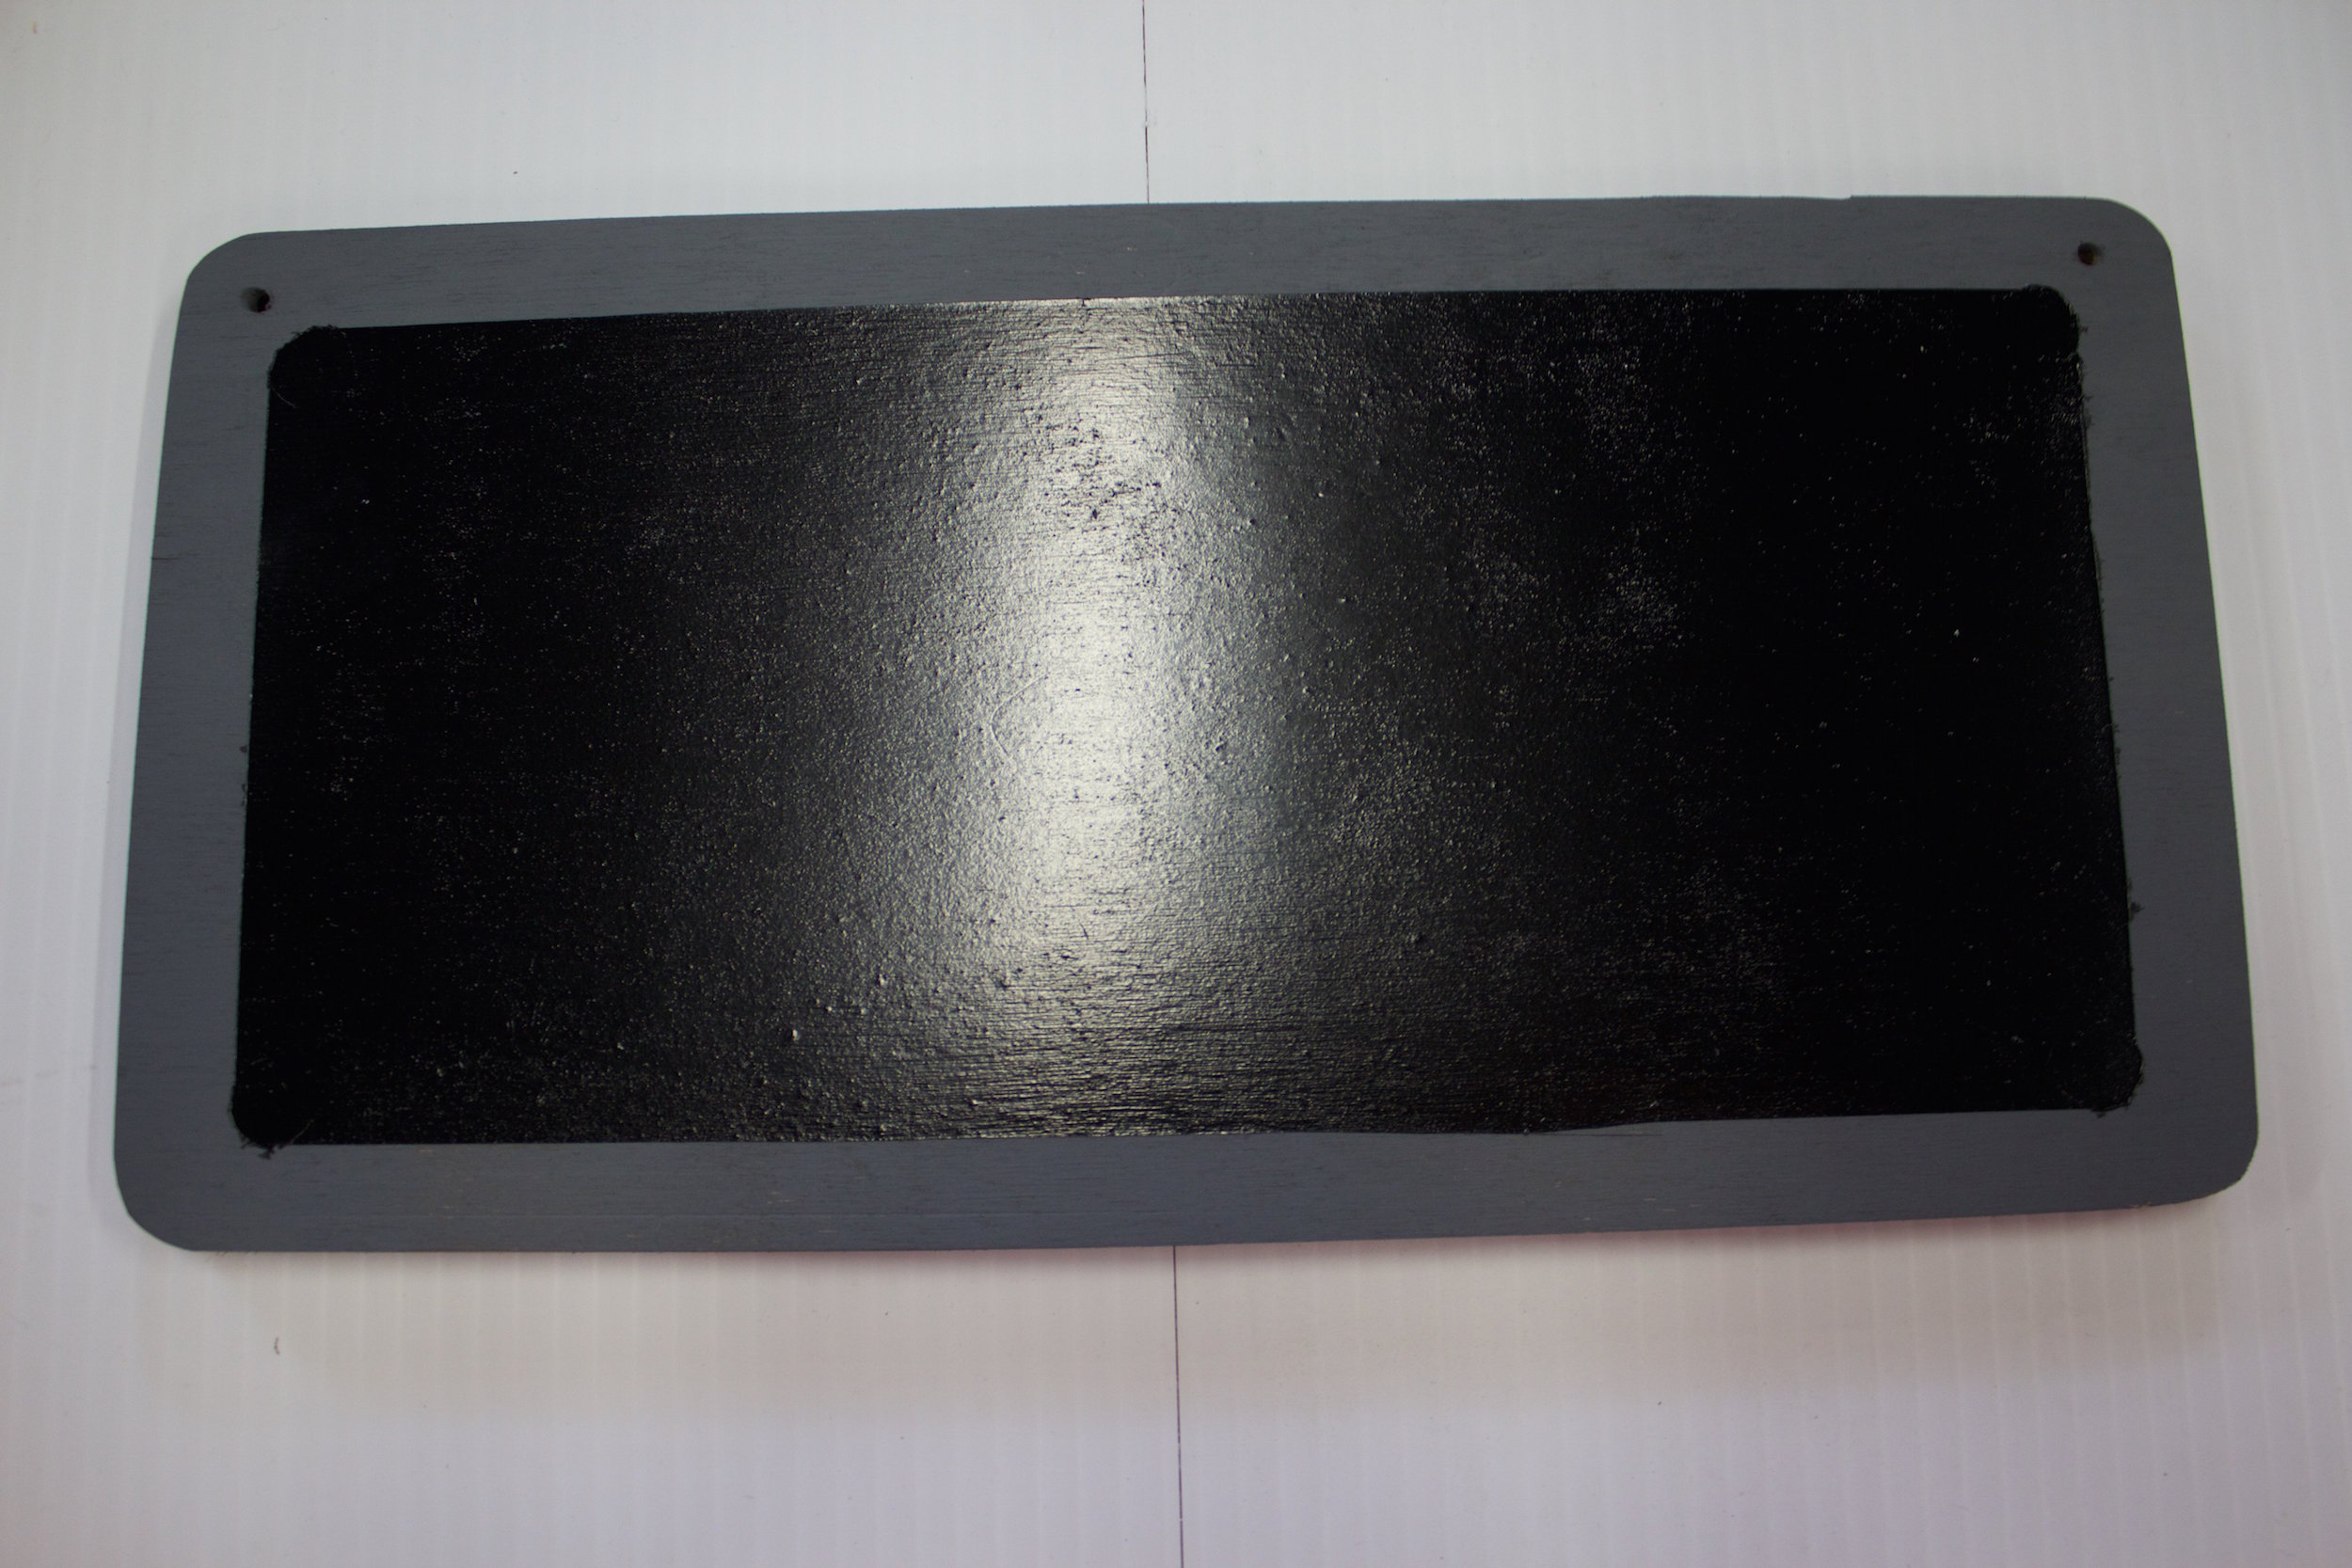
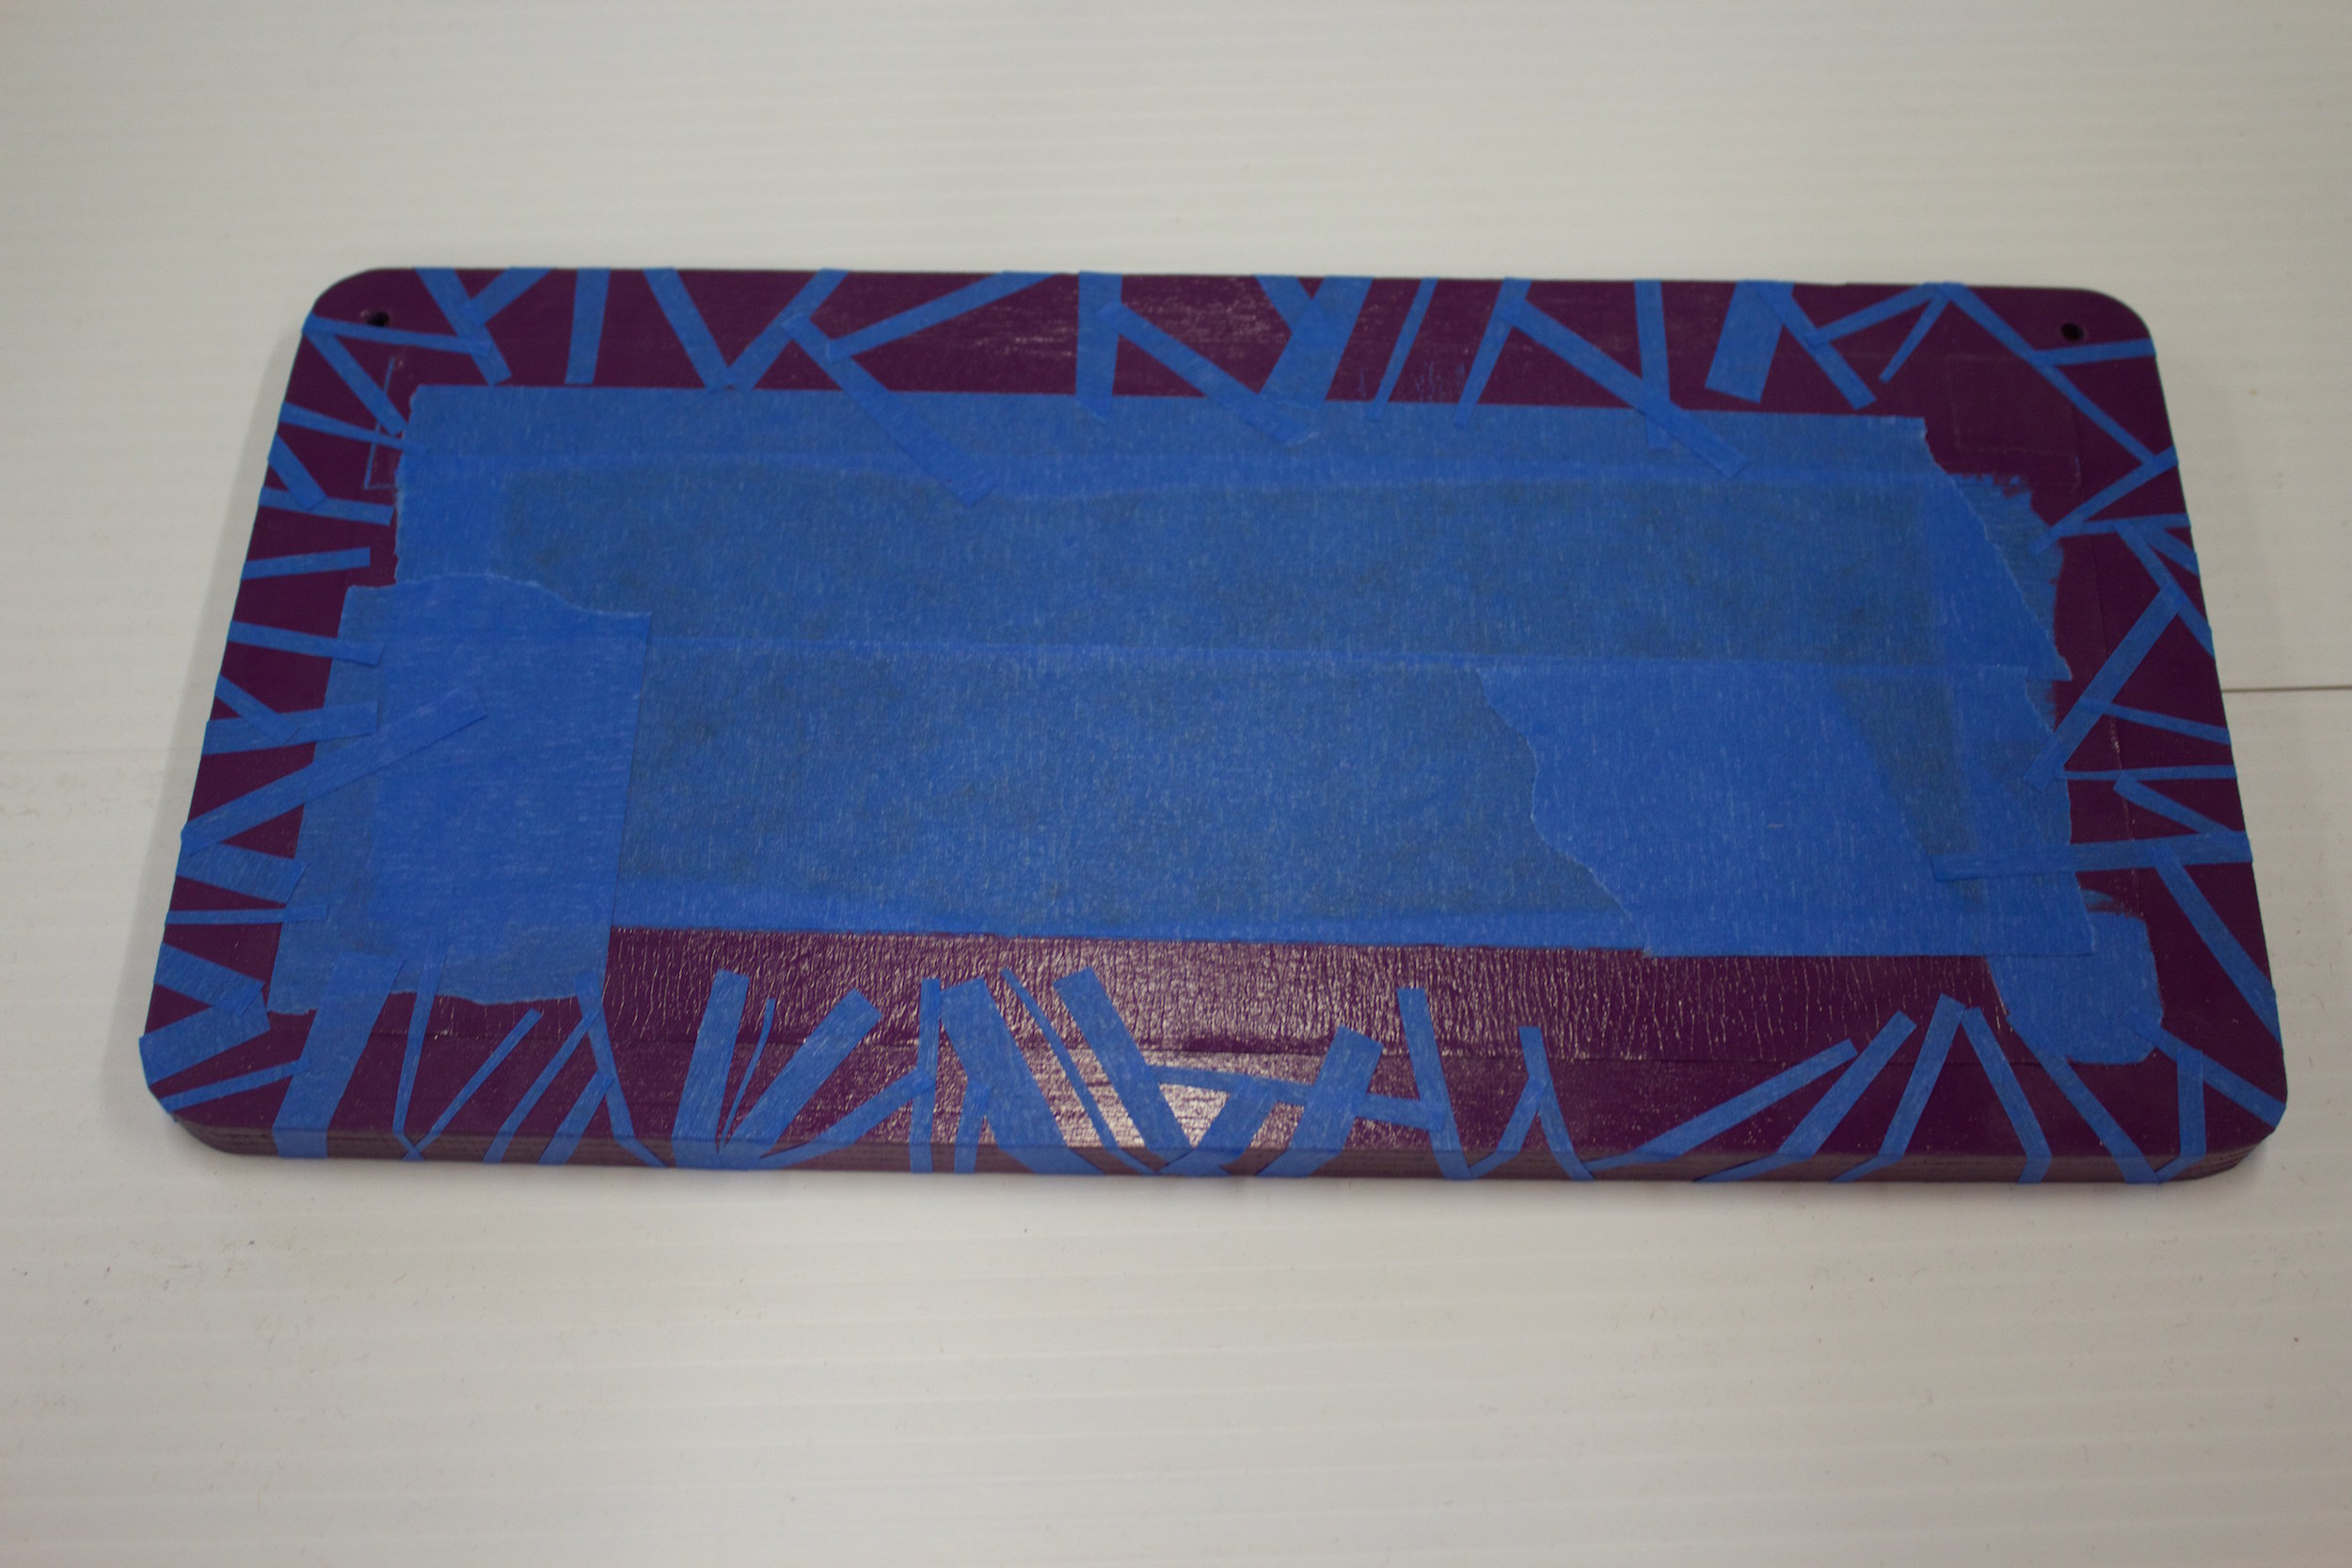
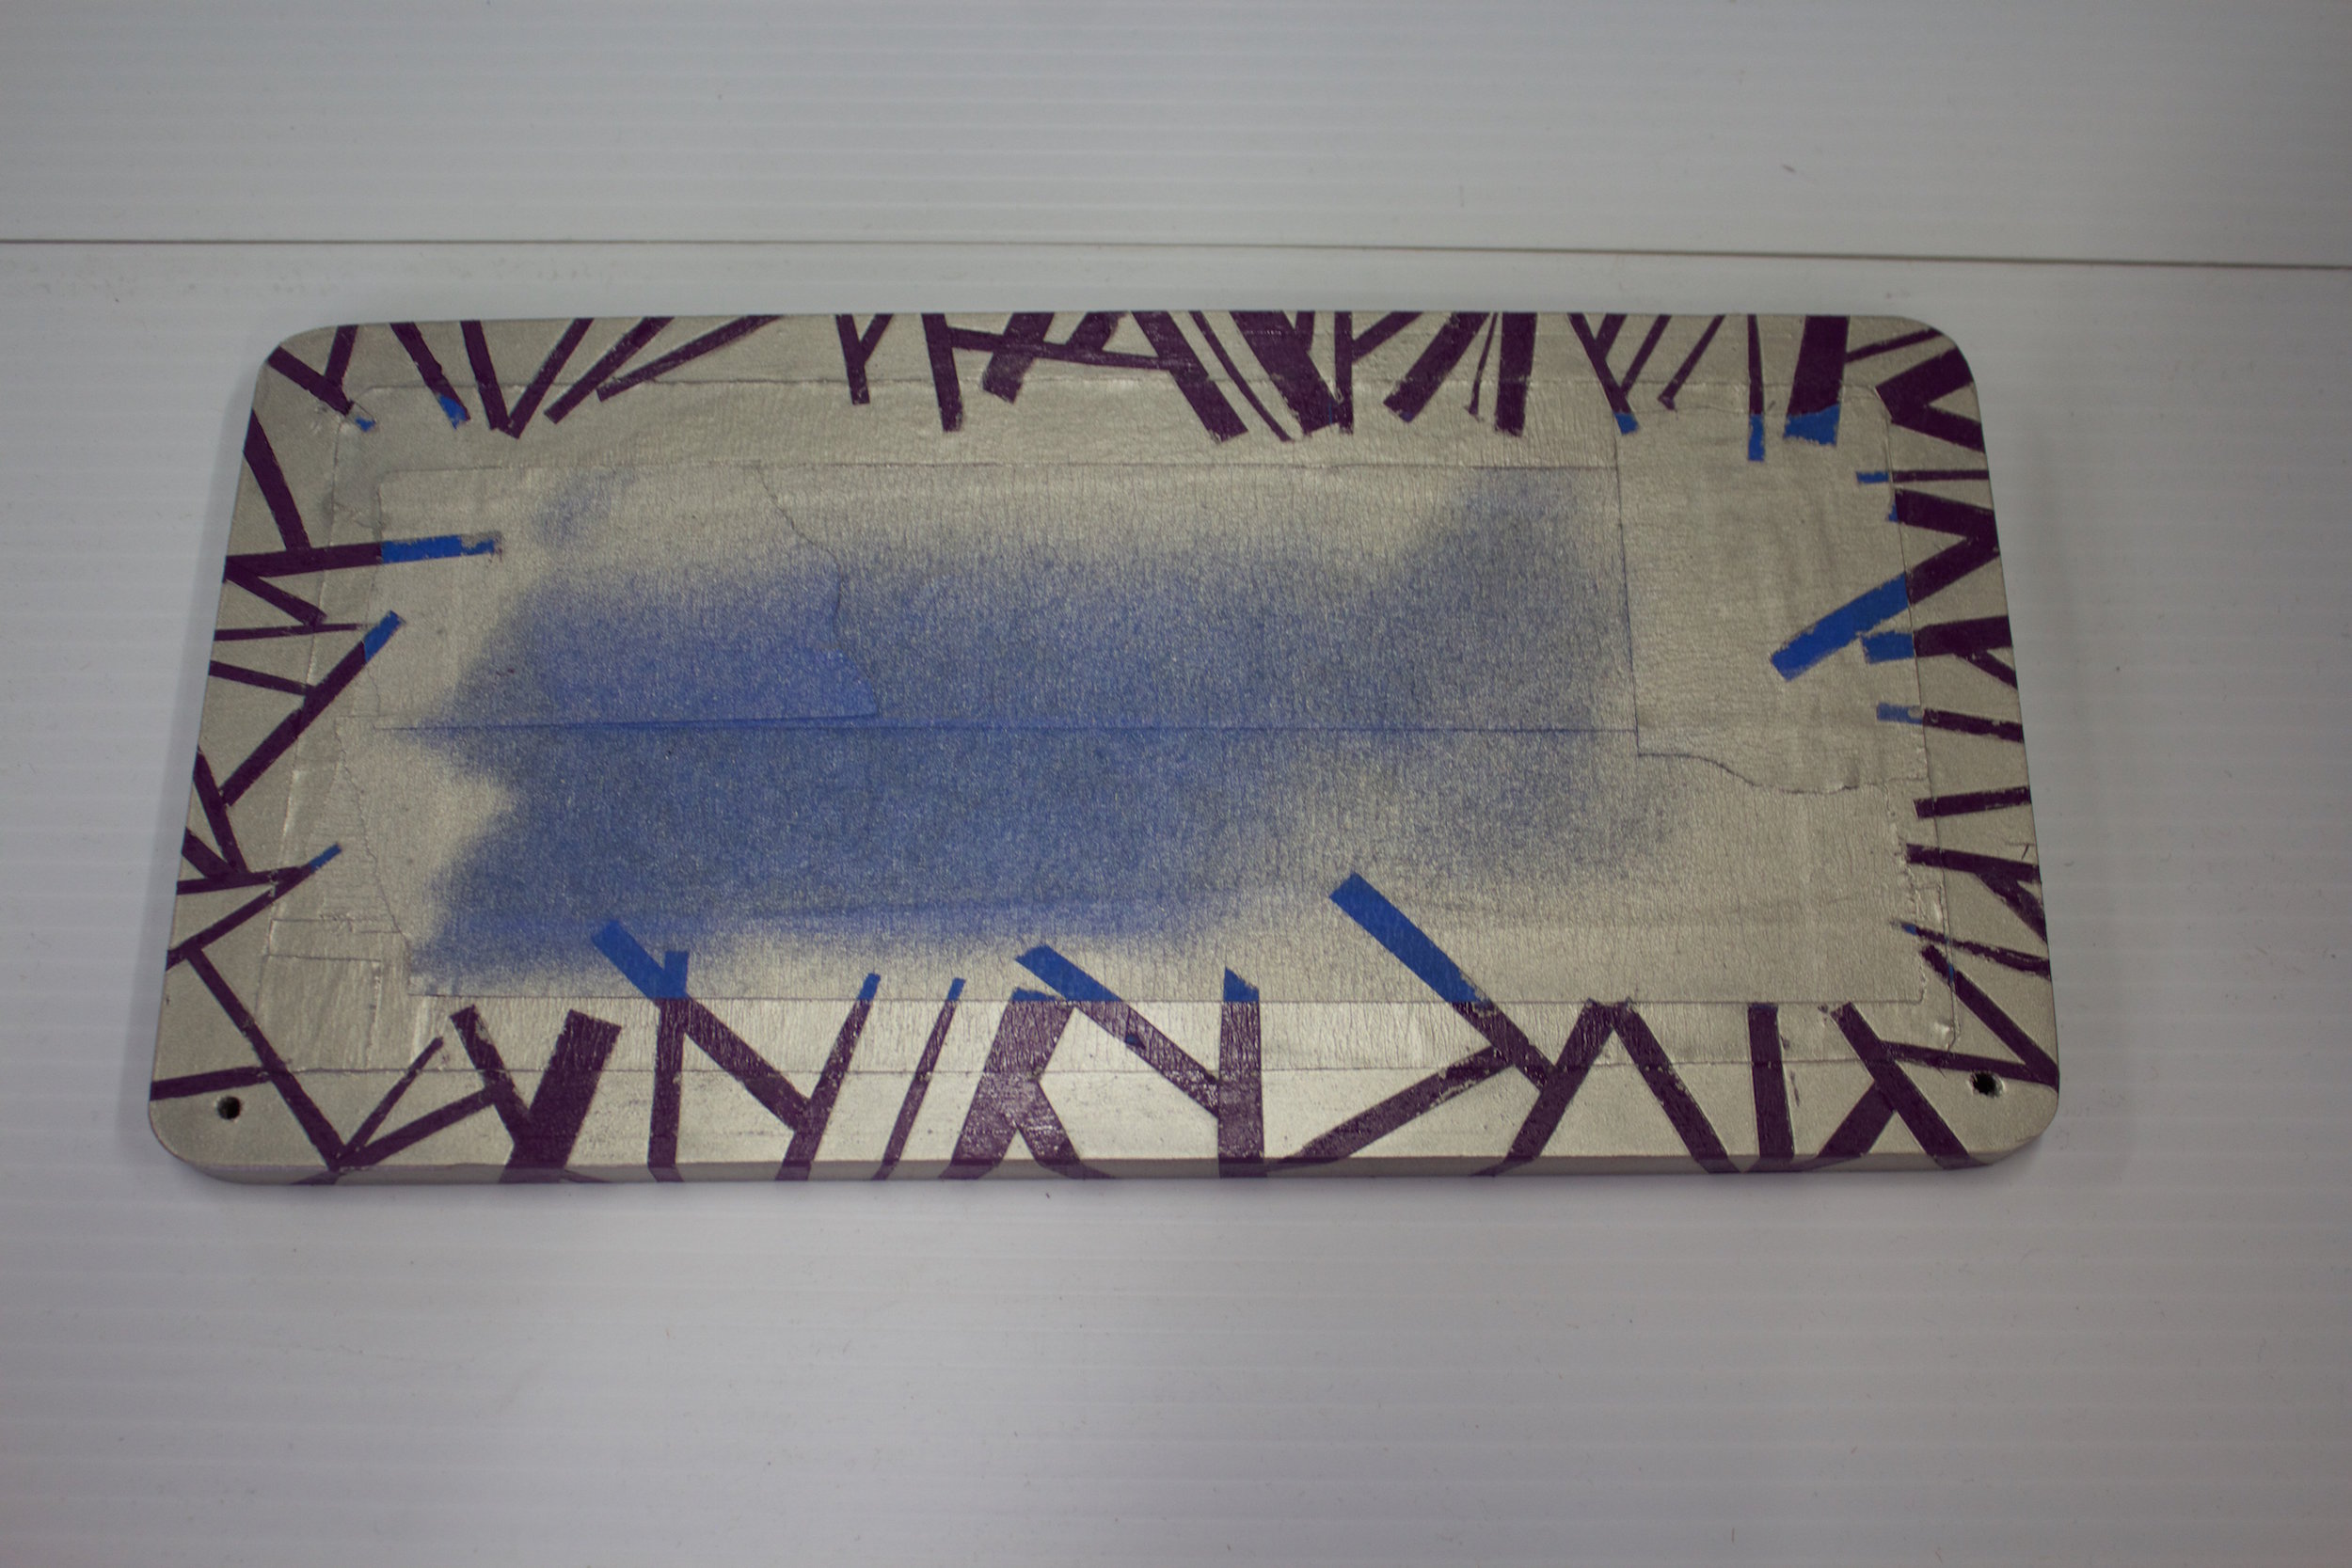
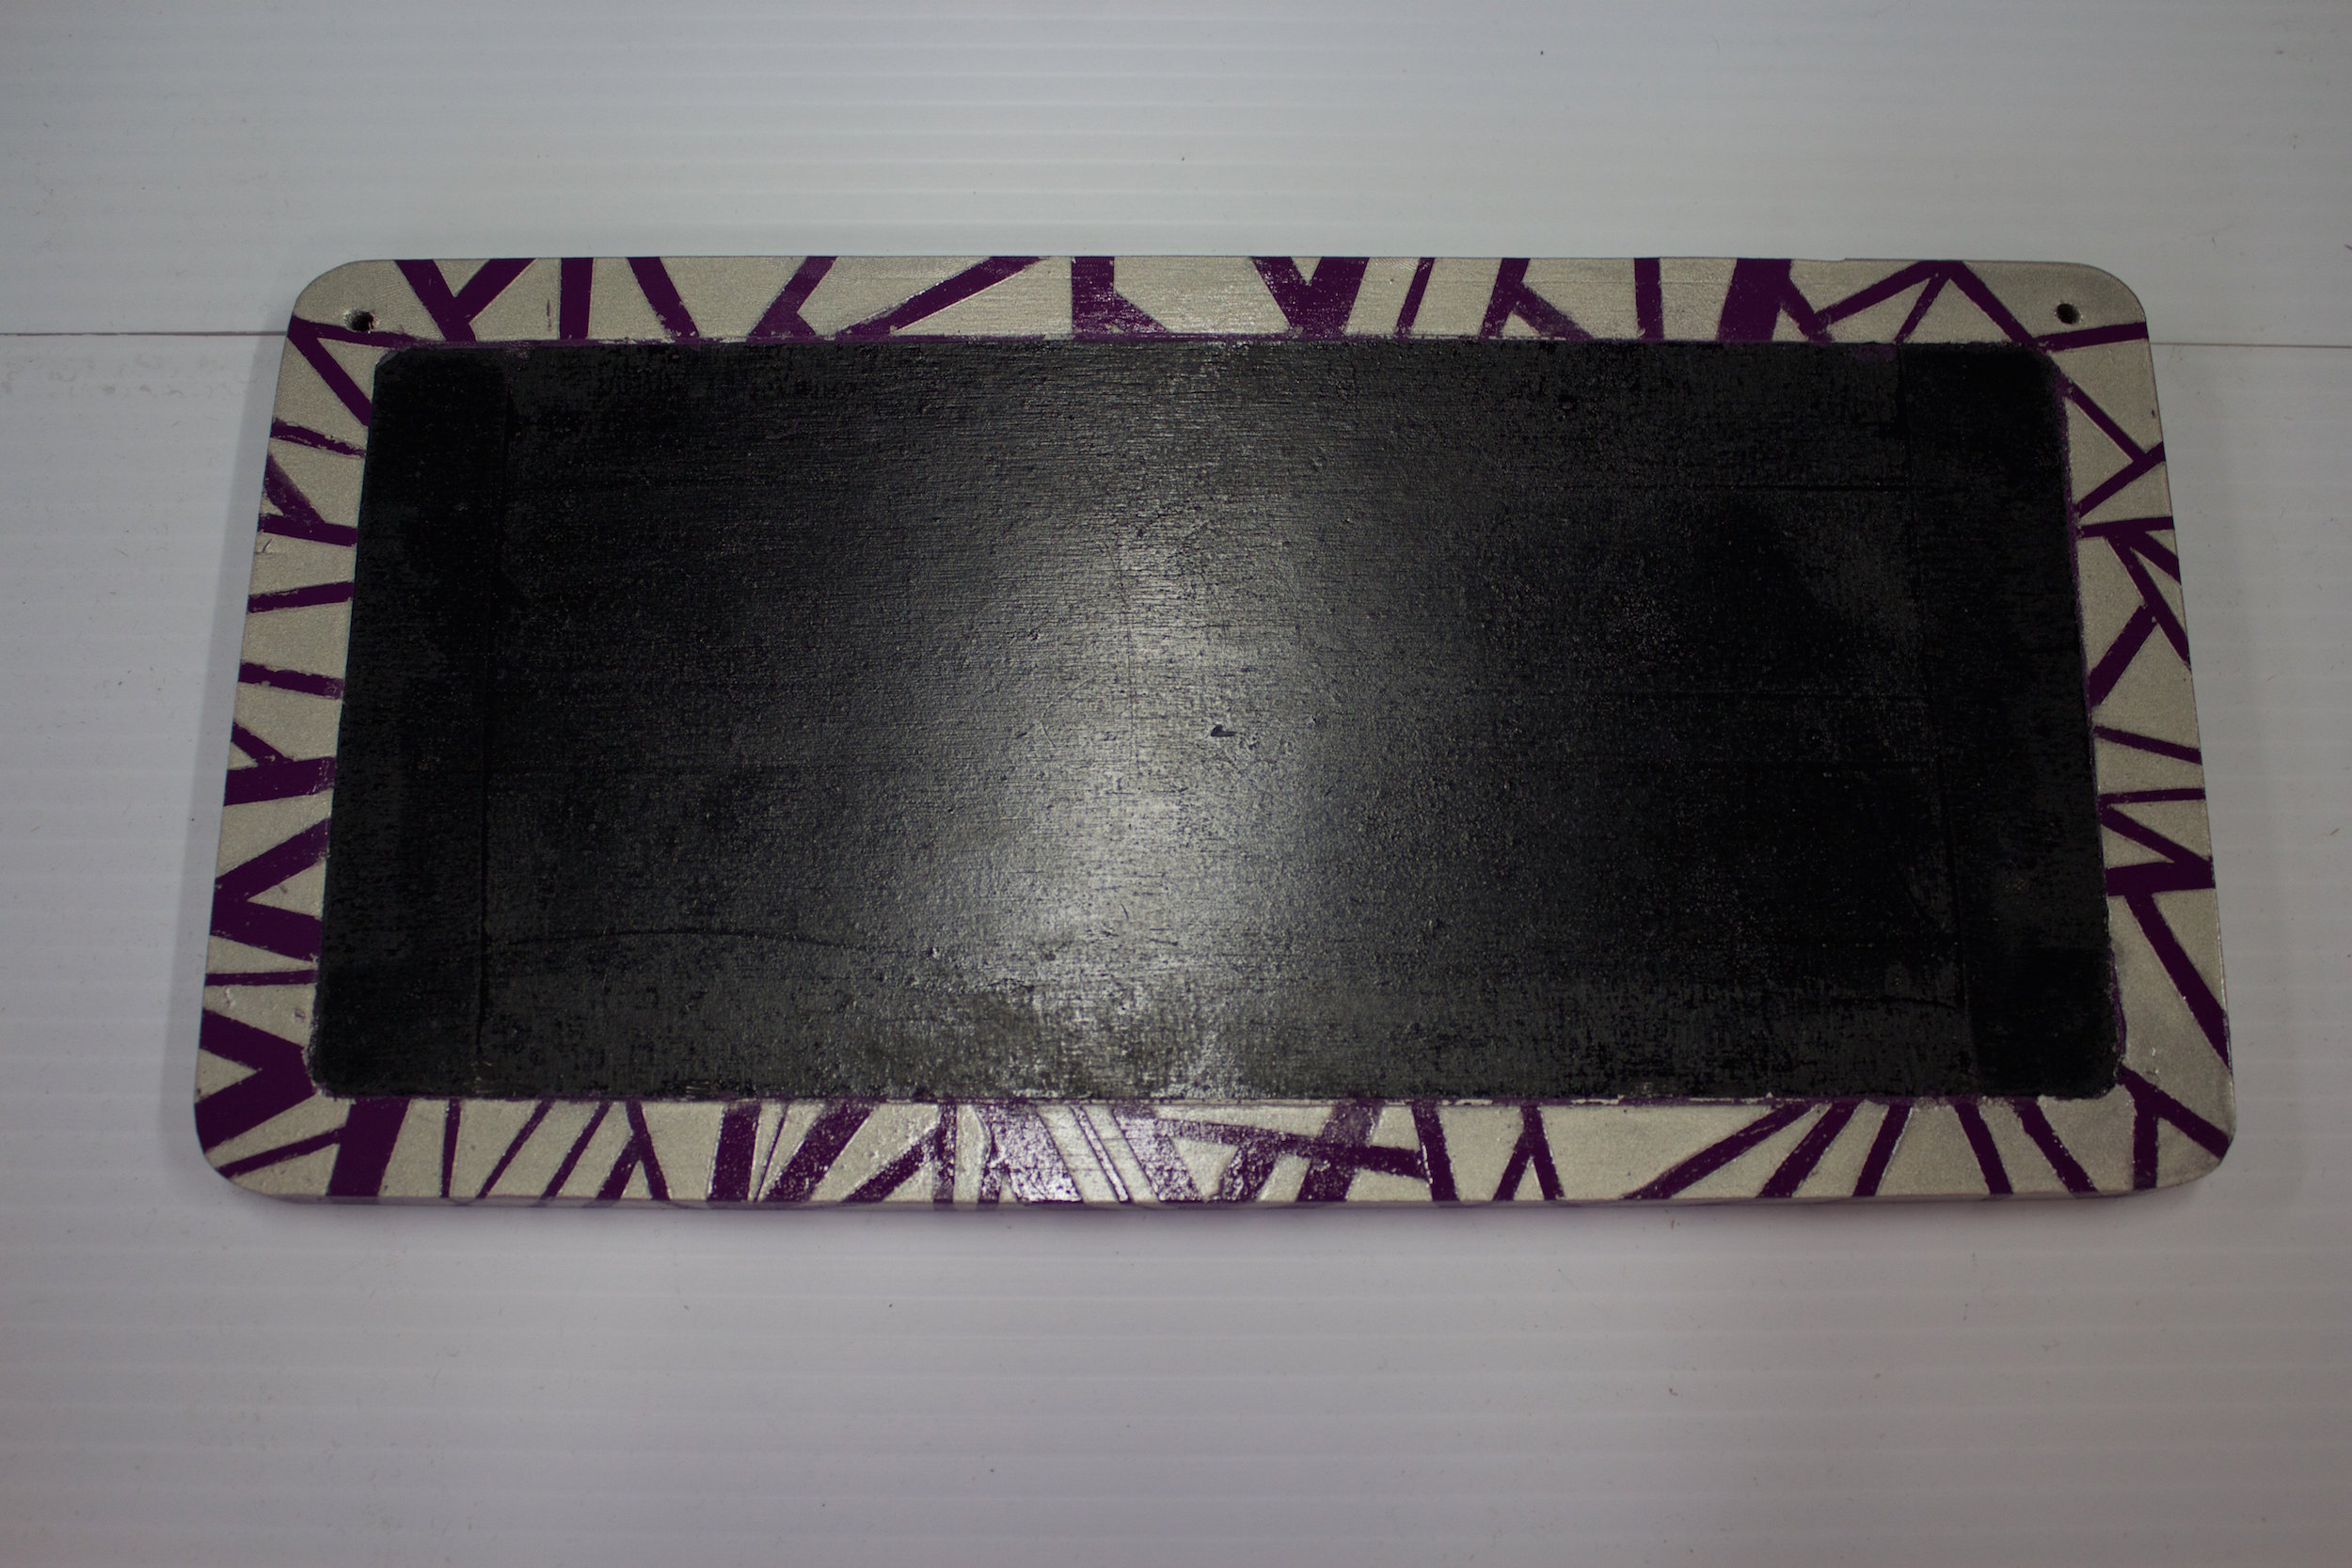
In honor of getting ready to go back to school, I will be showing you how to make a mini chalkboard!
Chalkboards have been a vital teaching implement for many years. Many schools still use them on a large scale in classroom environments. However, a chalkboard can also be a fun tool to use at home.
As this will be a mini chalkboard, it is easy to carry with you and enjoy wherever you go. There are many uses for a chalkboard. From creating to-do lists and drawing out designs you would like to make to working out math problems (if you are into that sorta thing).
I chose this project because when I was in first grade I remember having a teacher who had a time in class called “chalkboard time.” We would pull out our personal mini chalkboards and the teacher would write a math problem on the board and have us work it out on our personal boards, or she might have us write out a poem. A couple times she had us practice our cursive or develop our sentence building skills.
This class time was a fabulous point of introspection for the class and was made fun by allowing us to use multiple colors of chalk while working on our class topics. At the end of the “chalkboard time,” the teacher would walk around and check our work, and if you were correct or complete, the mini board would be displayed above the bookcases. Our teacher would clean the boards for the next day’s activities, however it was always a point of pride to have work displayed everyday.
This project is great for youngsters. It’s easy but a little messy, so I would suggest taking it outside and building it on a sunny day. I would also highly suggest adult supervision while using spray paint, sanding down edges, and while drilling holes.
Feel free to mod this project however you see fit and, as always, enjoy yourself and your final product!


