For my wife and I, a dream of ours has always been to have a home theater to watch movies with our family. This past winter we’ve finally been able to make it a reality. We had our basement finished and in doing so, I planned a good sized room to be our home theater.
In the planning phases, my wife found a number of pictures online with home theaters featuring beautiful star ceilings. These were in homes where people paid tens of thousands of dollars for their home theater — we were on a budget and I thought there was no way I would have the time or money to pay for something that cool. But, the DIY’er in me wouldn’t let me give up that quickly!
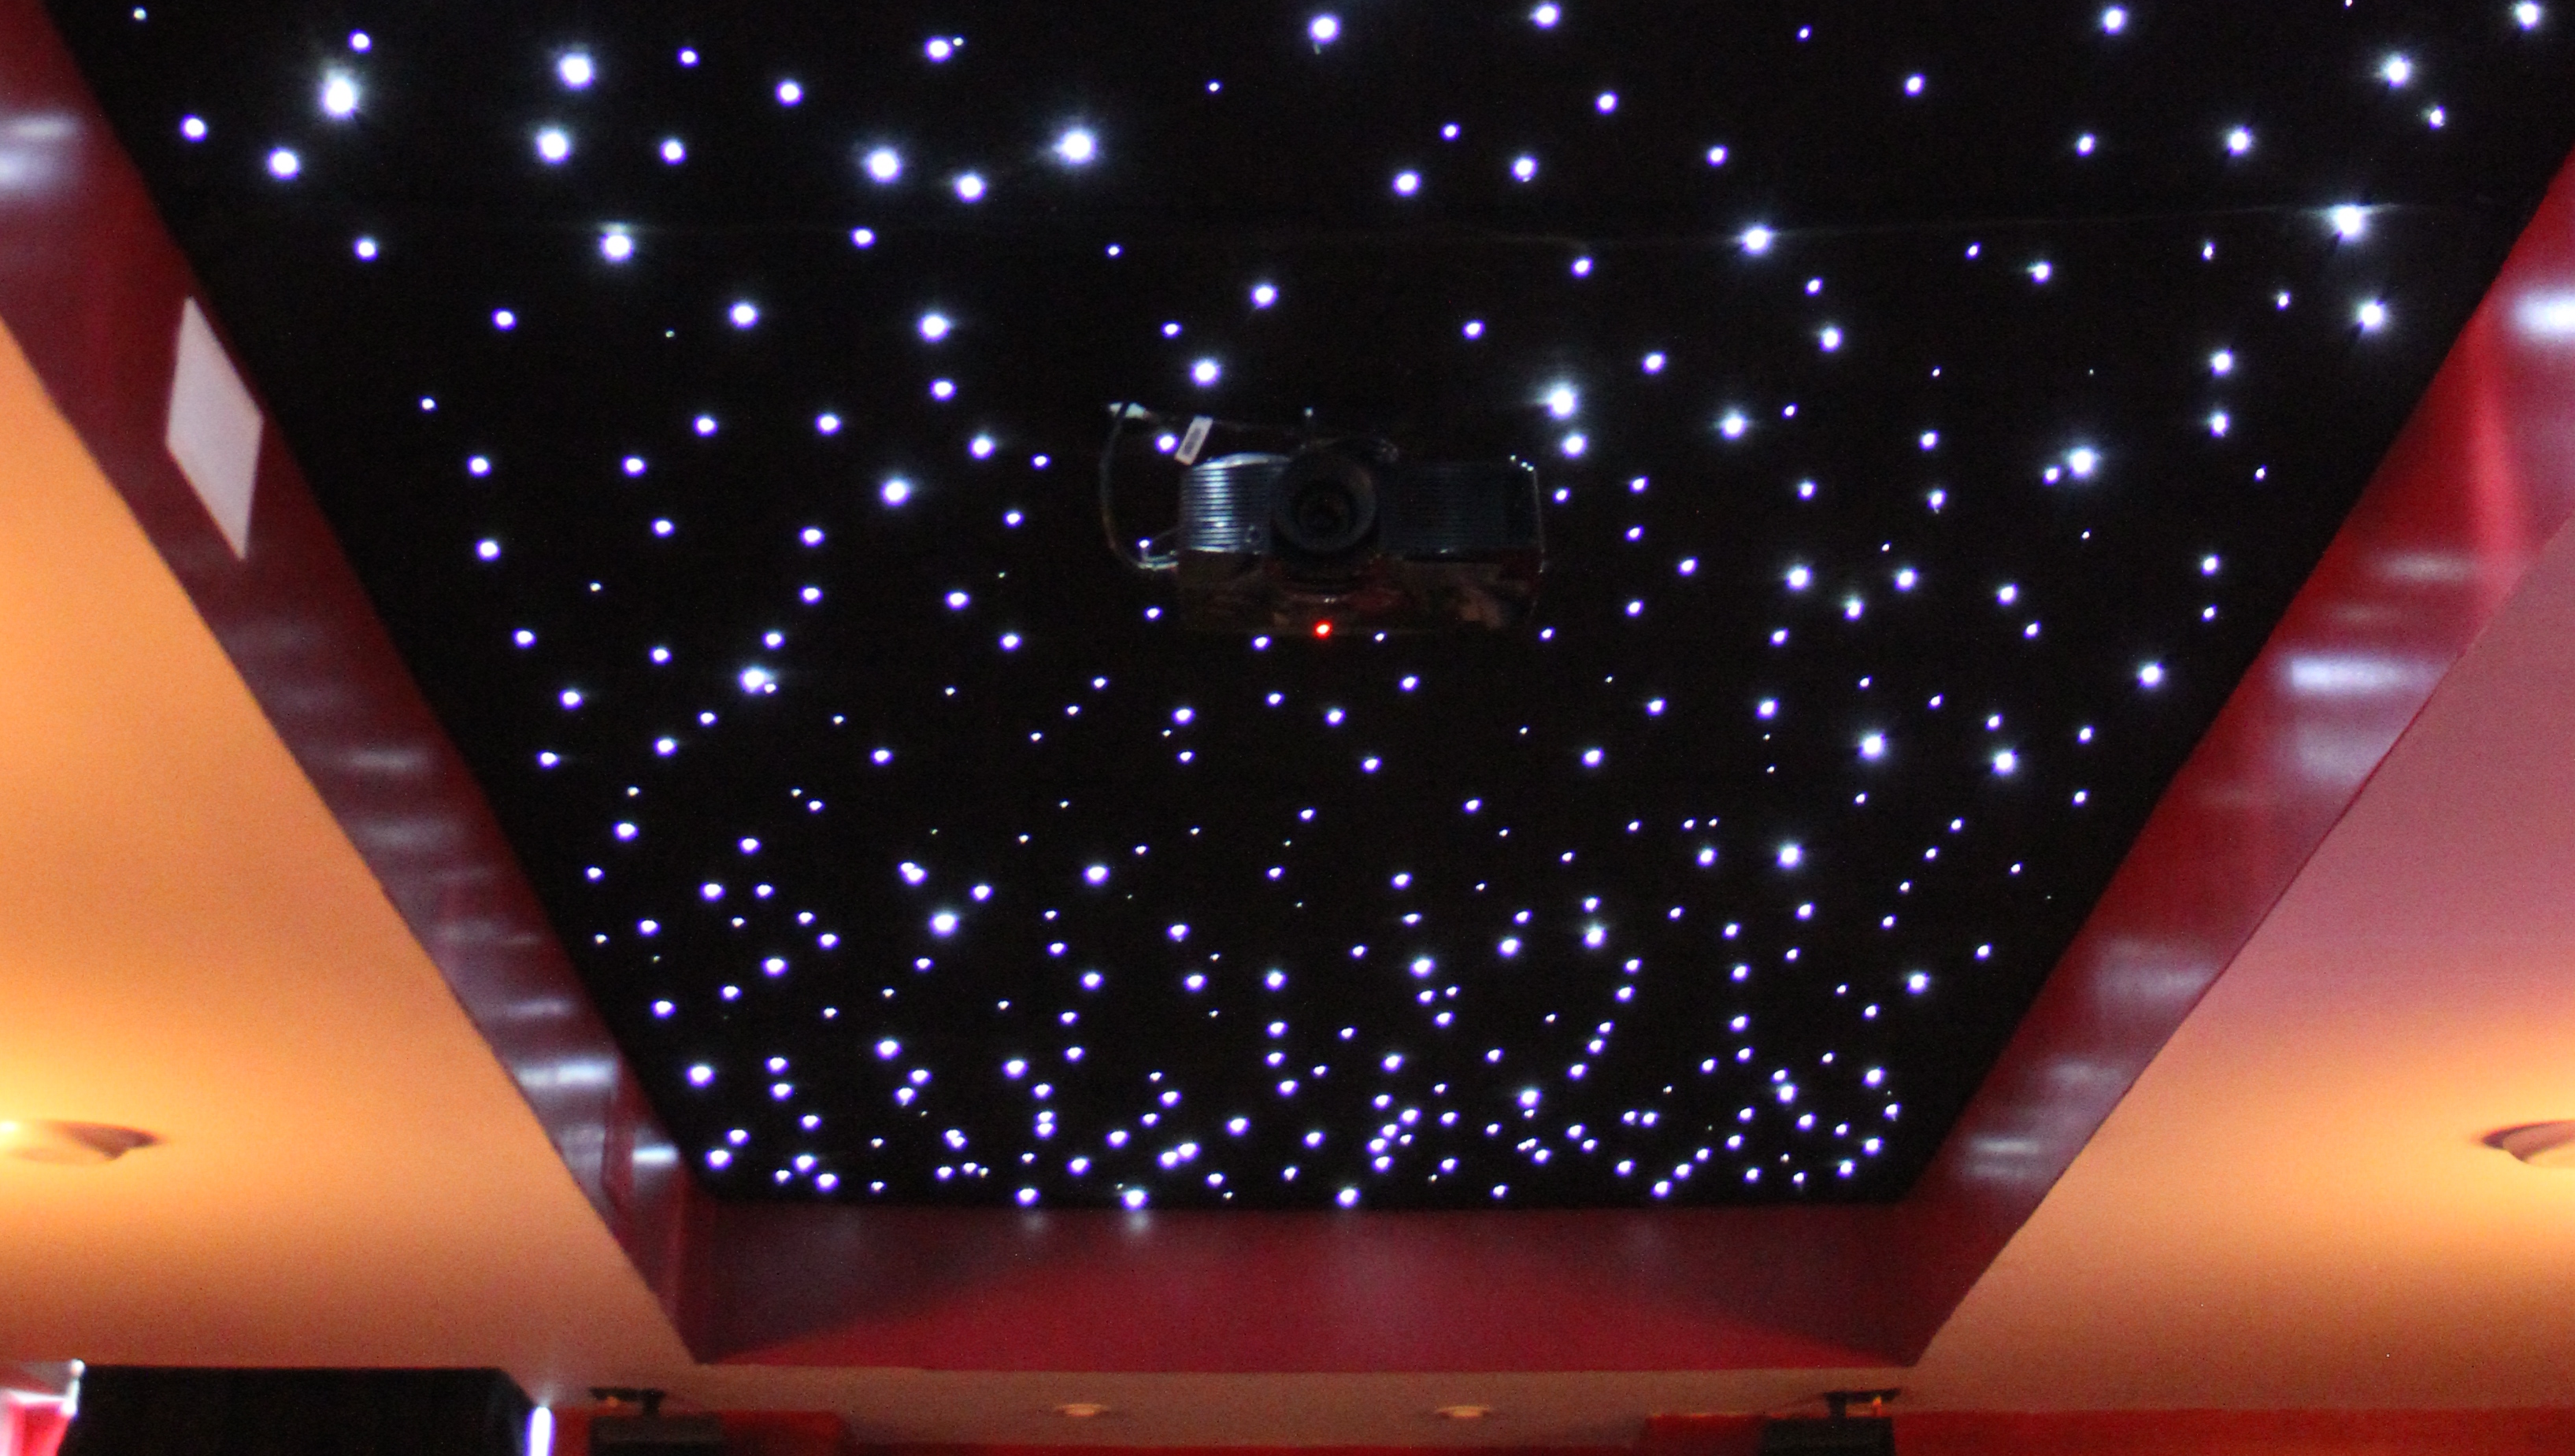
With a little determination and experimentation I was able to build a beautiful star ceiling that really sets this room apart from anything you’ve seen. And it’s really something you have to experience — no picture or video will do it justice. The version of the fiber optic kit I got makes the points of light twinkle like real stars. It creates the perfect ambiance for a home theater, but you could also install these in children’s rooms, game rooms, or wherever you want to create a truly impressive area.
So, did I mention I did this on a budget? I won’t say it’s a cheap project as it’ll depend on the size space you’re looking to do. I did the inside area of a rather large tray ceiling — it’s only 6½‘ wide but it’s about 26′ long — coming to about 169 sq ft. Because of the size, I went with the largest star ceiling kit available, 600 strands.
All together, I estimate the entire project cost between $500-550. If you’re planning on doing a smaller area, you may spend less depending on your materials and the fiber optic kit you chose. Considering the kit manufacturer also resells pre-made 4’x6’ panels at $816 each (I would have needed 6 or more), I think I made out pretty good.
I purchased my kit from Wiedamark. Use their suggestions of which kit to use based on the size area you’re doing. Based on the size of my area, I went with one of their largest kits — the 600 strand 3-size star kit. This kit has 3 different sized “stars” giving a more realistic feel to the starfield. It also comes with a remote, which is nice for dimming the light output. I paid the price you see on the site: $369. Throughout this process I had a number of questions and I can’t say enough nice things about the guys at Wiedamark.
My budget for the project does not take into consideration the amount of time it took. I didn’t exactly keep track but I am estimating the build was somewhere in the 30 to 40 hour range. It was definitely fun, certainly painful at times but totally worth it!
As noted on the instructable this came from, the foam is a fire hazard, not because it’s likely to catch fire from the lighting, but during a fire of any kind it will emit a good deal of toxic fumes which are the real killer in any fire.
If you attempt this, review the fire code for your area, and consider other materials to substitute for the foam. This is under a bedroom apparently, which isn’t so great, the fumes will rise with the heat and penetrate the floor.
Otherwise a great project.
Thanks, Fire Marshal Bill. I’m not sure where you’re getting your information from but this room is NOT below a bedroom. Furthermore, as mentioned in the Instructable, I did perform a burn test on this particular foam and it would not catch fire, it simply melted from the heat. Yes, I’m sure there are some fumes released, but I’m also confident the fire retardant treatment on the felt would provide ample time to evacuate the premises before it even got to that point.
Apologies, I must have misremembered the bedroom factor in the instructables discussion, it was a while ago.
Burn tests aren’t really the point, the point is that fire doesn’t kill people, smoke and fumes do. A large quantity of styrofoam will produce a lot of them when burned by fire, generally from other materials burning nearby. If you have good fire alarms it’s probably moot, as you’d get out, but it’s still something that people should consider when doing a project of this size. If nothing else, it’s a good reason to get decent fire alarms.
Taste the … i-n-m-a-k-e-z-i-n…. online work Check Out Now </b
It’s All About You make < Make It Easy
I am about to do this within a soffit in my ceiling in my theater room. The soffit where i am installing the stars is 10′ x16′. The main difference between my project and yours us I am using a 5/8″ drywall ceiling that is suspended 1 1/2 down using a hat/furring channel. My question is that there are (5) 1 1/4″ furing strips/channels on the ceiling where i cannot put stars. Will this affect the look when this is complete. Will I see 5 lines of blank space at these five tracks on my ceiling?
Re: “this step SUCKED more than anything else involved here”
Yes! By far the worst part. My process ended up similar to yours, there’s just no easy way.
Why not use wool, which is naturally fire resistant rather than felt+nasty chemicals?
I didn’t realize that, great suggestion!
Can you please tell me what foam board is used here? It seems to be very thick and where did you get it from?
It’s called Expanded Polystyrene Foam Insulation. Currently $11.49 / 4’x8′ sheet at my local Menards.
https://www.menards.com/main/building-materials/insulation/insulation-panels/expanded-polystyrene-foam-insulation-2-x-4-x-8-r-8/p-1444435971902-c-5779.htm?tid=2513539998808580161&ipos=3
Yes, having trouble finding a reasonably priced 2″ foam board… anyone finding anything?
It’s carried at my local Menards, the exact product is Expanded Polystyrene Foam Insulation 2″ x 4′ x 8′ R-8.
Do u have suggestions on doing this on a flat ceiling?
Incredibly irresponsible using styrofoam….someone should alert the local authorities
Send this to a friend