YouTube player

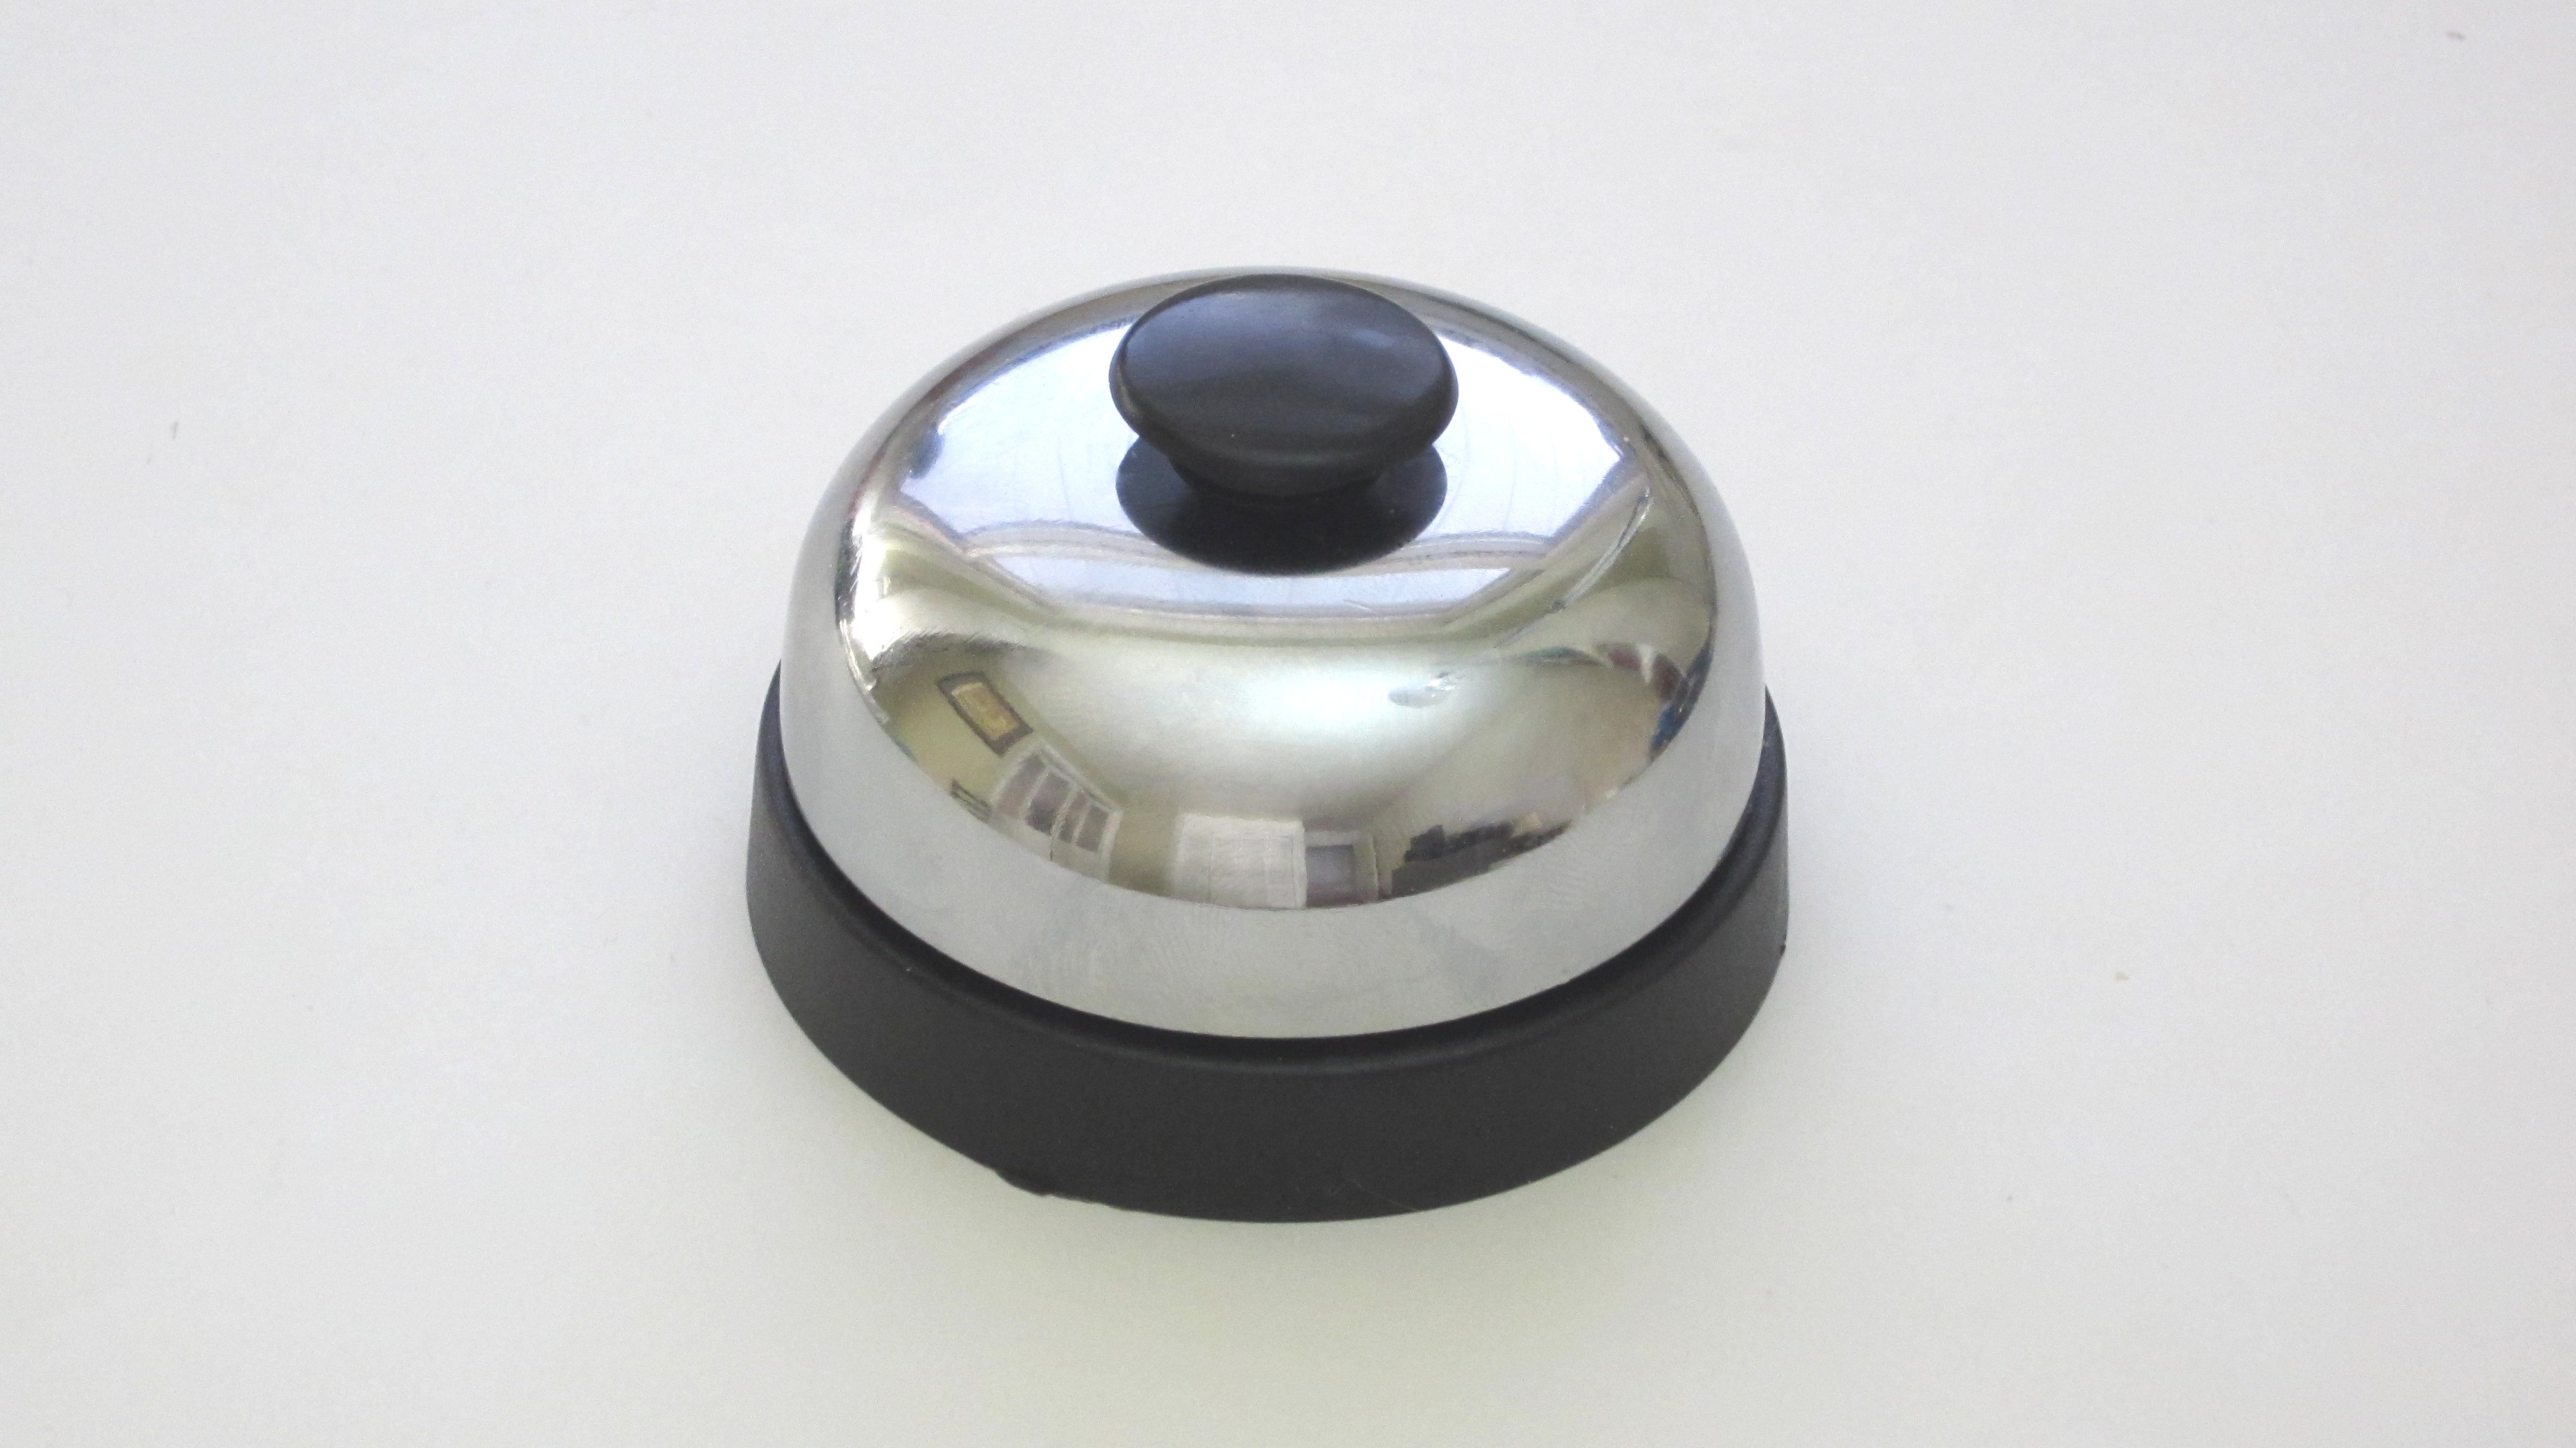
Most people are familiar with the classic desk bell. So when they press the button on top of the bell, they expect to hear a gentle ringing sound. They are not expecting to hear a bird chirping, gun fire, or other sound effects. But that is what will happen if they press the button on this desk bell.

In this project, I am going to show you how to modify a desk bell so that it plays sound effects. It makes a fun little prank for your friends and co-workers.

Here’s the project on Instructables.

See the full series here.

Project Steps

Materials and Tools

Materials:

Desk Bell

Sound Modules from a Toy

Scrap Plastic

3V Lithium Button Cell Battery

Electrical Tape

Tools:

Screwdriver

Wire Strippers

Soldering Iron and Solder

Scissors

Wire Cutters

Hot Glue Gun and Hot Glue

Select a Sound Module

The first thing that you need for this project is a good sound module. This can be any small circuit that plays music or sound effects. Toys are a good source for this. If you don’t have any sound making toys, you can easily find them at a thrift store. You will probably just need to replace the batteries.

Ideally you want a sound module that keeps playing the full sound clip even after you release the play button. When you ring a normal desk bell, you quickly tap it. You don’t hold it down. So if your sound module stops playing when you release the button, then it won’t play long enough to be heard.

Another option is to use a recordable sound module. This would let you record your own sound clips.

Remove the Sound Module From its Housing

Unscrew the outer housing of the module and open it up. Then unscrew the sound module parts from the inside housing. The speaker is often glued in place. Use a sharp knife to carefully cut through the glue around the outside of the speaker. Then gently pry it loose with a small screw driver.

Disconnect Any Unnecessary Wires and Switches

We need to make the sound module as small as possible. So you want to remove any parts that you don’t need. In this case the ON/OFF switch was unnecessary. So I cut the wires for the switch at the board. Then I soldered the two “ON” terminals together so that the circuit is always on. For most small sound players this won’t really matter because the ON/OFF switch is basically just a mute button, but in some cases leaving the circuit on will reduce your battery life.

Replace the Battery With a Smaller Button Cell Battery

The battery pack for this toy used two AA batteries. AA’s are much to big too fit inside of the bell. So I replaced them with a single 3V lithium button cell battery. To do this I cut the wires from the battery pack. Then I stripped the insulation off the ends. To attach the wires to the button cell battery, I held each wire up to the appropriate side of the battery and wrapped it in electrical tape.

This will not work for all sound modules. Some circuits require more current than a button cell battery can supply. So you need to test it to make sure that it works. If not, then you can try use AAA batteries if you can get them to fit inside the bell.

Remove the Clapper From the Inside of the Bell

Next we need to remove the clapper (the part that hits the inside of the bell to make it ring). There are two reasons for this. We don’t want the bell to ring when the button is pressed. We also want to make more room inside to bell to put the new parts.

The clapper is usually attached to the inside supports that hold the bell in place. In order to remove it, you may need to disassemble the bell or you may need to bend the flaps that hold it in place.

On my bell I was able to just pry the clapper out of the tabs on each side with a screw driver.

Decide on the Best Method to Have the Button on the Bell Activate the Play Switch

Now you need to figure out a way for the button on the bell to activate the play switch on the sound module. Usually the easiest way to do this is to just mount the play switch below the button. That way when the button is pressed, it will hit the play switch and activate the sounds.

In this case the play switch was very small and it would have been difficult to mount it directly below the button. So instead, I decided to mount the play switch to the inside wall of the base and pressed it with a small piece of plastic that was attached to the button.

The method that you use will depend on how your bell is constructed.

Glue a Piece of Scrap Plastic to the Bottom of the Plunger

I cut out a small rectangle from a sheet of scrap plastic. I trimmed it so that it perfectly fit between the inside walls of the bell support. Then I glued it to the bottom of the button. This effectively widened the bottom of the button.

Glue the Play Switch to the Inside Wall of the Bell Supports

Next I glued the play switch to the inside wall of the bell supports. You want to locate it just below the piece of plastic that you attached to the button. Before gluing it in place, check to make sure that the play switch will be activated when the button is pressed.

After gluing the play switch in place, you should test it. Press the button a few times to make sure that the sound plays reliably.

Glue the Circuit Board and the Speaker to the Inside of the Base of the Bell

Now you need to secure the rest of the parts to the inside of the bell. First I glued down the circuit board against the wall of the plastic base. Then I applied glue to the back of the speaker and positioned it as close as possible to the circuit board. Lastly, I glued the battery in place. Make sure that all the parts fit within the base of the bell. You want the bottom of the bell to sit flush with the table when it is turned upright.

Setup You Sound Effect Desk Bell and Watch the Fun

Now you just need to set up your bell somewhere. If you have a friend or coworker that already has a bell, you can replace it with yours. Or you can just set up the bell on a random counter top with a sign that says “Ring For Service.” Whatever you do, it is guaranteed to surprise and confuse people.