

The Solar Bottle Lamp is a solar-powered light that reuses a waste plastic bottle by attaching a 3D-printed solar lamp in place of the old plastic cap. It also makes clever use of the light-refracting properties of water!

I designed this lamp as a low-cost solution for lighting rural homes, replacing their harmful kerosene lamps and at the same time upcycling some of the millions of waste plastic bottles that are daily thrown into the garbage. These lamps are also great for decorating a garden, for camping or traveling, or for emergencies when the power is out.
A Liter of Light
My design was inspired by the Moser bottle daylight lamp invented by Brazilian mechanic Alfredo Moser. The concept is that clear plastic beverage bottles filled with water can be fixed into the roof of an unlit building to refract sunlight around a room, equivalent to a 40W–60W bulb. In 2011, Illac Diaz used Moser’s technology to start Liter of Light, a grassroots movement to provide solar lighting to communities around the world.
The Moser bottle is simple and inexpensive, but it only works during the daytime. So I designed a solar bottle cap that can provide light during the night.
How the Circuit Works

The solar lamp can be considered as a standalone solar photovoltaic (SPV) system and contains four basic components (Figure A ):
):
• Solar panel — converts solar energy to electrical energy
• Controller — charges the battery (charger) and drives the load (driver)
• Battery — stores the electrical energy
• Load (LED) — provides the desired light output
The circuit, shown in Figure  B on the following page, can be broadly divided into two parts. The charger circuit extracts power generated by the solar panel during the day and charges the battery. It’s based on a TP4056 single-cell Li-ion charger module. The LED driver circuit powers the LED, automatically switches it on at night, and controls the brightness.

During the day, the solar cell generates voltage and turns ON the transistor Q2, so it doesn’t have the current bias to the base of transistor Q1. Q1 is OFF so the LED will go out.
When there is no sunlight, there’s no solar current to base Q2 so it will not conduct, but at the same time, transistor Q1 will conduct. Now the battery’s current will flow to the LED through the resistors (R3 or R4).
The 3-pin button switch is used to connect either R3 or R4 in the LED circuit. When the pole is connected to R3, the brightness is Low (high resistance, low LED current) and when connected to R4, the brightness is High (low resistance, high LED current). You can learn more about the circuit in my video.

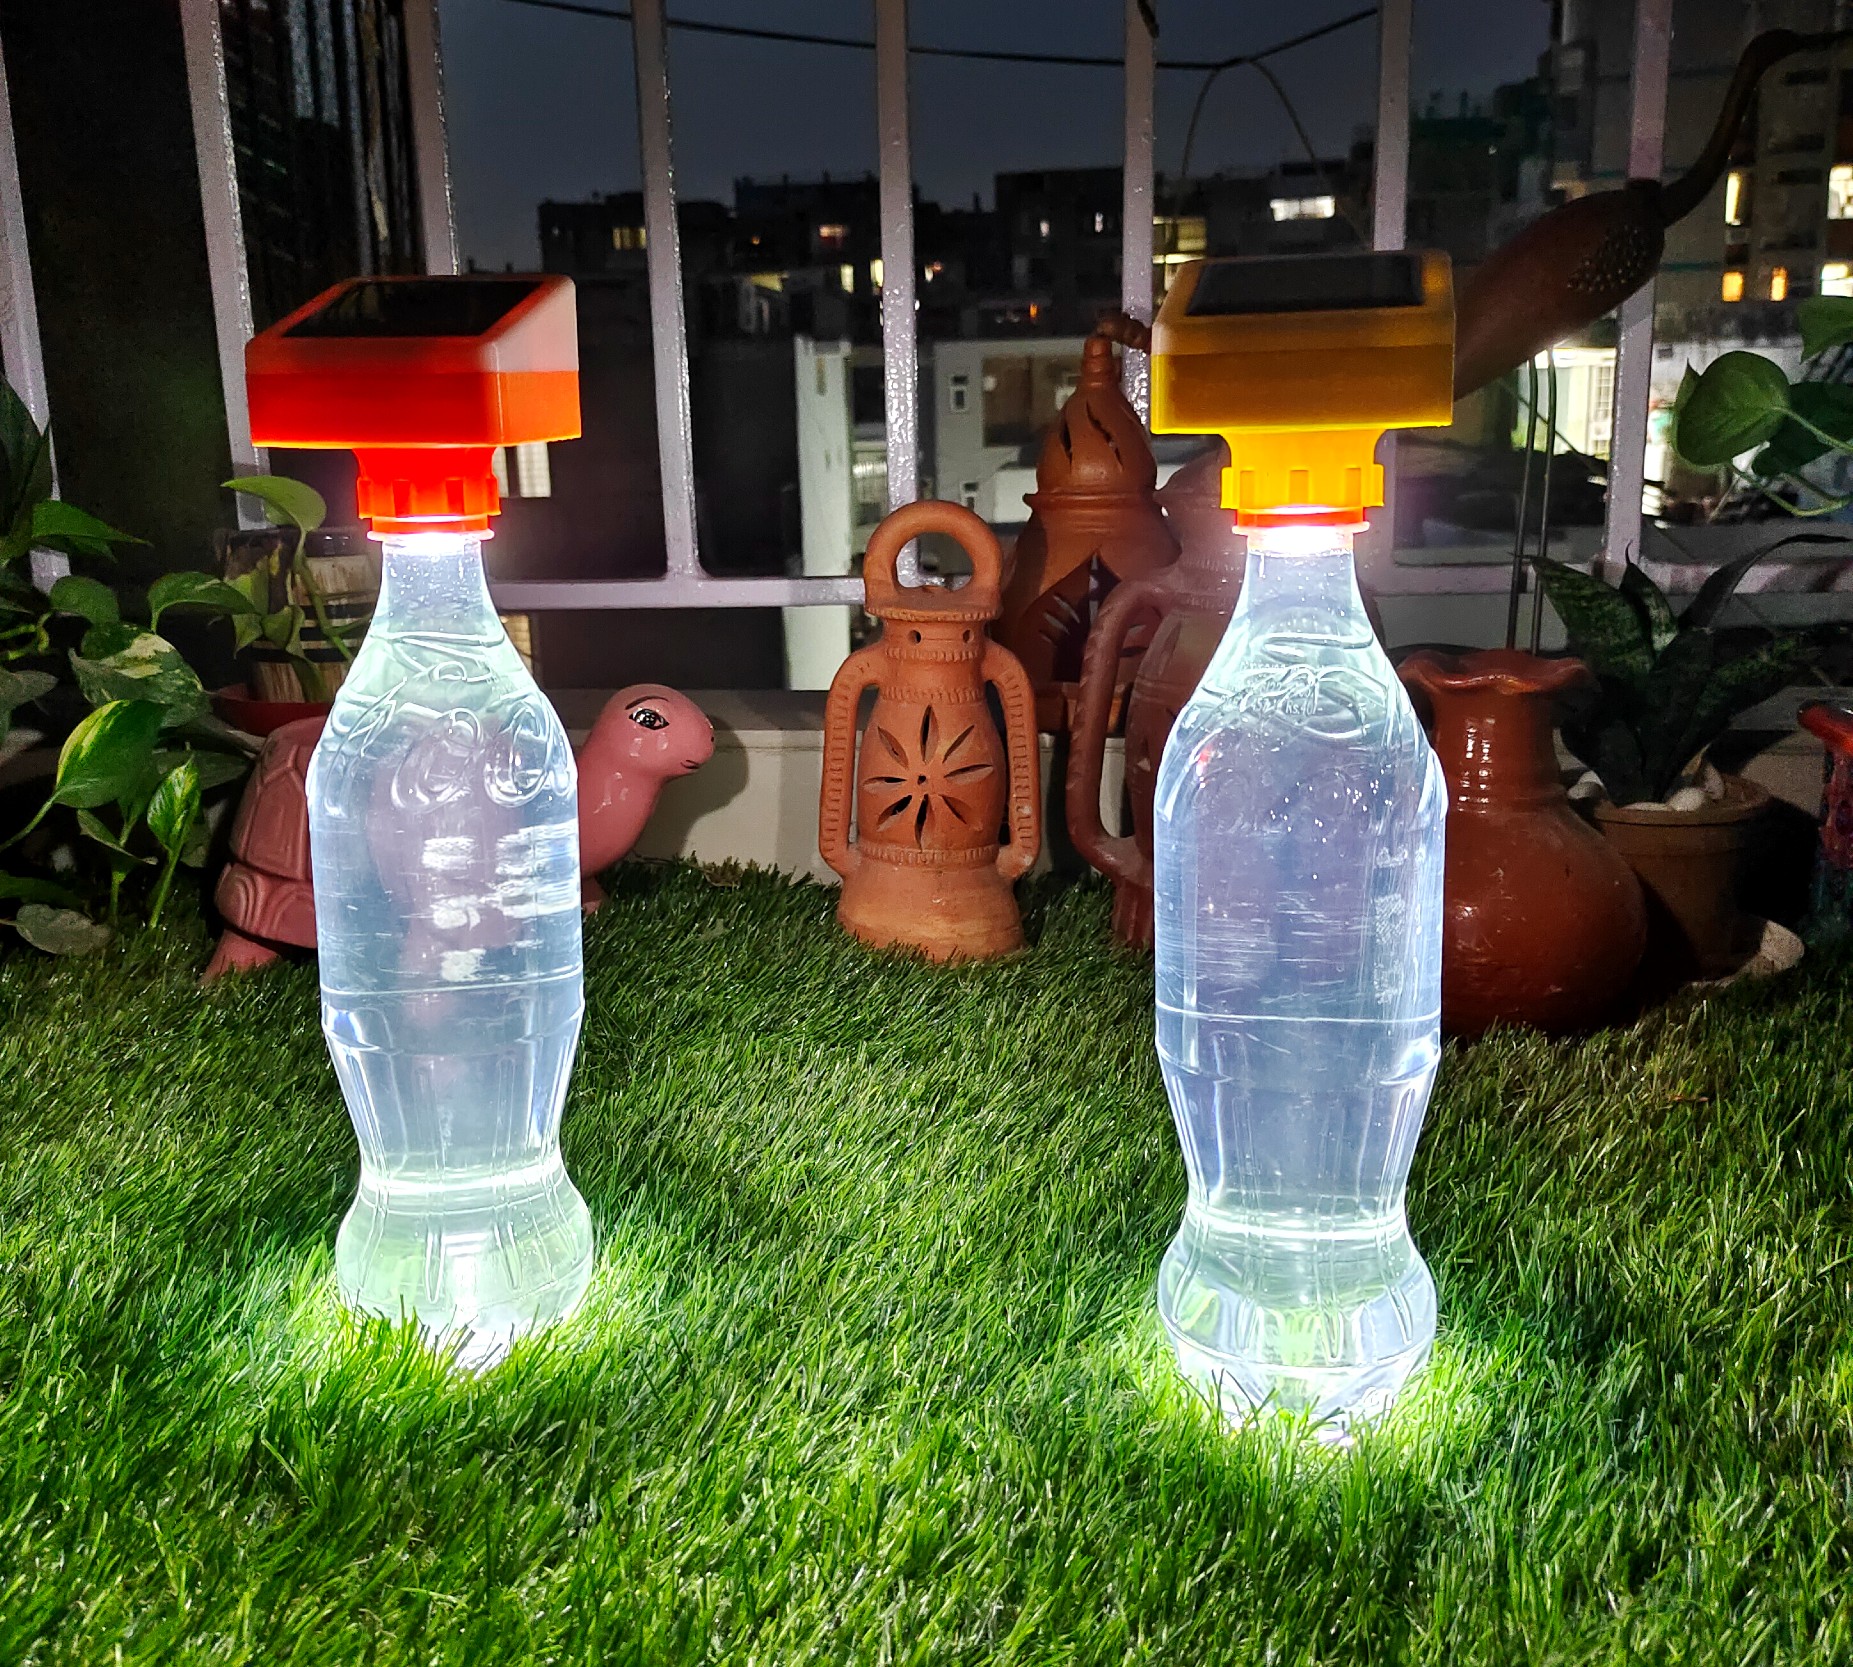
Bottled Sunshine
Enjoy your new Solar Bottle Lamp! You can make a few similar bottle lamps and place them around your garden or lawn.
Charge it
• USB charging — Before the first use, it is recommended to charge the battery. You can easily charge the lamp through a micro USB cable by connecting it to any USB power source like a phone charger. The red LED indicates that the battery is charging and the blue LED indicates charging is complete.
• Solar charging — You can also charge the battery by placing the bottle lamp in bright sunlight for at least a day (Figure S ).
).

TEST IT
Press the button switch to set the desired brightness (Low/High) and test the lamp by covering the solar cell with your hand. The light should be turned on (Figure T )!
)!

Place the bottle lamp in the bright sunlight, and the solar cell will charge the battery. When the sun goes down, the lamp will be automatically switched on (Figure  U).
U).

MODIFY IT
• Weatherproofing — You can apply epoxy spray paint at the joint of the 3D-printed enclosure to make it more water resistant. Apply conformal coating to the PCB to protect the board and its components from the environment and corrosion.
• Easier build — Use a PVC-wrapped battery with its own JST connector to avoid use of terminal plates.
• Light mods — Add some soap solution to the water to diffuse the light more, or add food coloring to make the light colored.
• Roof mount — To light a room or shed, you can follow Liter of Light’s instructions for mounting the lamp on the roof.