

Using the Arduino development platform you will learn how to display numbers and letters on a single 7-segment LED display. There are many ways to drive 7-segment displays, and this is a fairly simple method. However, using this method to drive even one LED 7-segment array “burns” (occupies) many of the digital I/O pins on your Arduino. In later projects, I’ll show you how to use a dedicated 7-segment LED driver.
Projects from Make: Magazine
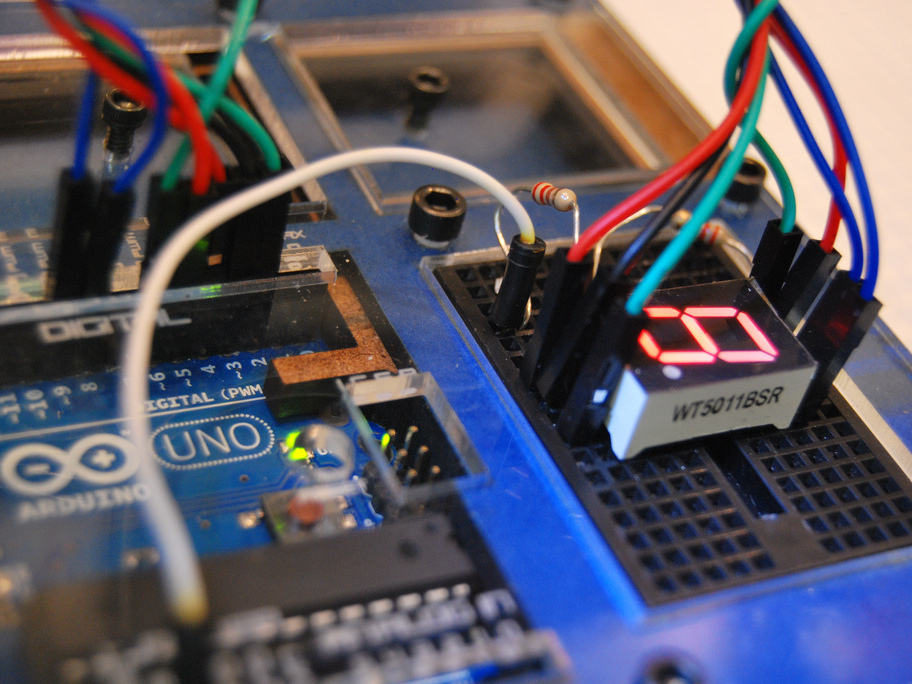
Drive a 7-Segment LED with an Arduino
Learn how to hook up and drive a 7-segment LED display using the Arduino. We will use the Arduino alone to display numbers and letters (a-f) on our LED display.
Gather up your gear:
Two 220-ohm resistors (close to that value is good enough)
11 male-to-male jumper wires
1 Breadboard
1 Arduino Development Board
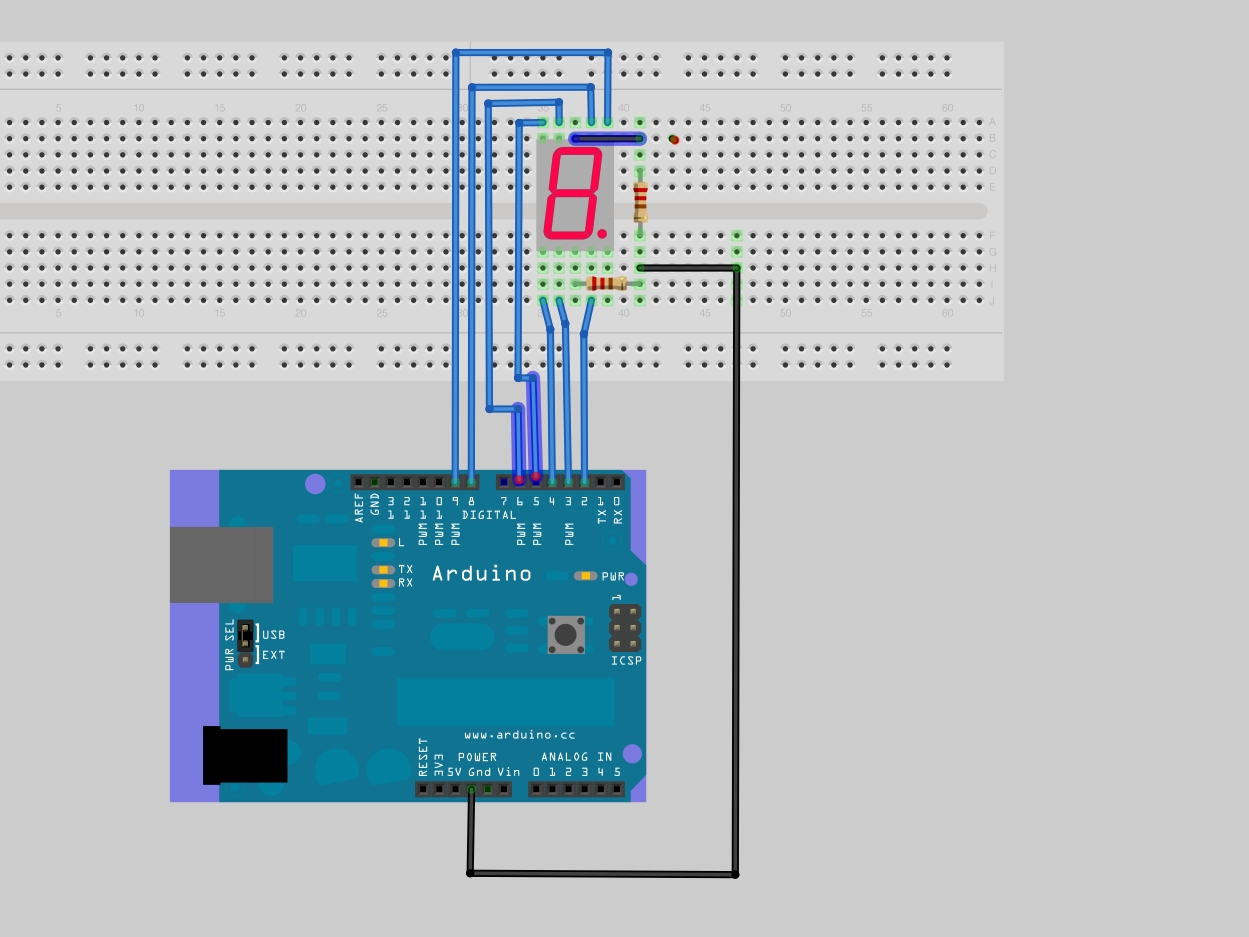
Wire up your segment. Use the Fritzing image as your guide.
A = 8, B = 9, C=2, D=3, E=4, F=5, G=6
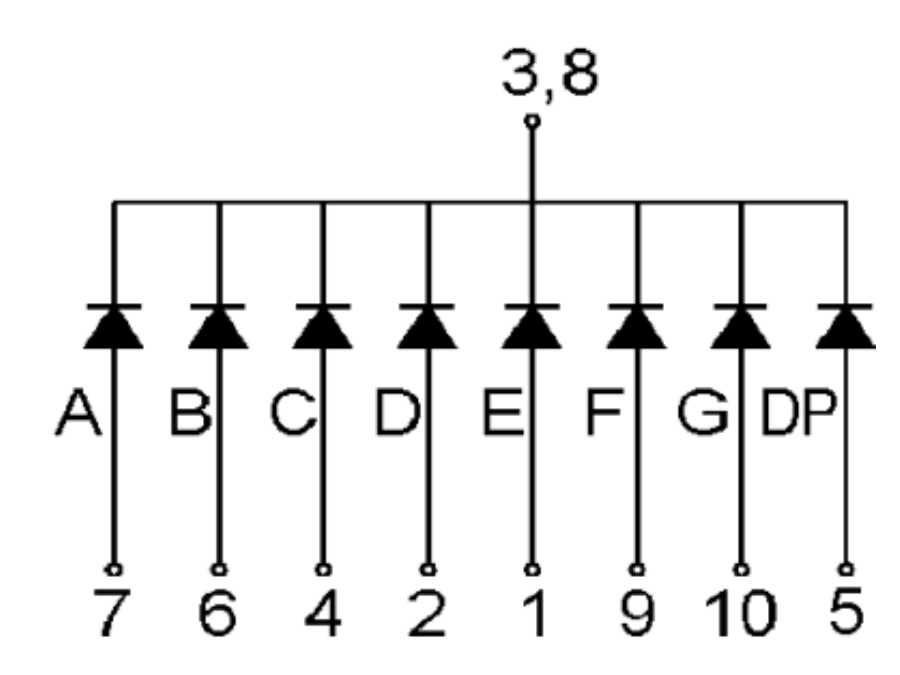
The two middle pins (Pin 3 and Pin 8) on top and bottom go to Ground (or to the first leg of the 220 ohm resistor). These are our current-limiting resistors.
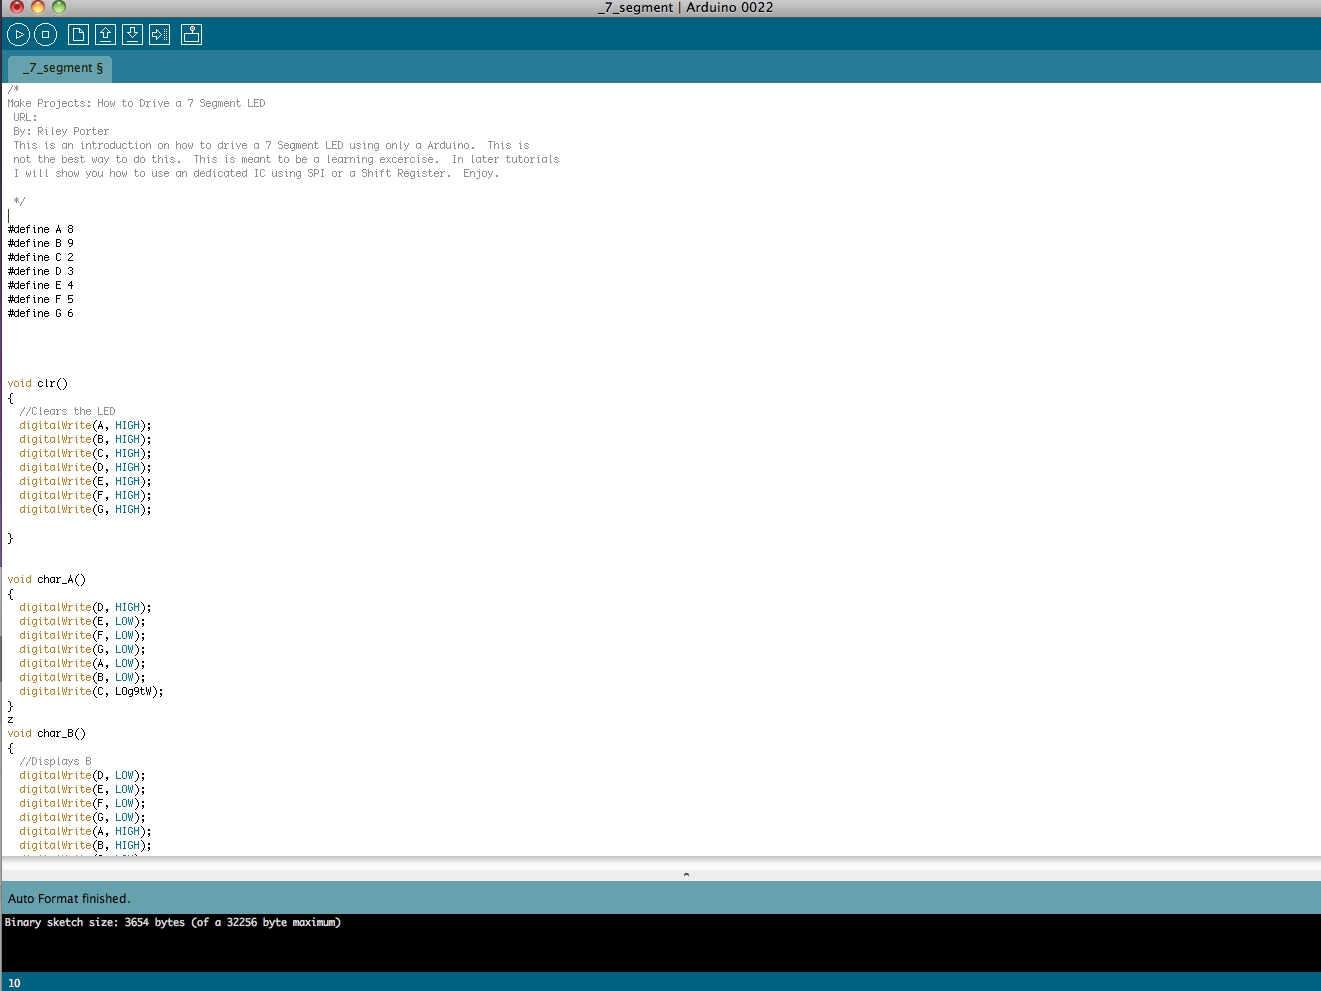
Load the code and you’re good to go:
Get the code from here: http://bit.ly/ia3lv7
If you copy and paste the code into your Arduino sketch, you will see that if everything is hooked up correctly, it will loop from A-F then 1 – 0. This is not the most interesting project. However it does lay the groundwork for displaying data on a 7-segment LED for your Arduino projects.
The approach we used to drive this one 7-segment LED took 8 of our digital l/O lines. This is quite a few lines to “burn” for this functionality. However in upcoming tutorials, I will post some more elegant ways to drive 7-segment displays than using 8 digital I/O lines.
In the code there are 15 functions that will display the letter or number represented by the function name on the LED display. For example, if you were to run seven(), this would display the number 7 on the display. If you write a Pin LOW, you are in fact turning on that LED. If you write a pin HIGH it is now turned off.
That’s it! All you have to do now is to program it to display something useful for your project.


