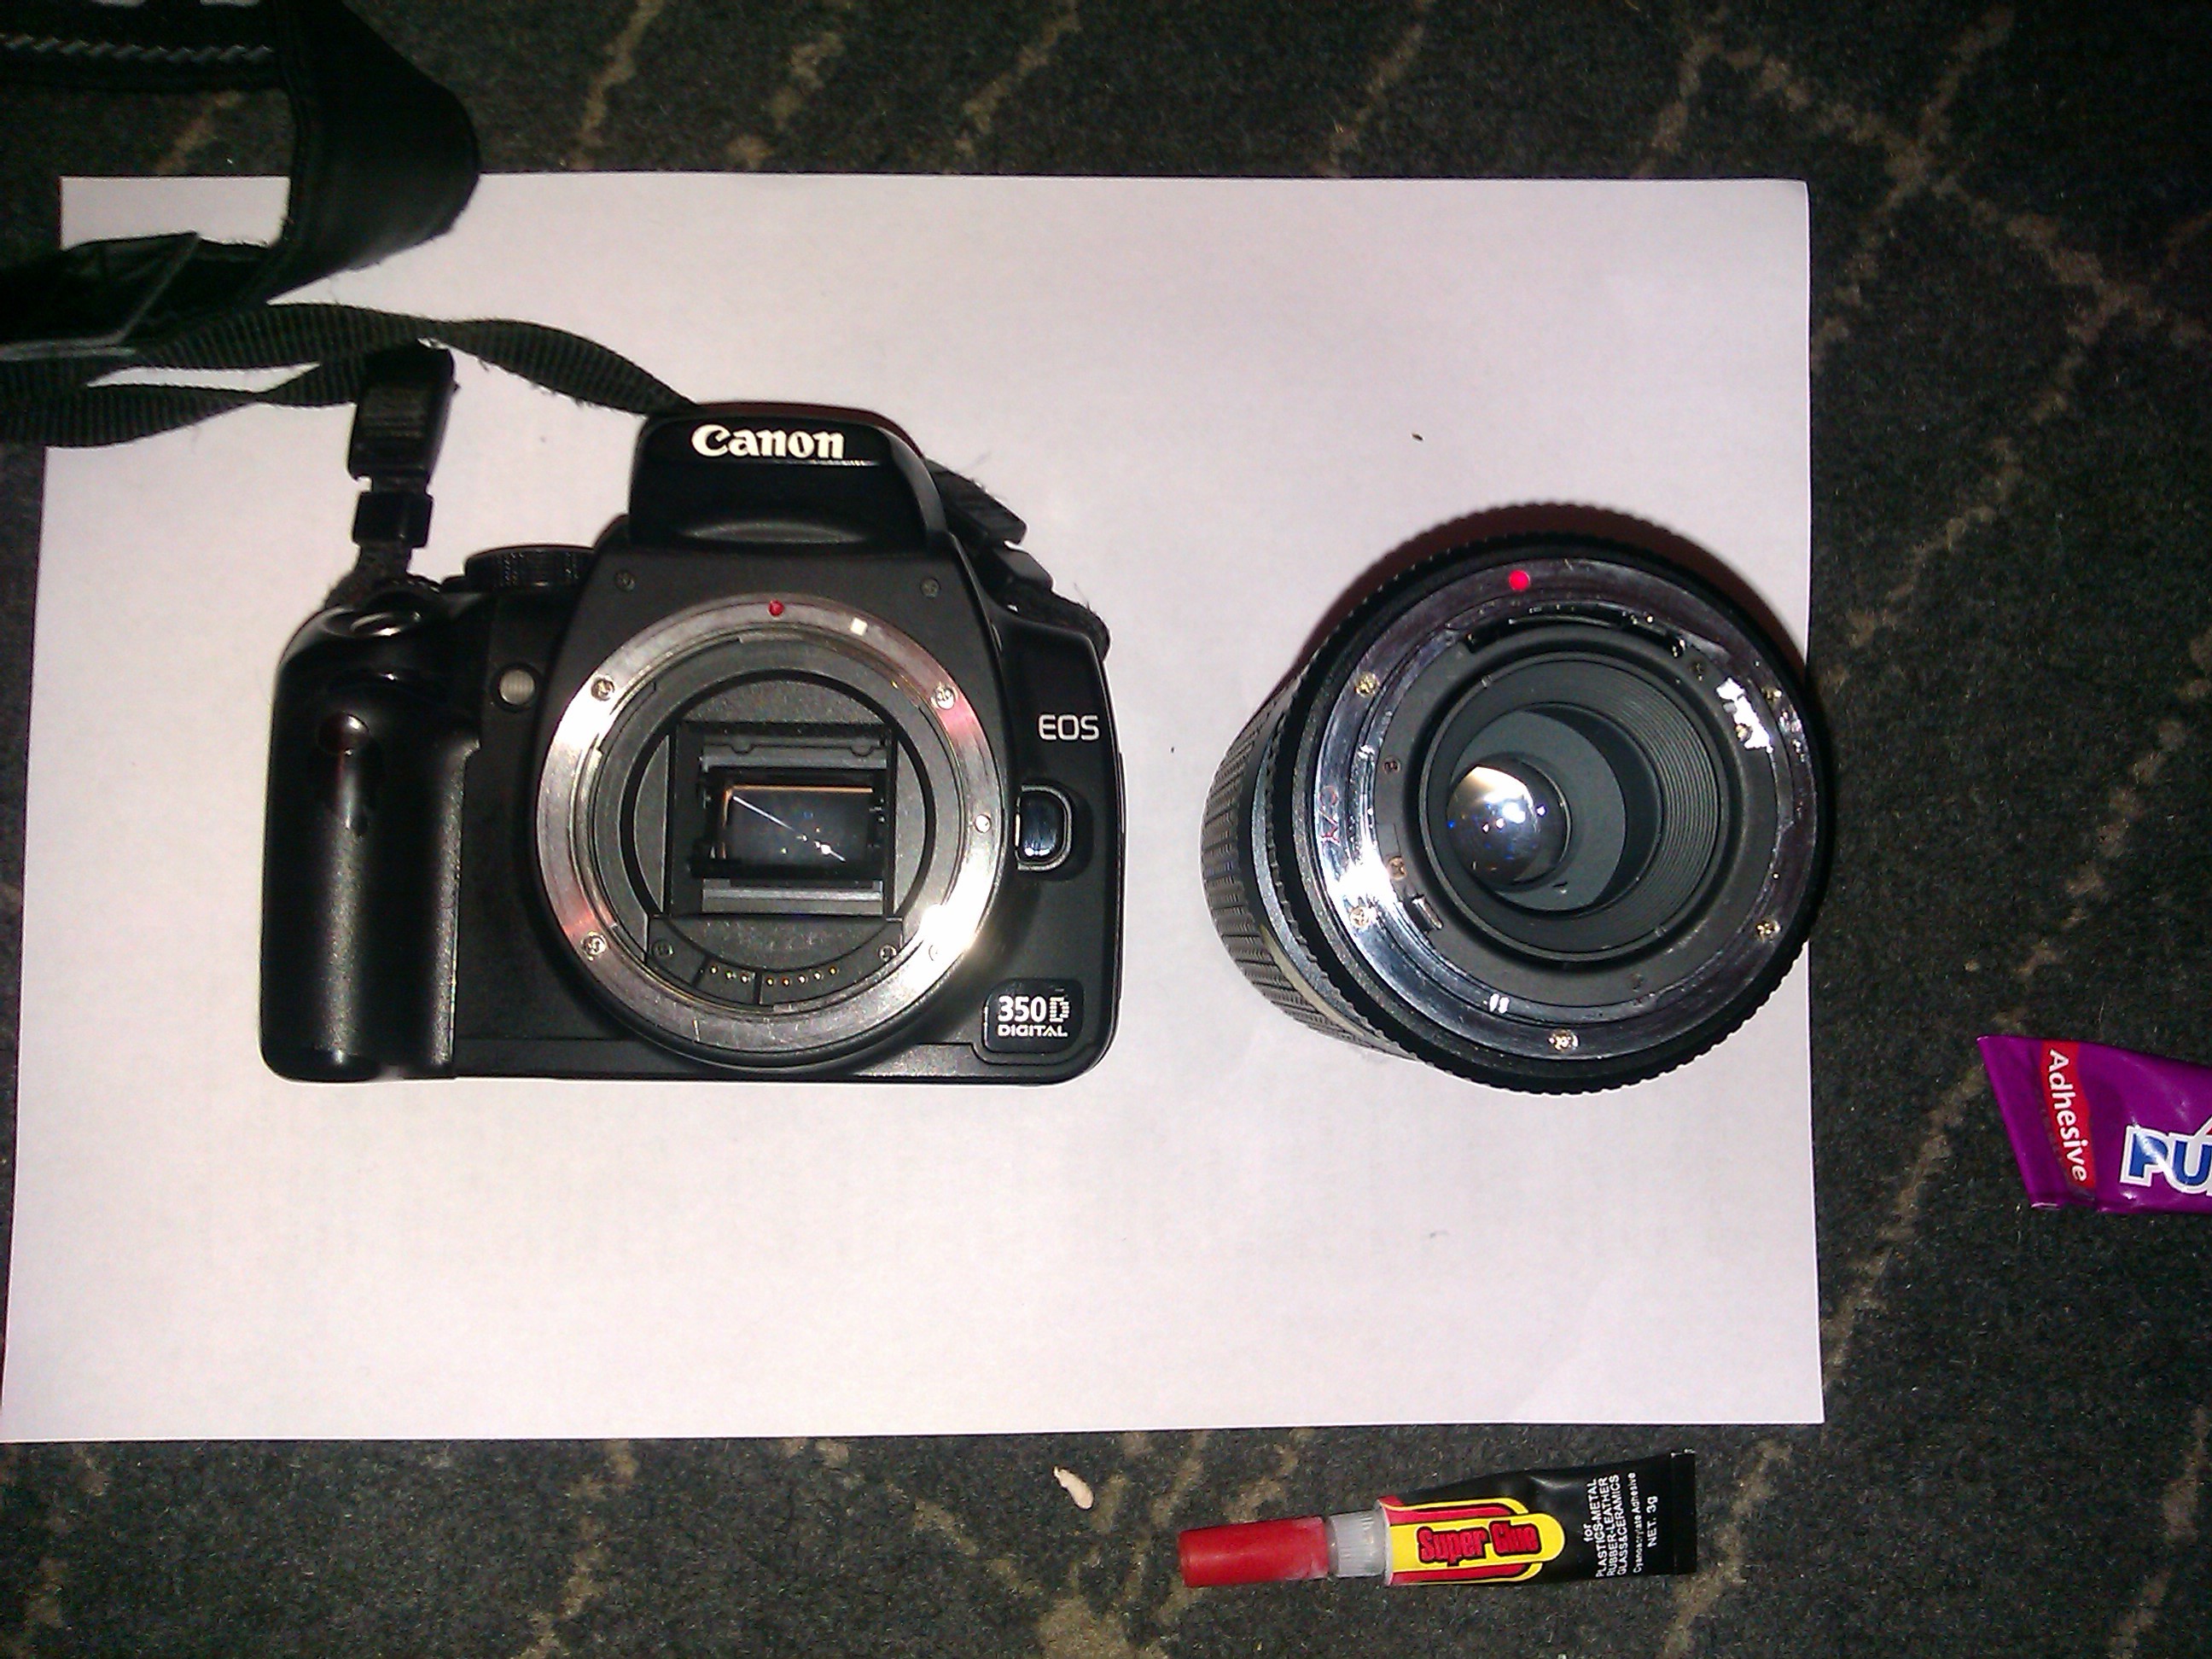
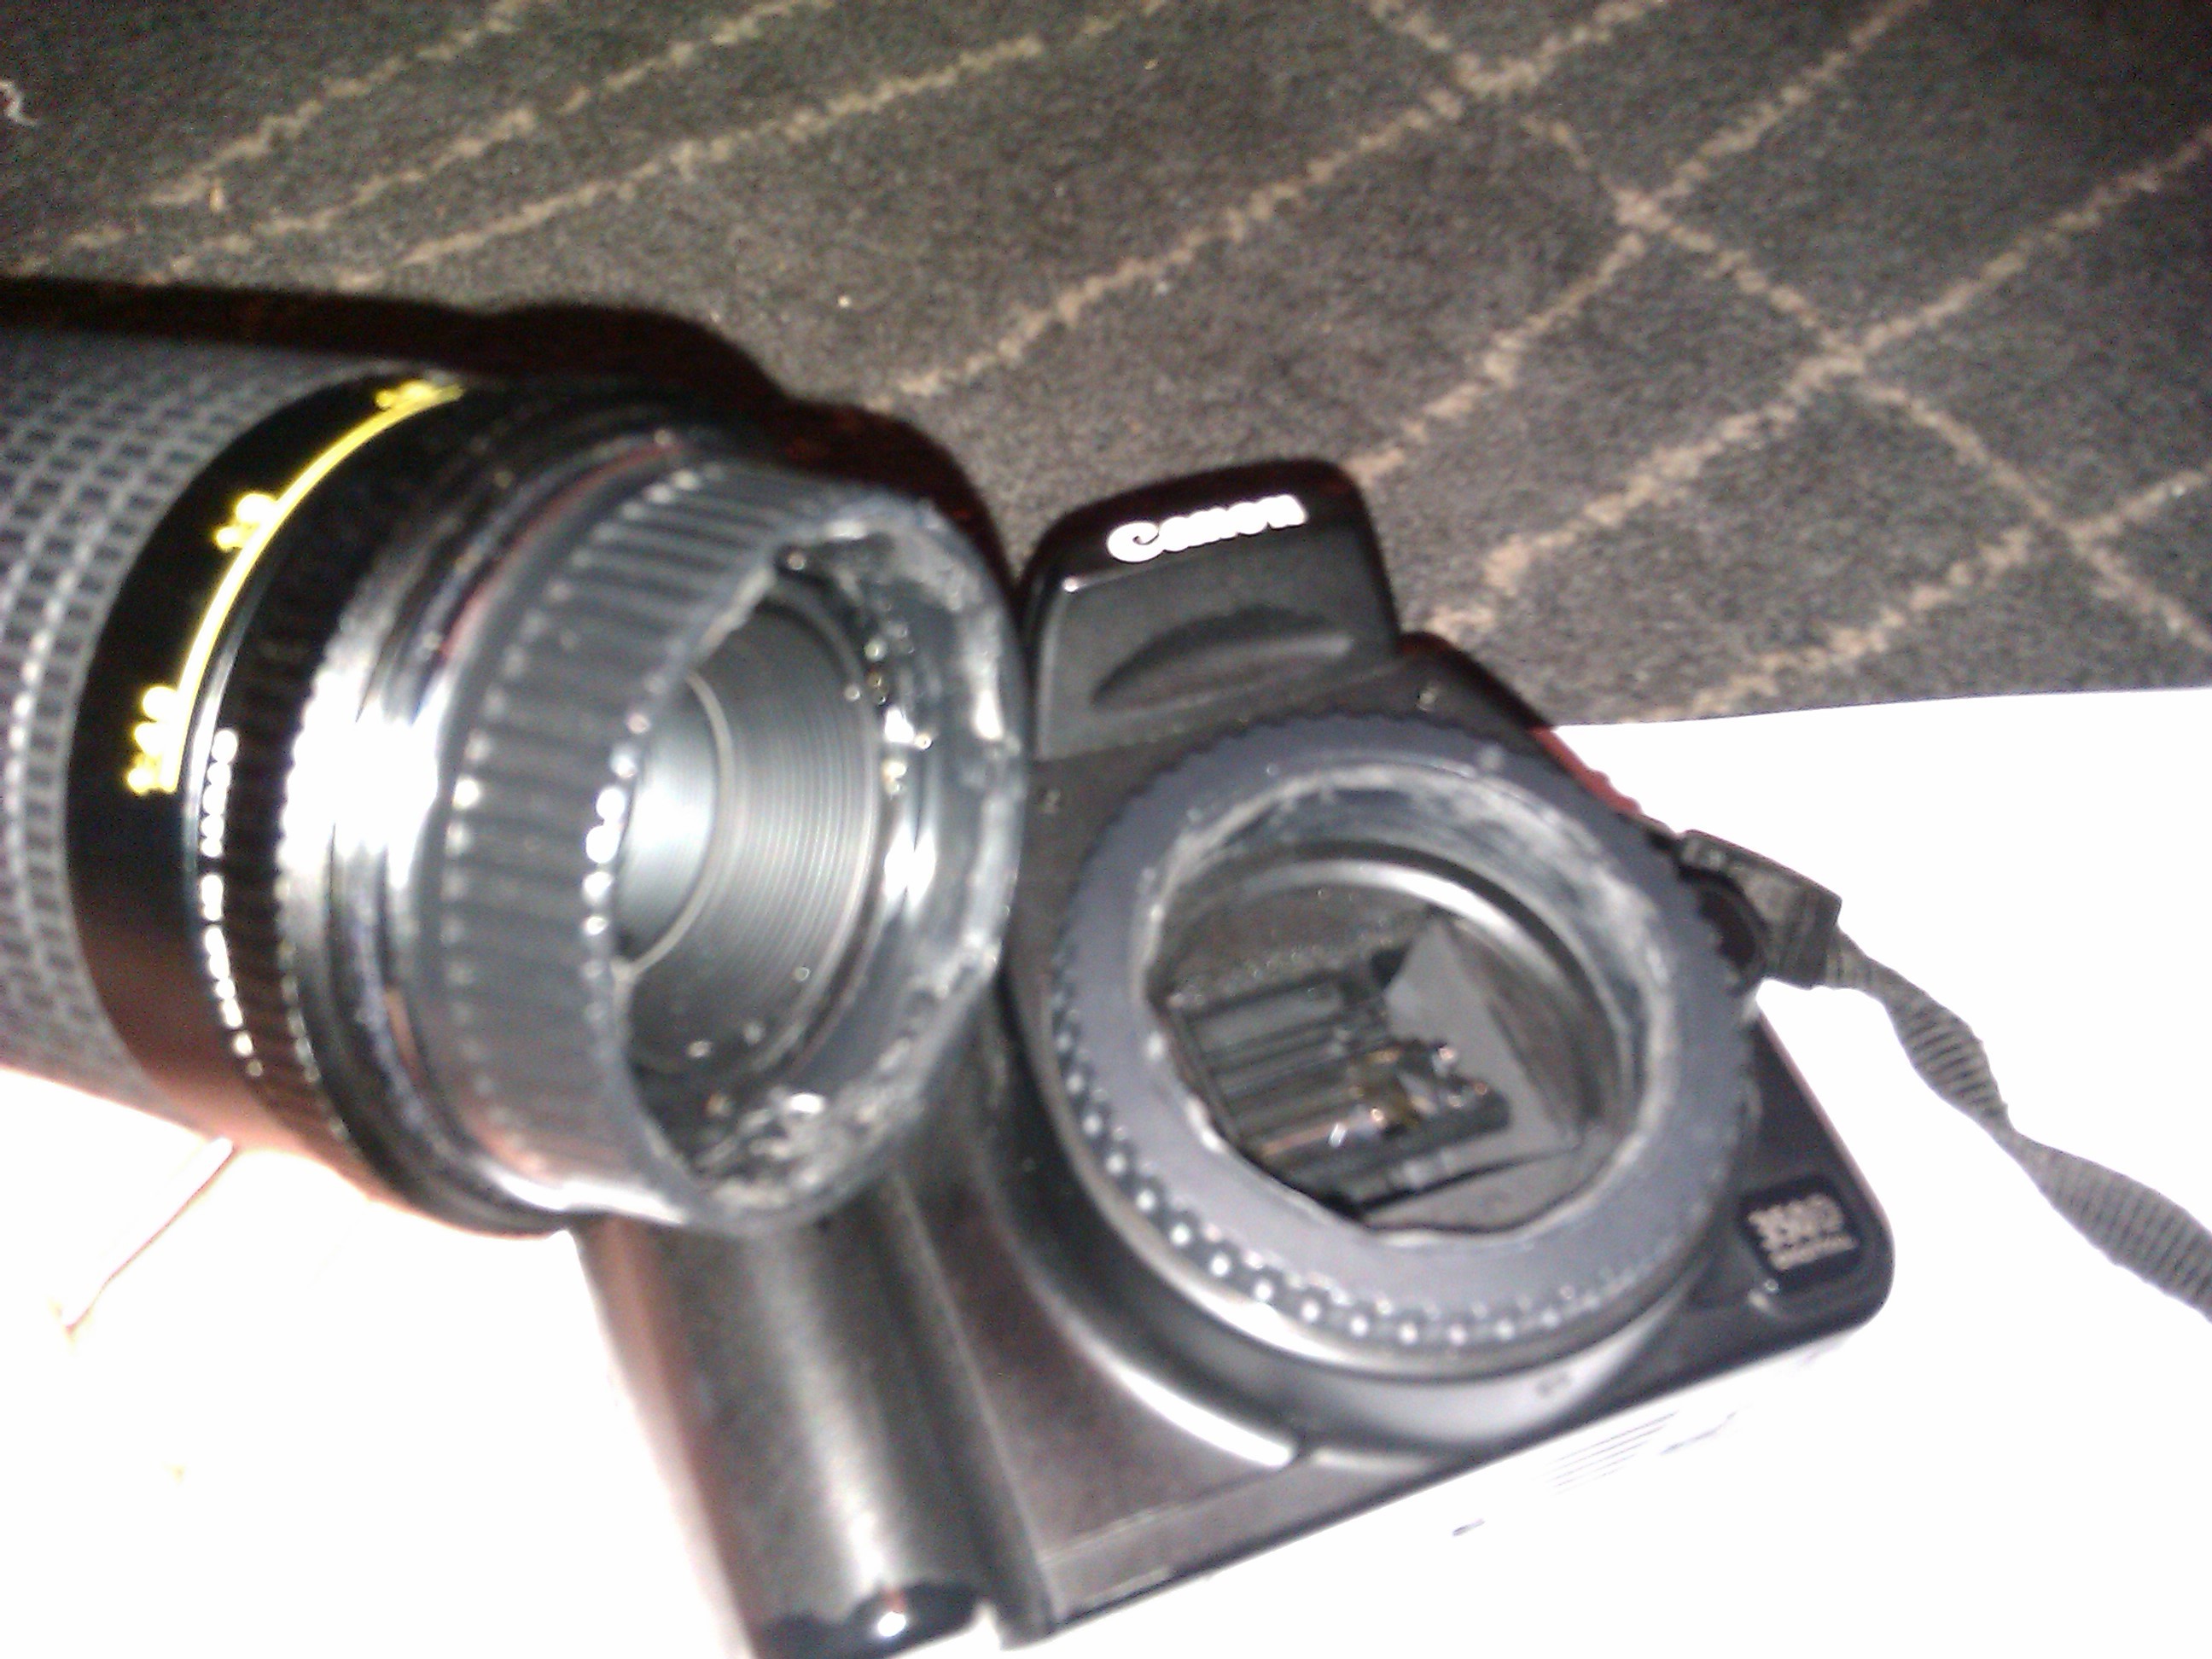
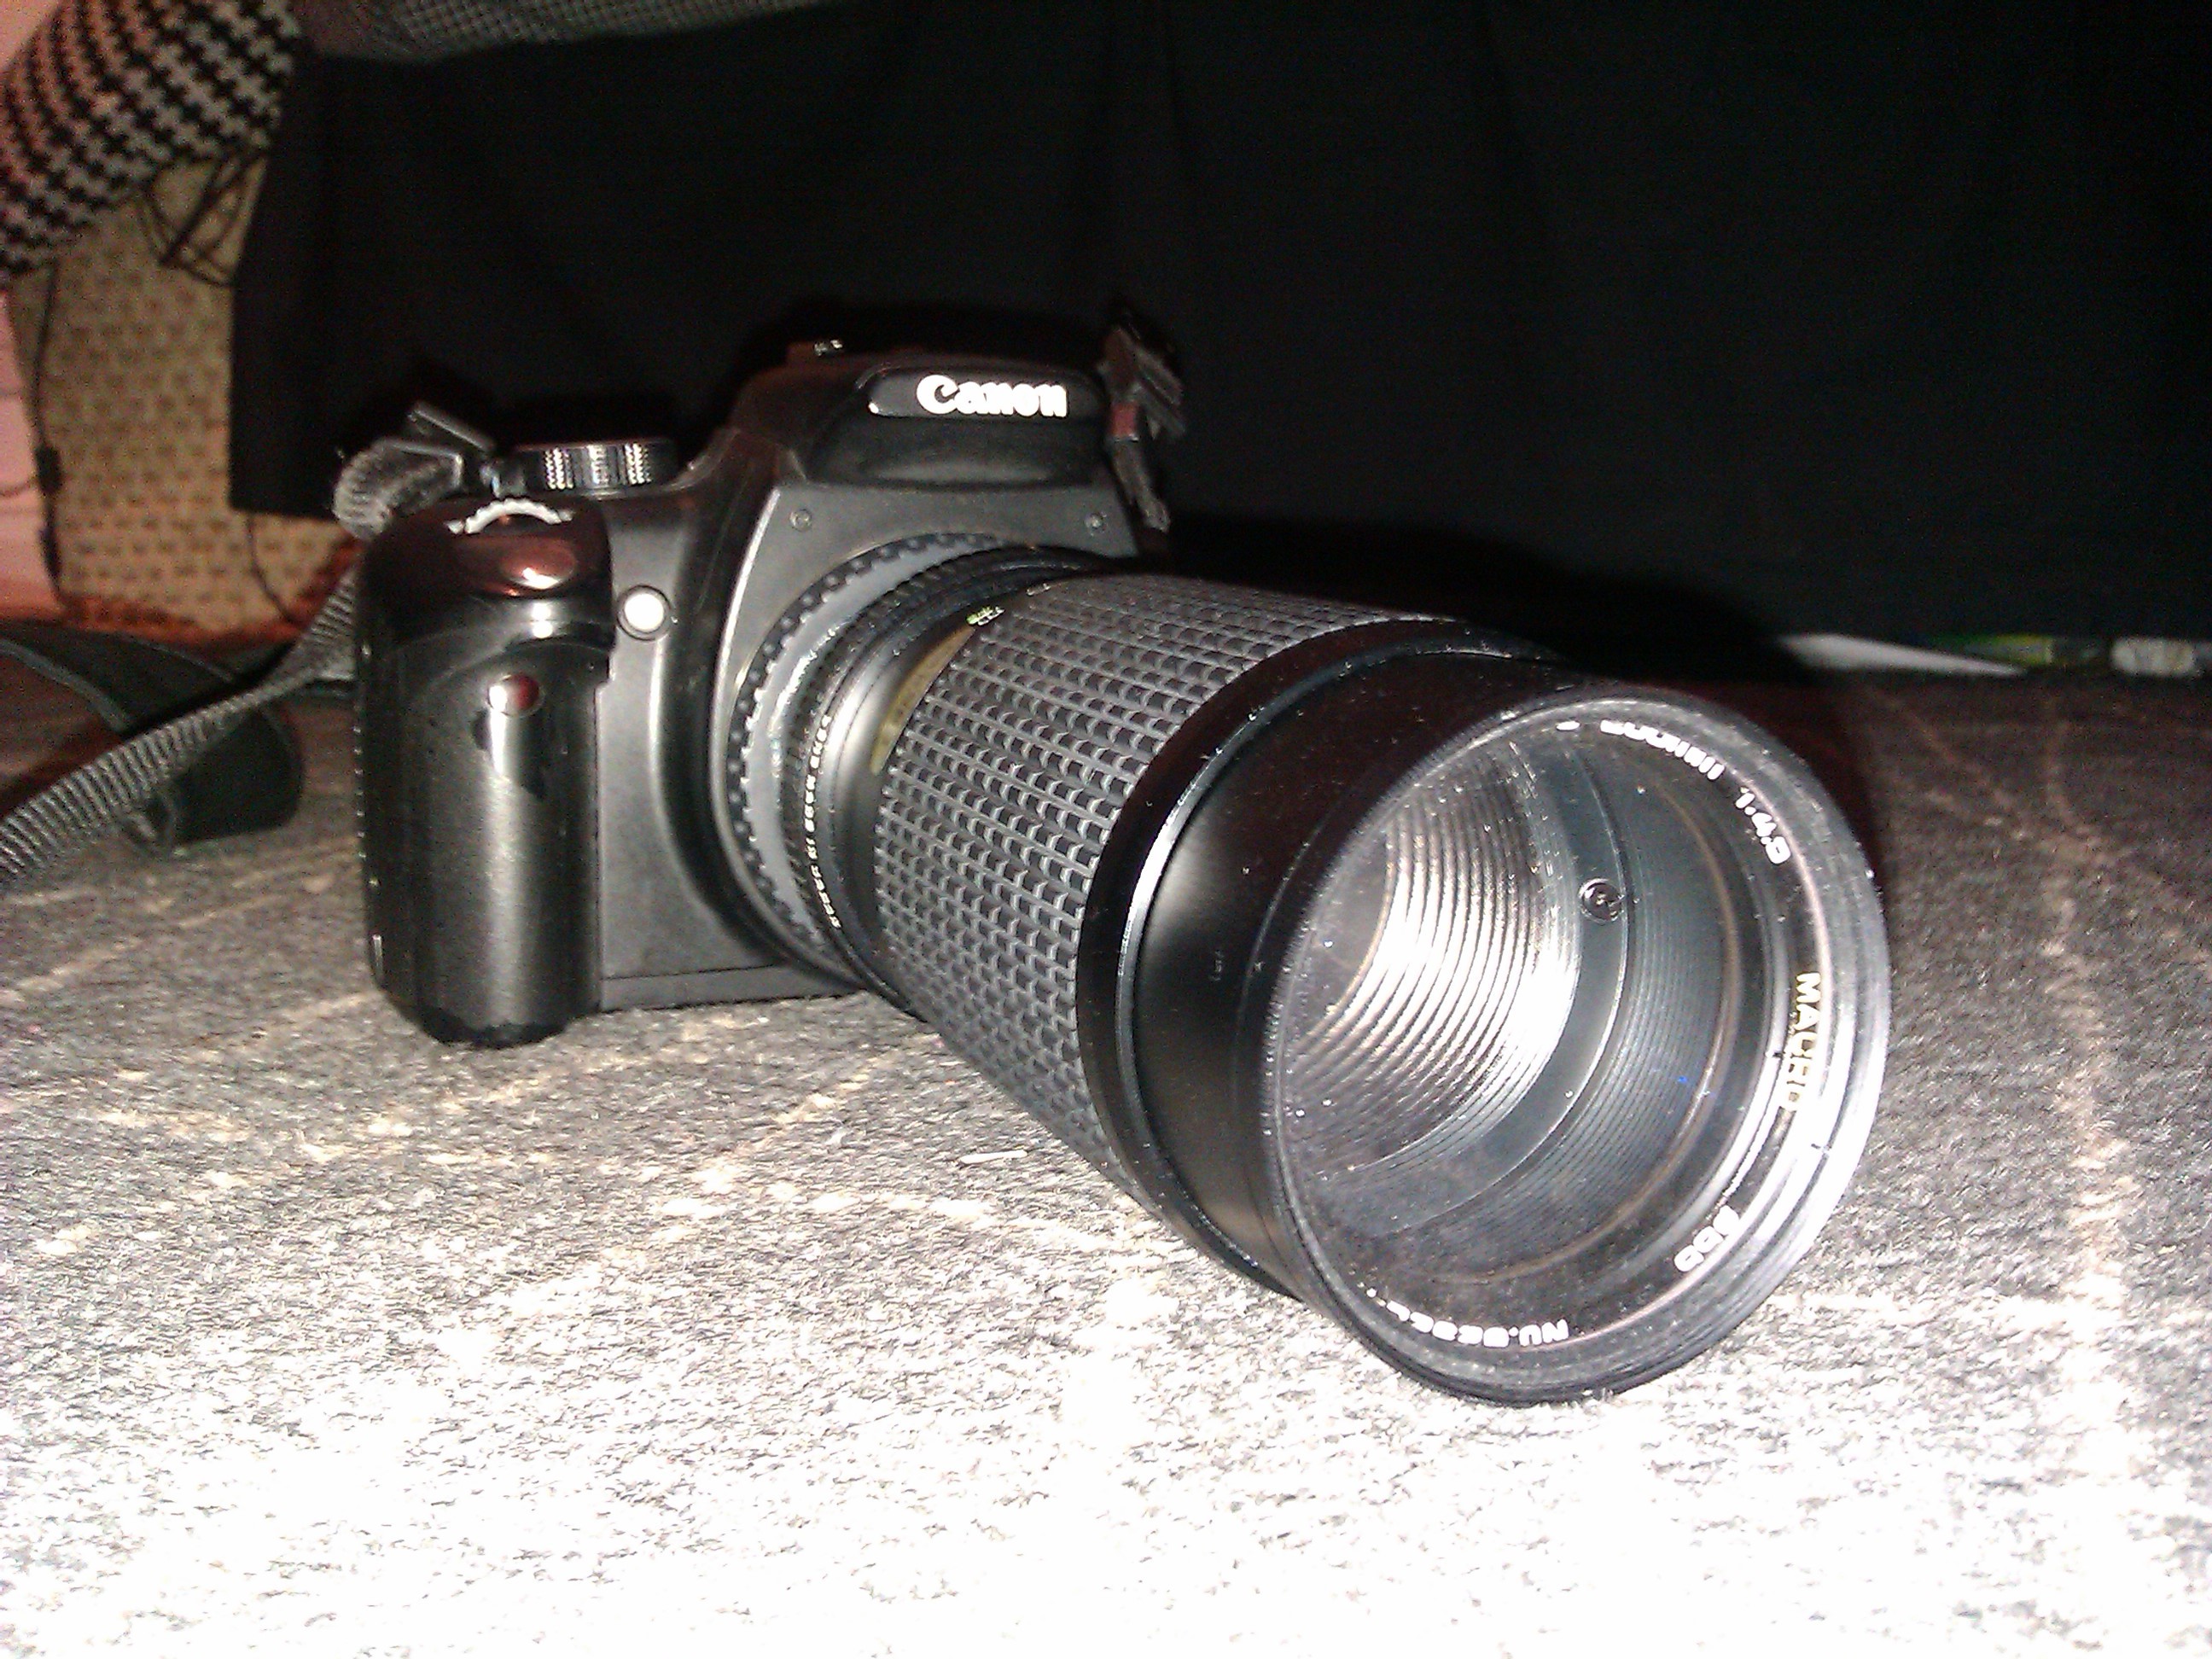
After buying an old lens from a charity shop I realised that there was no way it was going to fit onto my Canon DSLR. After a bit of thinking I decided to make a lens converter with a few old lens caps.

What will the next generation of Make: look like? We’re inviting you to shape the future by investing in Make:. By becoming an investor, you help decide what’s next. The future of Make: is in your hands. Learn More.

Project Steps

Right, the first step is getting your caps.

You’ll need the DSLR’s body cap and the lens’s rear cap (the one which is not used when the camera is connected).

What you want to do is to place the caps on top of each other and hopefully they will fit. I was using a Canon body cap and a “K mount” lens cap and these fitted perfectly together.

Next, head to the shop and start drilling.

Before you start drilling make sure the lens cap fits nicely centered on the body cap and mark out the area you want to drill. Luckily the lens cap fit PERFECTLY inside the ring you see on the first picture so I didn’t need to do any marking, but take into account that you might need to do this.

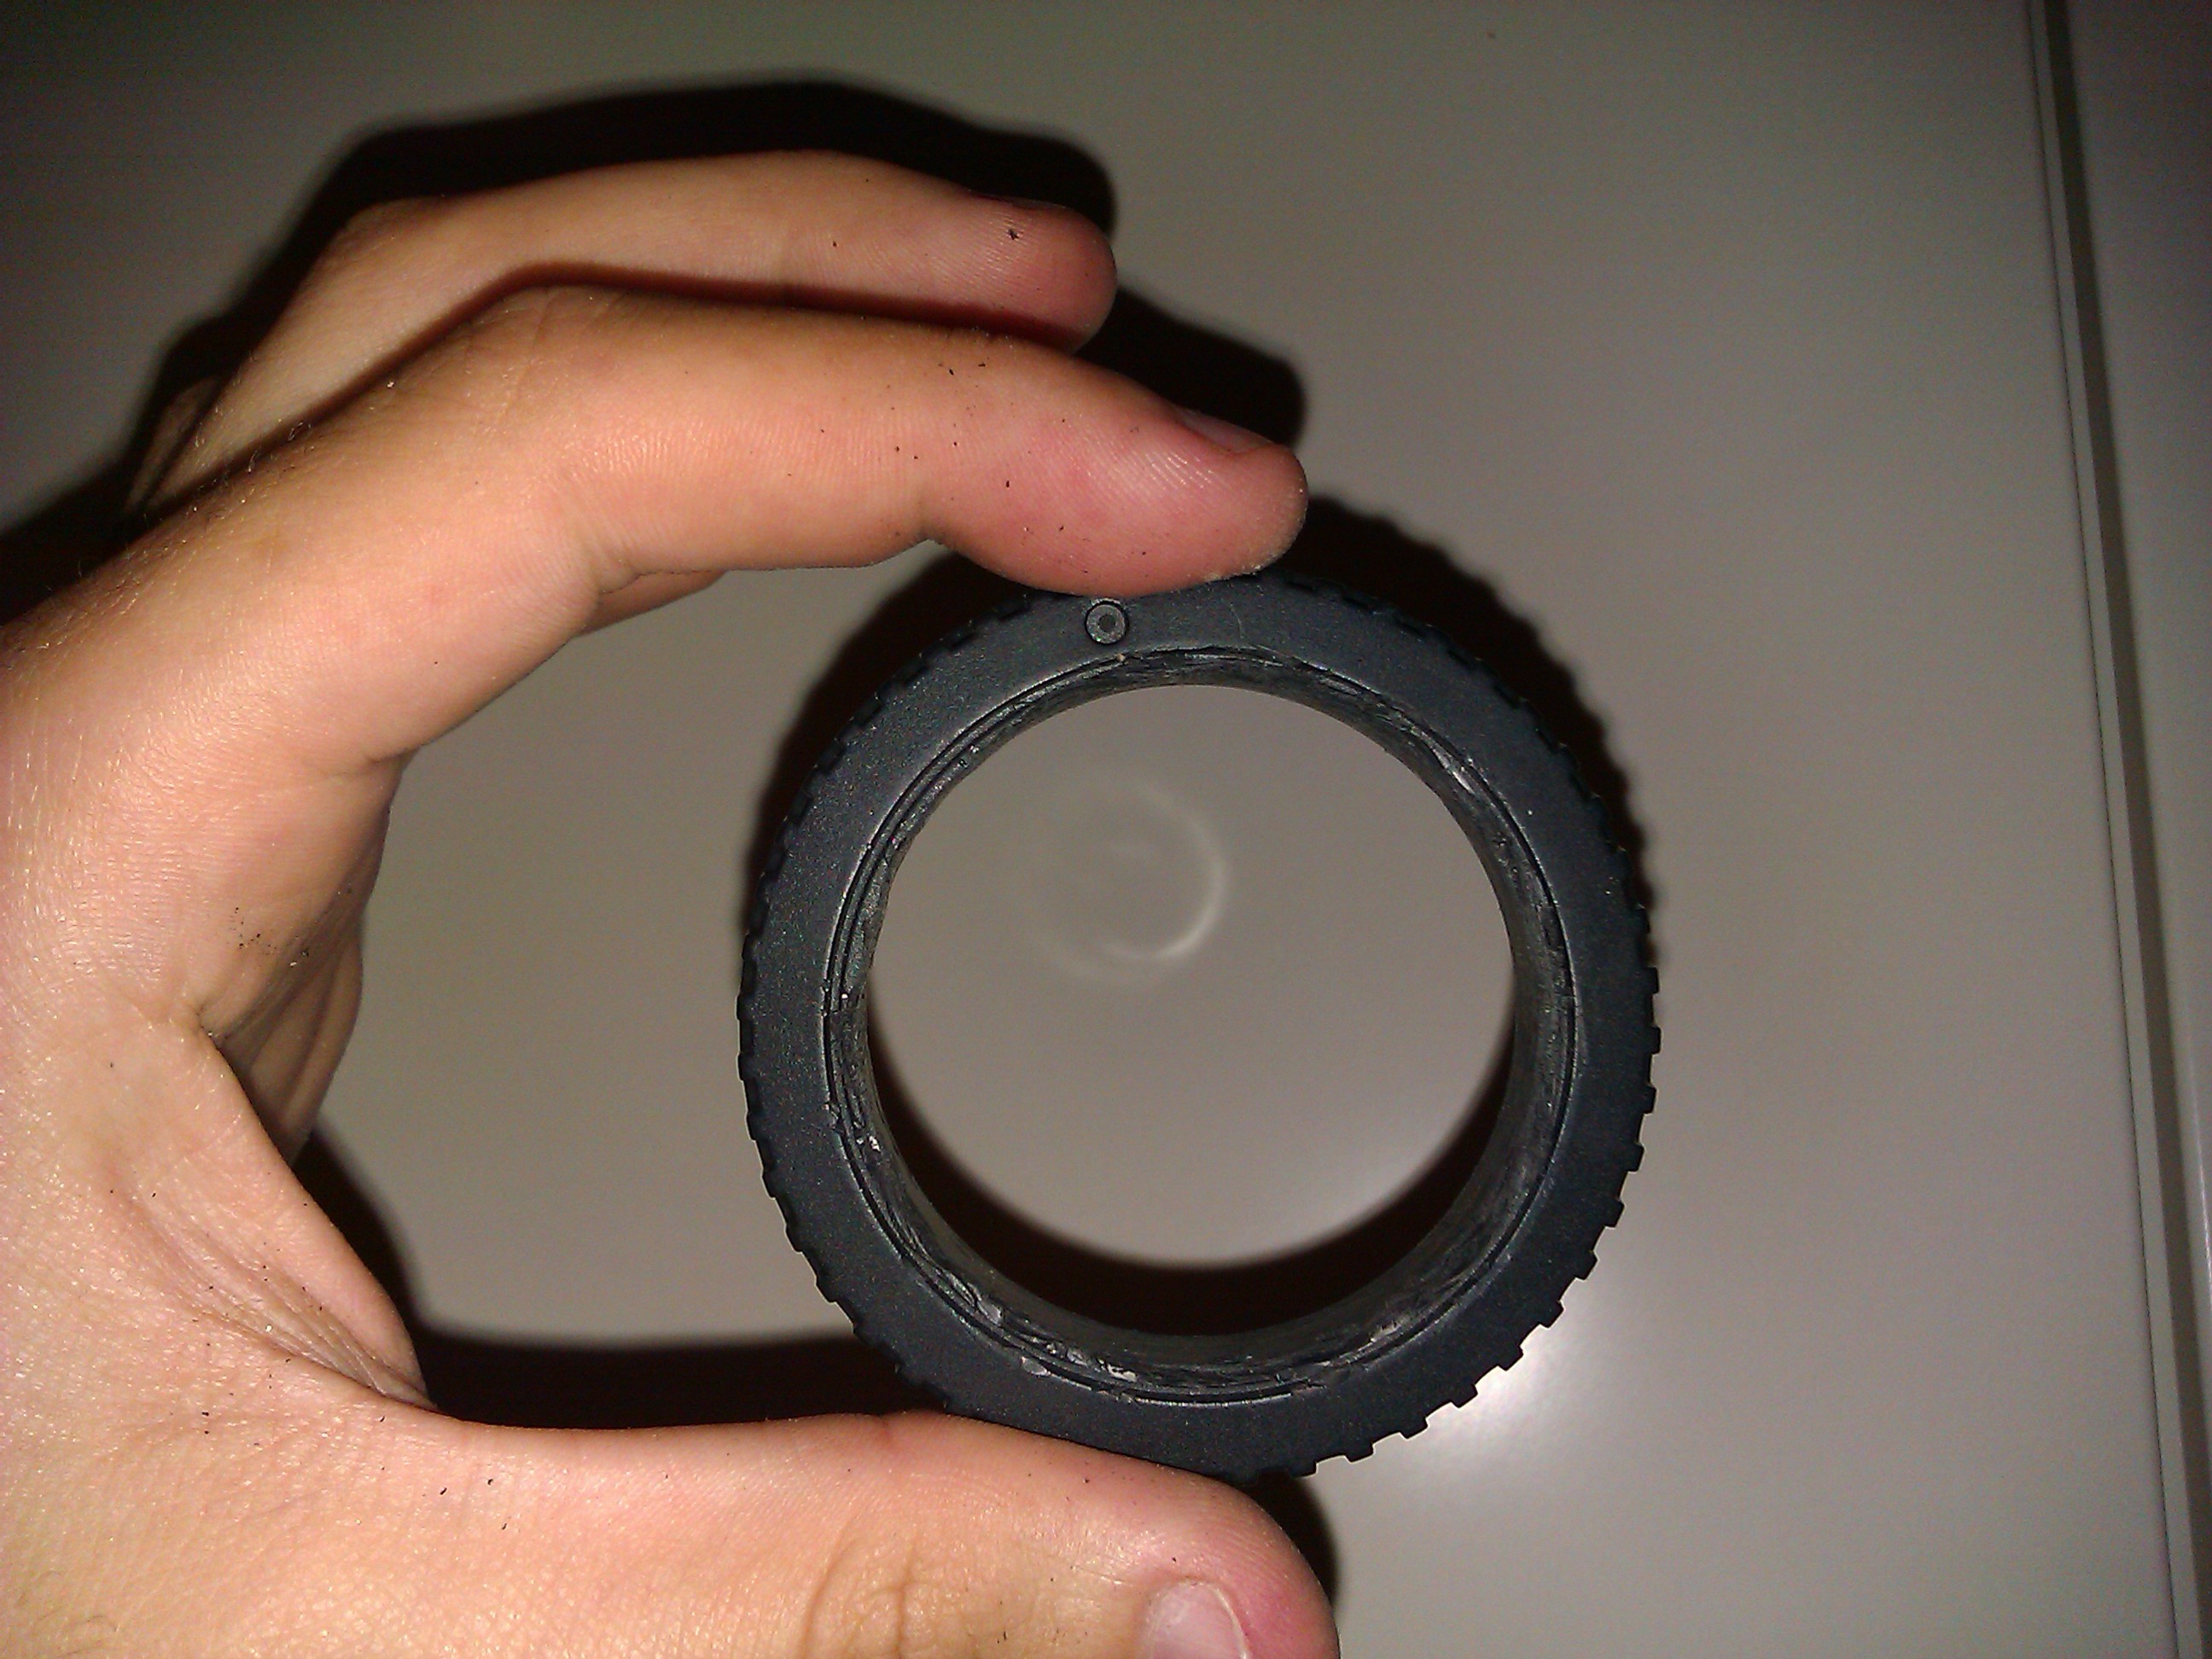
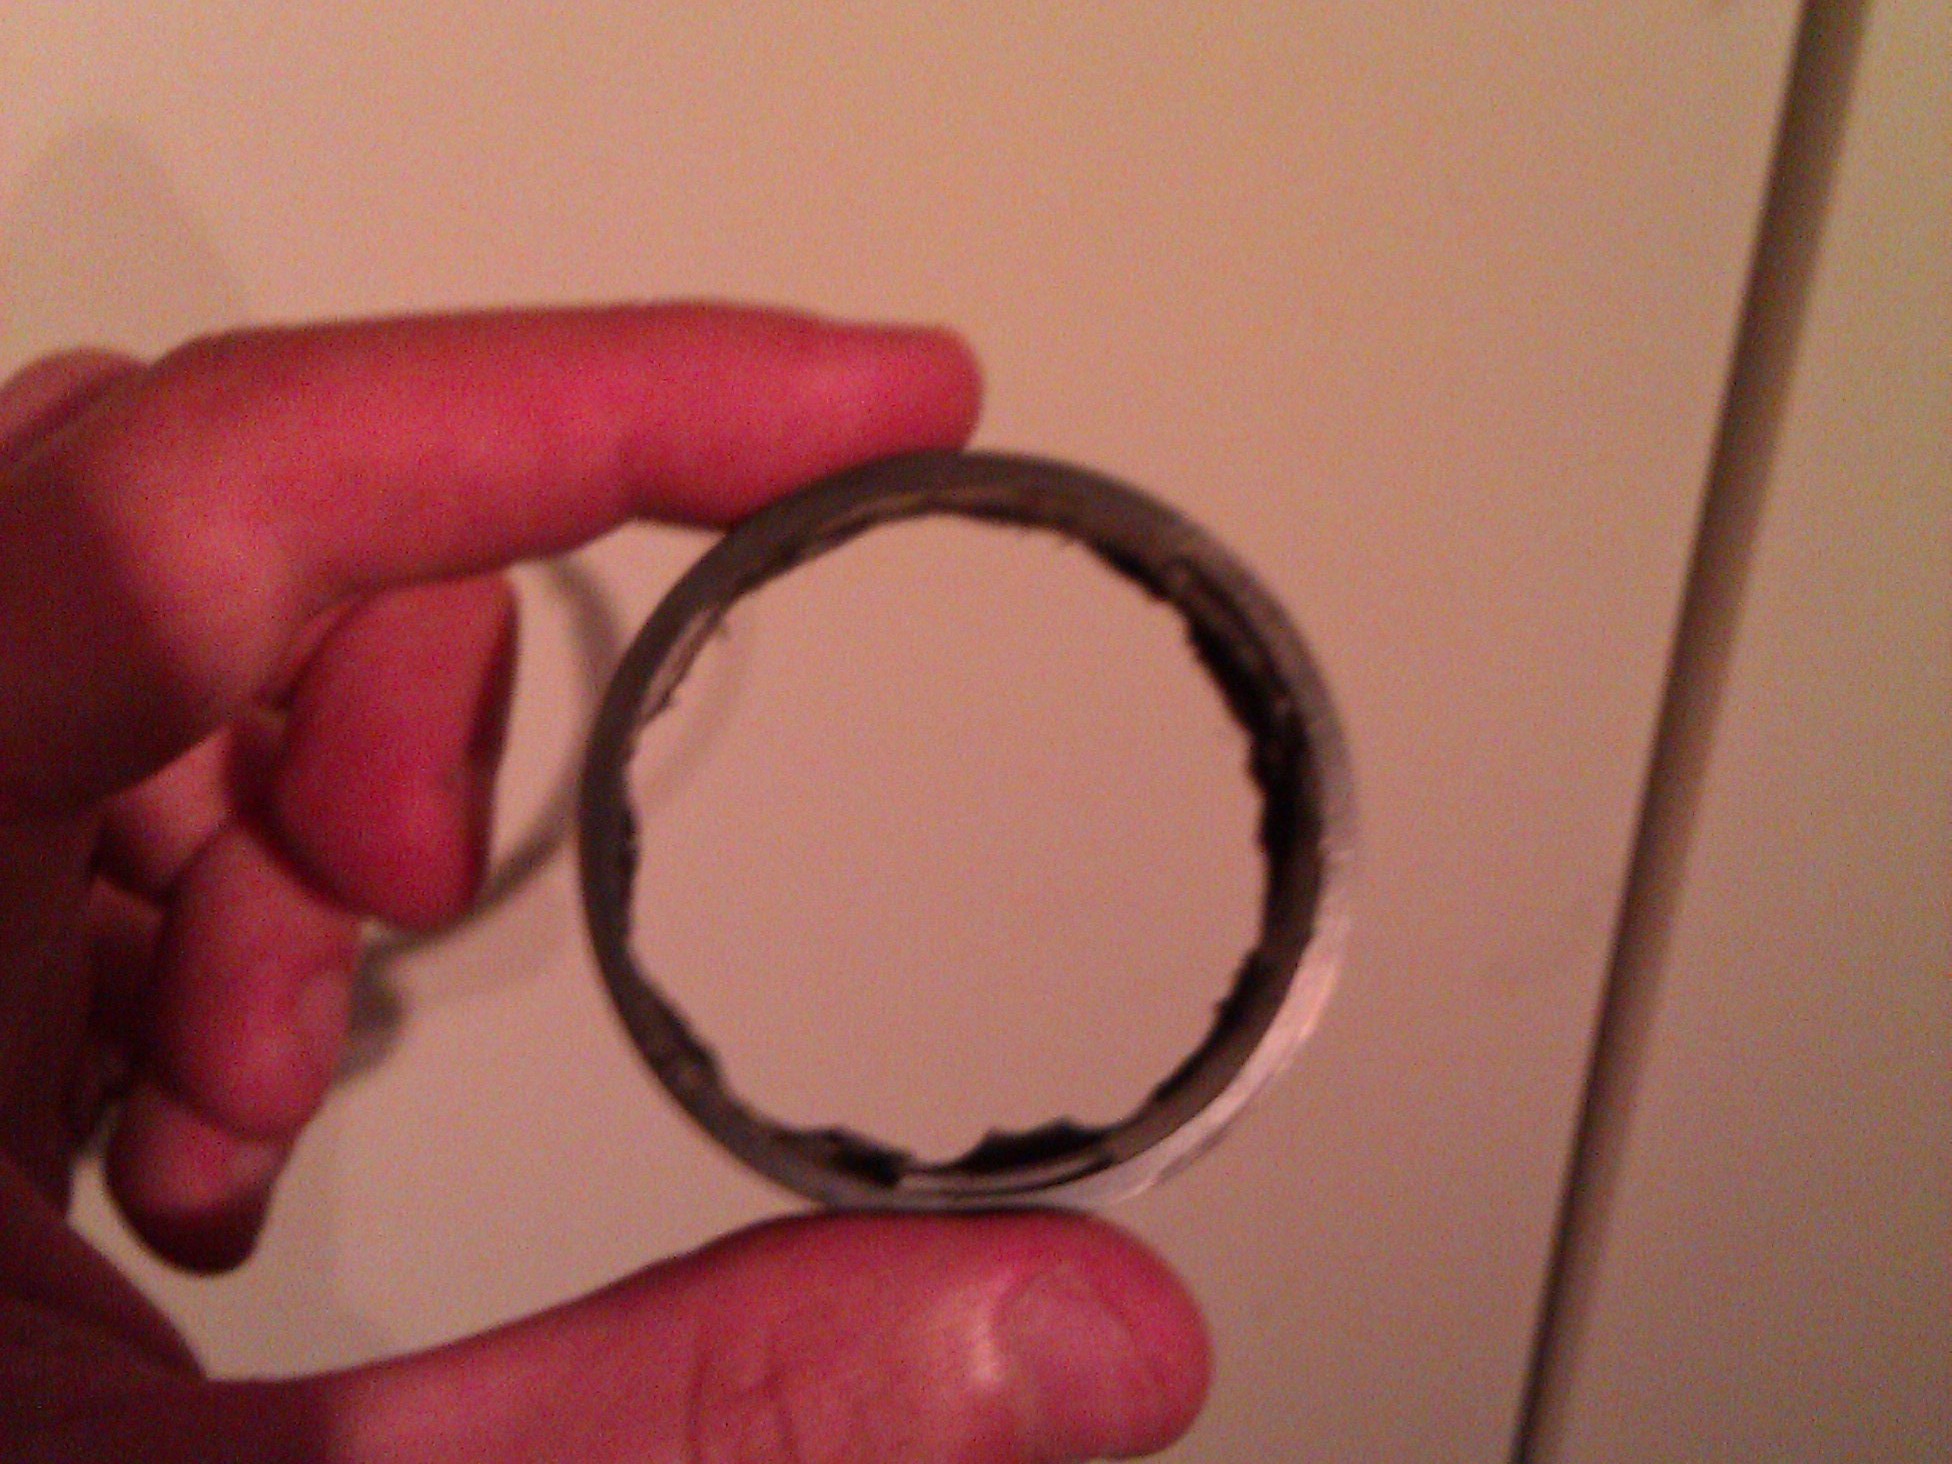
Now, the best way I found to drill this was taking a large drill bit and drilling holes close to the perimeter of the body cap in a circle, then using pliers and sandpaper to finish the job. Do this for both of the caps and you will have two disks ready for gluing.

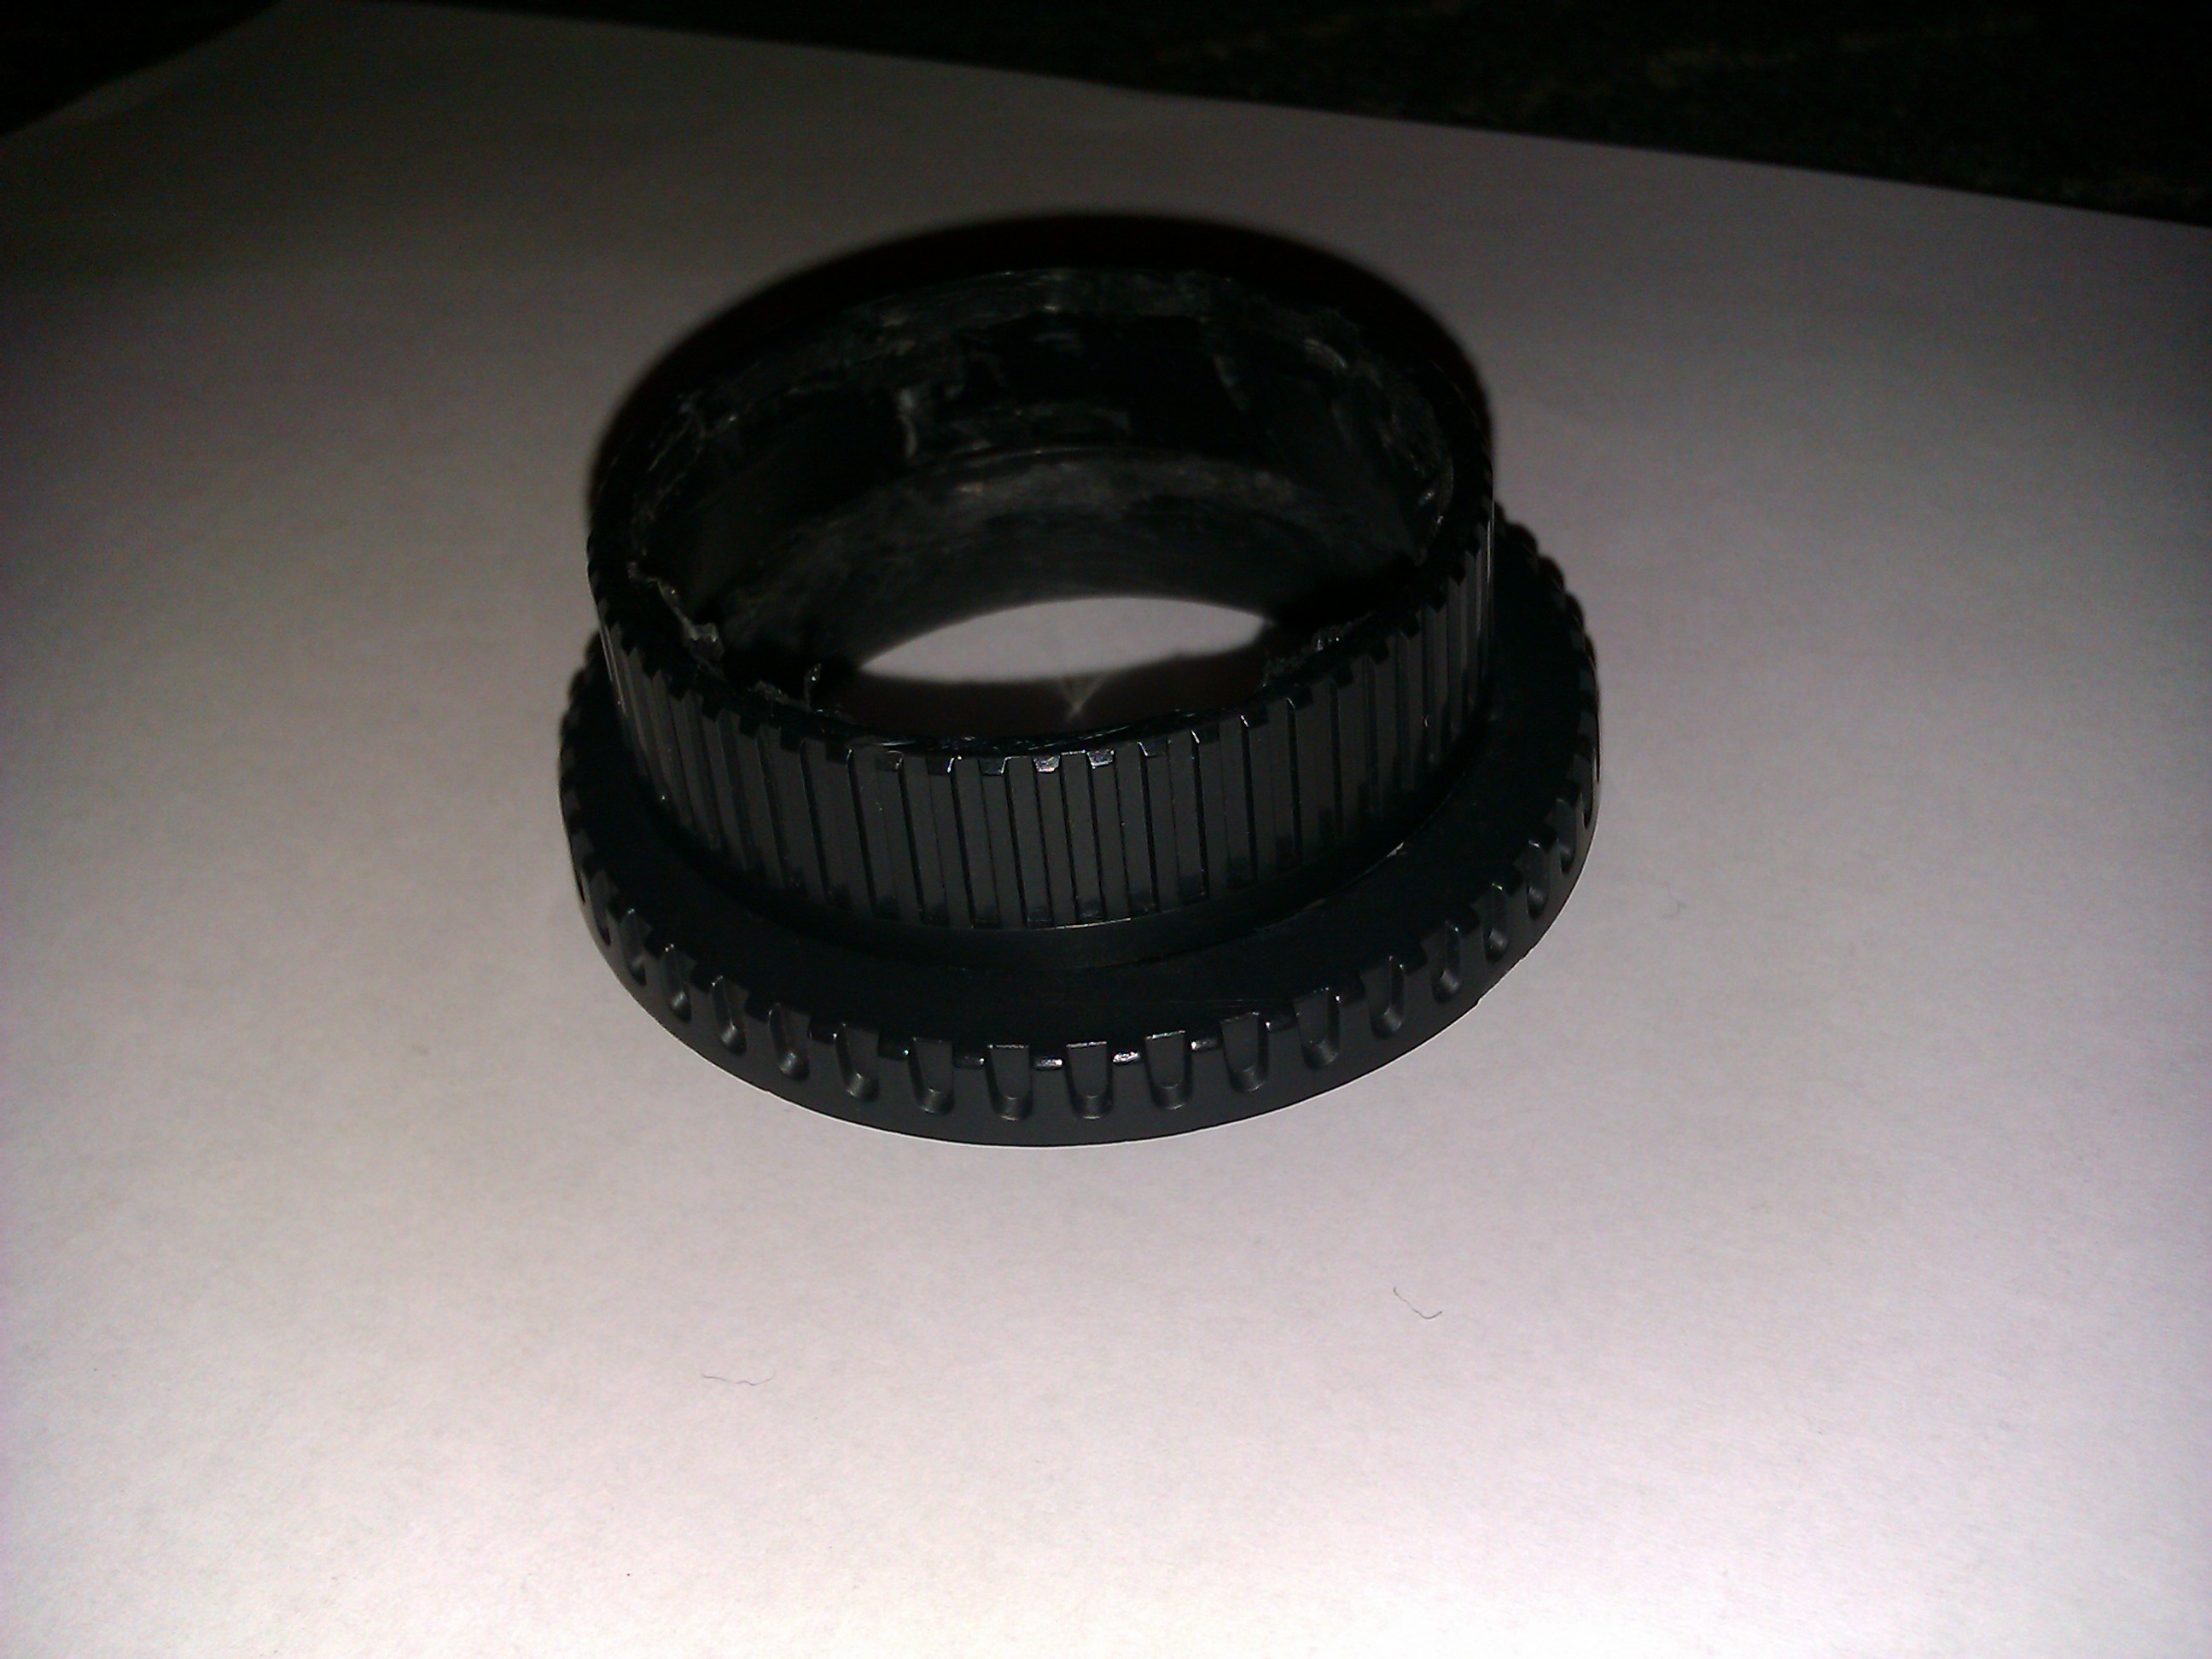
Your two caps should hopefully sit on top of each other nicely. If they don’t, then sorry, you went a little wrong. When gluing these caps together you should use a strong 2-part epoxy. I only had superglue at the time which isn’t as strong, but it’s held out quite well so far.

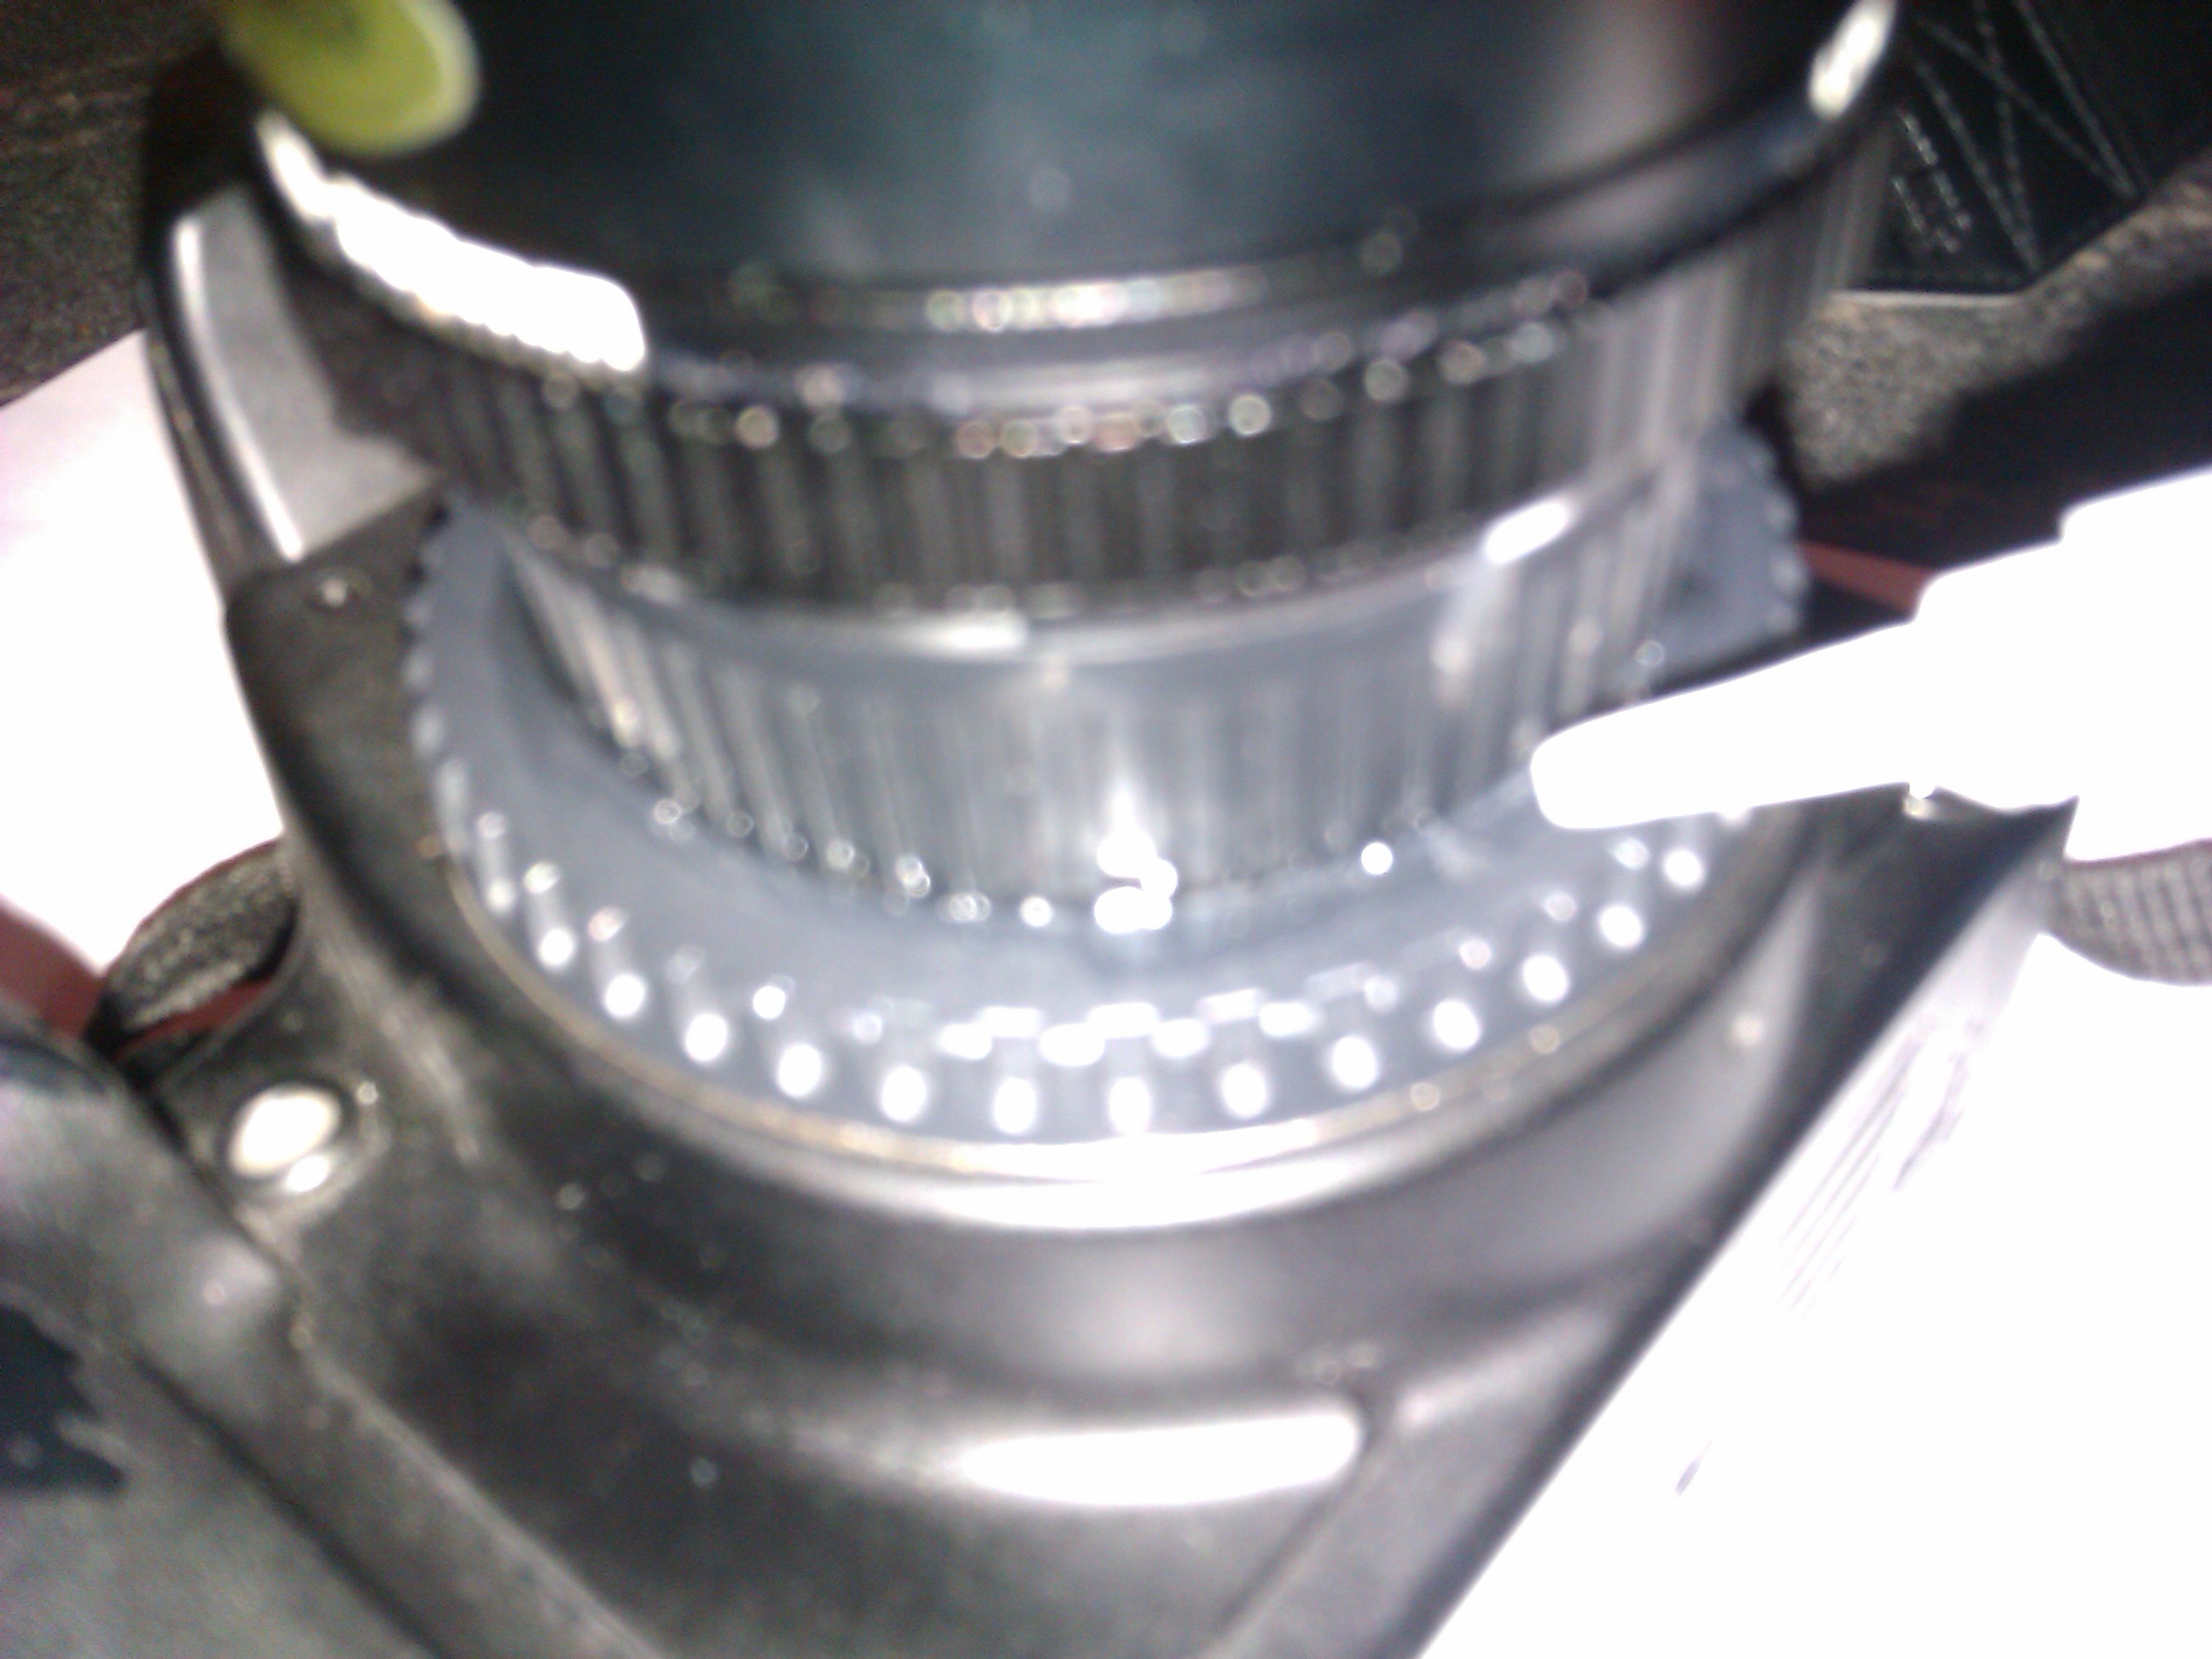
MAKE SURE THAT THE CAPS ARE THE RIGHT WAY ‘ROUND! You can test this by keeping them in position and screwing the camera and lens on as shown in the picture.

When you’re ready you can get gluing. The picture looks a little risky with superglue near the camera, but I was quite careful and used the weight of the lens to my advantage. As soon as the glue started to set I instantly took the lens and converter off and left it to dry for an hour or so.
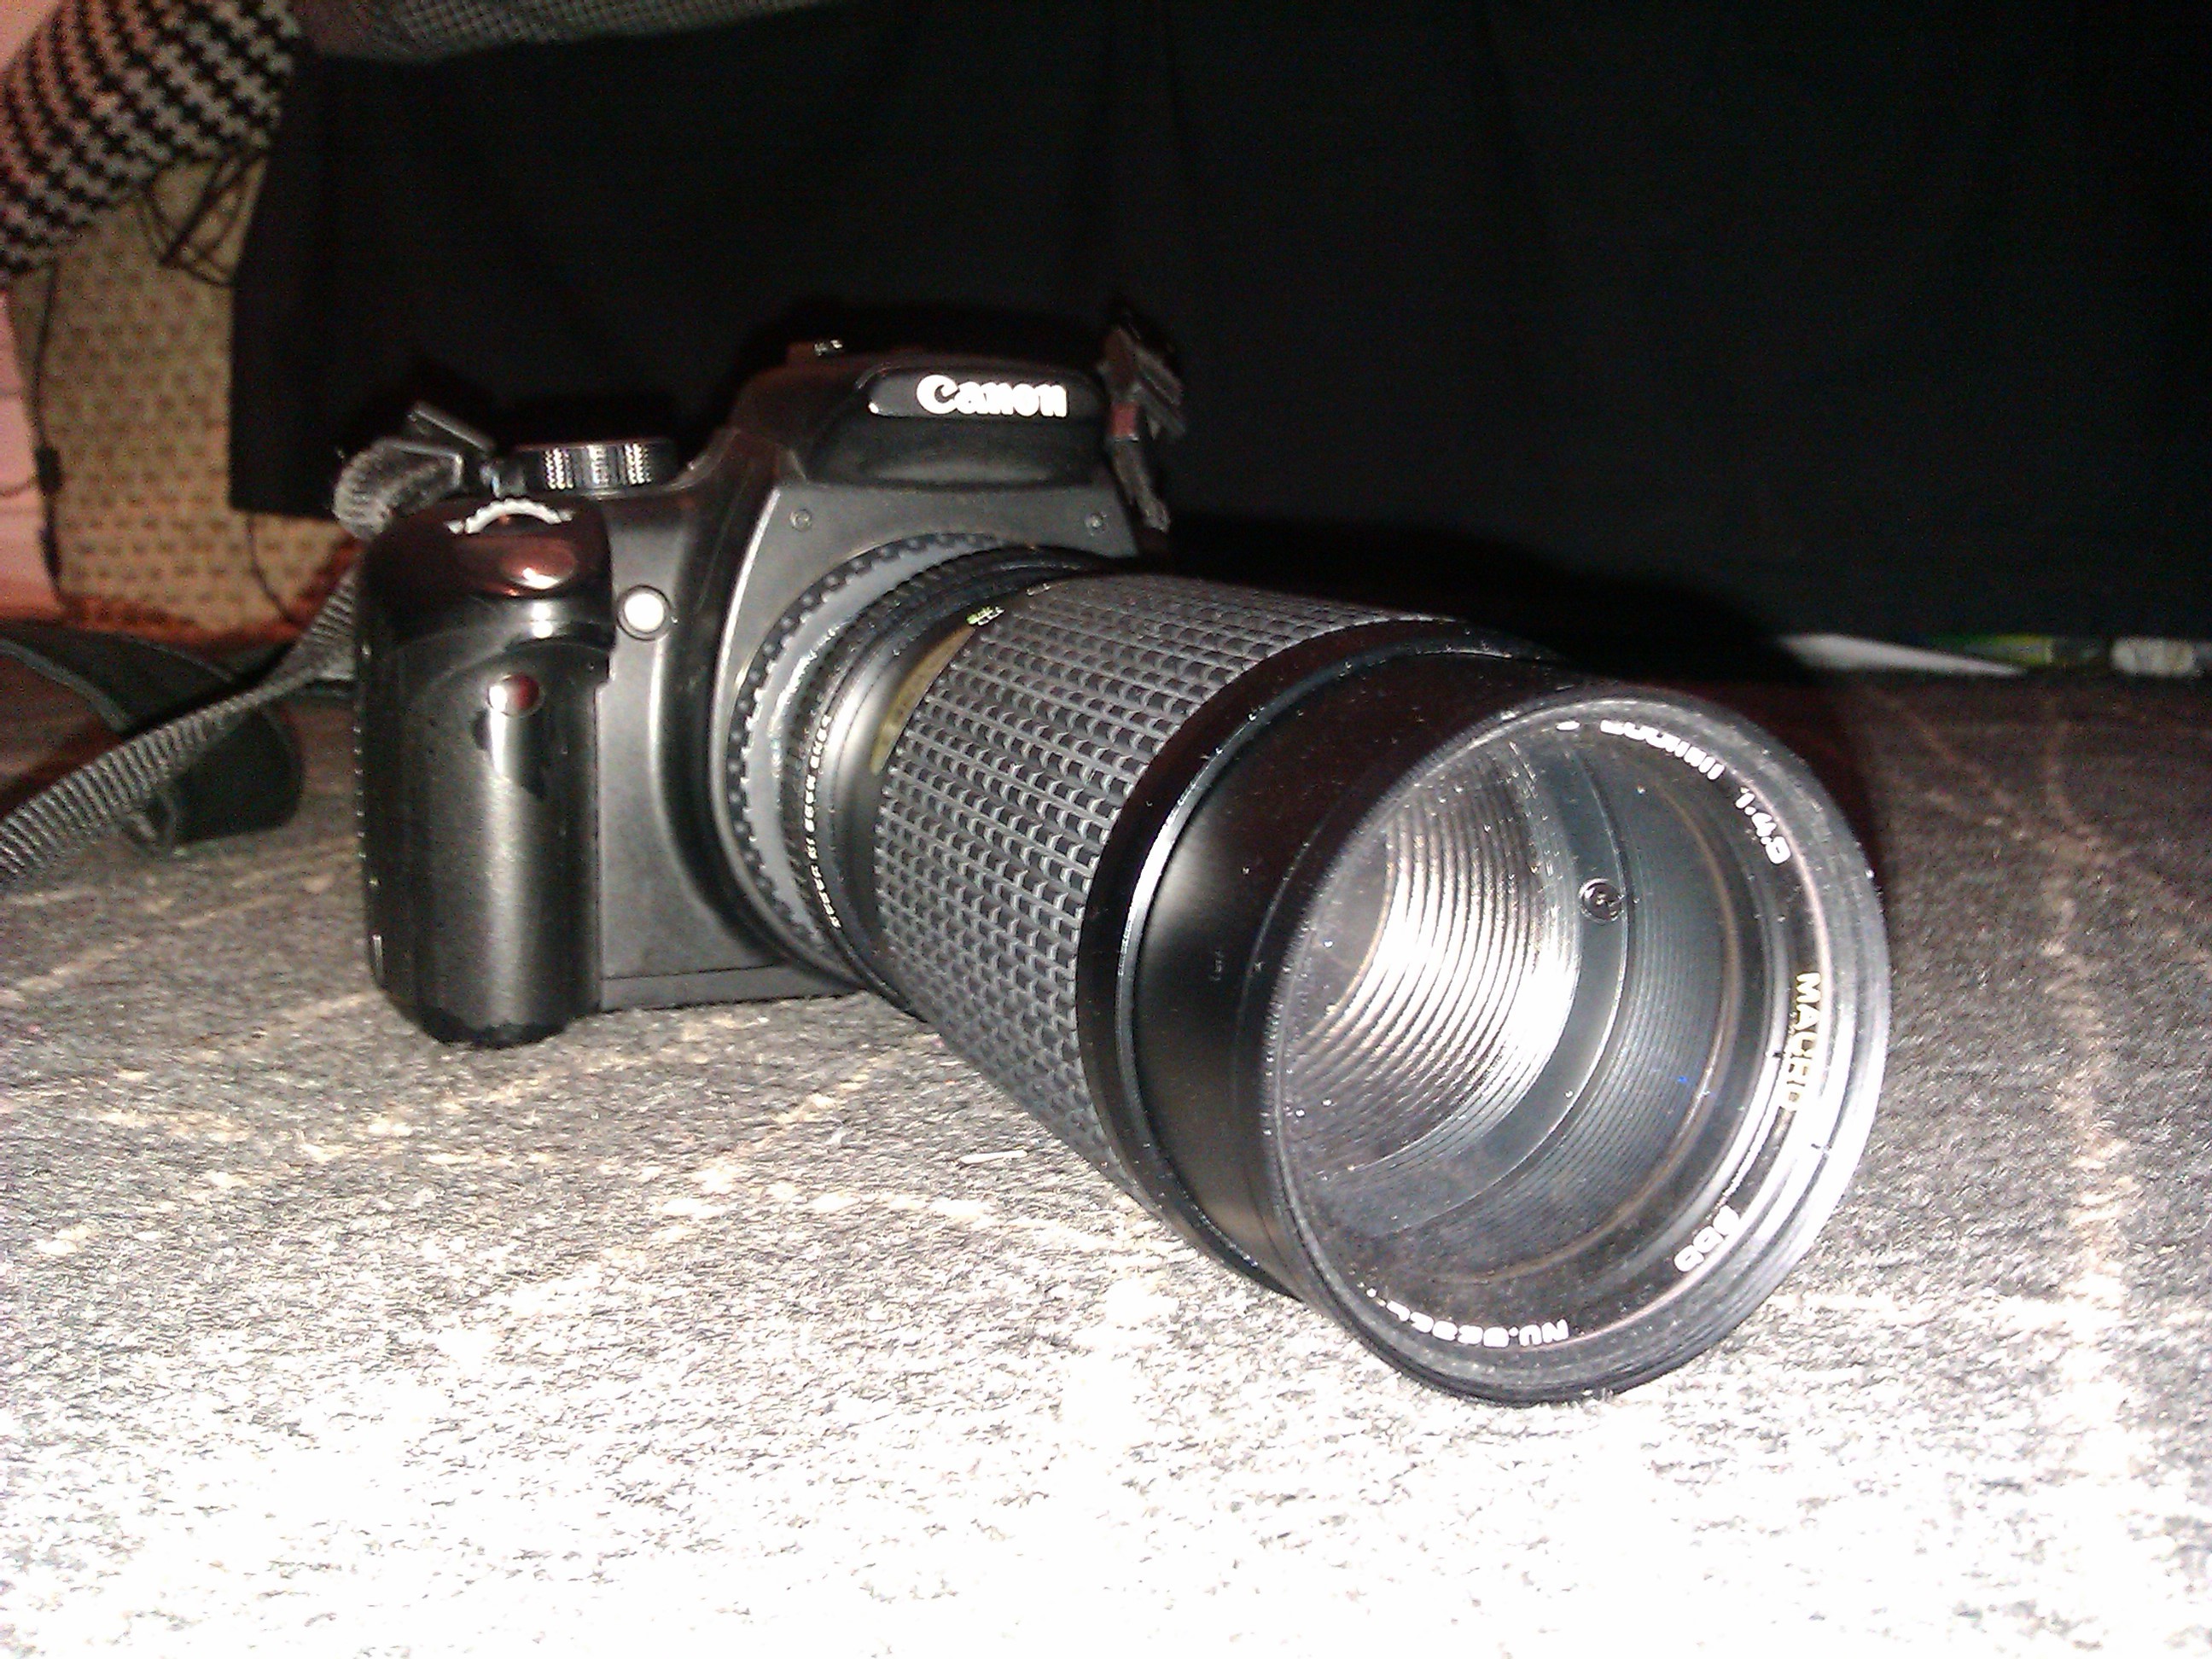
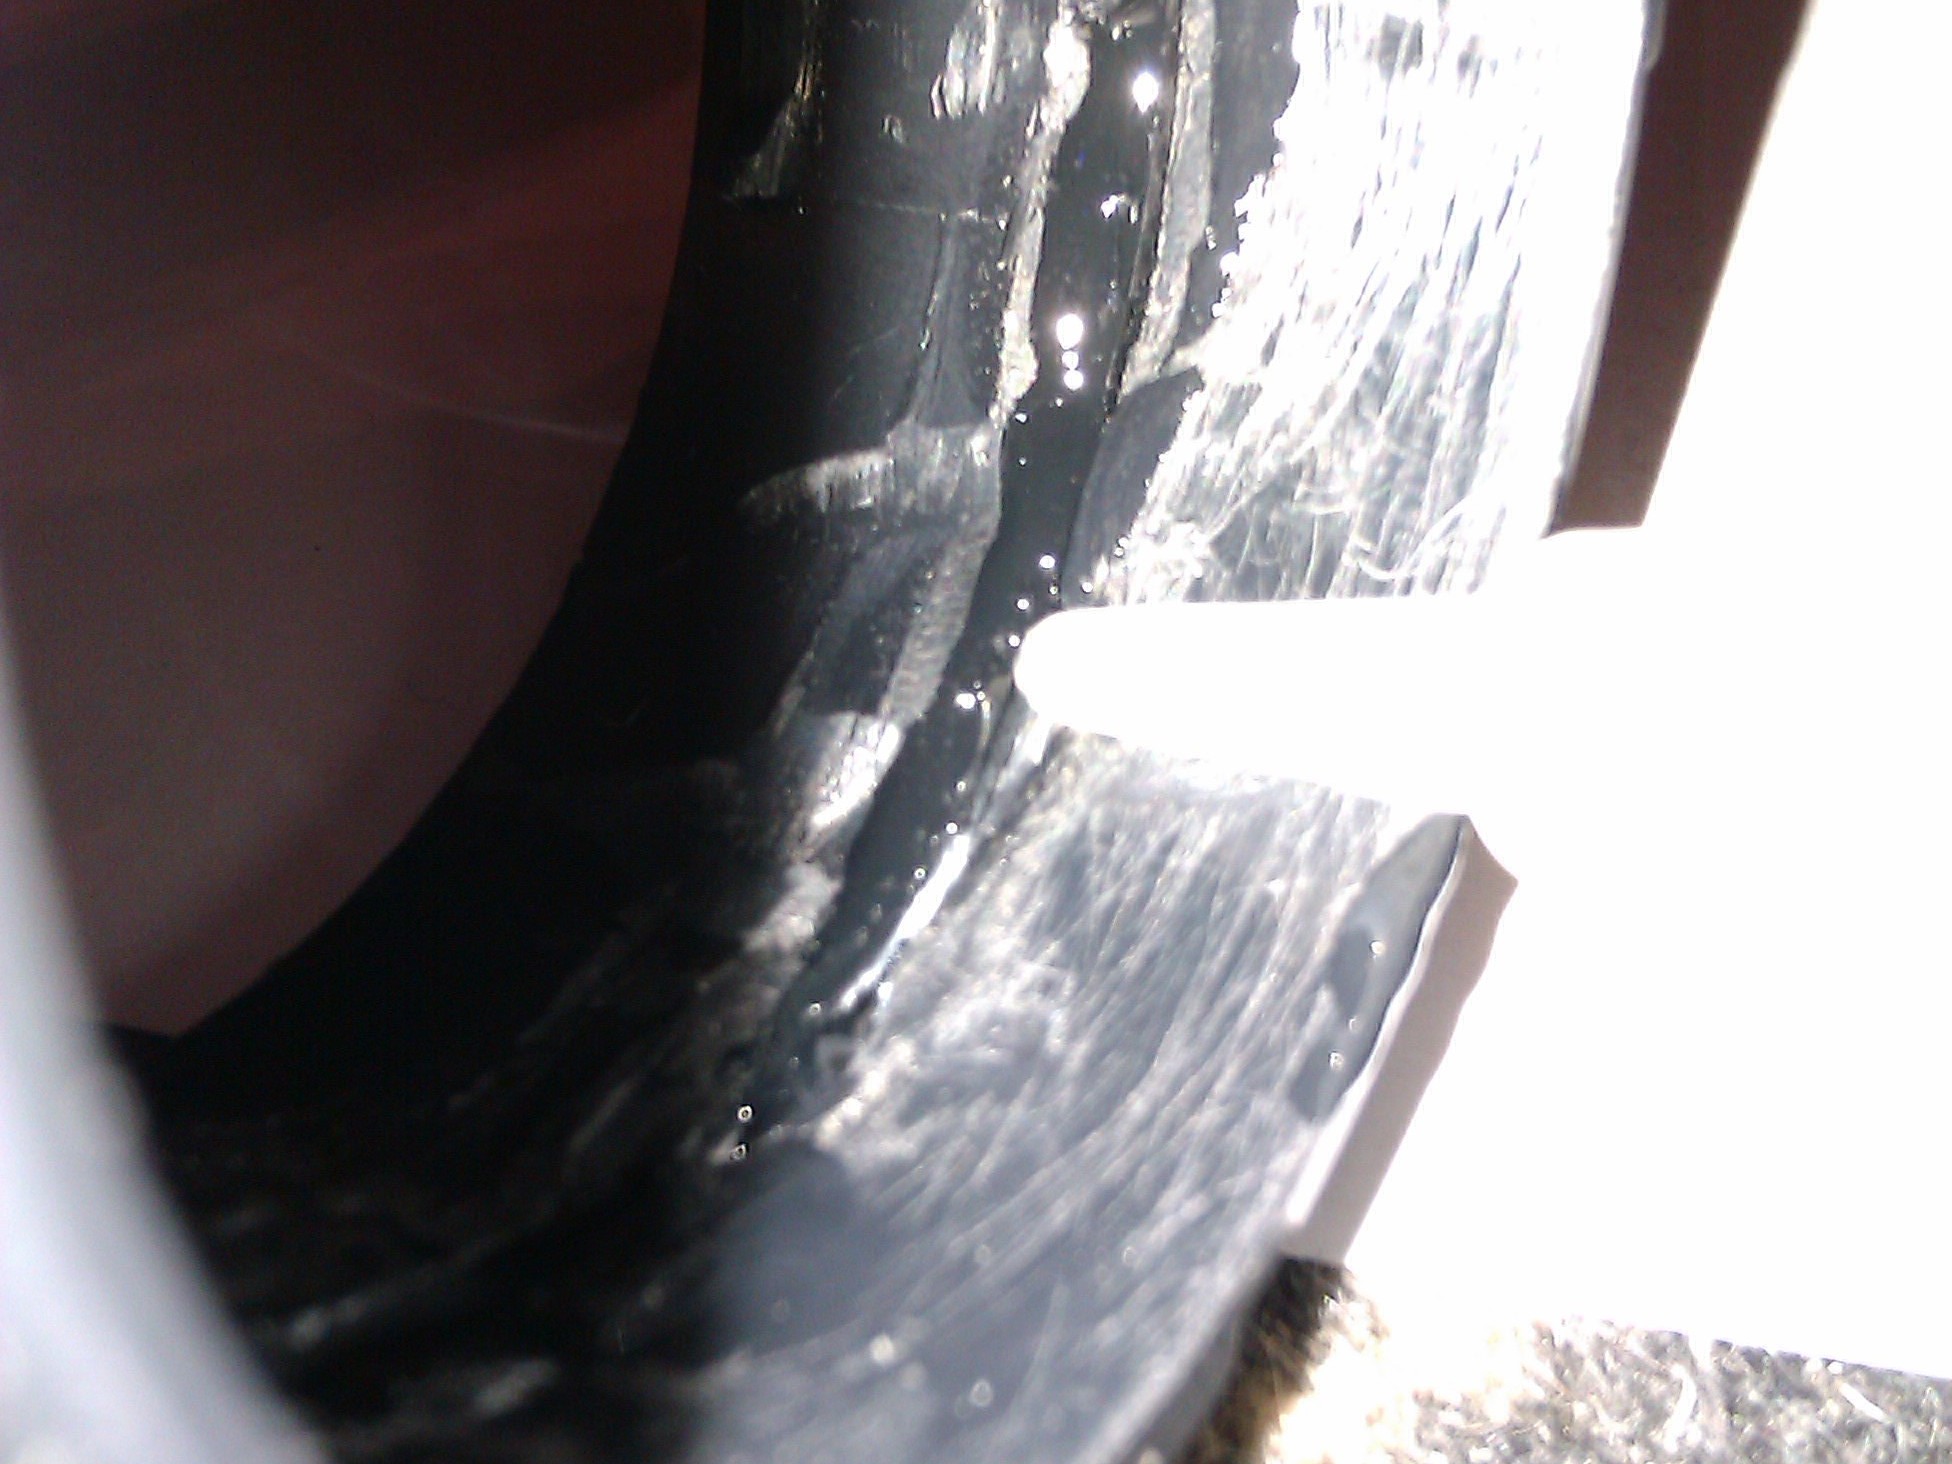
When the outside has dried and is as solid as you want it, you can take the converter off the lens and glue the inside seam. Again I used super glue but a strong epoxy resin would be better.

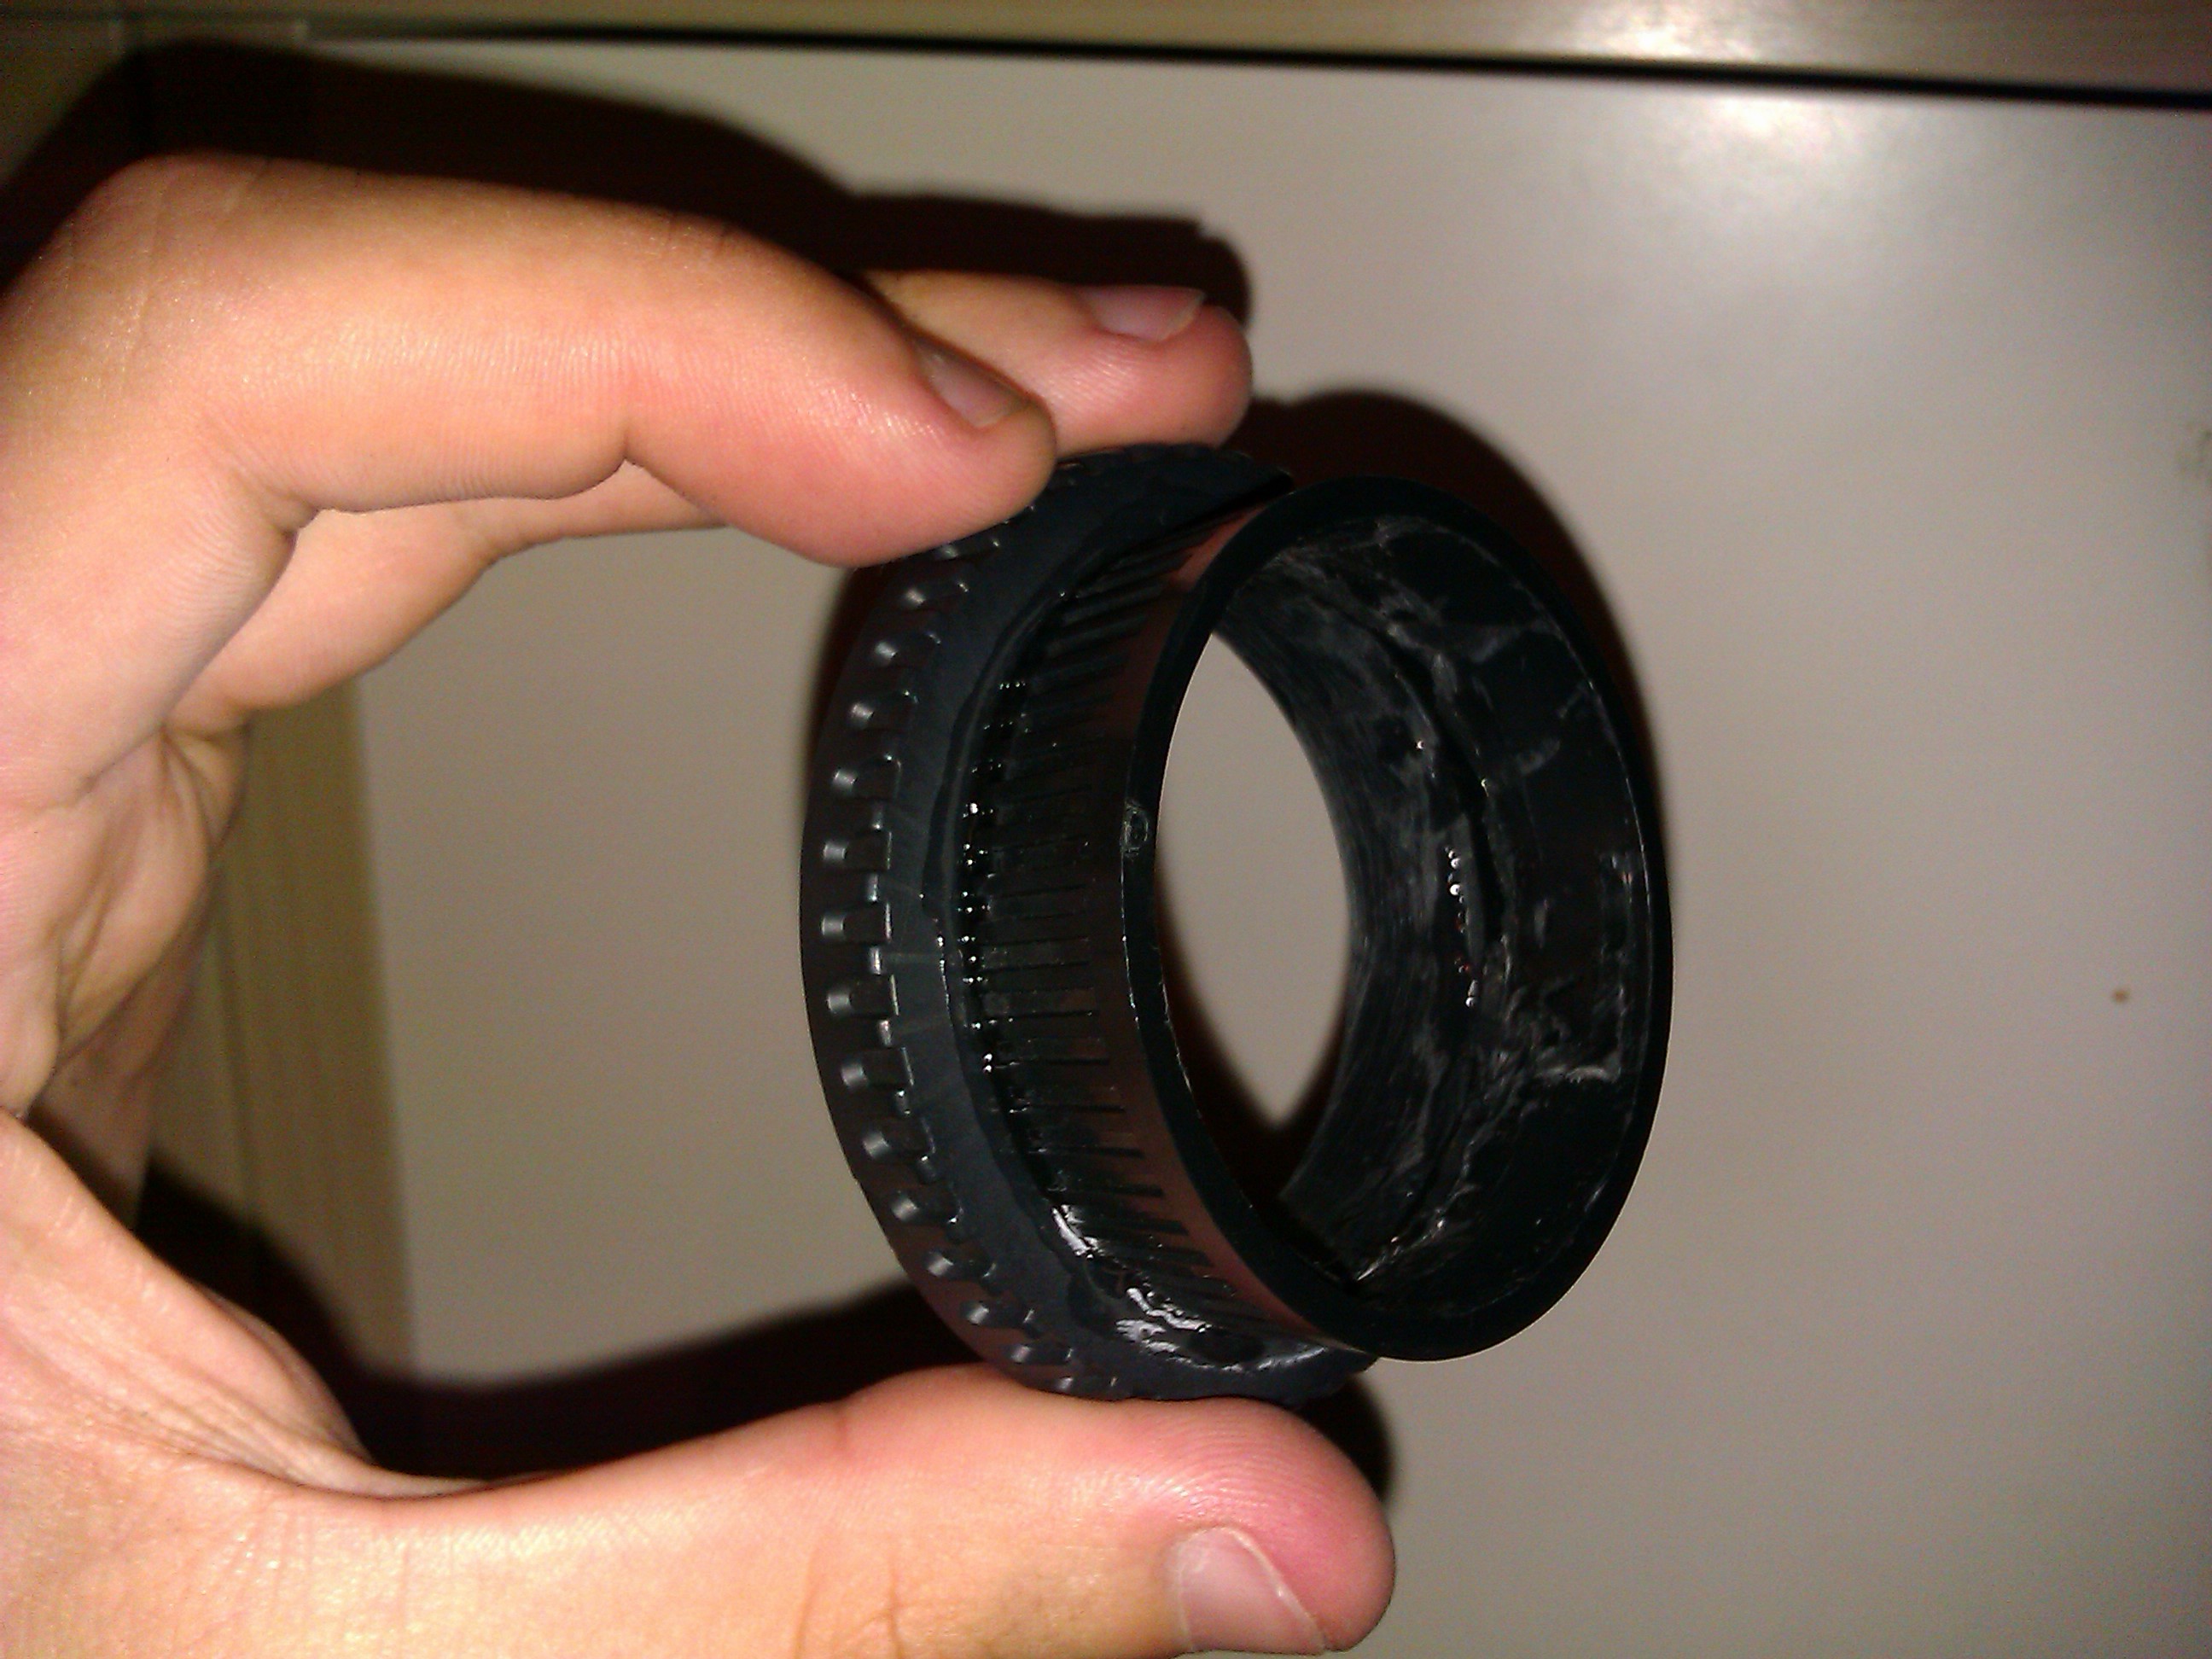
You should now finally have it all glued up.

Screw the body cap tightly onto the camera and the lens tightly onto the lens cap. You have now made your very own lens converter ring.

If the lens is a heavy one be careful not to let it hang off the superglue joints.

Because the lens is not the same distance from the sensor as the manufacturer intended it to be, the lens will need slightly different focusing. Different lenses and cap sizes may enhance or decrease the quality of focus of the shot.

Now go take some photos with your now-usable lens!