If you’re like me, you’re the bane of hardware store employees. I wander through the whole place picking up everything, looking at possibilities more than parts. Can they help me find anything? “No thanks,” I answer. What am I working on? “I don’t know yet,” I say. They move on, keeping a suspicious eye on me.

Some things just seem useful, even if I can’t think of how at the moment. One time I found matched pairs of PVC caps and plugs that fit together into little airtight pods of various sizes. For what, I didn’t know until I wanted a way to float lit LEDs down a stream.

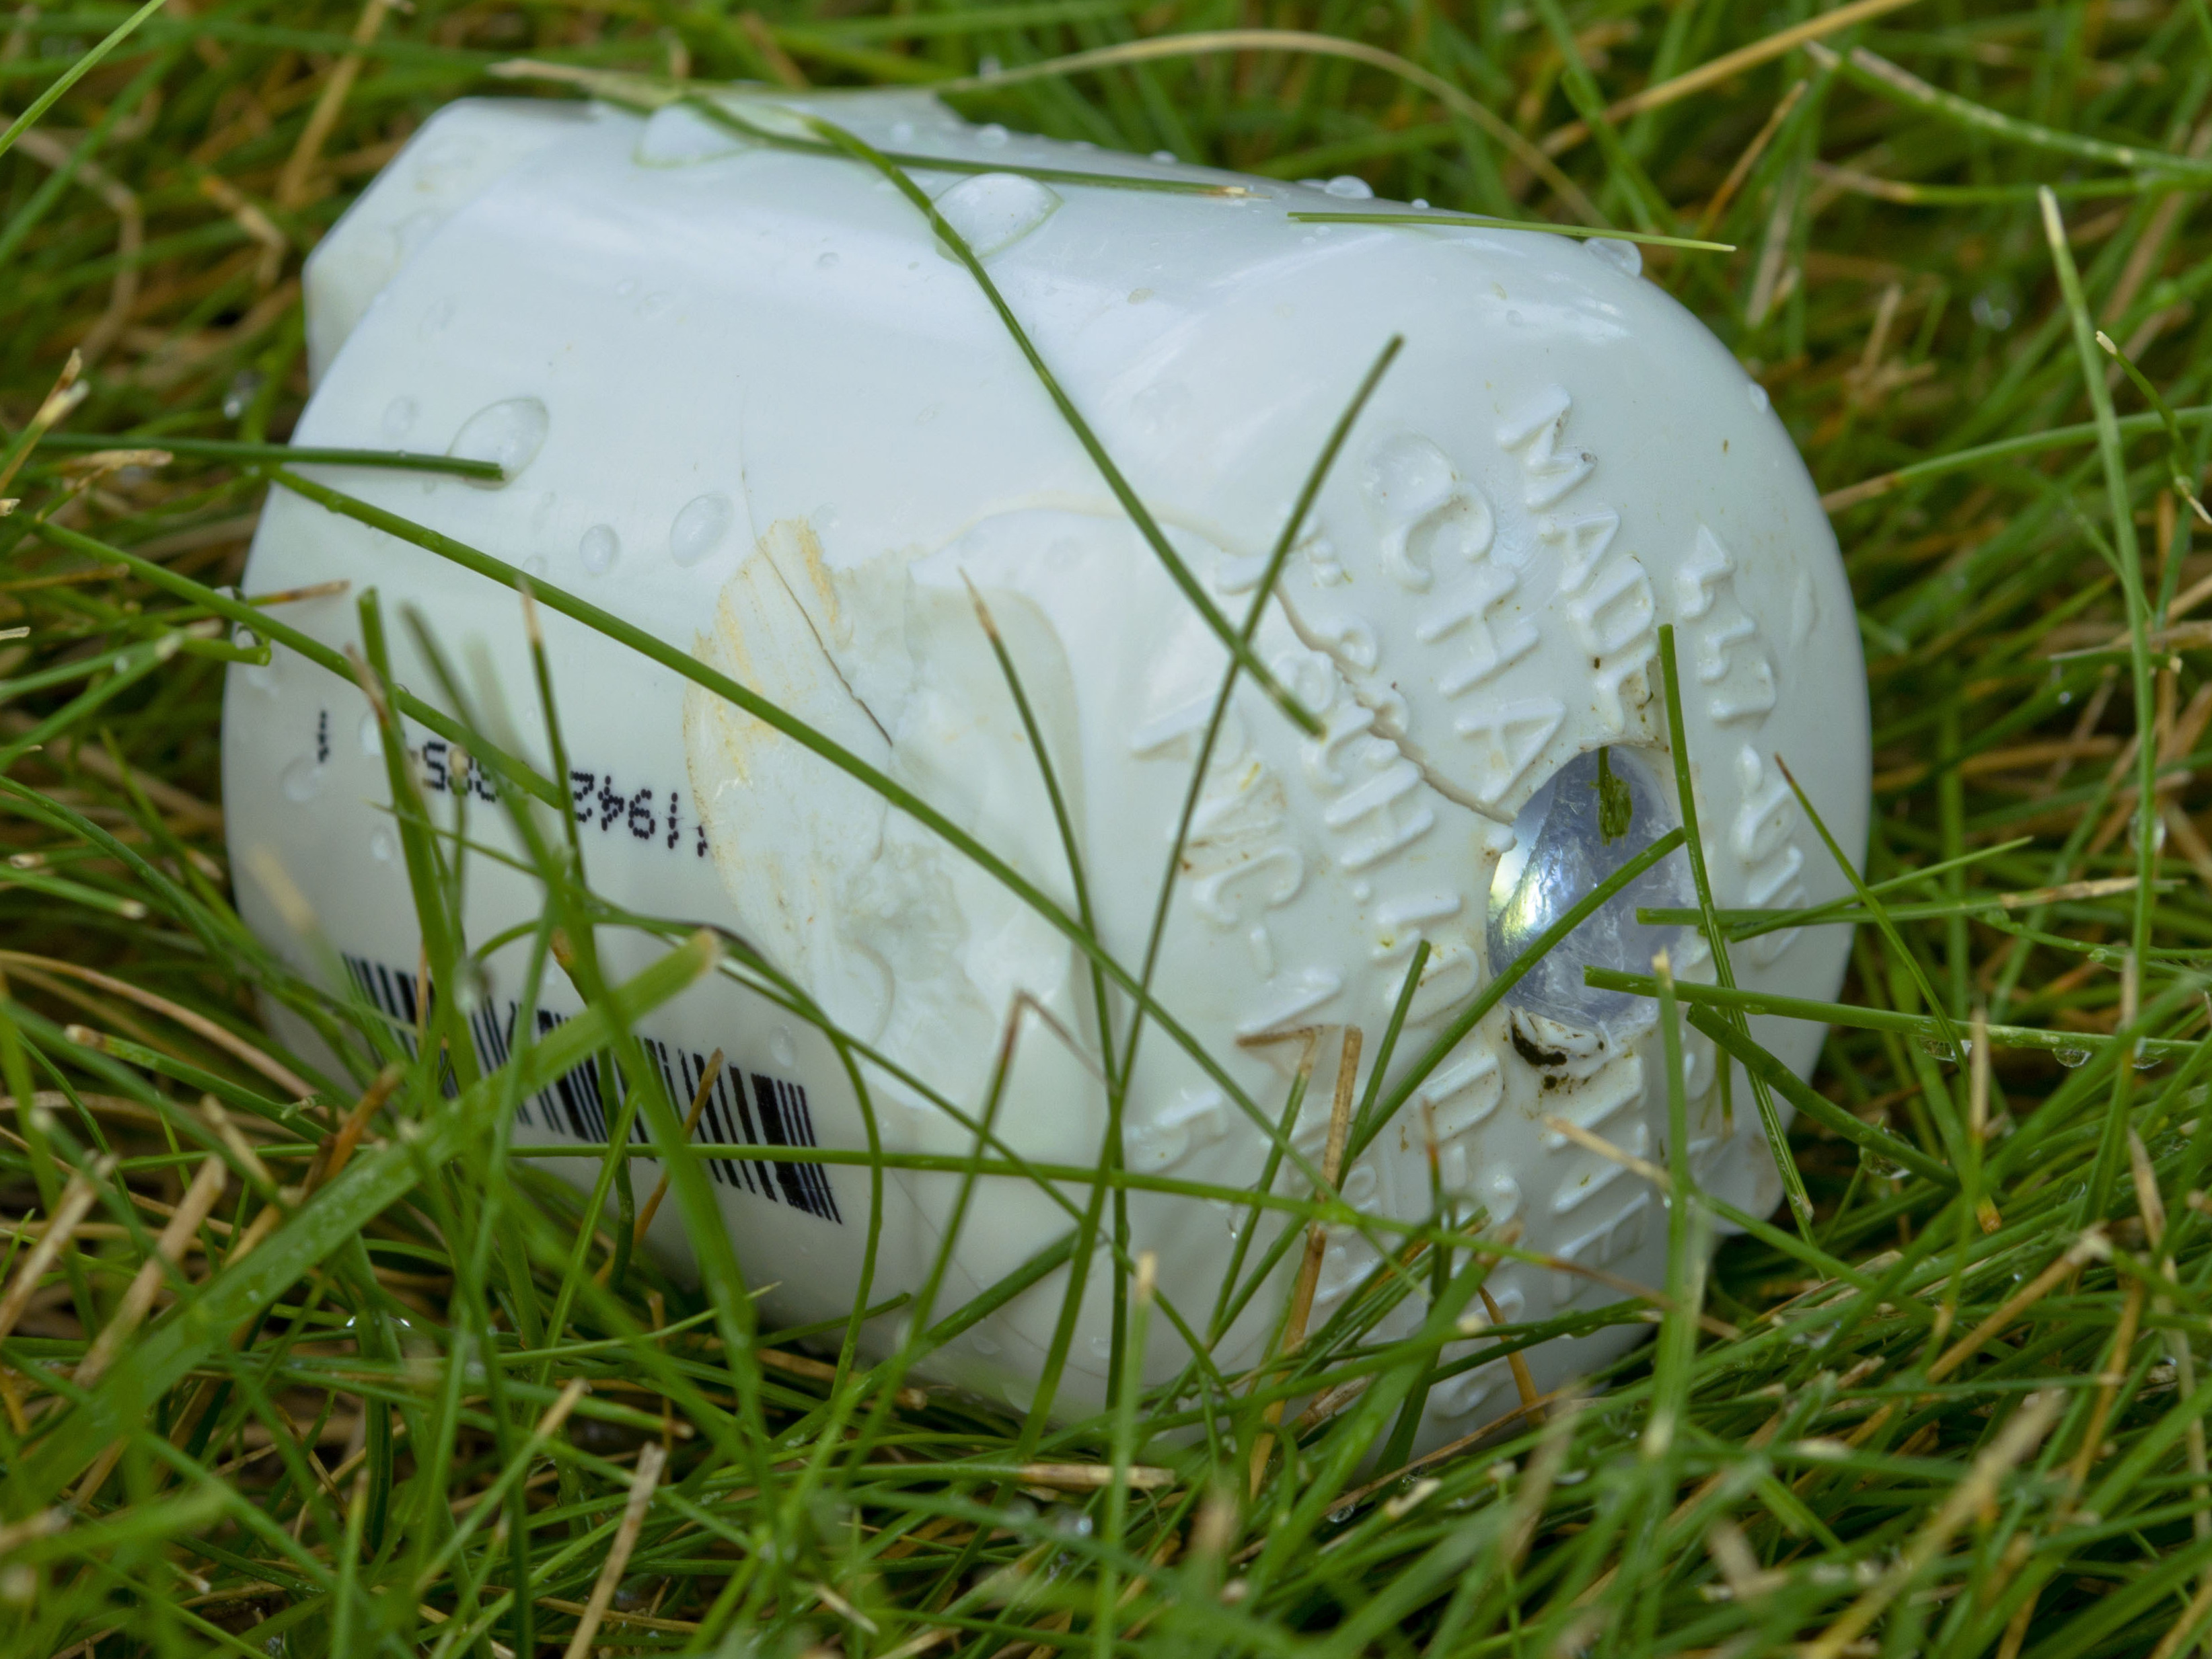
The result: simple, rugged, floating LED lanterns that glow for days. They’ve survived being submerged for a week, frozen, and laundered in the washing machine. I even hit one with the lawn mower, and it still works. When they get dirty, just hose them off.

Project Steps

Drill the hole for the LED.

Drill a hole in the top center of the cap using a 3/8″ bit; it’s just under 10mm and will make a watertight fit for the LED.

Use a drill vise to prevent kickback. To protect the cap from scratches, you can line the vise jaws with tape or cut a V in 2 pieces of scrap wood.

In the original article, author Steve Hoefer was pictured wearing gloves while using a drill press, which is a safety hazard. “Gloves are a no-no around rotating tools,” Steve admits. Thanks to reader Tim Kemp for pointing out the error.

Prepare the LED.

Cut about ½” (13mm) off the end of each LED lead, so they’ll fit easily inside the lantern. Use pliers to bend a small dogleg in the longer, anode (+) pin. This will keep the shorter, cathode (–) pin from accidentally shorting out the side of the battery.

Finally, for watertightness, put a single wrap of thread sealing tape around the base of the LED.

Insert the LED.

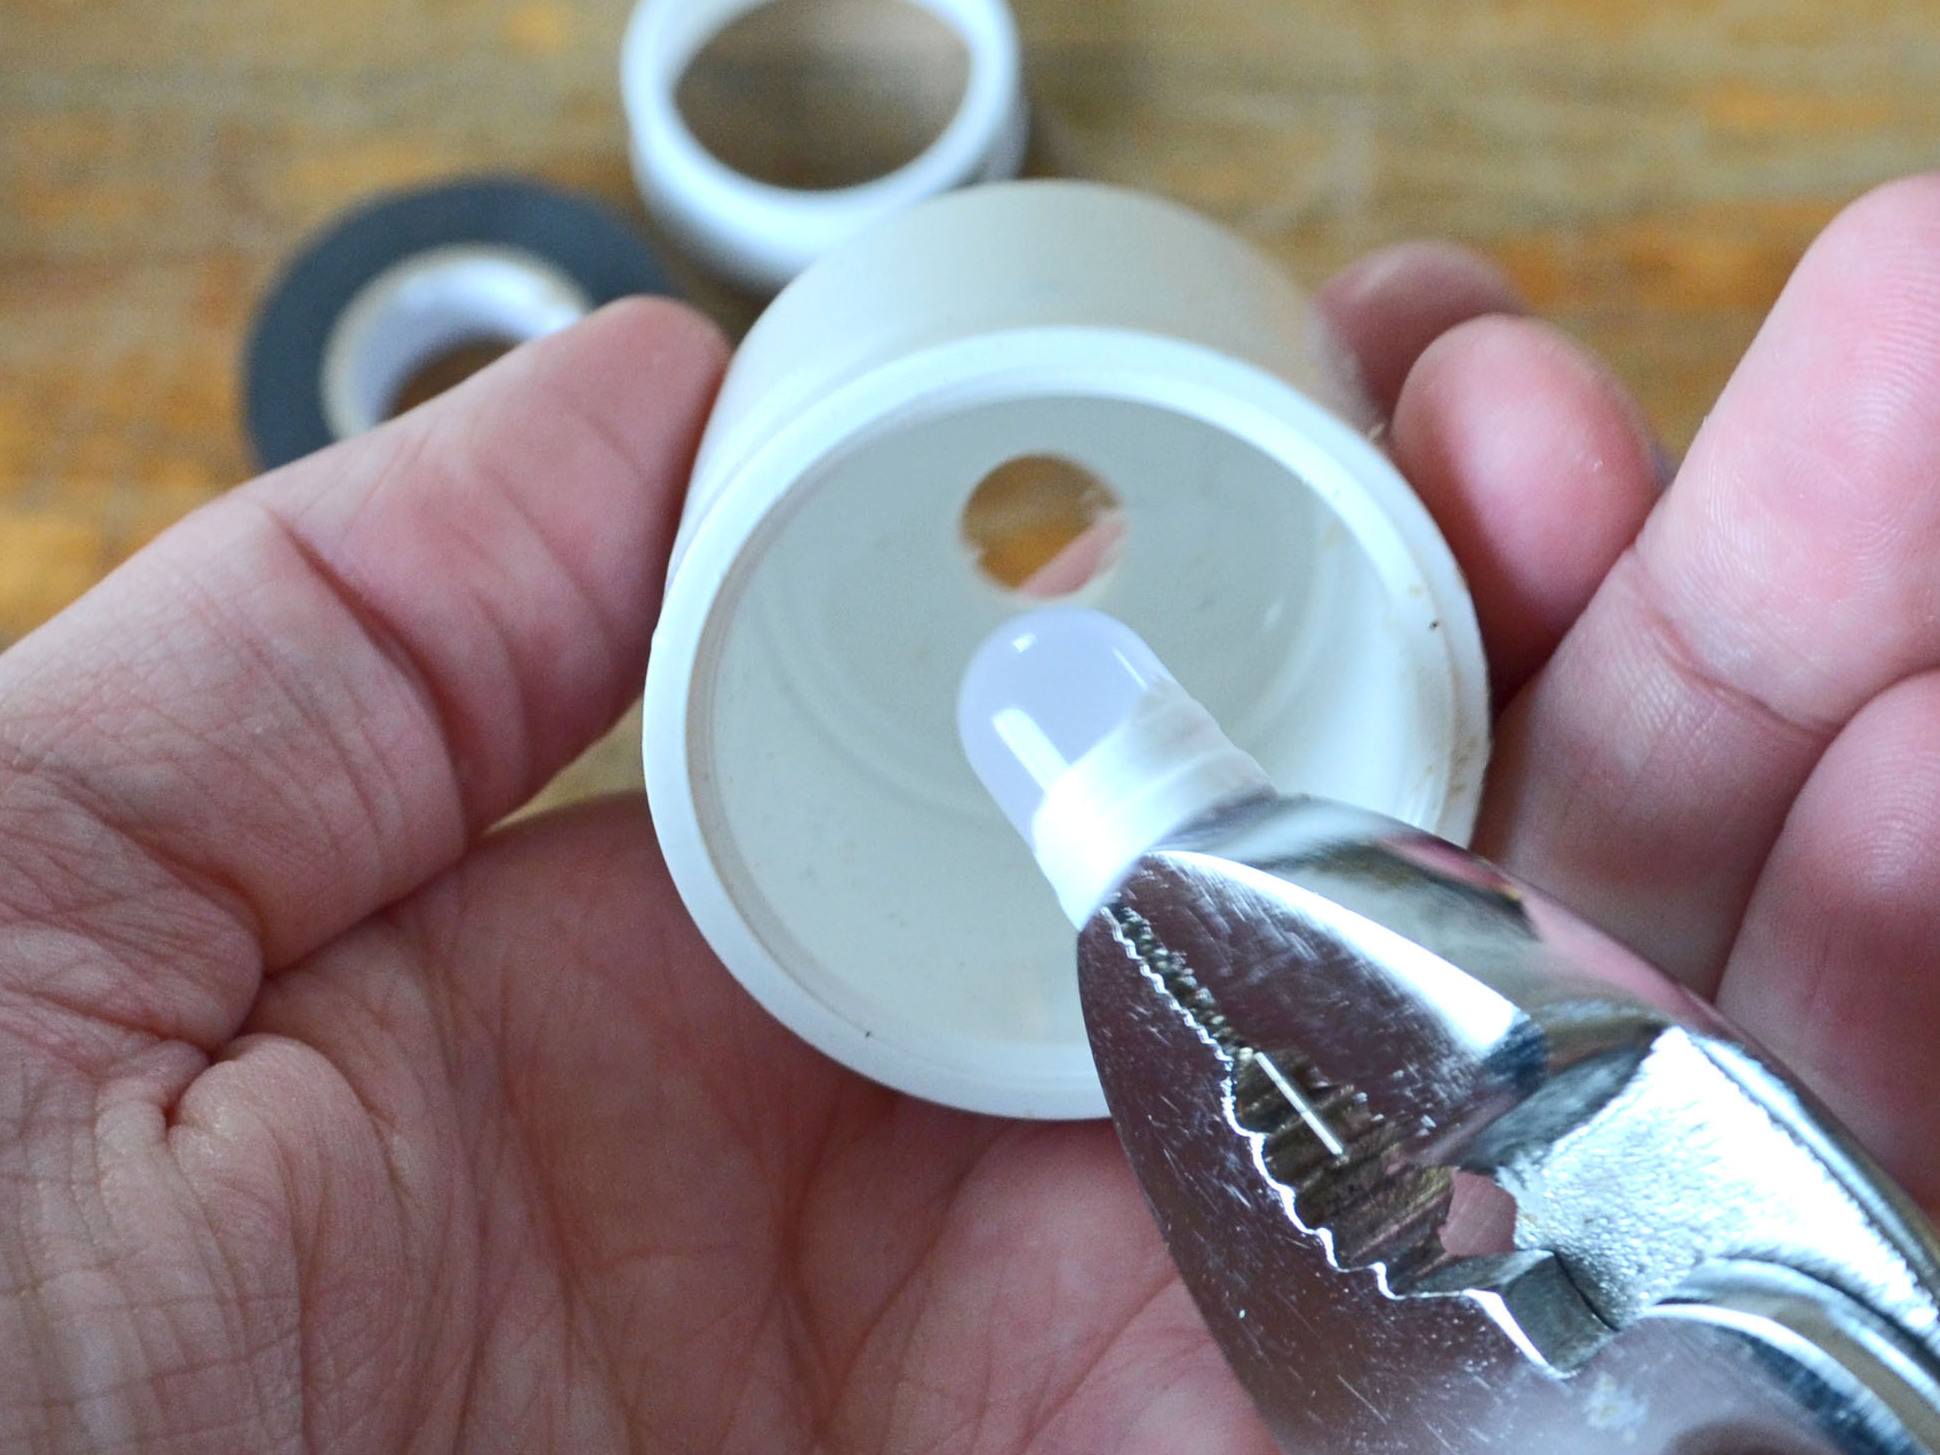
Place the LED in the pliers so that their blunt nose is flush against the bottom of the LED lens. This will let you push the LED firmly without mangling it. Push the LED through the cap from the inside until it’s flush with the inside of the cap. If the fit is too tight using just your hands, use the open end of the plug as a backstop and gently tap the handle of the pliers with a rubber mallet.

Insulate the binder clip.

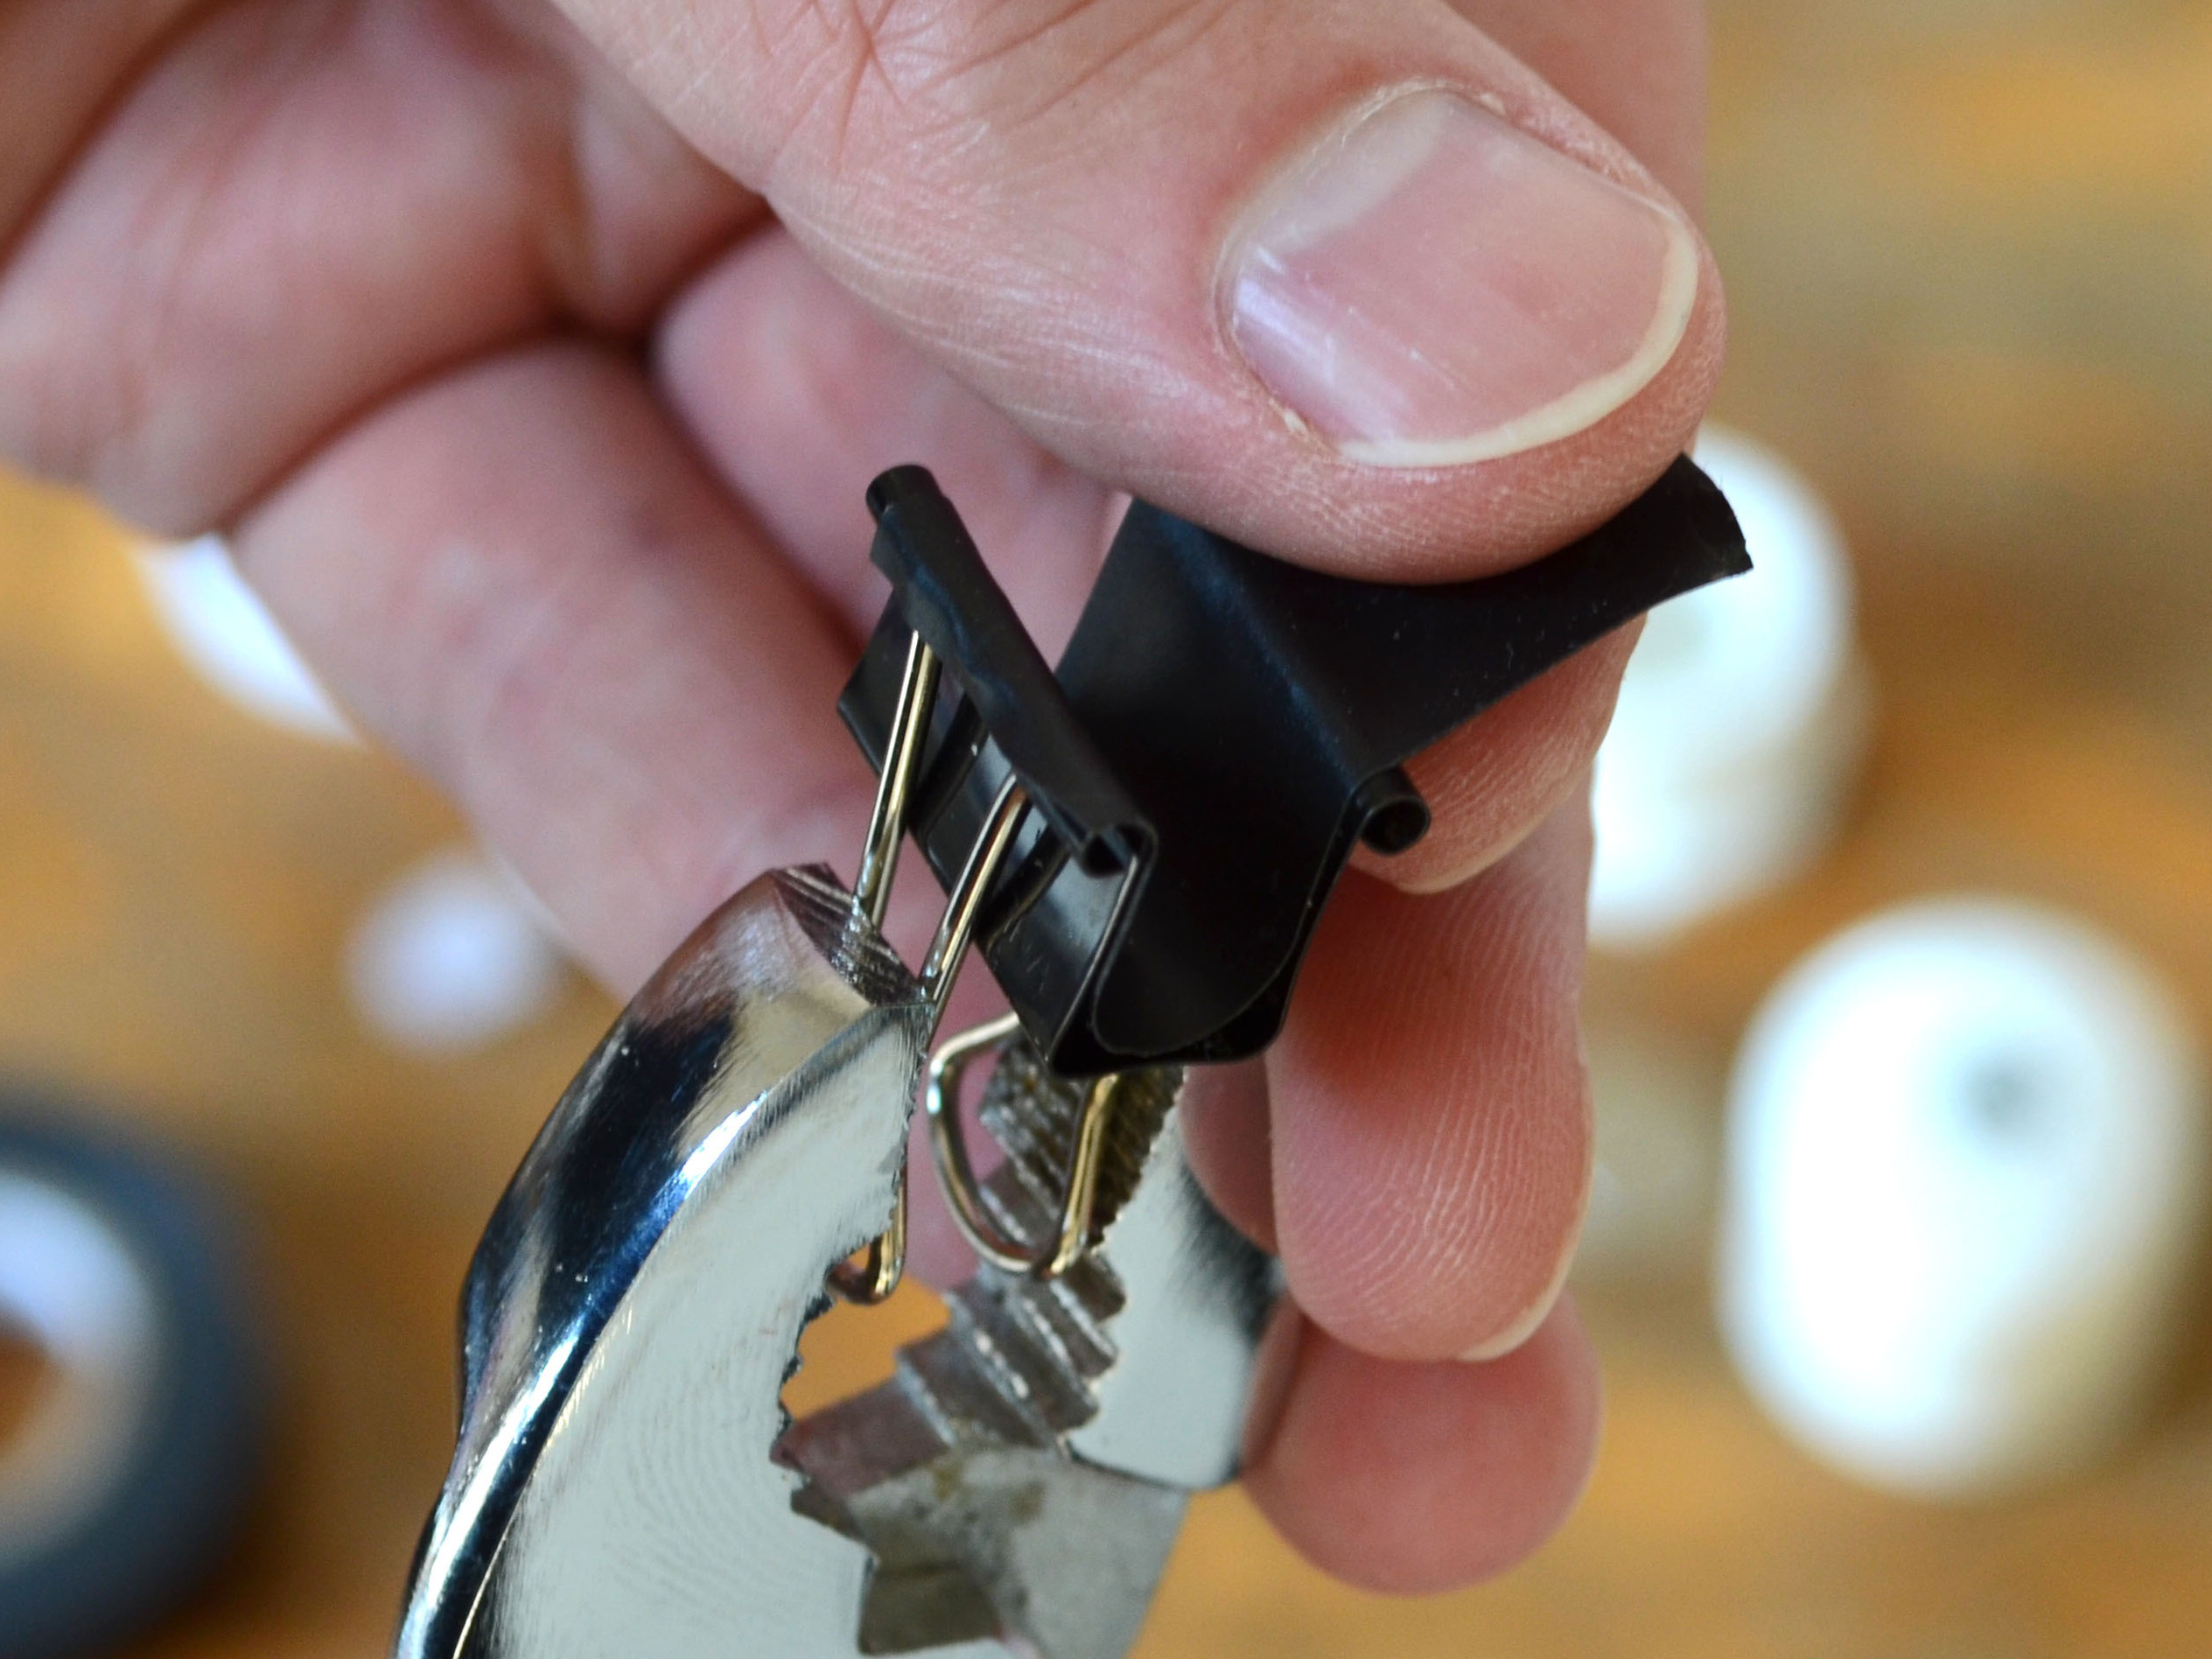
The enamel coating on the binder clips can insulate but tends to chip. To avoid shorting out your LED, apply electrical tape inside the clip. The pliers can help hold it open.

Power on.

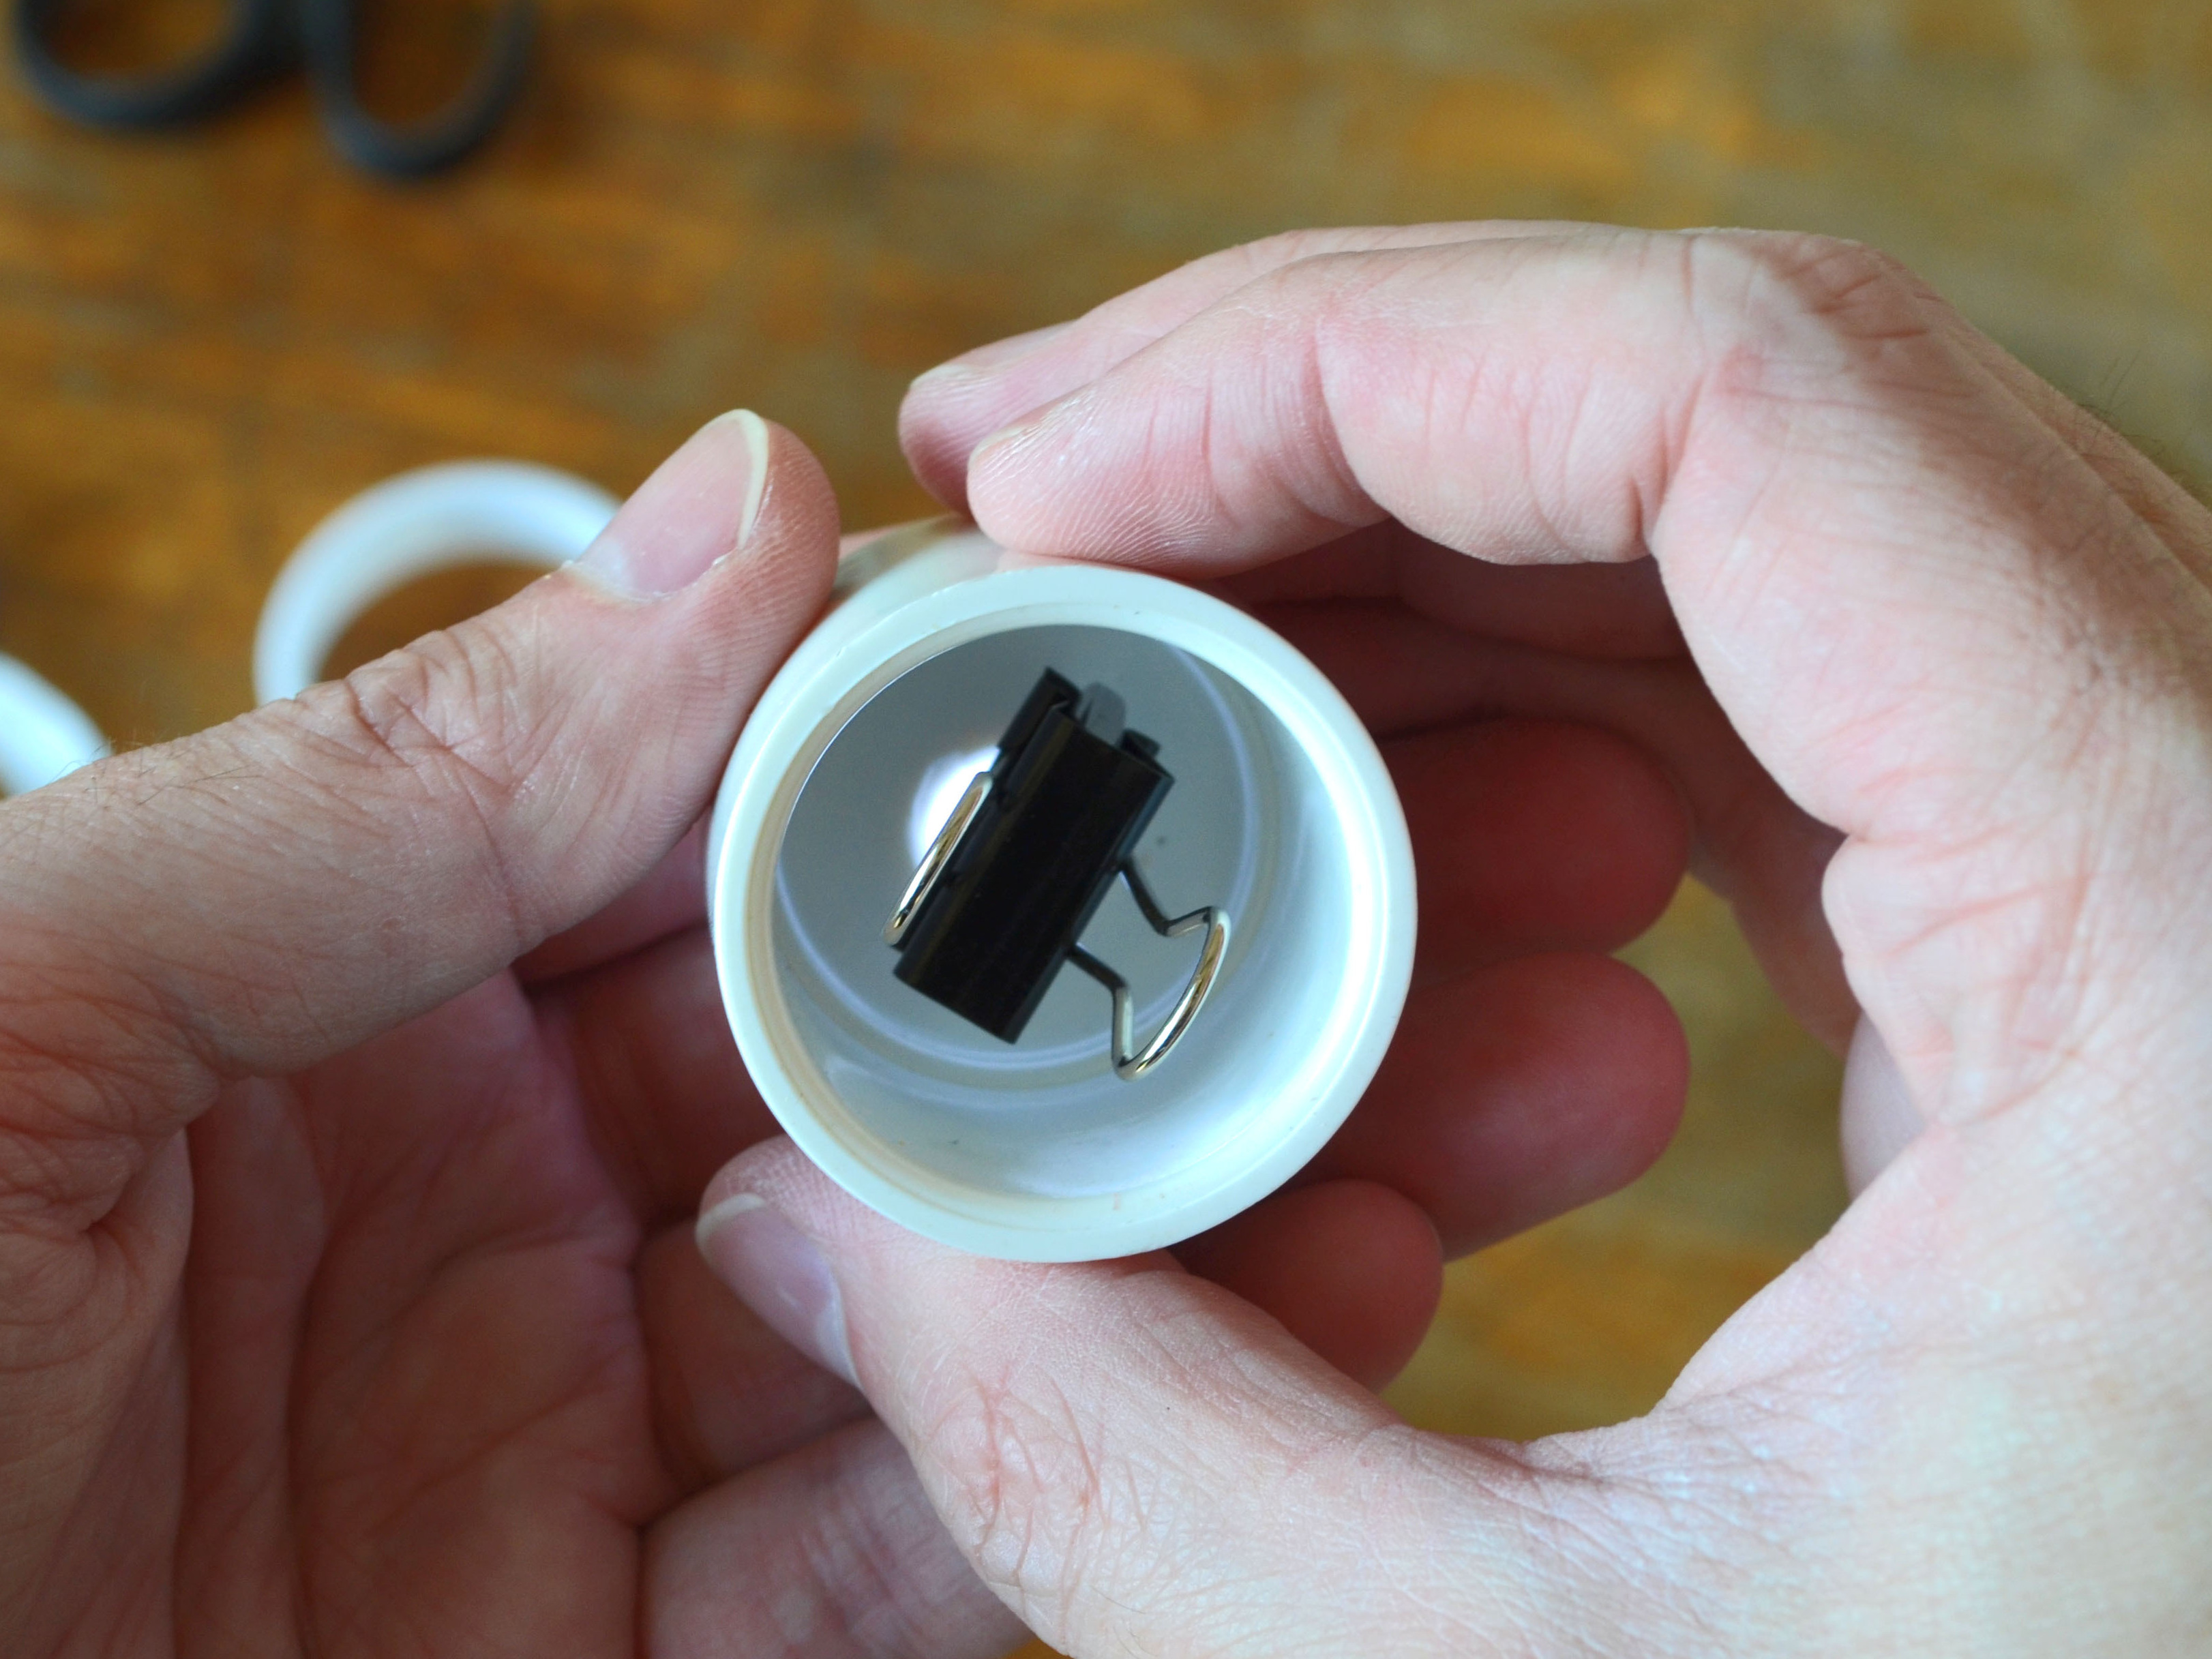
Slide the coin cell battery between the 2 LED leads, with the smooth (positive) side against the longer lead. The LED should light up. Clip the binder clip over the top to hold the leads securely to the LED.

Close it up.

Wrap the top edge of the plug once with a strip of sealing tape to keep any water out. Then squeeze the plug into the cap.

If you plan to use the lantern in water, make it easier to retrieve by drilling a small hole in the edge of the plug and tying in some fishing line. The lanterns tend to float upright; but if you want them to sink, add some fishing weights or steel nuts before final assembly.

When the battery or LED has reached the end of its useful life, a firm twist will loosen the assembly for replacement.

Illuminate.

Use your LED lanterns anywhere you’d like some durable illumination. They’re better in large numbers, and you can get interesting effects by using flickering or color-changing LEDs.

I’ve used them to light up a yard party and to mark the trail for night hiking. I’ve floated them downstream, frozen them in ice, even used them as ammo in a pneumatic cannon. What you can use them for is limited only by your imagination.