Squid are wonderful creatures. They’re available in sizes small to giant, taste great, and are a fabulous source of natural ink. Squid use the ink to confuse predators, but you can use it for cooking or printing. Learn how to harvest your own fresh squid ink, so when you’re stranded on a desert island, you’ll have the best SOS messages around!
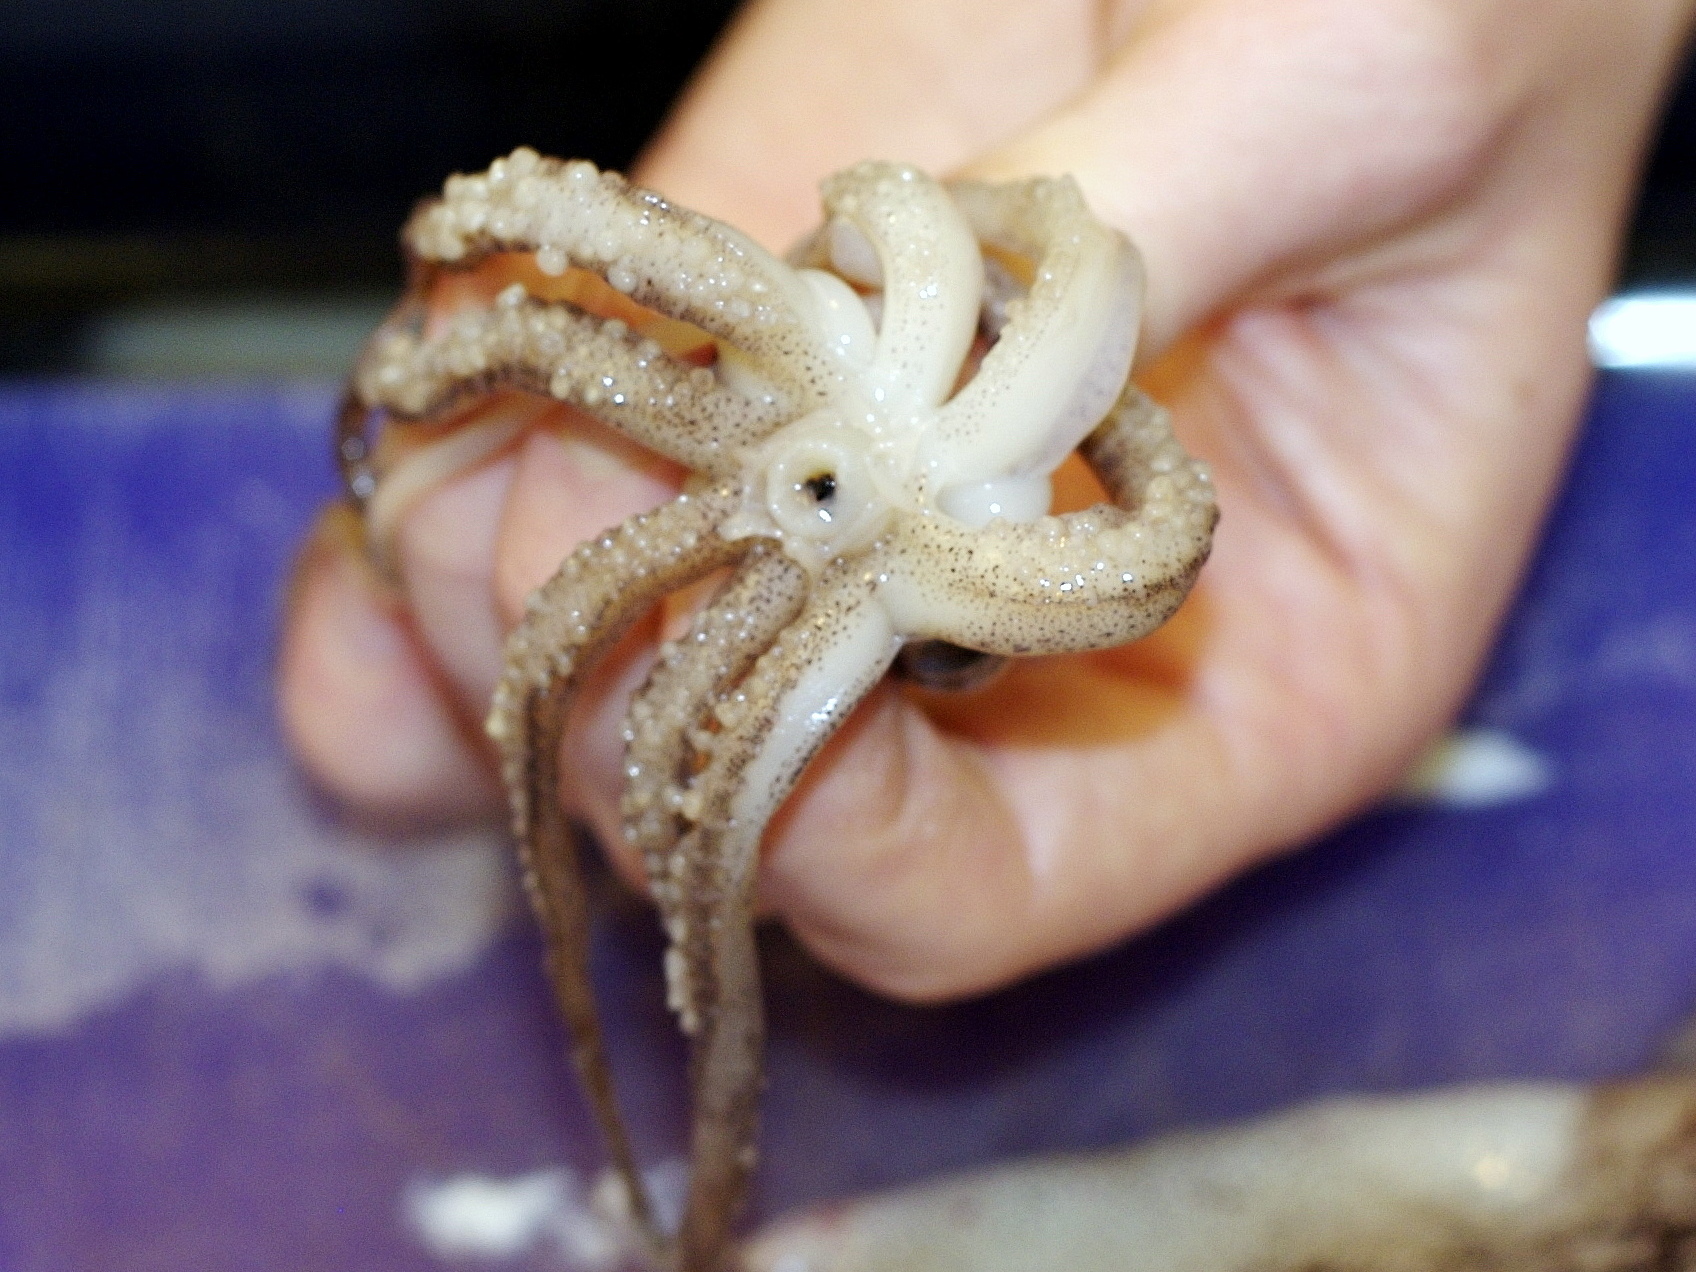
To get started, catch or buy your squid. If you buy, make sure they are still whole; if they’re pre-cleaned, all of that wonderful ink will be gone. If the flesh has started to turn pink (instead of cream or white) or smell, buy your squid elsewhere. Boxes of frozen squid should be solid, without evidence of leakage or thawing. Small squid are tastier and easier to cook, but they have less ink.
If you’re going to be printing, get lots of the little guys.
Project Steps
Extract the ink.
You will be extracting squid ink from 2 sources: the main ink sac in the body and small, secondary deposits behind the eyes.
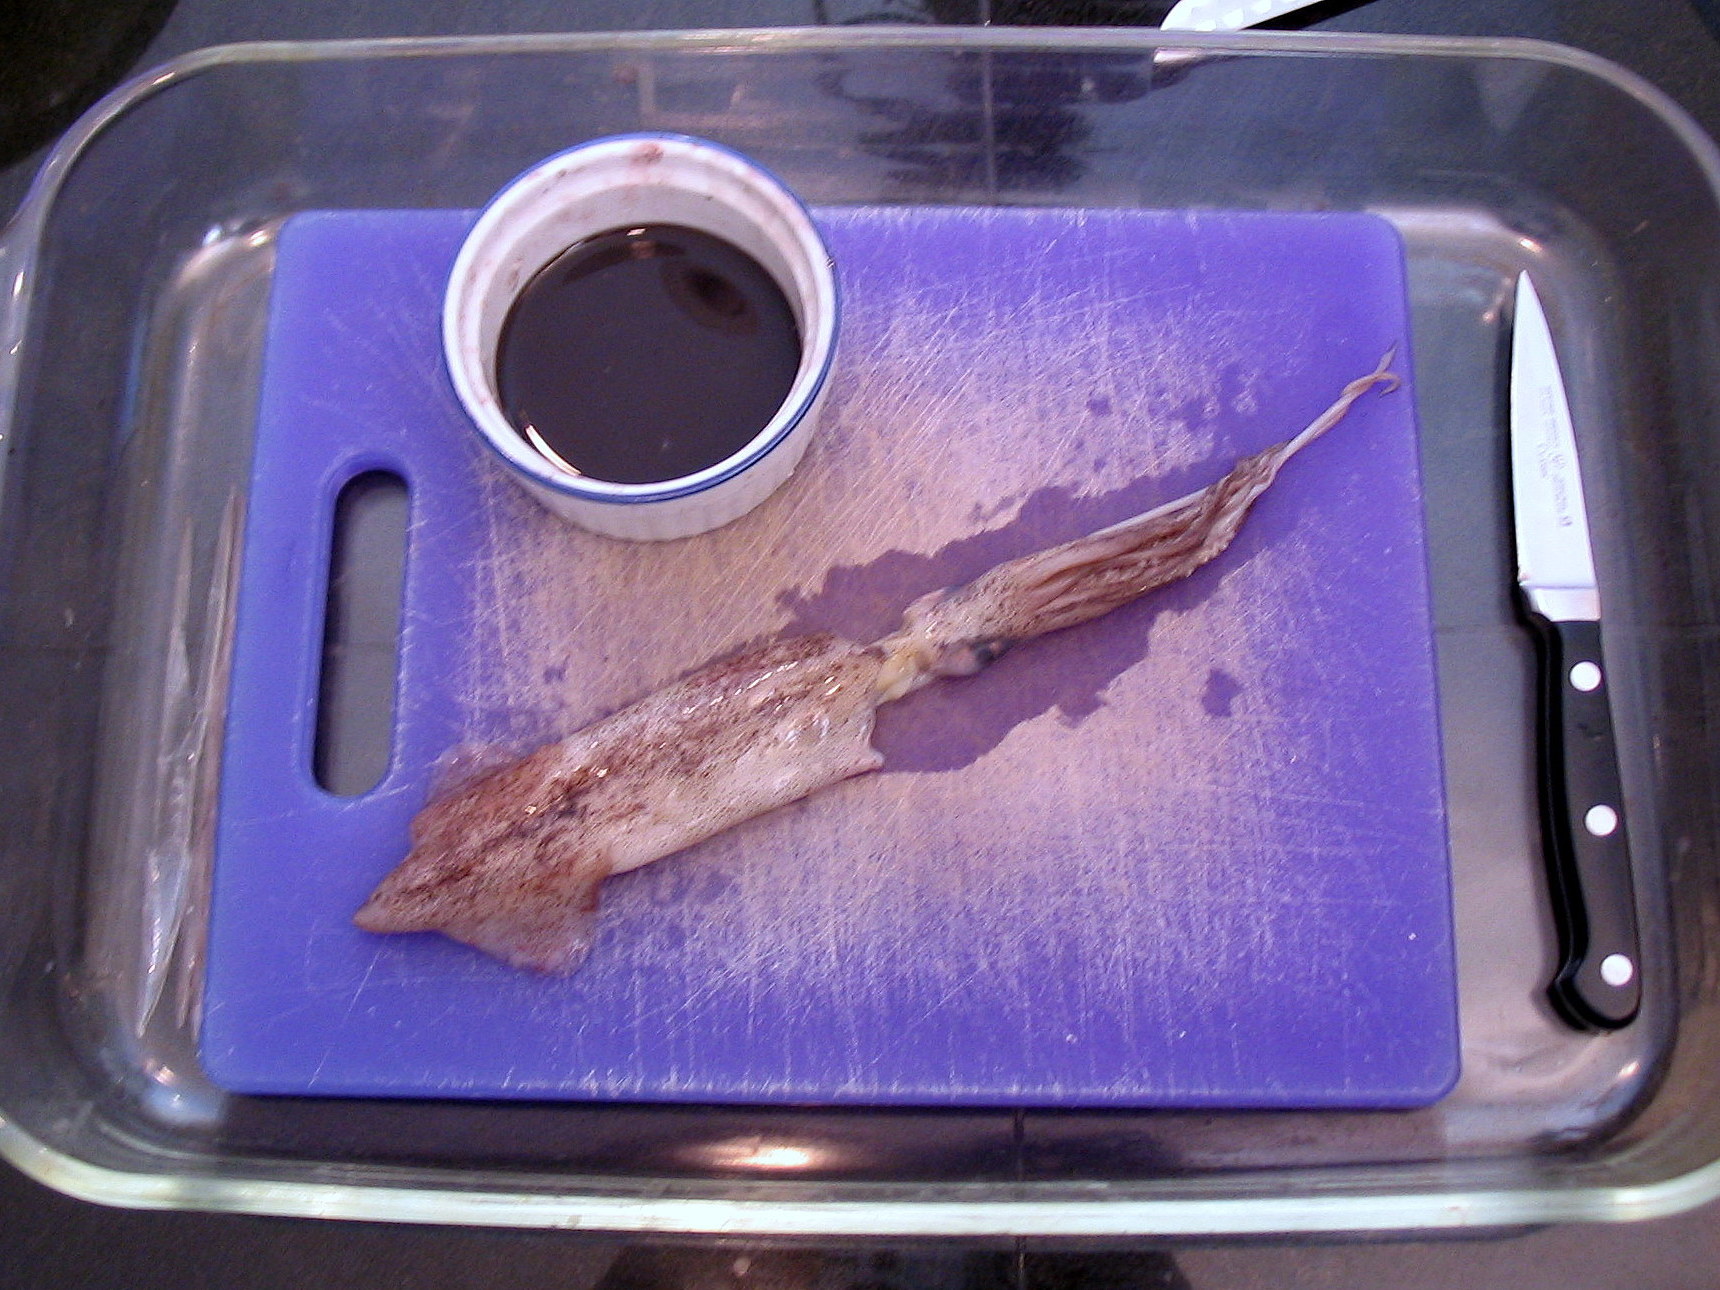
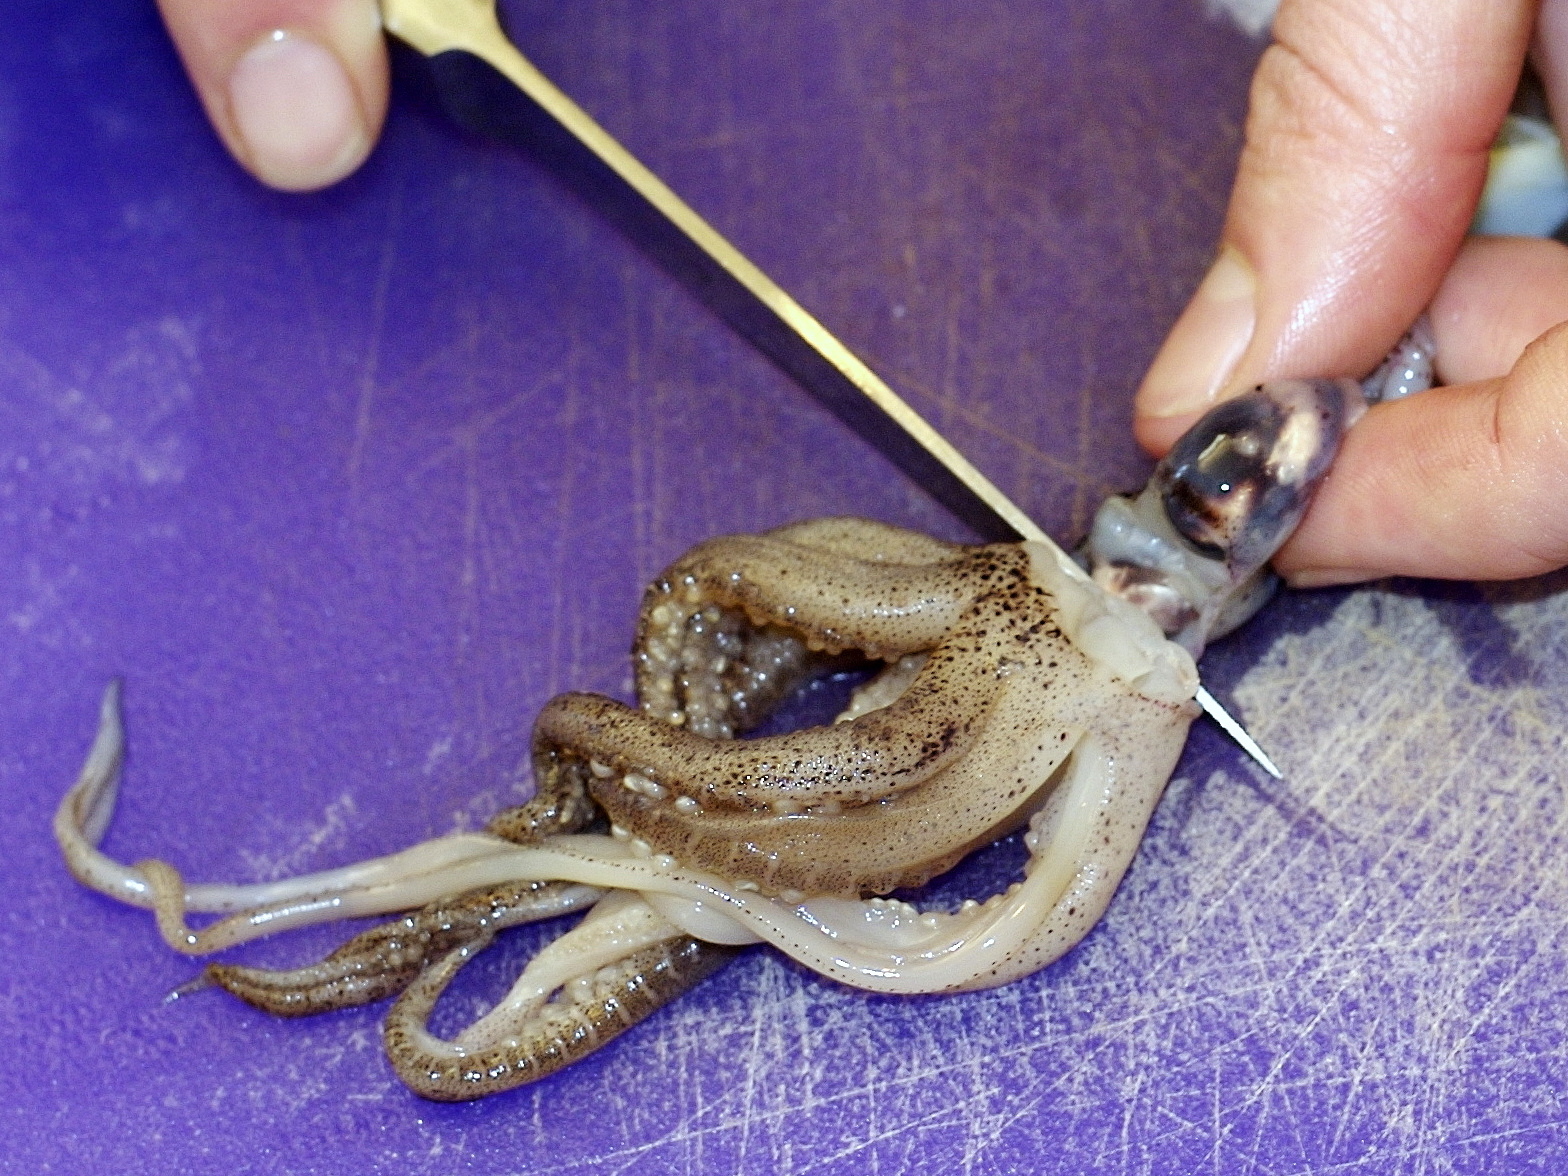
First, pull the head and tentacles out of the body cavity. The guts will come along with the head; look for the small, thin, silvery sac about halfway along.
Carefully detach the ink sac, taking care not to puncture it. It’s attached at the ends, so just slip your knife underneath and cut away from the center to remove it.
Choose your own adventure.
Now is the choice point: what do you want to do with your ink? If you want to print with the ink, go to Steps 3–5. If you want to cook with the ink, go to Step 6.
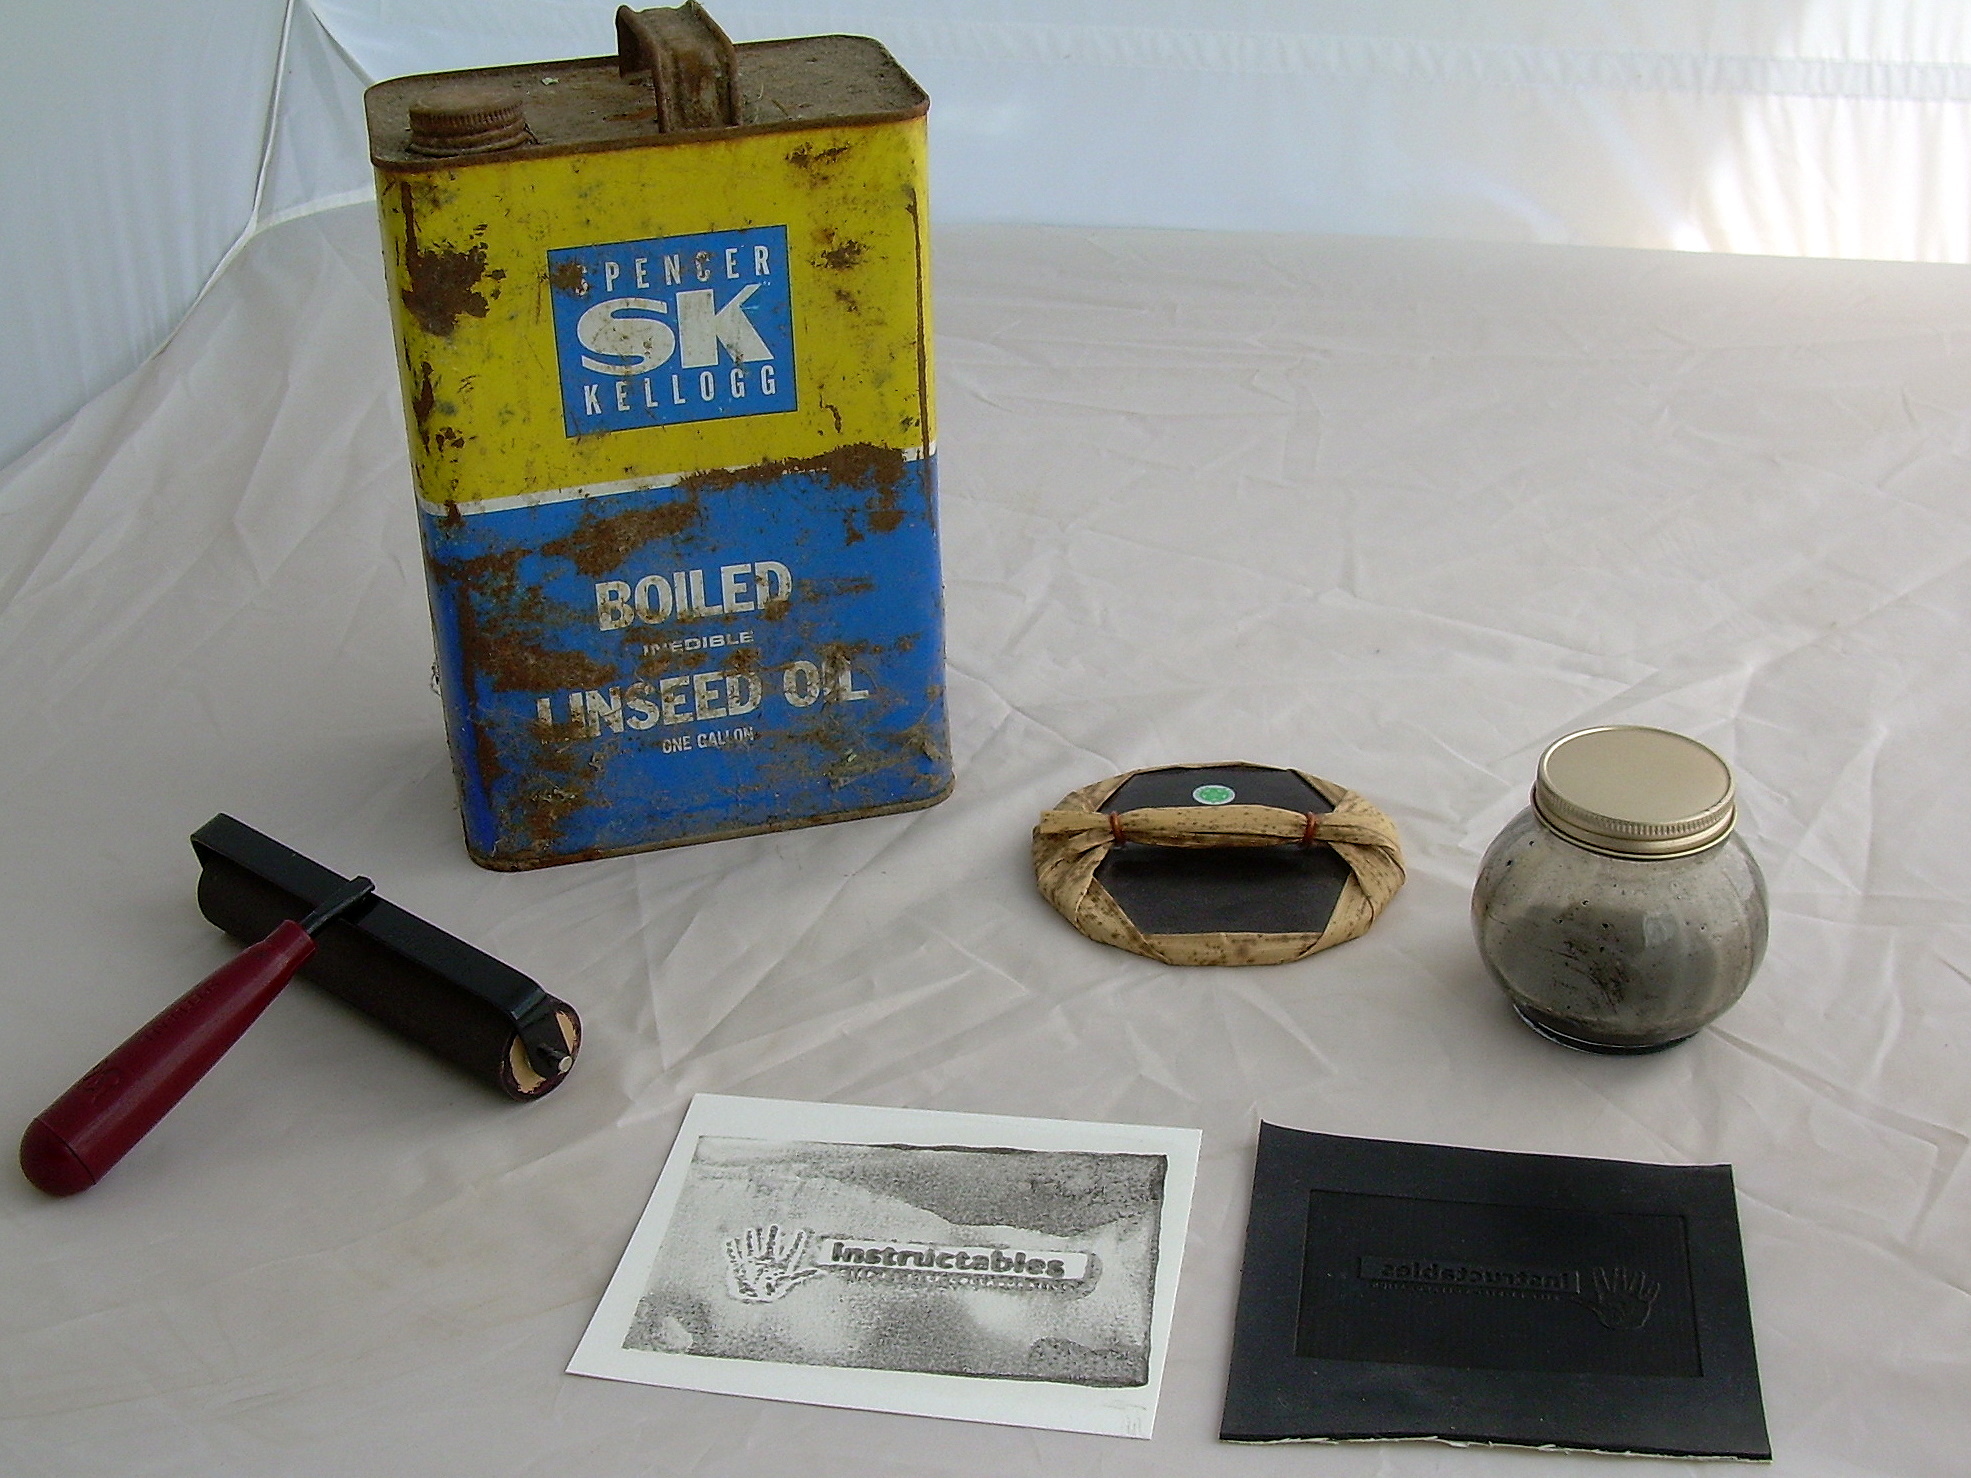
Print with squid ink.
If you plan to print with your ink, put a tablespoon of matte medium, linseed oil, or other ink carrier medium into a small nonporous glass, ceramic, or metal bowl (squid ink can stain plastic, unglazed ceramic, and cloth). Keep in mind that it’s easy to dilute your ink later; leave it concentrated now to keep your options open.
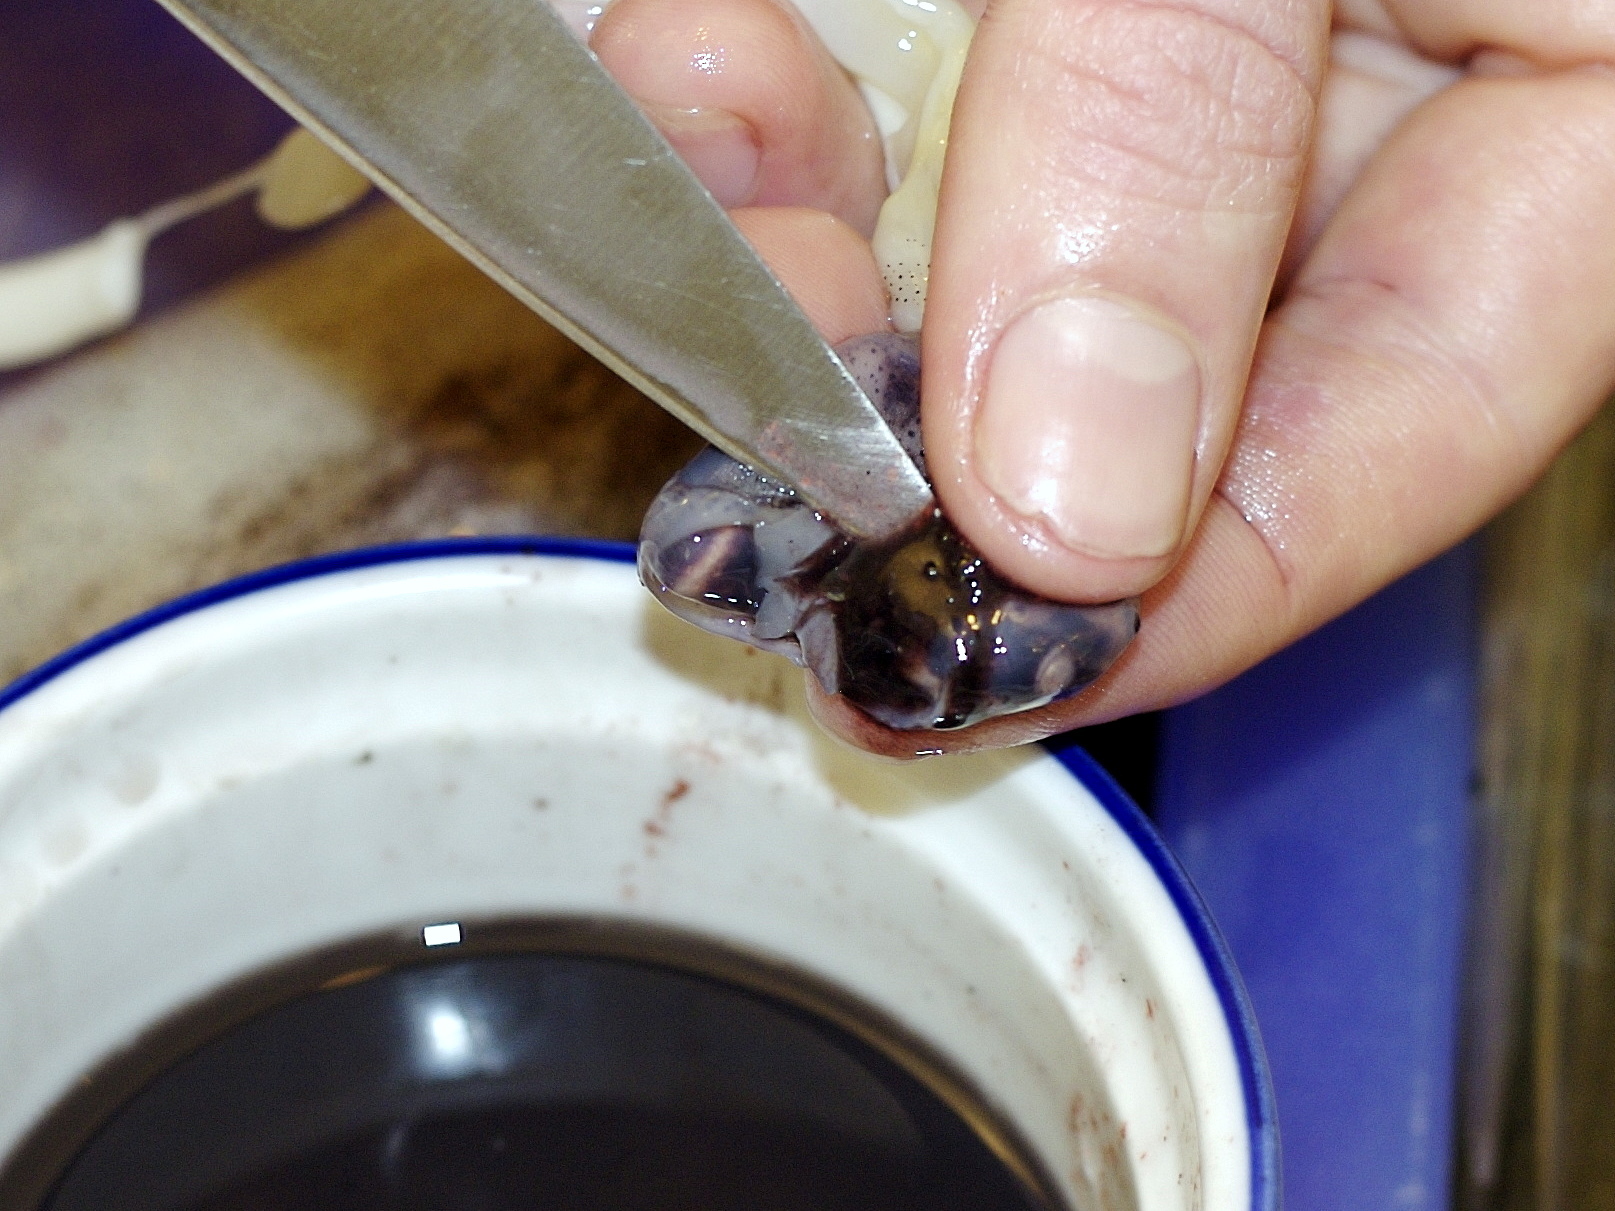
Puncture the sacs.
If the ink sacs are large, gently puncture them with your knife, and squeeze the contents into the bowl. If the ink sacs are small, or you’d like to avoid getting your hands any messier and potentially squirting the wall with squid ink, simply drop the entire ink sac into the bowl and puncture it with the tip of your knife. We’ll strain the sacs out later.
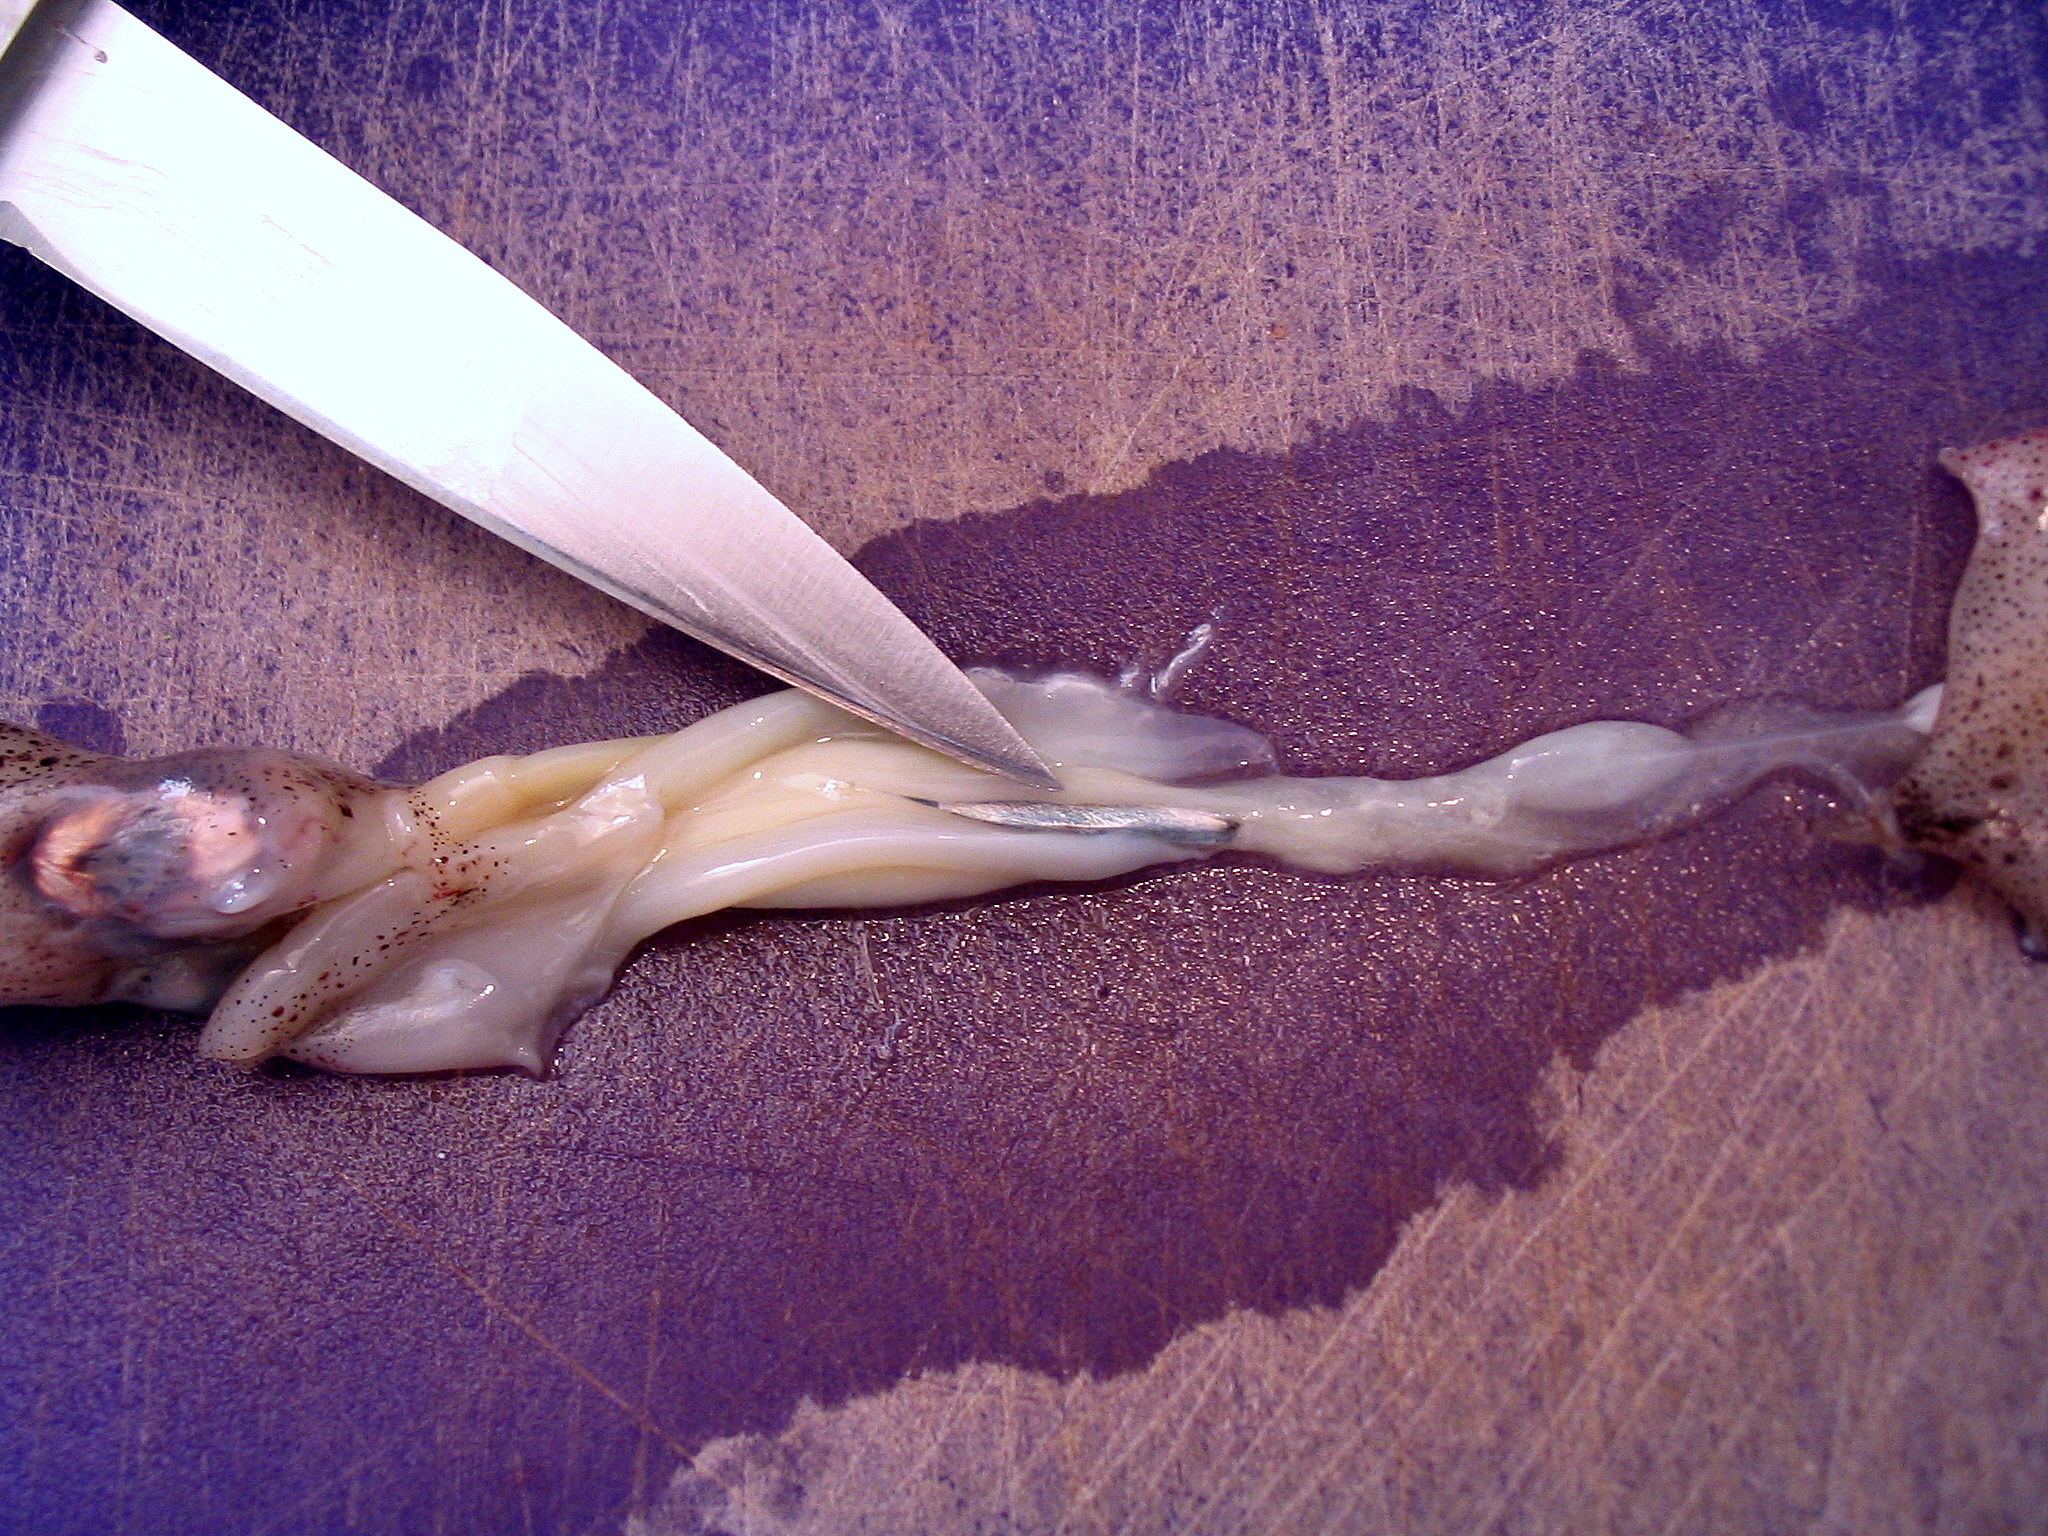
Squeeze behind the head to extrude the beak, and remove it from the center of the tentacles.
Now cut the tentacles off just below the eyes, taking care not to puncture the eyes. From the cut end you can see the ink deposits: they’re the dark bits just behind the silvery backside of the squid’s retina.
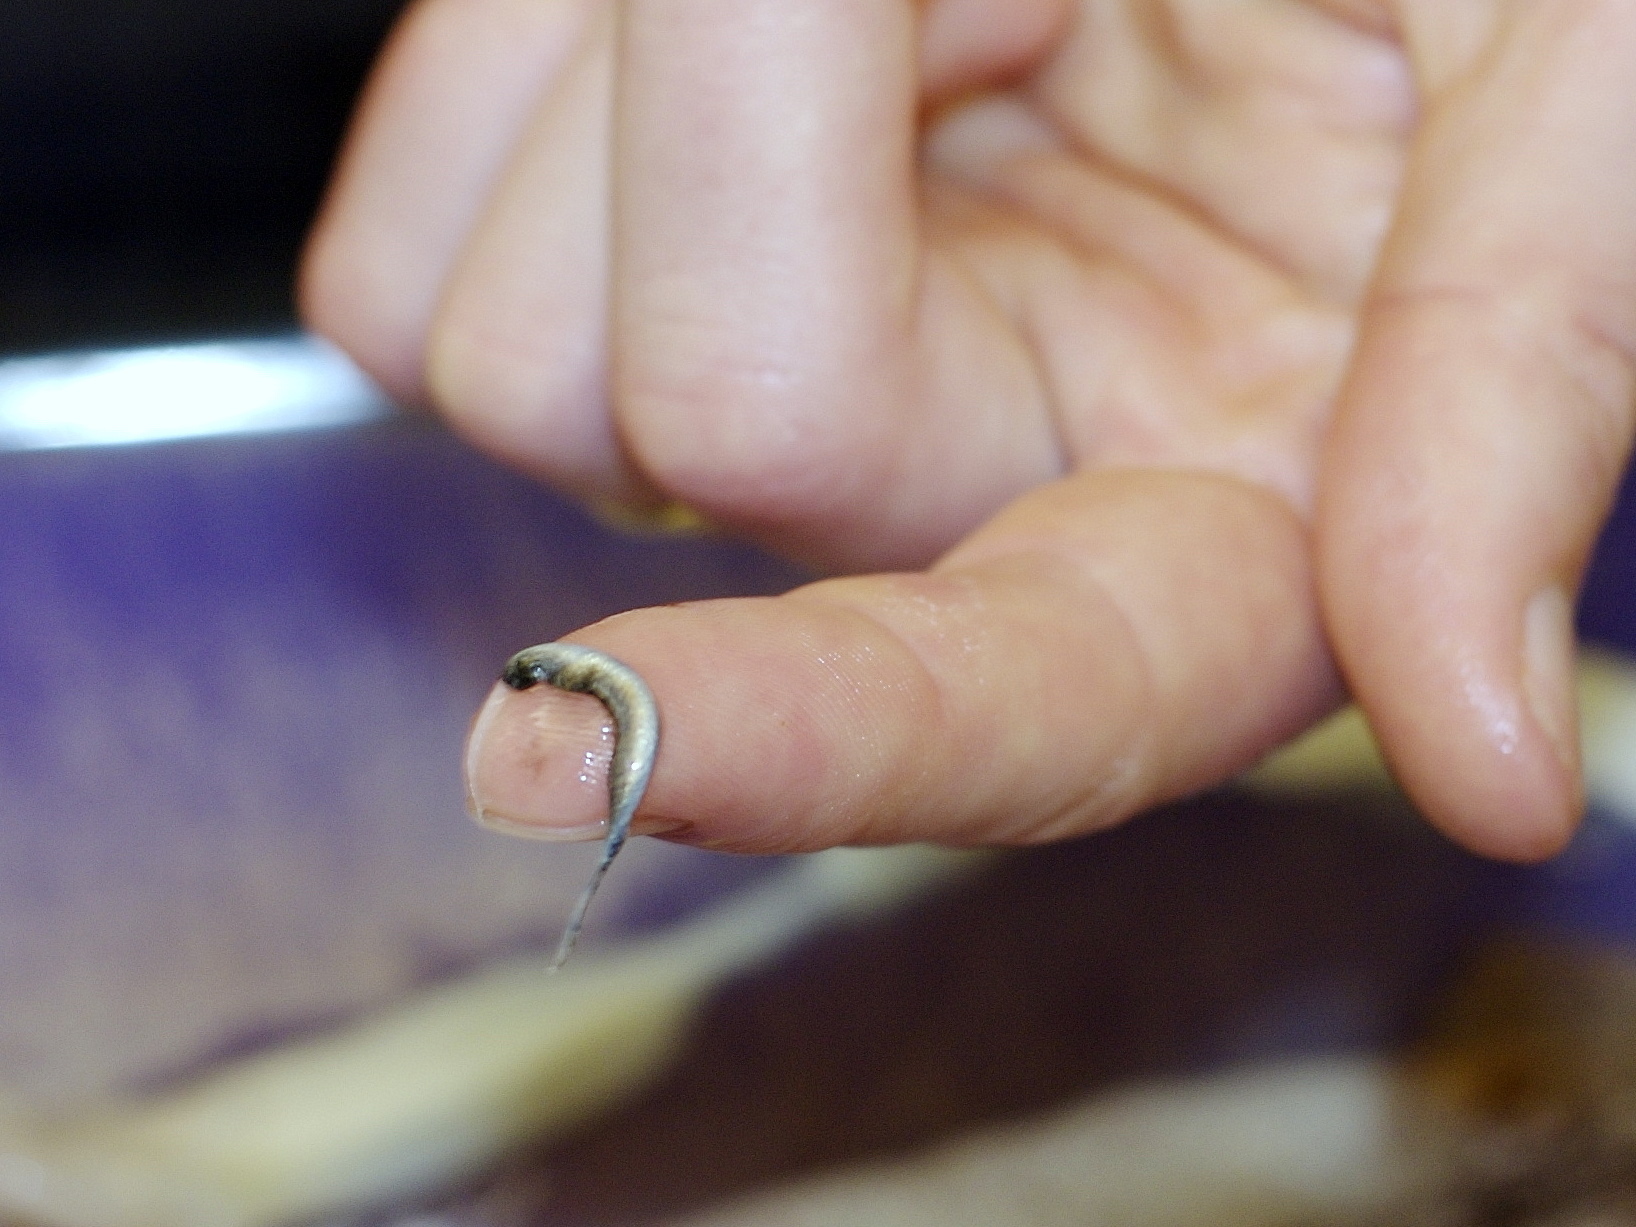
Poke your knife into the ink, and gently squeeze the additional drops into the bowl. Repeat the process with the rest of your squid, setting aside the tentacles and bodies for dinner.
Strain and use the ink.
Strain your ink into another non-reactive container, and squeeze any remaining ink sacs against the mesh with the back of a non-staining silicone spatula, to make sure they’re thoroughly empty.
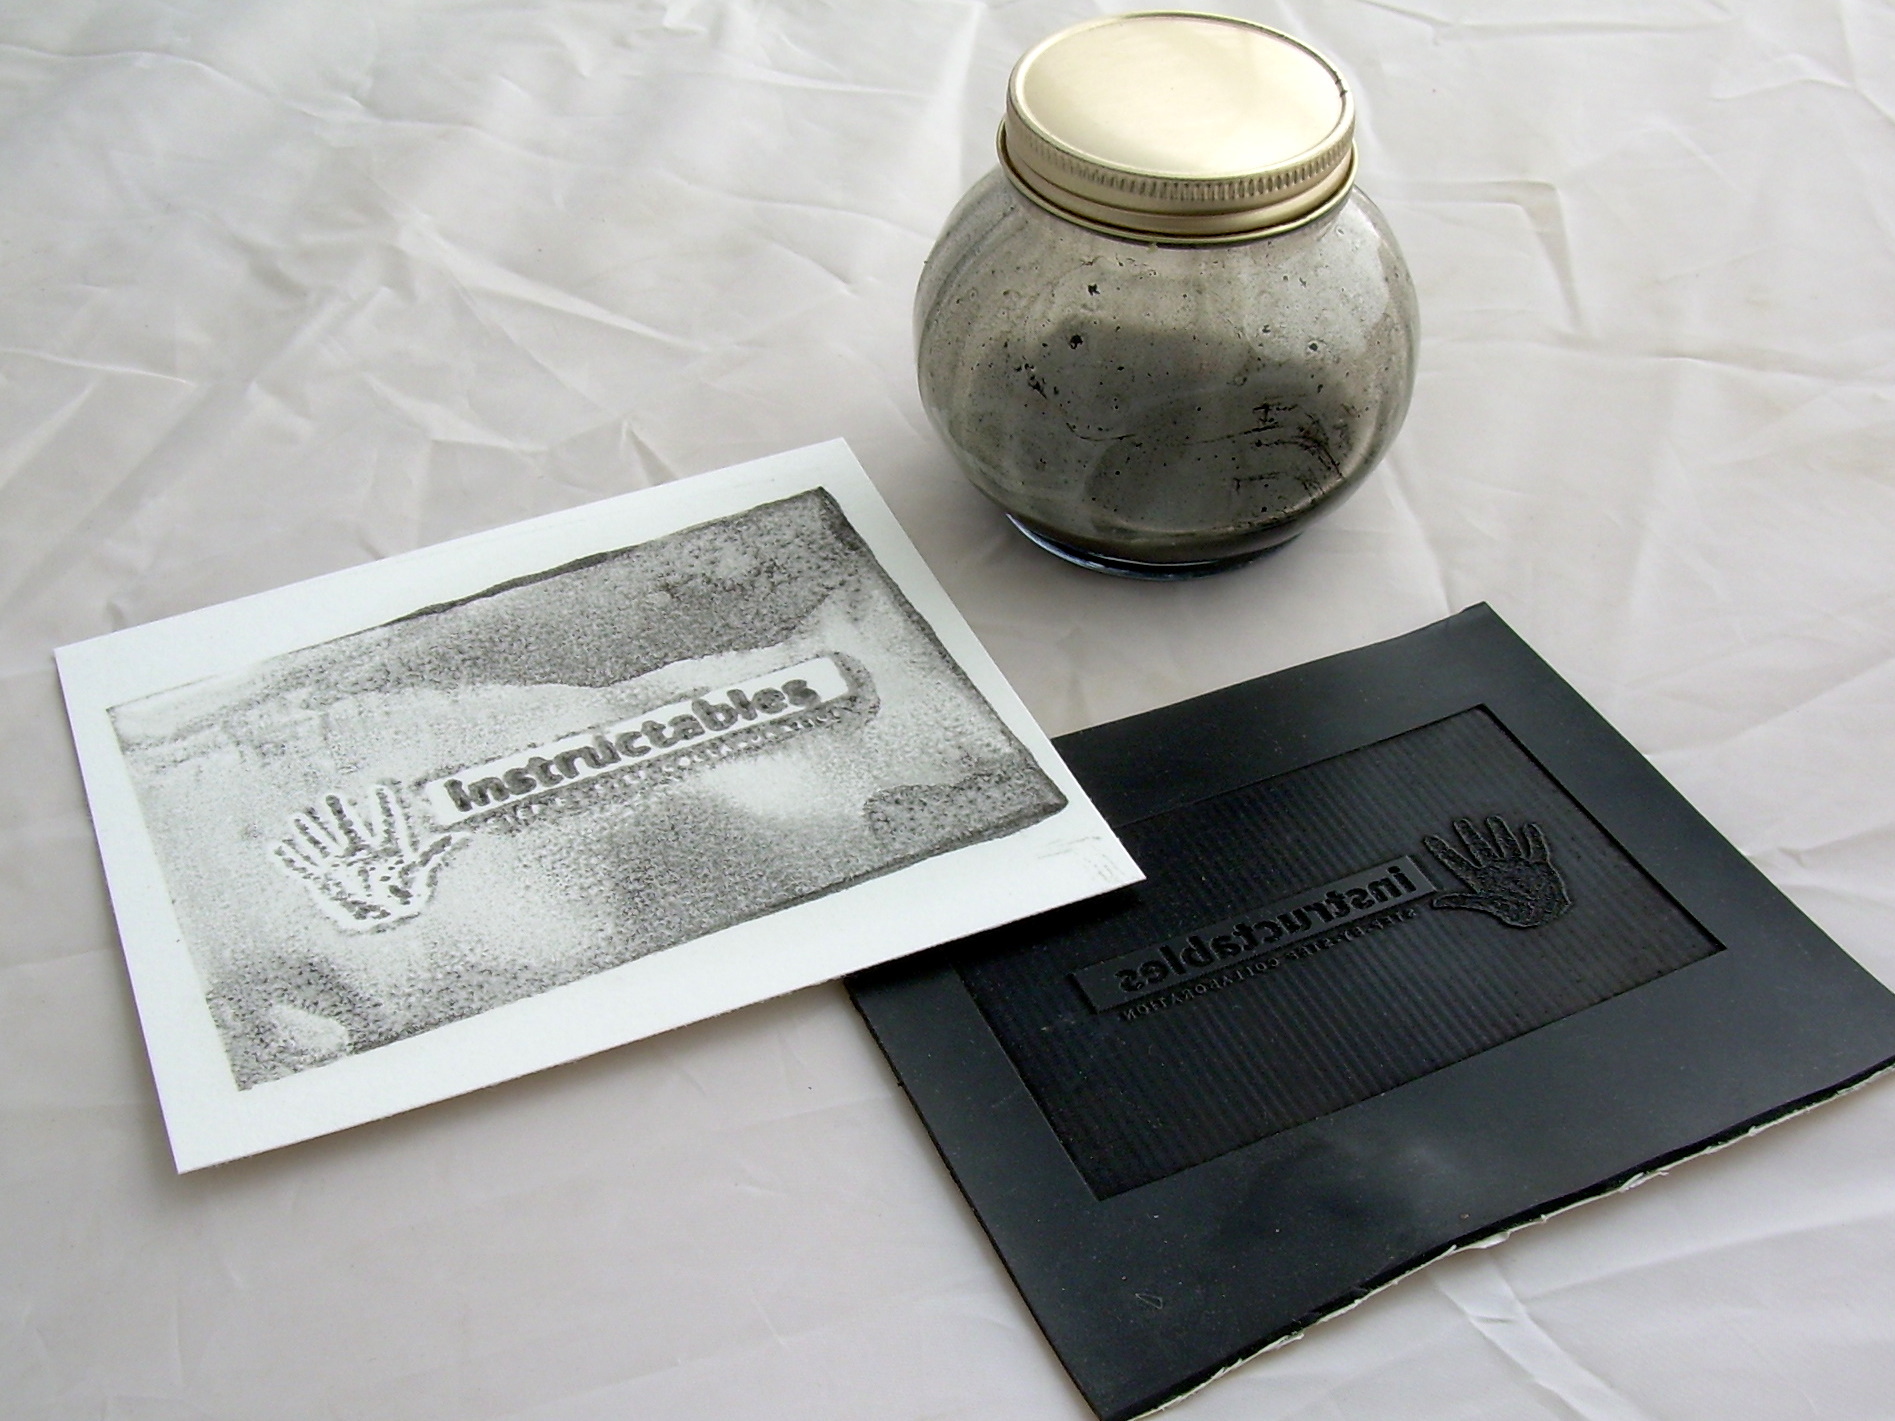
Rinse the bowl and strainer with more of your ink carrier medium, and scrape both with the spatula to remove any last bits of ink. Discard the ink sacs, and stir your ink into the carrier medium. Test for color and dilute as necessary, then print as you would with normal ink. (See Linocuts 101 for a linoleum block printing tutorial.)
Be sure to use the ink immediately, or refrigerate it for use soon — just like squid, the ink will start to smell if you leave it out! Wash your printing tools with extra care as well.
Cook with squid ink.
If you plan to cook with your ink, put a tablespoon of water or vinegar into a nonporous bowl. As in Step 4, deposit the ink sacs directly into the bowl and puncture them with the tip of a knife.
A classic way to show off your hard-won squid ink is to give color to pasta or rice. Check out this easy recipe for squid ink risotto with squid. Or, make your favorite risotto, and process the squid while the risotto cooks. When the risotto is almost done, add your squid ink.
Conclusion
This project first appeared in CRAFT Volume 04, pages 121–123.