

Projects from Make: Magazine
EZ-EL Wire Bicycle
Deck out a bicycle with EZ-EL Wire! Looks great at night, and adds to rider safety by increasing visibility.
Deck out a bicycle with EZ-EL Wire! Looks great at night, and adds to rider safety by increasing visibility.
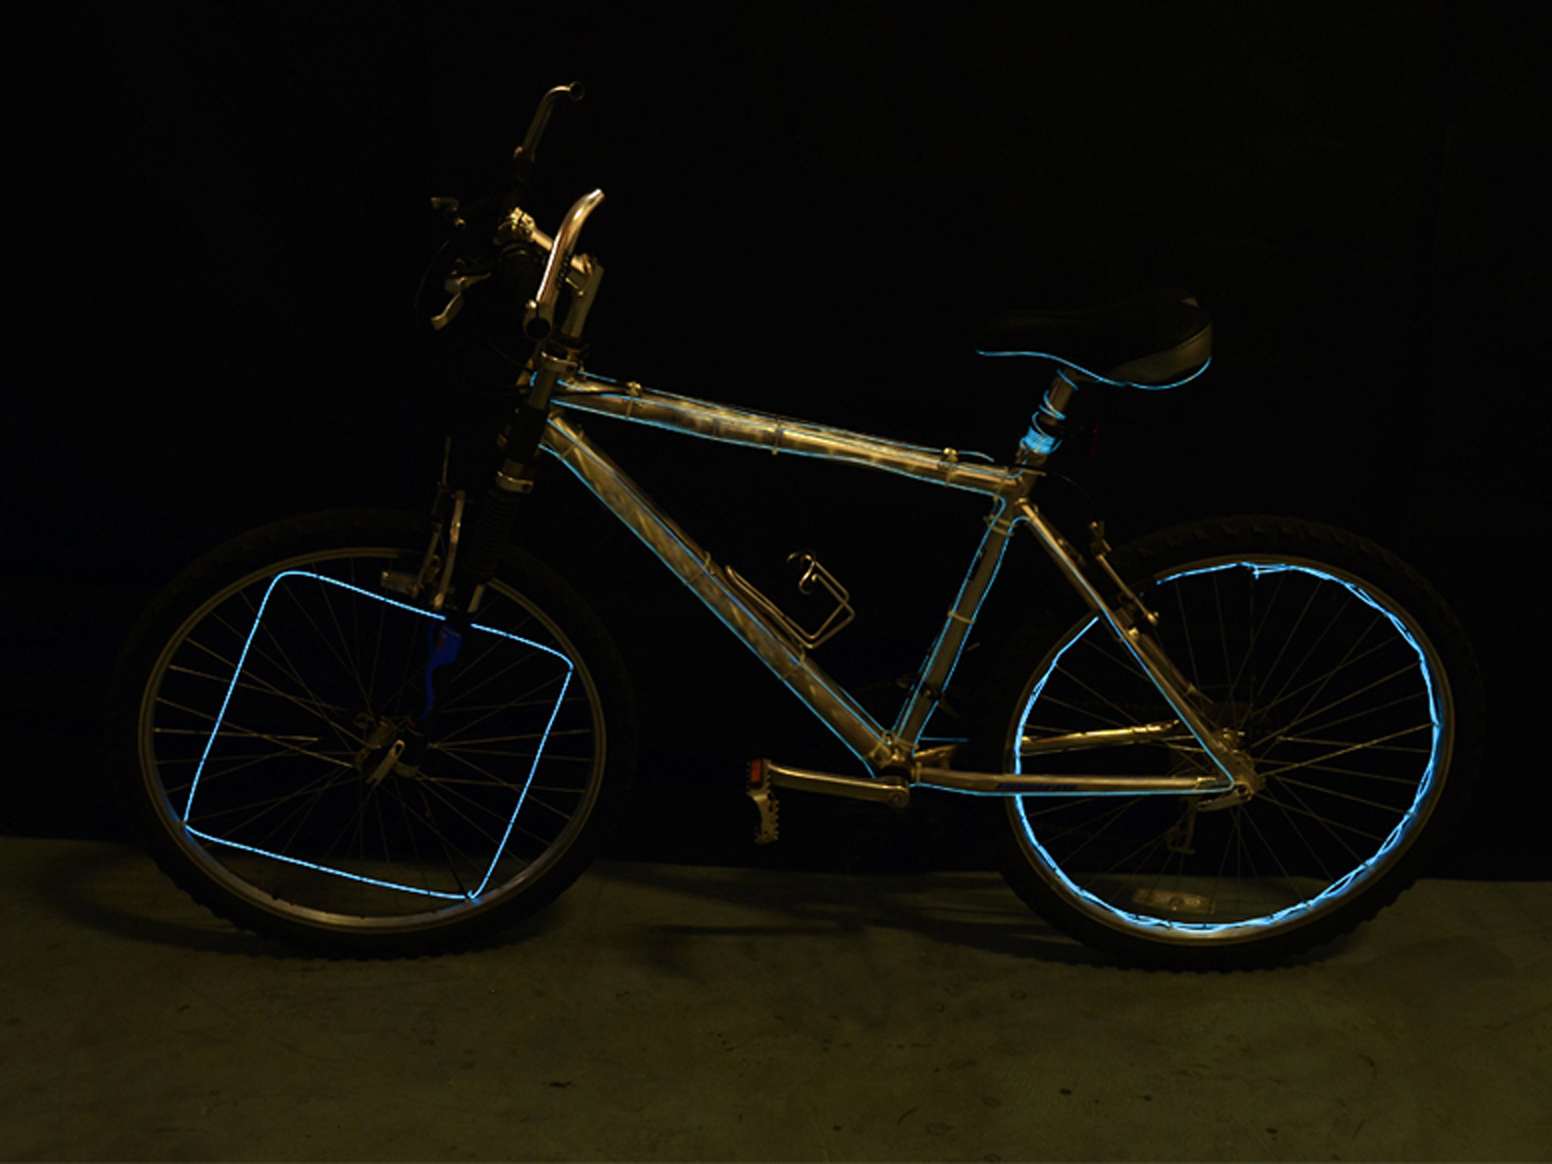
Here is what the finished bike will look like.
For this particular design, the front wheel has a square design and the back wheel has a weaving design within the spokes of the wheel. You can create your own designs for your bike’s wheels.
After you’ve created your designs, attach the extension cable to the inverter and secure the inverter in the center of the wheel. This will be your starting point.
Let the extension cable reach the rim of the wheel and start following your pattern from your design.
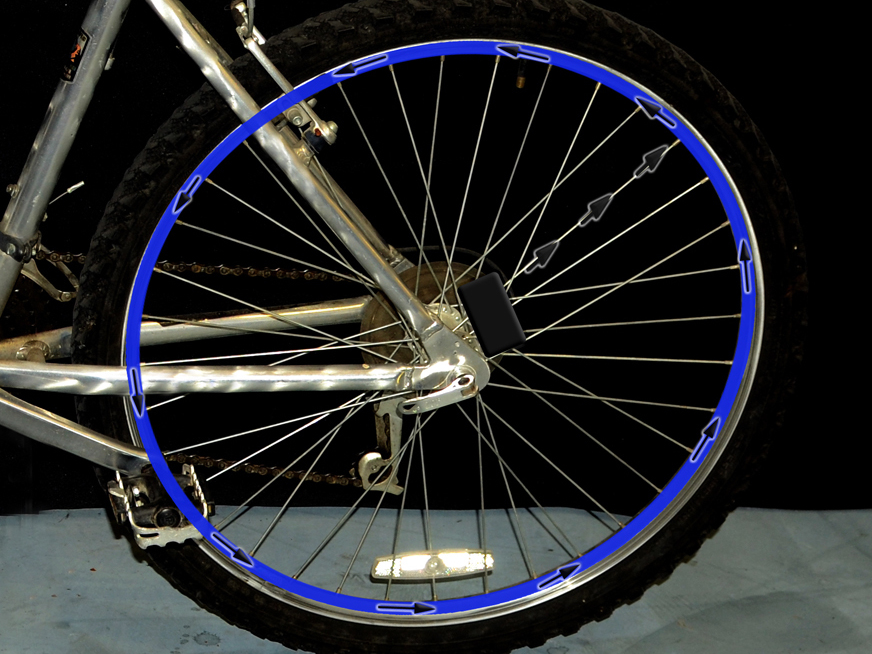
For this weaving design, insert the 25′ Blue EL Wire through each spoke of the wheel, creating a continuous “S” design throughout the circumference of the wheel.
When the first weave reaches full circle, start weaving the same wire in an opposite “S” direction between of each spoke of the wheel to achieve the “weave” effect.
When the second weave reaches full circle again, use a wire cutter to snip off the excess wire.
Zip tie or tape down the end of the wire to the bike.

As with the circle design, start the pattern with the inverter attached to the extension cable and secure the inverter to the center of the wheel.
Let the extension cable reach the rim of the wheel and start your design.
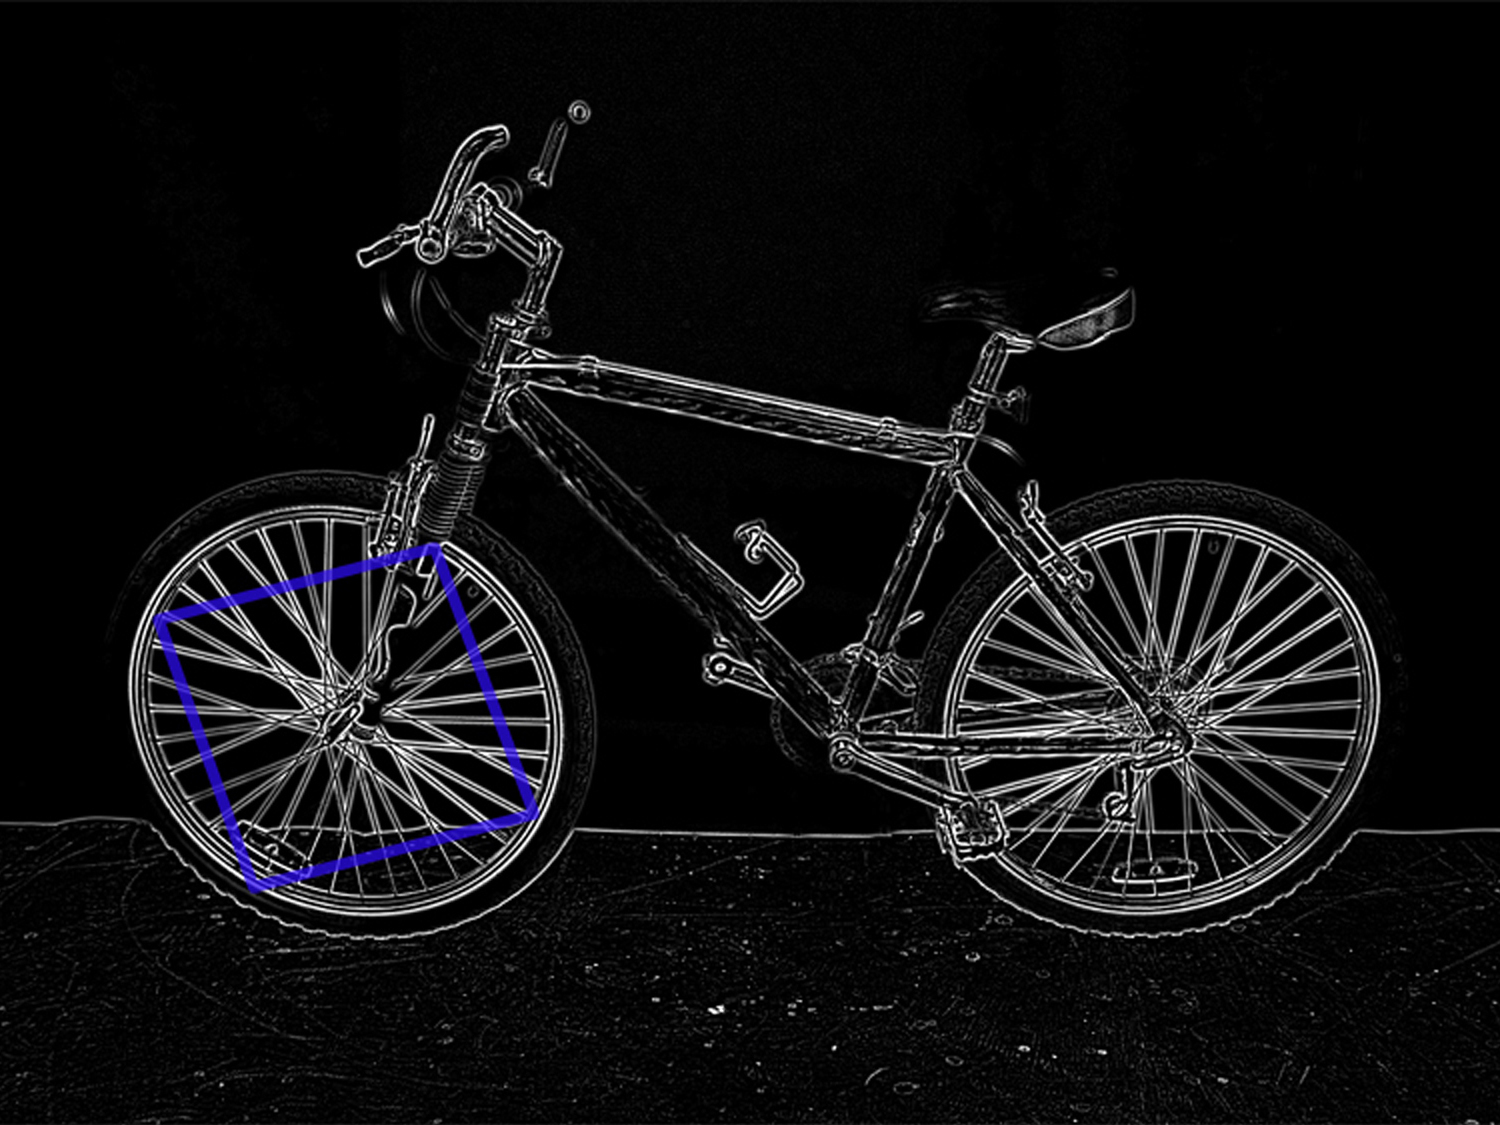
For this square design, extend the 10′ wire to form the 1st corner of the square.
Use a zip tie to secure the corner at a 90-degree angle.
Continue this process until the square is complete with the wire ending where it began, resulting in a square shape.
Snip off the excess wire with a wire cutter.
Zip tie or tape down the end of the wire to the bike.
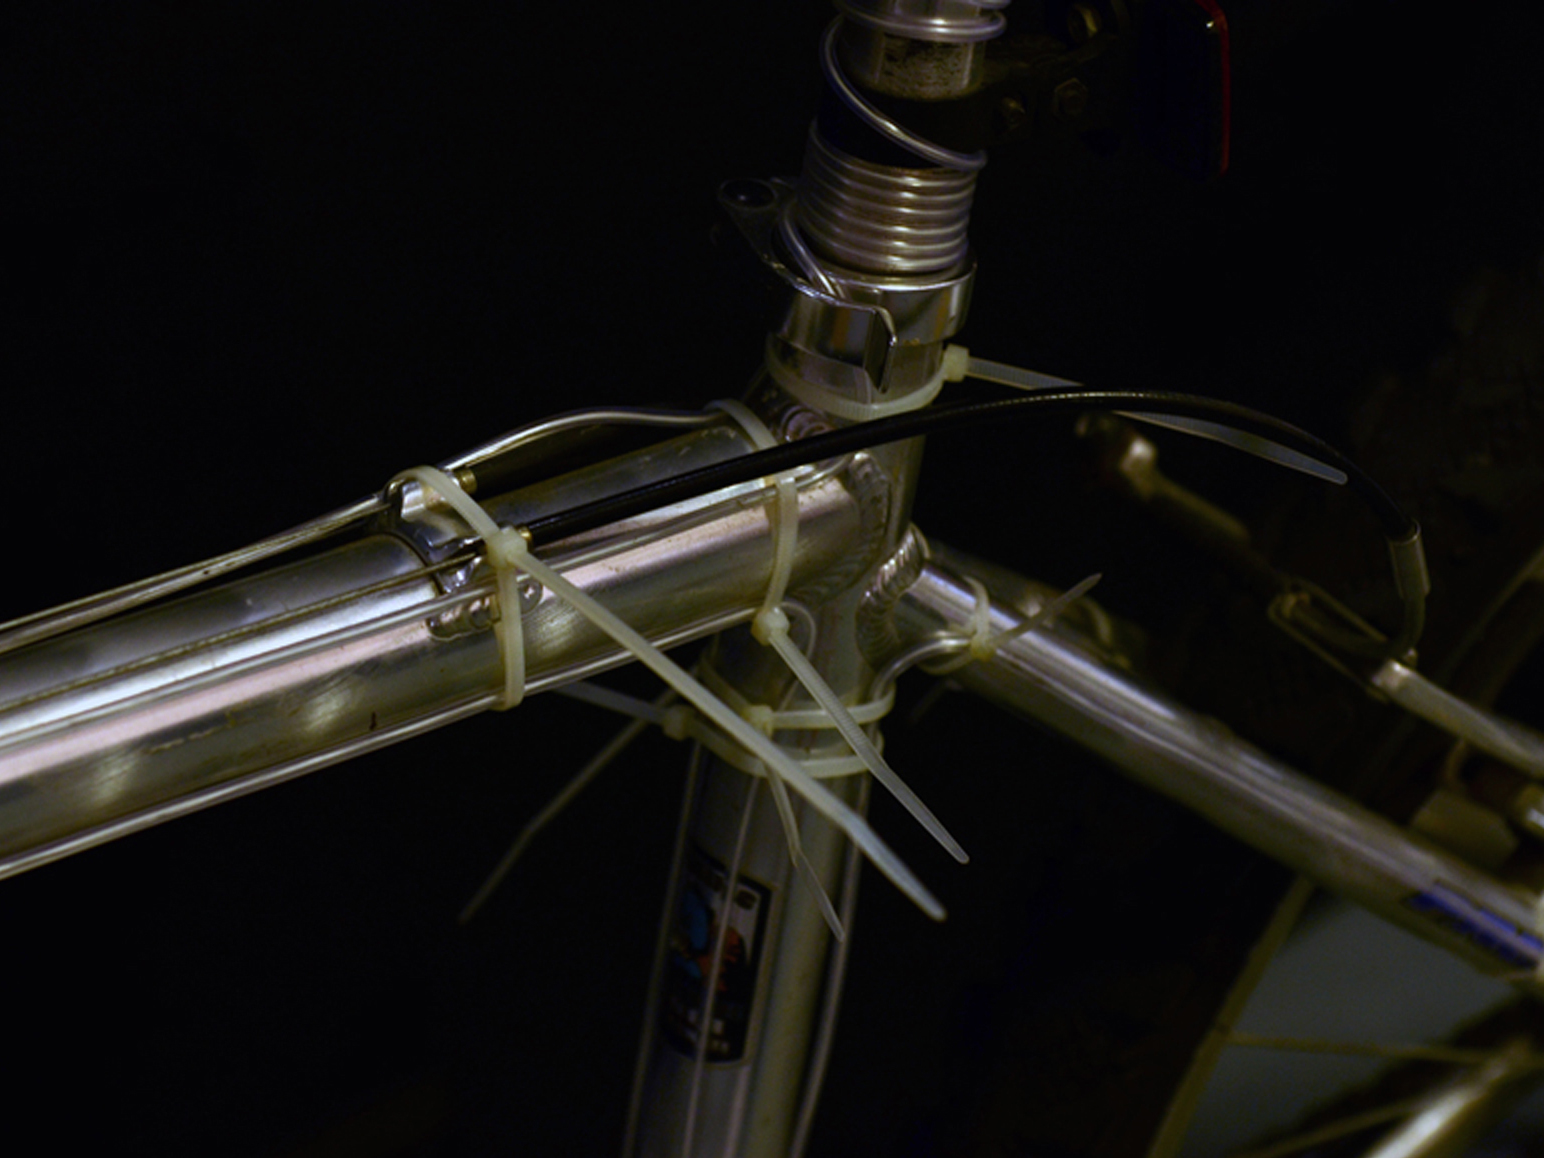
Outline the body of the bike with another 10′ White EL wire. Use zip ties to secure the wire to the bike.
Connect the inverter to the wire and use zip ties to secure the inverter underneath the frame of the bike.
Snip off excess wire when you’re done with the design.
Zip tie or tape down the end of the wire to the bike.

Enjoy your awesome bike! Take it out for a midnight ride or bike party!


