Light-Up Origami Frog

Read articles from the magazine right here on Make:. Don’t have a subscription yet? Get one today.

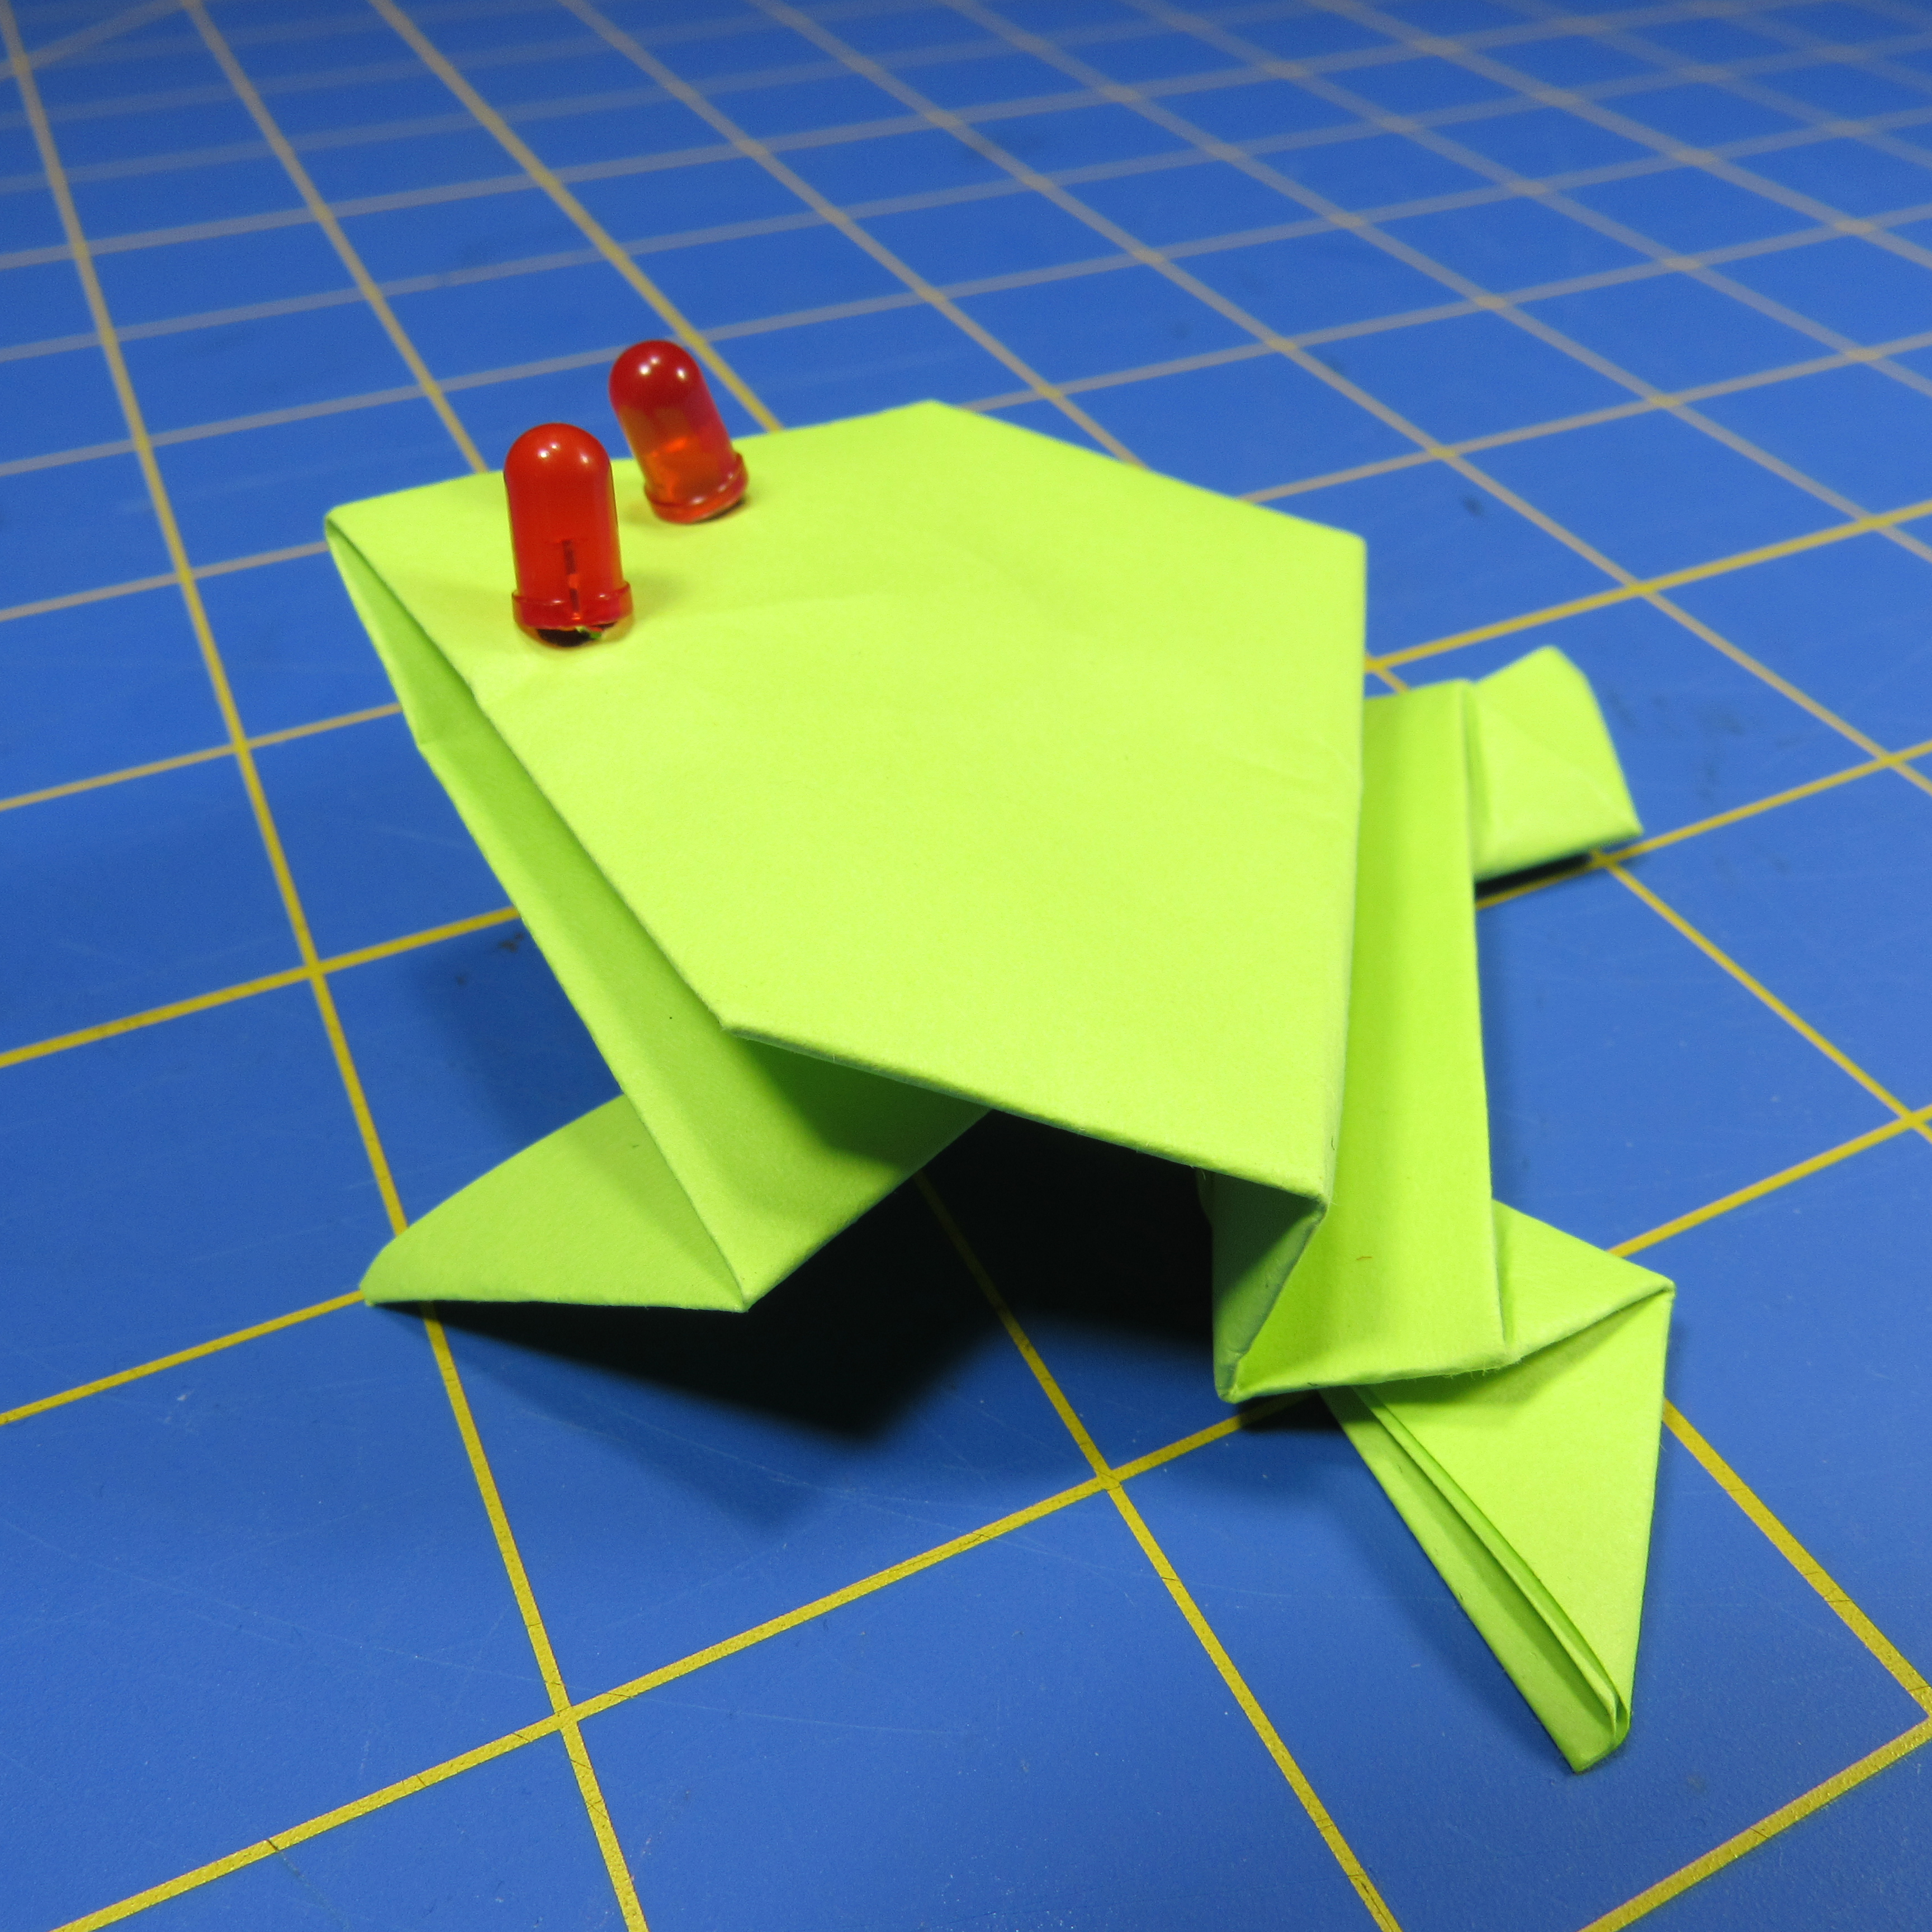
Light-up origami designs have been around for a while — but this adorable jumping frog takes it to new levels. Press the frog down, and the LED eyes start to glow. Release the frog, and it leaps across the table. If you’re lucky, it may even do a little flip in the air!

The design for this light-up origami jumping frog comes from IBM engineer and STEAM education proponent Emi Olsson, who got the idea from the light-up paper art projects in my book Paper Inventions. When Emi sent me a video of her invention via Twitter after stopping by to say hello at a Mini Maker Faire, I knew I had to reverse-engineer it.  It’s since become one of my go-to projects for workshops and events, suitable for kids and adult beginners.

The instructions below will take you through the folding of the traditional jumping frog. You don’t need any origami experience — just patience, since there are some tricky parts that may take a few tries to get right. Once you’ve got your frog working, you’ll need to (temporarily) dissect it so you can insert the LEDs. Building the circuit is a snap — all you need to connect the lights to the battery is a little bit of metallic foil tape. Then fold everything back up, and your frog will be jumping and glowing in no time!

To see it in action, and get a quick run-through of the origami steps, check out the short video.

Project Steps

PRE-FOLD THE PAPER

1. Bring the shorter edge at the top down to the bottom edge. Make the crease sharp.

2. Bring the top edge up to the middle fold and crease again. Open the paper up again.

3. Bring one top corner down to the opposite end of the middle crease. Crease and open again. Repeat with the other corner.

4. Optional: Repeat Steps 2-4 with the bottom edge of the paper.

MAKE THE FROG’S HEAD AND FRONT LEGS

1. Take the X-fold on the top half of the paper and push in the sides to form a triangular “tent.” Flatten the triangle.

2. Fold the bottom corners of the triangle up as shown to form the legs. Flatten.

MAKE THE FROG’S BODY

1. Fold up the bottom edge to the middle crease.

2. Fold in the sides so they meet in the middle. You may need to lift the front legs out of the way.

3. Fold the bottom up again so it meets the bottom corner of the head.

MAKE THE BACK LEGS

1. Reach inside the last fold to grab the corner of one side. Pull the corner out. Repeat with the other corner. The bottom now looks like a boat.

2. Bring the corners of the “boat” down so they meet at the bottom, forming a diamond shape.

3. Take one half of the diamond and fold it over so the edge meets the diagonal crease. Repeat with the other side to form the back legs.

MAKE THE SPRINGY FOLD

1. Bring the bottom of the frog up along the middle crease, so the back feet are touching the front feet.

2. Bring the same piece down so the bottom edge meets the middle crease. Sharpen this fold.

3. Turn your frog over. To give it a test jump, press down on the back edge to compress the springy fold. Slide your finger back to release it.

ADD THE LED EYES

1. Make sure the LEDs work together by sliding them both onto the battery. The positive wire leads (usually longer than the other lead) must touch the positive (smooth) side of the battery.

2. Draw eyes near the frog’s nose, then unfold the origami. Poke the LEDs through the eyes — making sure the positive (longer) lead is closer to the nose.

3. Take the foil strips and fold down one long edge so the glue sticks to itself. This will ensure that the metal foil makes a good connection between the LEDs and the battery. (You can skip this step if you are using copper foil tape with conductive glue.)

4. Inside the head, bend the bottom (negative) leads down so they’re touching. Secure them to the paper with one piece of foil tape.

5. Bend the top (positive) leads up and wrap the other piece of foil tape around them tightly.

6. Place the battery, positive side up, over the foil tape. Use clear tape to hold it in place — making sure to leave the part of the positive side closest to the positive wires uncovered.

TEST YOUR LIGHT-UP FROG

1. Bend the positive wires down until they are almost touching the positive side of the battery. Fold the frog back up.

2. Time for the final test! When you press down the back, the LEDs should light up. When you release it, the lights should go out as the frog leaps forward.

3. If the eyes stay lit, adjust the positive leads. Your light-up frog should last for many hops.