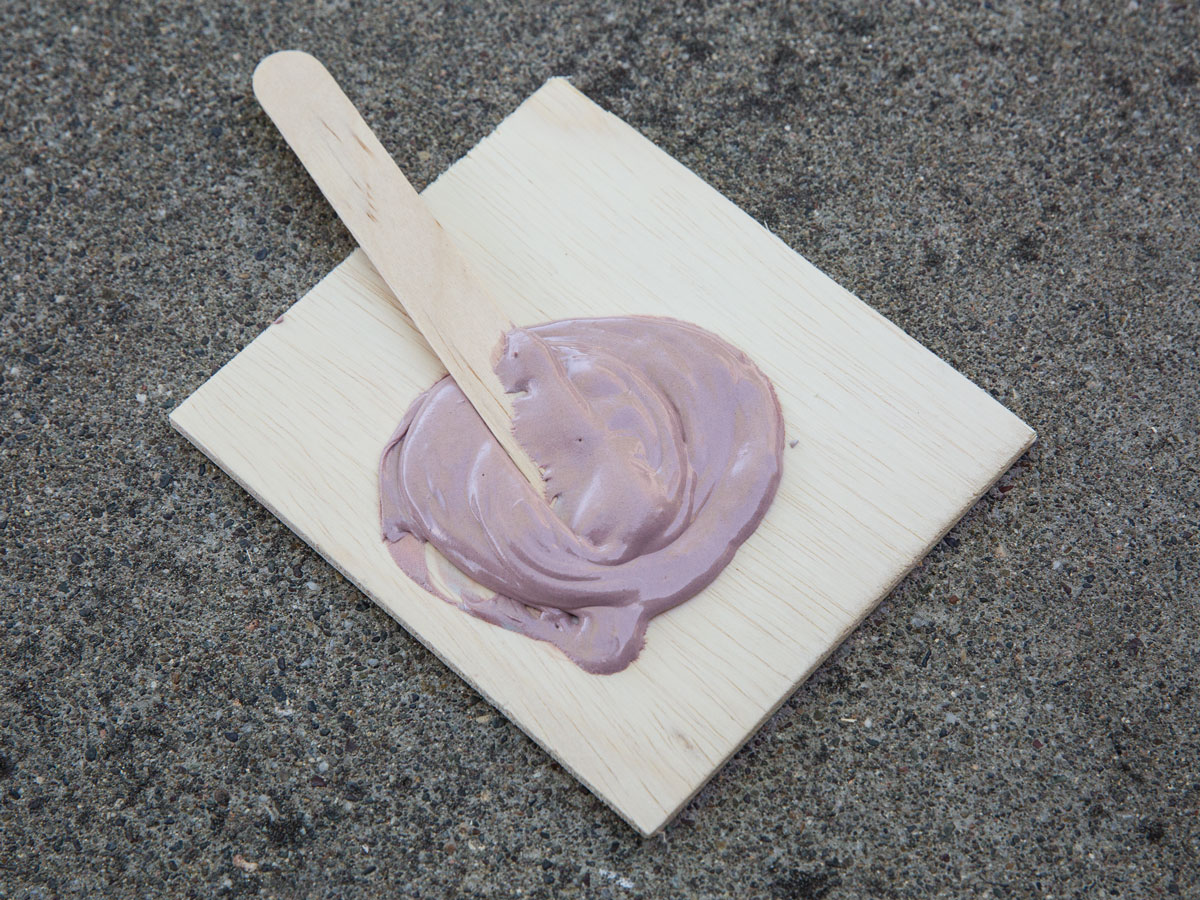
Body filler is a thick, two-part polyester resin, commonly called Bondo. Cursory Googling reveals a universe of mostly automotive applications, primarily for repairing body damage, but we’ll leave that to the experts and show you a few creative uses for this versatile stuff.
We recommend 3M’s Bondo 262 for general purpose work, which comes with a tube of reddish brown hardener. For tips on mixing and curing body filler, check out our Skill Builder (makezine.com/working-with-bondo), and Shawn Thorsson’s awesome video tutorial (makezine.com/body-filler). Now let’s get creative!
Caution: Bondo is flammable — keep away from heat, sparks, open flames, and hot surfaces. Wear protective gloves and eye/face protection. Wash thoroughly after handling.
1. Custom tool grip
Slather mixed Bondo onto a prepared wooden tool handle; a hammer’s a good place to start. Wearing a tight-fitting latex glove, grip the handle as you’ll use it. When it sets enough to hold its shape (it will get warm, but not uncomfortably so), slowly release your grip and immediately remove excess material with the Surform. After curing, Dremel, file, sand, and finish.
Tip: For a super-smooth finish, apply a very thin layer of glazing and spot putty with your palette knife.
2. Casting
Do you have an antique candle holder, bookend, or prized earring, but have lost its twin? Need an antique drawer pull that’s no longer available? Maybe you’d just like to duplicate an item you can’t buy any more. Make a mold of the item using mold-building latex. (We used Castin’ Craft’s Mold Builder liquid latex rubber from Michael’s.) Follow instructions on its container to build up the mold in layers, including a flange for support and filler containment, reinforcing if necessary with cotton gauze. Block any holes you won’t need in the final part.
Tip: Mix only the amount of resin and hardener you need for the job.
When the latex is dry, remove the item and mount the mold in a supporting structure, such as a box. Invert the mold, and fill it with mixed Bondo. (The extrusion-art syringe, mentioned below, can help fill small cavities.) Let cure, peel away the mold, and finish as described for the custom tool grip to duplicate the original. You’ll probably have some small voids to fill with Bondo and/or glazing and spot putty. Our candle holder was brass colored, so we sprayed the original and the duplicate with brass paint.
Tip: Clean and sand or scuff the surface to prepare it for body filler — it will not adhere to smooth, dirty or oily surfaces.
3. Extruded art (cylindrical)
Modify a 20ml plastic, needleless syringe by drilling its outlet hole to 3/32″. Cut a PVC cylinder in half, lengthwise, place a removable wood disc in either end, and cover with wax paper. Put on latex gloves. Working quickly, mix the Bondo and stuff it into the syringe (messy!). Attach the cylinder to a slowly-rotating variable-speed drill and extrude Bondo from the modified syringe as it rotates. Thoroughly clean the syringe and tools between batches or they will be virtually unusable. After a full cure, carefully slide your masterpiece off one end. If it won’t release, remove one or both discs to allow the cylinder to collapse slightly. If you plan to use it as a candle or lamp screen, first spray with heat-resistant paint, then line it with drafting film or similar translucent plastic. Limit lamp wattage to 60.
4. Extruded art (flat)
Tape a printout of one-line art and a sheet of wax paper to a smooth horizontal surface. Quickly extrude the mixed Bondo onto the wax paper. Repeat for any unfinished areas. You can create your own extruded art from scratch or just extrude the body filler randomly to create fanciful ornaments.
When the Bondo is fully cured, carefully peel the wax paper from the art. No finishing is necessary except to spray paint both sides. Use small pieces of double-sided tape to mount your art on a contrasting background, or just hang it up.
5. Simulating plastic
Cover any small, prepared wood object with a thin layer of Bondo. To simulate molded radii, press the filler into intersections with a 1/4″-diameter dowel. Finish as described for the customized tool grip.
6. Potting electronics
Bondo is ideal for potting and protecting circuits, either custom boards or ones exposed by careless handling. A short section of PVC tubing can help contain the Bondo. Fill and cure each end separately. Paint if the electronics will be exposed to the elements.
7. Replacing a lost screw-on lid
To salvage almost a gallon of lacquer thinner when I lost the container’s lid, I made a new one from Bondo and a short section of PVC tubing. Slot through one side of the PVC section and liberally add slots to the inside wall. Surround the can’s threaded hole with cardboard. Spray it, and the threads, with release agent. Cut a circle from cardboard to the diameter of the threaded opening and set it on top of the opening. Apply a thick coat of mixed Bondo all over the threads. Press the PVC sleeve over the threads into the uncured Bondo. Add another layer of Bondo to the top. Allow to cure and unscrew your new lid. If it was difficult to remove, cut any unthreaded area off the bottom.
TIP: Be vigilant; do as much shaping as you can before Bondo fully hardens.
8. Other Bondo goodies
Fix toys. Modify or repair power tool housings. Make a small flashlight or a few throwies. Mold a sculpture. Fix a chair leg. Increase a pulley diameter. Add machine-screw threads to wood. Replace a lost screw-on lid.
For other creative uses for body filler — from Ironman helmets to rocket cones — search makezine.com or Google “body filler applications.” Fond o’ Bondo yet?


