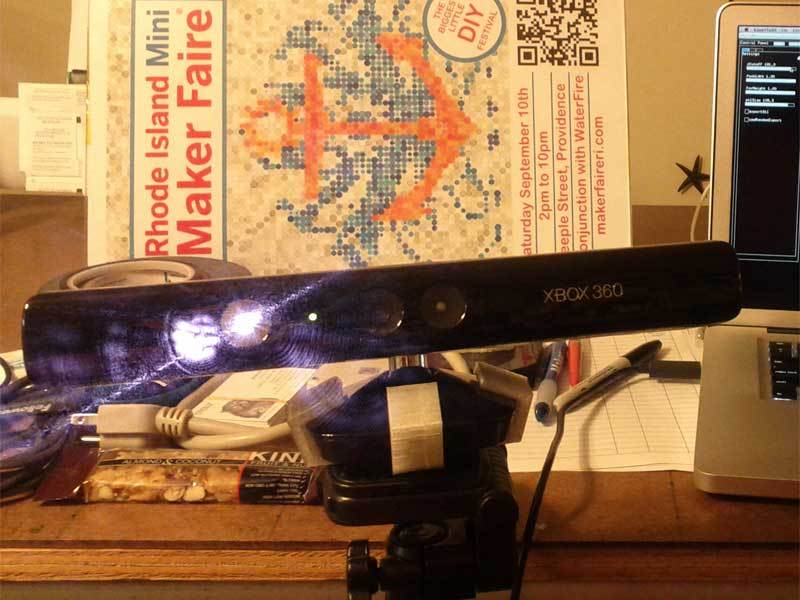
You’ve got a Kinect, and you’ve got a MakerBot. This guide explains how to scan something using the Kinect, and then to print it on the MakerBot. For this guide, I used a scan I made of Kipp Bradford, co-organizer of the RI Mini Maker Faire.

It’s very easy to scan something with the Kinect, but the models that you get from it are quite complex. This guide focuses on simplifying those models while retaining as much detail as possible, with the goal of making it faster to slice and print your designs.

At the moment, these instructions are tested on the Mac. If anyone manages to compile and run Kyle McDonald’s KinectToSTL on Windows or Linux, let me know, and I’ll load it on my Windows or Linux machines and update this guide for that platform.

Project Steps

Make sure that you have a Kinect.

You’ll also need a Mac, at least until I figure out how to do this on Linux or Windows.

Download and install Kyle McDonald’s KinectToSTL

Plug the Kinect into a wall outlet for power, and plug the USB cable into your Mac.

Run KinectToSTL and have someone (or something) stand in front of the screen

Drag the mouse in the view to rotate around.

Adjust the zCutoff to set the depth of the scan (rotate the mouse around to get a sense of how deep the scan is).

Use fovWidth and fovHeight to adjust the width and height of the field of view.

Say cheese, then click the checkbox to the left of “exportStl” to capture the subject.

There is a data/ subdirectory in the same location that the KinectToStl app lives. Look in this directory for the most recent file.

The file will have a name like “Kinect Export 2011-08-13 at 16.51.53.stl”

Move this file to another folder (wherever you want to save it for future use) and give it a meaningful name (maybe the name of the person you scanned).

You’ve got your scan, but if you try to print it now, it’s going to take forever. Let’s simplify it.

Download and install Meshlab,an open source program for working with 3D meshes.

Quit meshlab if you already have it running.

Right-click the STL file you got from KinectToStl, and choose Open With>meshlab.

When meshlab opens, it will pop up a dialog box with an option to Unify Duplicated Vertices selected.

Mutter “whatever, dude” under your breath and click OK.

You should see your subject appear in the meshlab window.

Click the Filters menu, then open the “Remeshing, simplification and reconstruction” menu and find “Quadric Edge Collapse Decimation.”

Hover the mouse over the option, think about what an awesome name it has, then click it.

This will simplify your 3D model. You want to reduce the number of faces to something around 20,000.

Set the Percentage Reduction to .75 and click Apply.

Drag in the model to rotate it and inspect it. If it looks good, click Apply until you’re close to 20,000 faces and still looking good.

Now it’s time to export the model.

Click Close to dimiss the Quadric Edge Collapse Decimation dialog.

Click File>Export Mesh As…

Give it a new filename (don’t overwrite your original, since you’ve decimated a lot of original information), select the STL File Format, and click Save.

You could print what you have now, but it’s likely that it’s too deep, and what’s more, there’s also a big platform at the bottom of it.

To solve this problem, download and install Blender.

Run Blender, and marvel at how complicated the user interface is. Then ponder the fact that it’s much simpler than it used to be!

You’ve got a cube. We’ll use this cube to chop away at the STL file. First off, let’s make the cube real big.

In Blender, zoom out until the cube is a tiny dot. On the Mac, you can zoom in and out by pinching.

Move the cursor close to the cube and press S (to scale it). Drag until the cube fills the screen, then press Enter or Return.

Next you need to import the STL file.

Click the File menu and choose Import>STL. In the file chooser that appears, navigate to wherever you saved the STL file and choose it.

You won’t be able to see the STL file, but if you Right-Click-Drag (or Control-Click-Drag), you’ll be able to move it to the top of the cube.

If you absolutely can’t figure out where the heck the STL file is after you import it, Right-Click (or Control-Click) once on the cube, then Right-Click-Drag (or Control-Click-Drag) the cube around instead of the STL.

Your goal here is to mask out all the parts of the STL that you don’t want as shown in the second image here.

Now it’s time to erase the parts you don’t want.

Right-Click (or Control-Click) on the cube to select it.

Shift-Right-click (or Shift-Control-Click) on the STL file. Now both objects should be selected.

In the right hand side of the window, look for a tiny wrench icon and click it.

Click the menu that says “Add modifier” and choose “Boolean”

Under Operation, choose Difference.

Click the box-shaped icon under Object, and click Cube. Wait, possibly a minute or more, for Blender to think.

Click Apply. Wait some more.

Right-Click (or Control-Click) and Right-Click Drag on the cube to pull it away from the STL you imported. Press Return or Enter.

If you followed these steps exactly, you should have successfully cropped the STL file (it will be shorter, without a platform).

Right-Click (or Control-Click) the STL you just cropped to select it, and choose File>Export STL. Give it a new name, and save it somewhere.

Now you’re pretty much ready to print!

Open the cropped file in Replicator G, and select the Move option, then click Center and click Put on Platform.

If you want to, select the Scale option and make your object bigger.

Click Generate GCode (save changes when prompted to do so), generate your GCode, and when you’re ready, print your scan!

Conclusion

Now that you've simplified and cropped your 3D scan, you can print it on your MakerBot, in much less time than if you'd simply tried to print the raw scan!