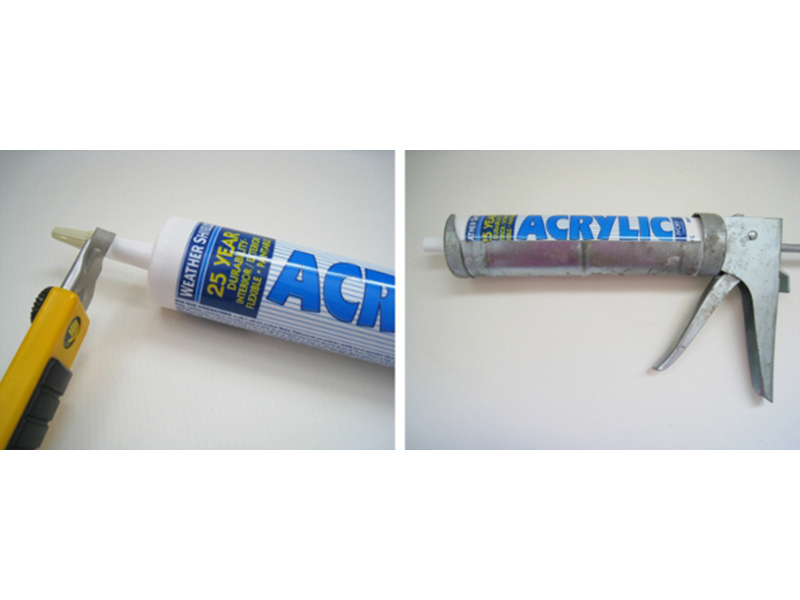
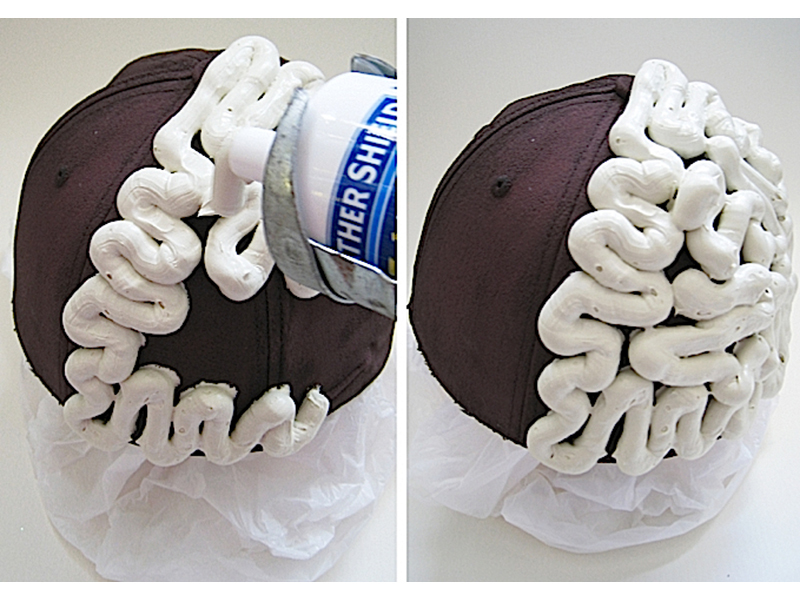
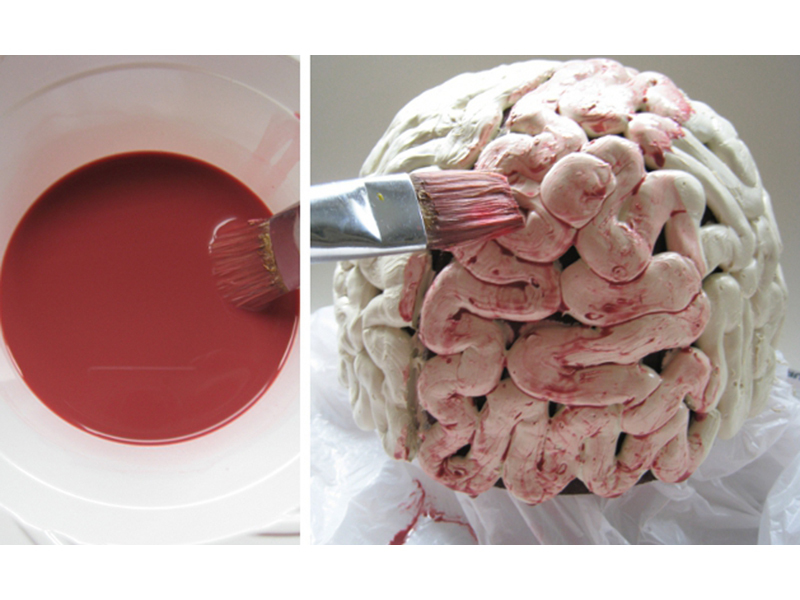
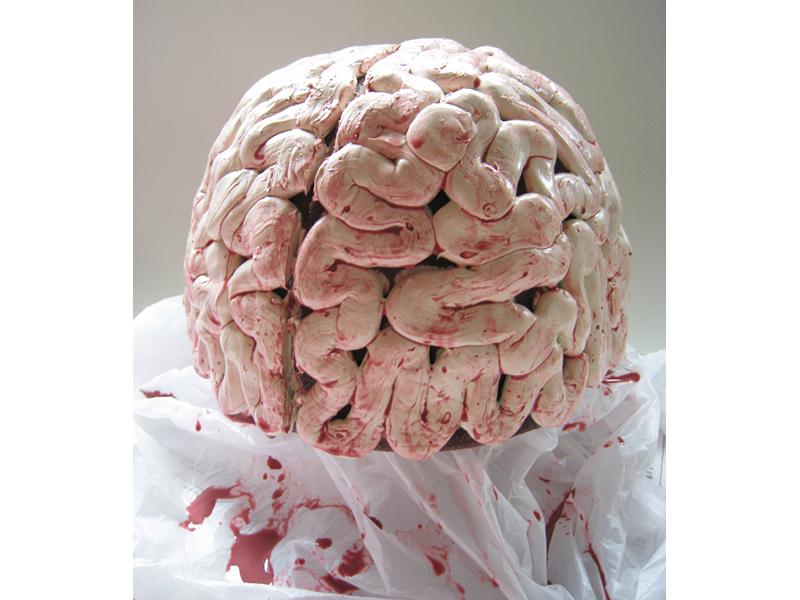
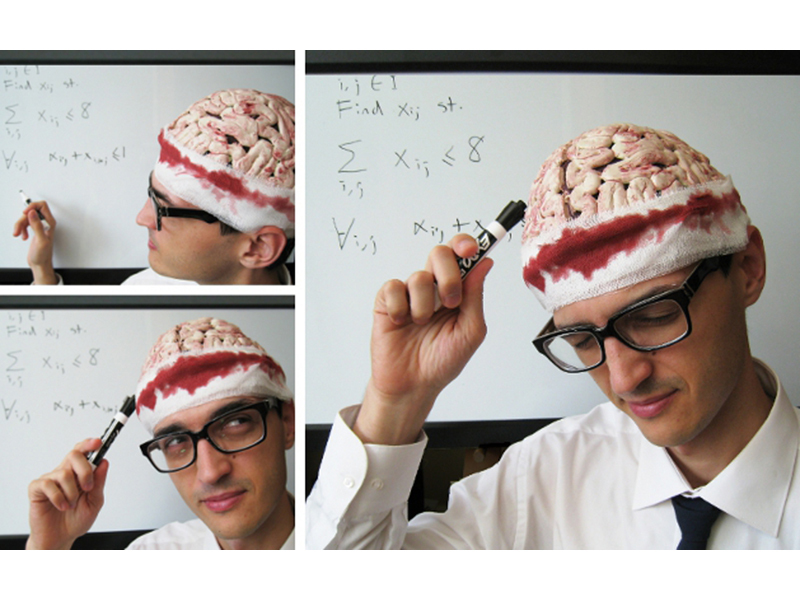
If you’ve been brainstorming Halloween DIY costume ideas, no need to bang your head on a brick wall. It’s time to put on your thinking cap. Literally! With just a ball cap, squiggles of caulking (the stuff made for sealing tubs, sinks, and windows), and dabs of paint, this bloody brain is yours to wear on fright night.

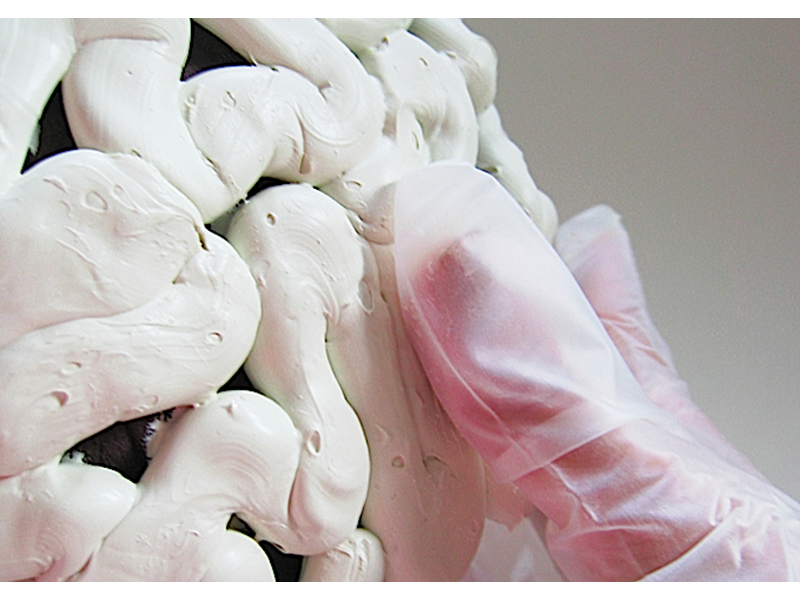
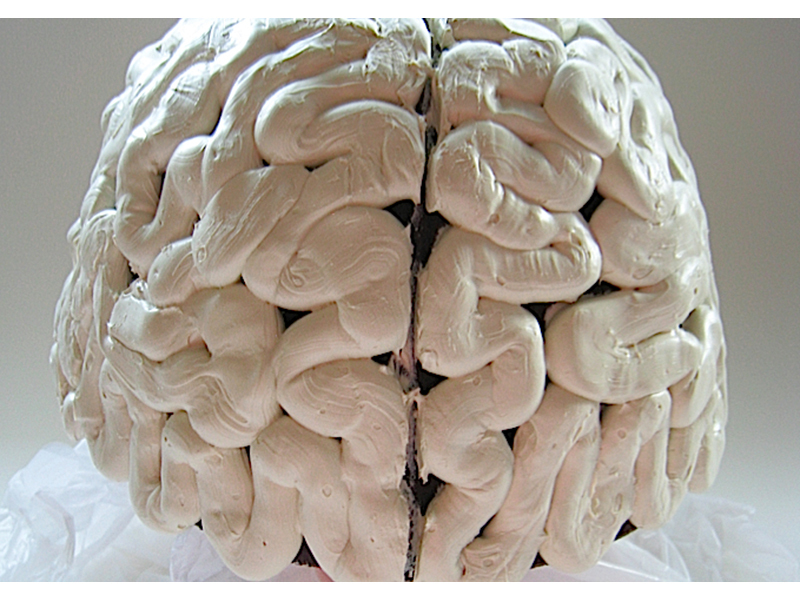
It’s best to study pictures of the human brain before tackling this project in order to best mimic the brain’s convolution patterns when caulking the cap.

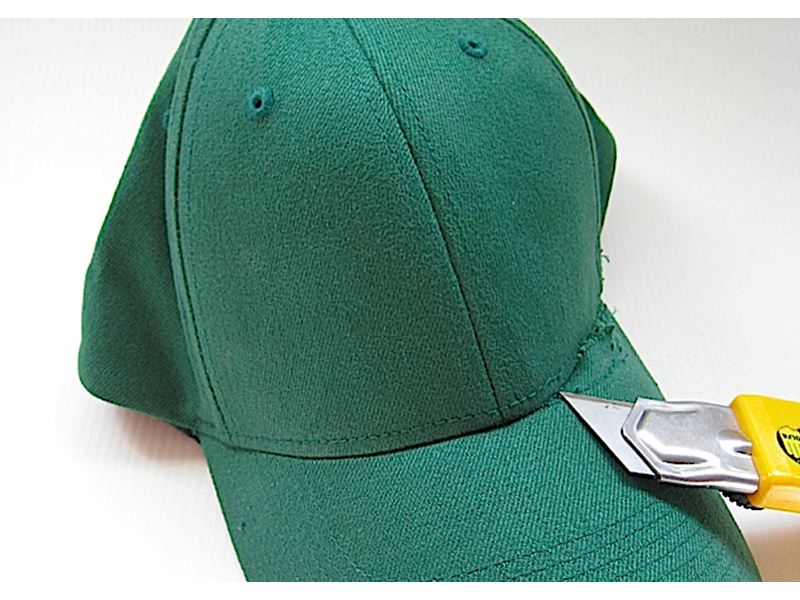
Weighing a little less than a pound and a half, this costume is still lighter than most professional bicycle and motorcycle helmets. Use a cap without an adjuster to ensure a perfect fit.

Project originally posted on CRAFT.

Project Steps

Prepare the cap

Remove the cap’s brim by carefully ripping the seams with a craft knife or seam ripper.

Place the cap on newspaper. Paint the cap with dark red paint (a mixture of red paint and a little bit of black paint). Let dry.

On newspaper, create a work stand for your cap by placing a bowl upside down over a tall jar. Place a plastic bag over the bowl, and the cap over the plastic bag.

Apply caulk

With a craft knife, cut the tip of the caulking tube to have an opening approximately 1/2″ in diameter. Load the tube into a caulking gun.

Caulk convolutions on one half of the cap to create one hemisphere of the brain. Repeat on the second half of the cap.

Let the caulking dry for approximately one to two hours until the surface loses tack. Wearing gloves, lightly press on the convolutions to slightly flatten the surface.

Cure and paint

Let the caulking cure for 24 hours.

Once the caulking has cured, mix water with red paint and a little bit of black paint, to a thin, runny consistency. Use a brush to dab paint mixture onto the caulking, focusing on crevices. Apply a second coat if needed. Let dry.

Your bloody brain is ready to wear! You may wrap gauze to cover the seam between the brain and the forehead. Of course, the more fake blood, the better! Happy Halloween!