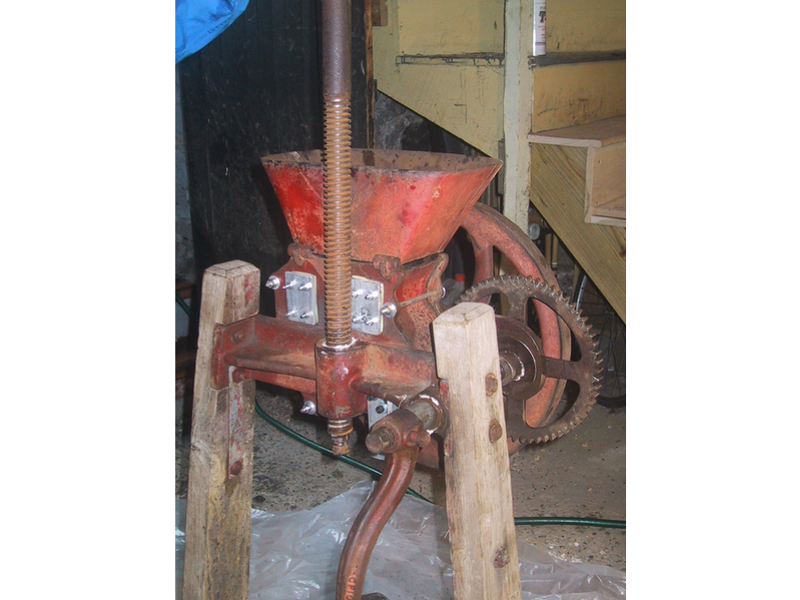
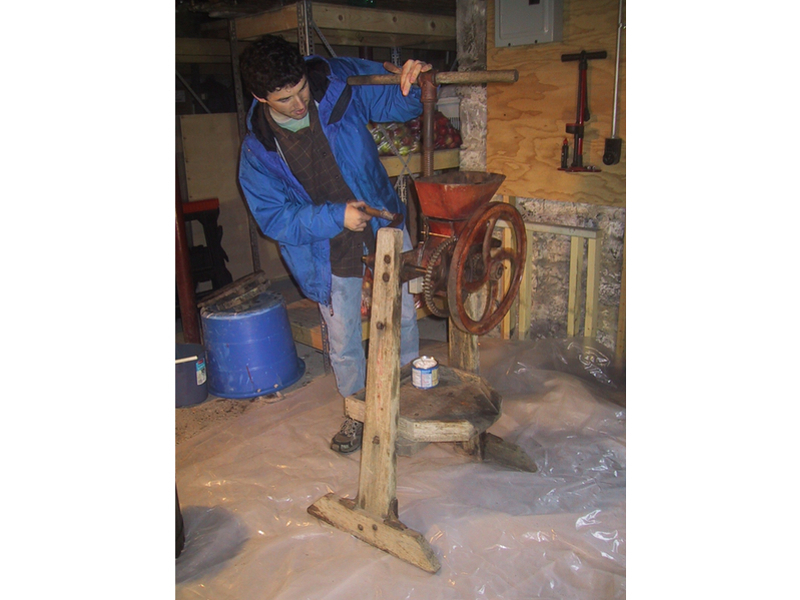
What’s more American than warm apple pie? Turns out to be a big jug of hard cider. Apple trees introduced by English colonists grew especially well in the Northeast, and were spread across the country by farmers and Johnny Appleseed. Before refrigeration, fermenting juice from apples was the easiest way to retain most of their useful calories. The resulting alcoholic brew kept much longer and, much like its malty cousin beer, served the crucial need for safe hydrating beverages in the ages before advanced water treatment.

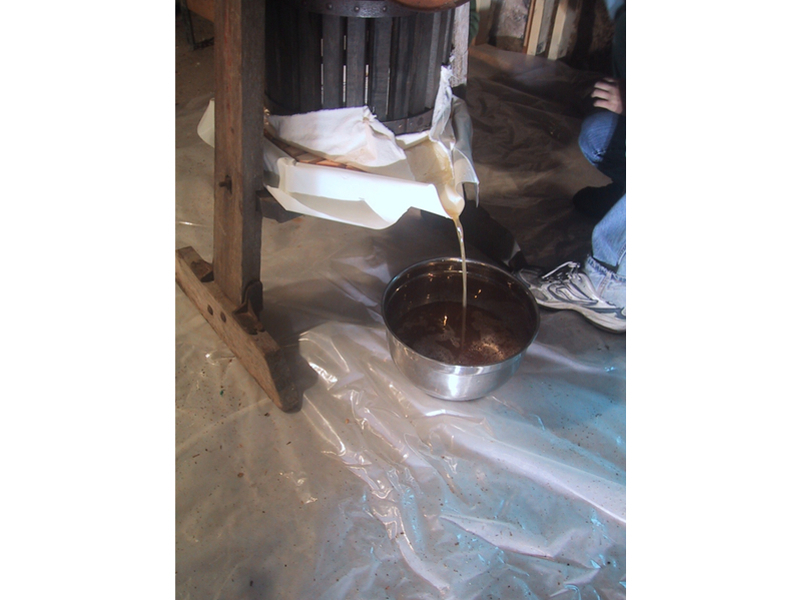
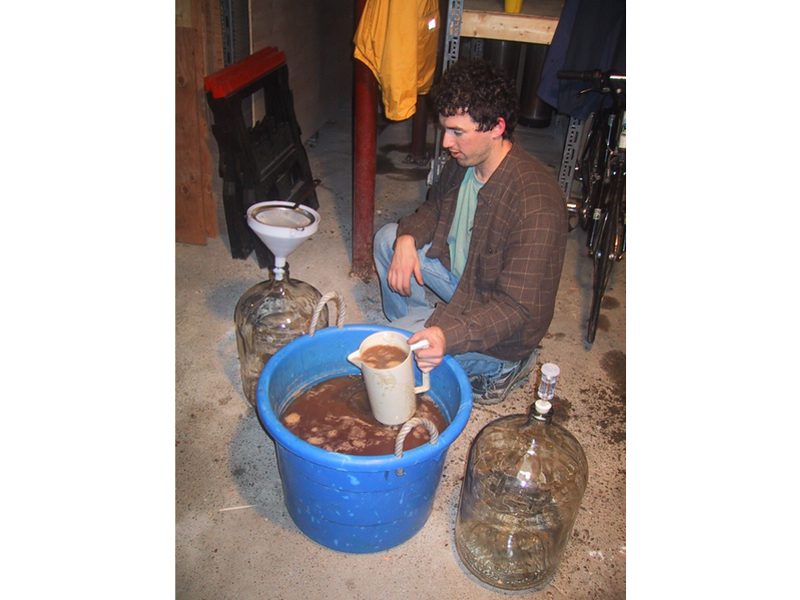
Almost all hard cider on the market today bears little relation to the complex nectar you can make at home. After you taste the (fermented) fruits of your labor, commercial cider will seem like weird apple candy dissolved in lighter fluid. After adjusting to the subtle and intriguing new flavors, chances are you’ll never go back.

Project Steps

Gather fruit.

The best cider is made from a blend of apples. Look at a long list of apple types, and try to find some varieties that are listed as good for cider. Crab apples are a welcome addition to the mix, as they will inject some wildness into the blend. Try to get 4-10 varieties of apples in your blend, with a range of flavors.

Specialty cider apples have flavor descriptors like “bitter-sharp,” which describes an apple high in tannins and acid. These apples taste pretty bizarre if eaten out of hand, sometimes almost medicinal, and have interesting names like Foxwhelp and Kingston Black.

If practical, the clear winner for selection and freshness is a self-pick orchard. Another good option is a farmers market, with store-bought apples a distant third choice.

Yields will vary, but we got around 1L of juice per 4½ lbs. of apples. Homebrew equipment and supplies are mostly based around 20L batches, making that a convenient number to shoot for.

Let the apples rest for a week or two before being milled. This is called mellowing, and will increase yield.

Shred.

First, wash your apples off with a hose. No sense in concentrating pesticides and bird crap into your cider.

You will need some way to shred, pulverize, or otherwise rend your apples. If your grandparents happen to have an antique cider press with shredder rotting in a barn in Maine, all the better. Otherwise, a $30 garbage disposal from Home Depot mounted on a piece of plywood and discharging into a bucket is pretty much the perfect thing to pulp apples. A food processor will certainly work, but will take forever.

The output of this step is an apple mush called pomace.

Press.

As your pomace comes out of the shredder, put it into your press. On the slatted cylinder-style press, the shredder can shoot apple gunk straight into the muslin-lined press bucket.

The other main family of press designs consists of a rectangular frame with the pomace loaded in horizontal, cloth-wrapped packs called cheeses, interleaved with wooden grates, and pressed with some type of ram (usually hydraulic). You can probably knock something together along these lines with a few 2x6s, some lag screws, and a car jack.

Transfer collected juice to your fermentation vessel.

Ferment.

The most traditional cider fermentation utilizes the wild yeasts naturally present on apple skins. To go full-on rustic, slosh the juice into an old wooden bucket, throw a lid on it, and come back in the spring.

For more predictable results, kill wild bugs in the juice, and then introduce your own strain of yeast. For a vessel, use a glass carboy or 5-gallon bucket with a hole drilled in the lid for the airlock. Dump the juice into your vessel, then dose with 5 sulphite tablets per 20L, and put the airlock in.

Twenty-four hours later, take off the airlock and pitch yeast. Ale, mead, and cider yeasts leave more sweetness in the cider, while champagne or wine yeast eats up more sugar and leaves the product drier.

Use standard homebrew methods for keeping extraneous bacteria and yeast out of the product from this point on. Sanitize everything the juice touches using iodophor and a fermentation airlock to exclude airborne microorganisms.

Keep your vessel within temperature range for the selected yeast during primary fermentation, which’ll take 1-2 weeks with ale yeast. Afterwards, you can optionally siphon the fermented liquid to a second, sanitized, air locked vessel and leave for another few weeks; this’ll produce a clearer, more mature cider.

Bottle.

For still cider, just siphon into bottles and cap. For effervescence, force-carbonate in a soda keg with a CO2 cylinder and regulator before bottling. If you lack access to force carb equipment, dissolve 3⁄4-1 cup of corn sugar per 20L batch in a few cups of boiling water, cool, then thoroughly mix into the cider before bottling. Sanitize bottles and equipment.

Label.

Nice labels make your cider look as good as it tastes. I prefer antique letterpress equipment, but you can also inkjet labels or order them on the web.

Further Frontiers

Apparently, cider quality significantly improves with aging, especially if done in oak barrels. Personally, none of the cider I have made has survived long enough to tell. Serve chilled and enjoy!

Resources: http://www.positron.org/brewery, http://www.breworganic.com, and Cider: Making, Using & Enjoying Sweet & Hard Cider by Annie Proulx & Lew Nichols (Storey)

Conclusion

This project first appeared in CRAFT Volume 01, page 143-146.