Howard Sandroff spent 45 years as an internationally recognized composer and music professor, after which he turned his attention to sculpting in steel. His artwork was profiled in vol. 74 of Make:.
Last year I decided I needed a forge so that I could advance my blacksmithing skills as another technique for my sculpting. There are many commercial models available but, being retired, I have more time than money so I decided to try my hand at making one.
To start, I studied YouTube videos of DIY forges. There are many and I watched them all. None were exactly what I wanted so I set out to design a hybrid. I researched the necessary materials. I read all about soft firebricks, which can withstand temperatures above 1,800°F — good for heating up mild steel. I’d need a high-temperature mortar, called “Satanite,” of all things. Long hose clamps to hold things together and some steel angle iron for the frame. And lastly, the burner, which is challenging to make.
Project Steps
Cutting Firebricks
The bricks are sized 4½”×2½”×9″ so I decided that assembling them in the shape of a nonagon would give me the inside dimensions suitable for the kind of work I do. I needed to compute the angle to cut the bricks so that I could make a 10″-diameter forge as deep as a single course of bricks, 9″. The bricks are soft enough to cut with a hand saw, but since I own a table saw I could set the blade at the correct angle and the fence to the correct width to cut them consistently.
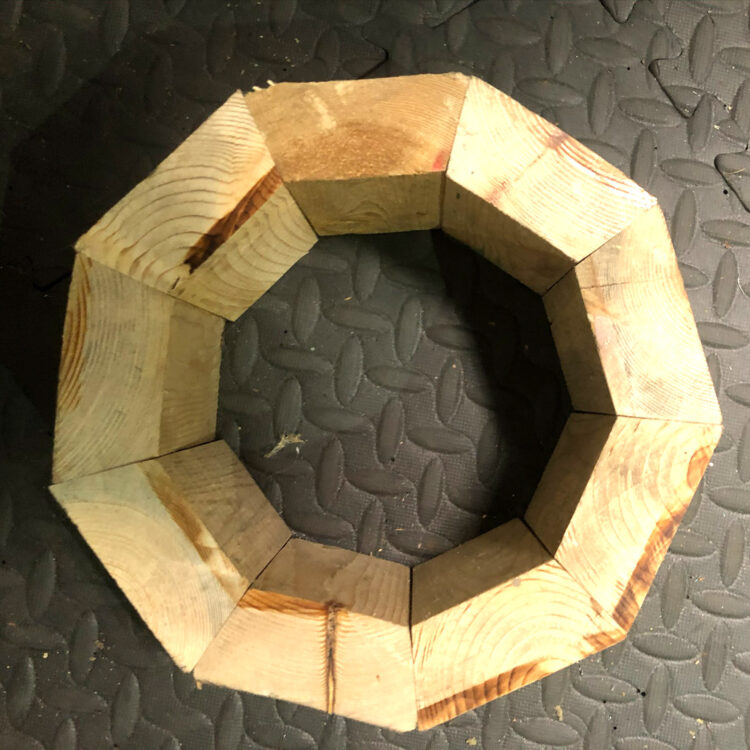
Firebricks are pricey, and therefore I decided to first model the cuts using some short 2×4s. I ran each 2×4 through the saw twice, once for each side. Then I arranged them in the proper shape, sawed-corner to sawed-corner and voilà, created a nonagon.
Photography by Howard Sandroff
Using the same technique, I cut all nine bricks to give the long edges a 20° slant. I used a worn-out plywood blade (and scratched up the table) and the process worked — I could now build my nonagon forge with an inside diameter of 10″.
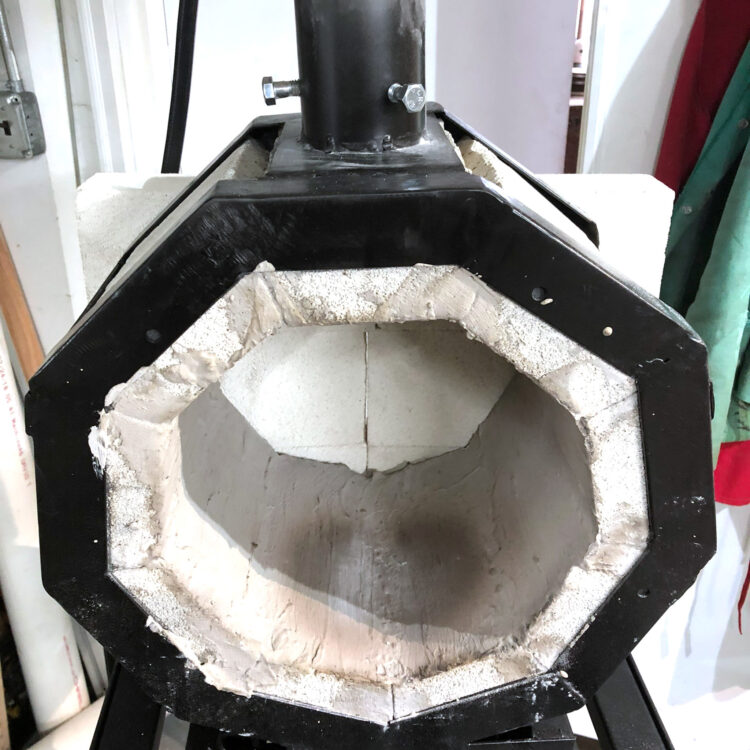
Reading the instructions for using the Satanite, I learned to mix only a small amount at a time, as the mortar dries very quickly. I smeared the mortar between each pair of bricks to cement them together. Once I finished the entire nonagon, I placed a long hose clamp on the top and bottom to hold it tightly as it dried overnight.
Next step was to coat the interior of the forge with multiple layers of the Satanite. These layers protect the bricks from the heat and can be reapplied when they’re burned, thereby prolonging the life of the firebricks.
Welding the Bracing
Now I needed to build a steel frame to hold the bricks together as the mortar didn’t quite do the job. One of my scrounging habits is to occasionally cruise the neighborhood looking for cast-away bed frames. I have a great collection, and as the bed frames are usually made of 1½” angle iron, they were perfect for the forge frame. Using a steel-cutting chop saw, I cut all the pieces at the correct angle to place at the front and back of the forge. I spot-welded them together as I went, and when the two ends were complete, I welded some strips of steel along the length of the forge to connect the end frames, and a steel plate on top to make a stand for the burner. I then masked off all the bricks and painted the frame and stand a high-temperature black.
Mounting the Burner
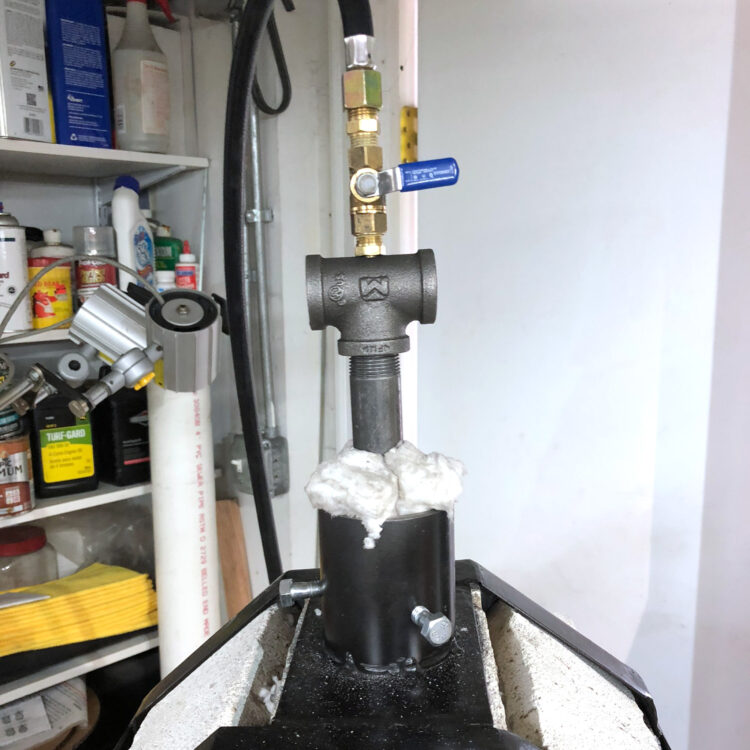
After reading and viewing many articles and videos about making a burner, I decided that my tools and skills were not up to the precision modifications of the necessary brass and steel fittings. Fortunately, I found an affordable burner on Etsy. Once that arrived, I drilled the required hole through the forge and the steel plate using a 3″ hole saw, then mounted a short length of pipe, modified to hold the burner. I drilled and tapped three ⅜” holes spaced equally around the perimeter of this pipe, at a height where they’re best positioned for my burner. The pipe is welded to the steel plate to hold it in place; the burner is held in place with three ⅜” bolts.
Now I was ready to “cure” the forge. I heated it up for an hour each day for a week, progressively increasing the heat so that any residual moisture in the bricks boiled away.
Hammer Time
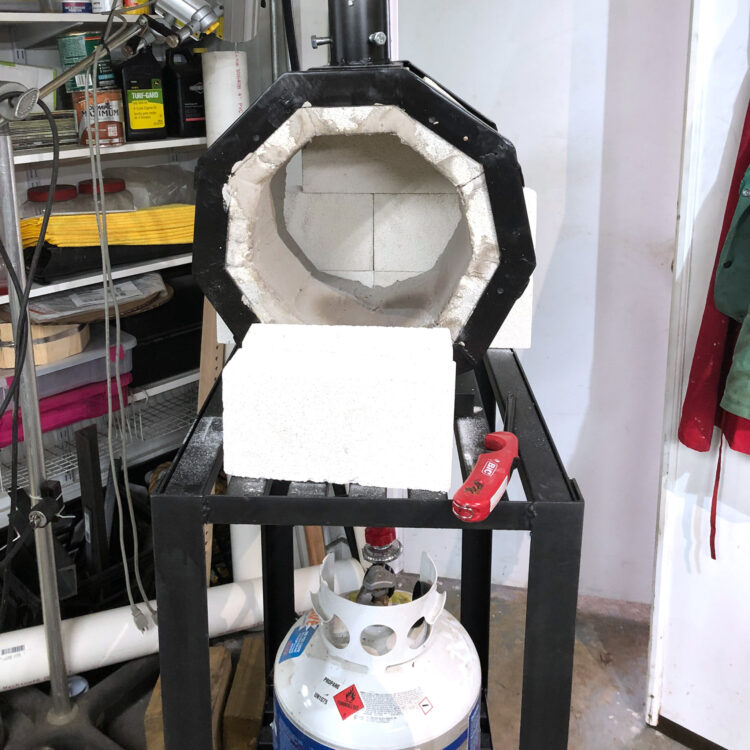
Finally I was ready to try the forge with a piece of steel. Using the balance of the firebricks to close the front and back of the forge, leaving a small opening for the metal to be heated and airflow for combustion, I heated up my first rod of steel and proceeded to beat it into a flat shape using a hammer and my anvil. Success! I now had a working forge. To finish the project, I built a roll-around stand for the forge and propane tank out of the same bed-frame angle iron. Total cost, including the burner: about $325.
Building this has been very gratifying. Although I am by no stretch of the imagination a blacksmith, I do use their techniques in my sculpting. I use the forge at least once a week and it is holding up very well. I would, however, like to figure out how to better insulate it so that I can reach hotter temperatures.
I will also say, without hesitation, that the forge should absolutely not be used for roasting marshmallows. Marshmallows are full of sugar and are bad for your health. Besides, if you stick a marshmallow in the forge it will vaporize in a millisecond.
WARNING
Propane is flammable gas. Make sure you observe all safety issues when working with propane and high heat (watch some guidelines). DO NOT OPERATE YOUR FORGE INDOORS. Do not keep the propane tank near the forge. Keep a fire extinguisher nearby. The forge reaches temperatures over 1,800°F. Use heavy gloves, a respirator, face mask and eye protection and DO NOT wear clothing made from synthetic fibers (polyester, nylon, rayon, dacron, etc.); cotton or wool is best. And finally, buy yourself a leather blacksmith’s or welder’s apron.
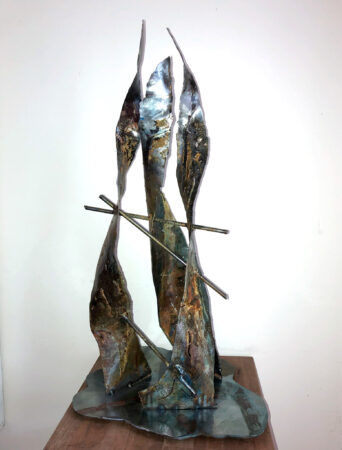
My sculpture Three Sisters. Hammered, welded steel with oxidized patina.
Howard Sandroff spent 45 years as an internationally recognized composer and music professor, after which he turned his attention to sculpting in steel. His artwork was profiled in vol. 74 of Make:.