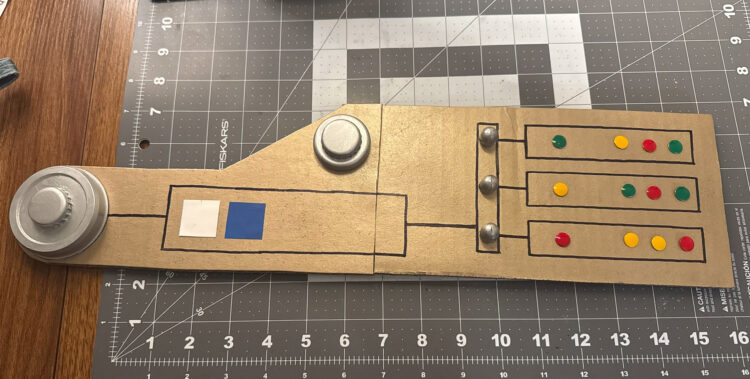



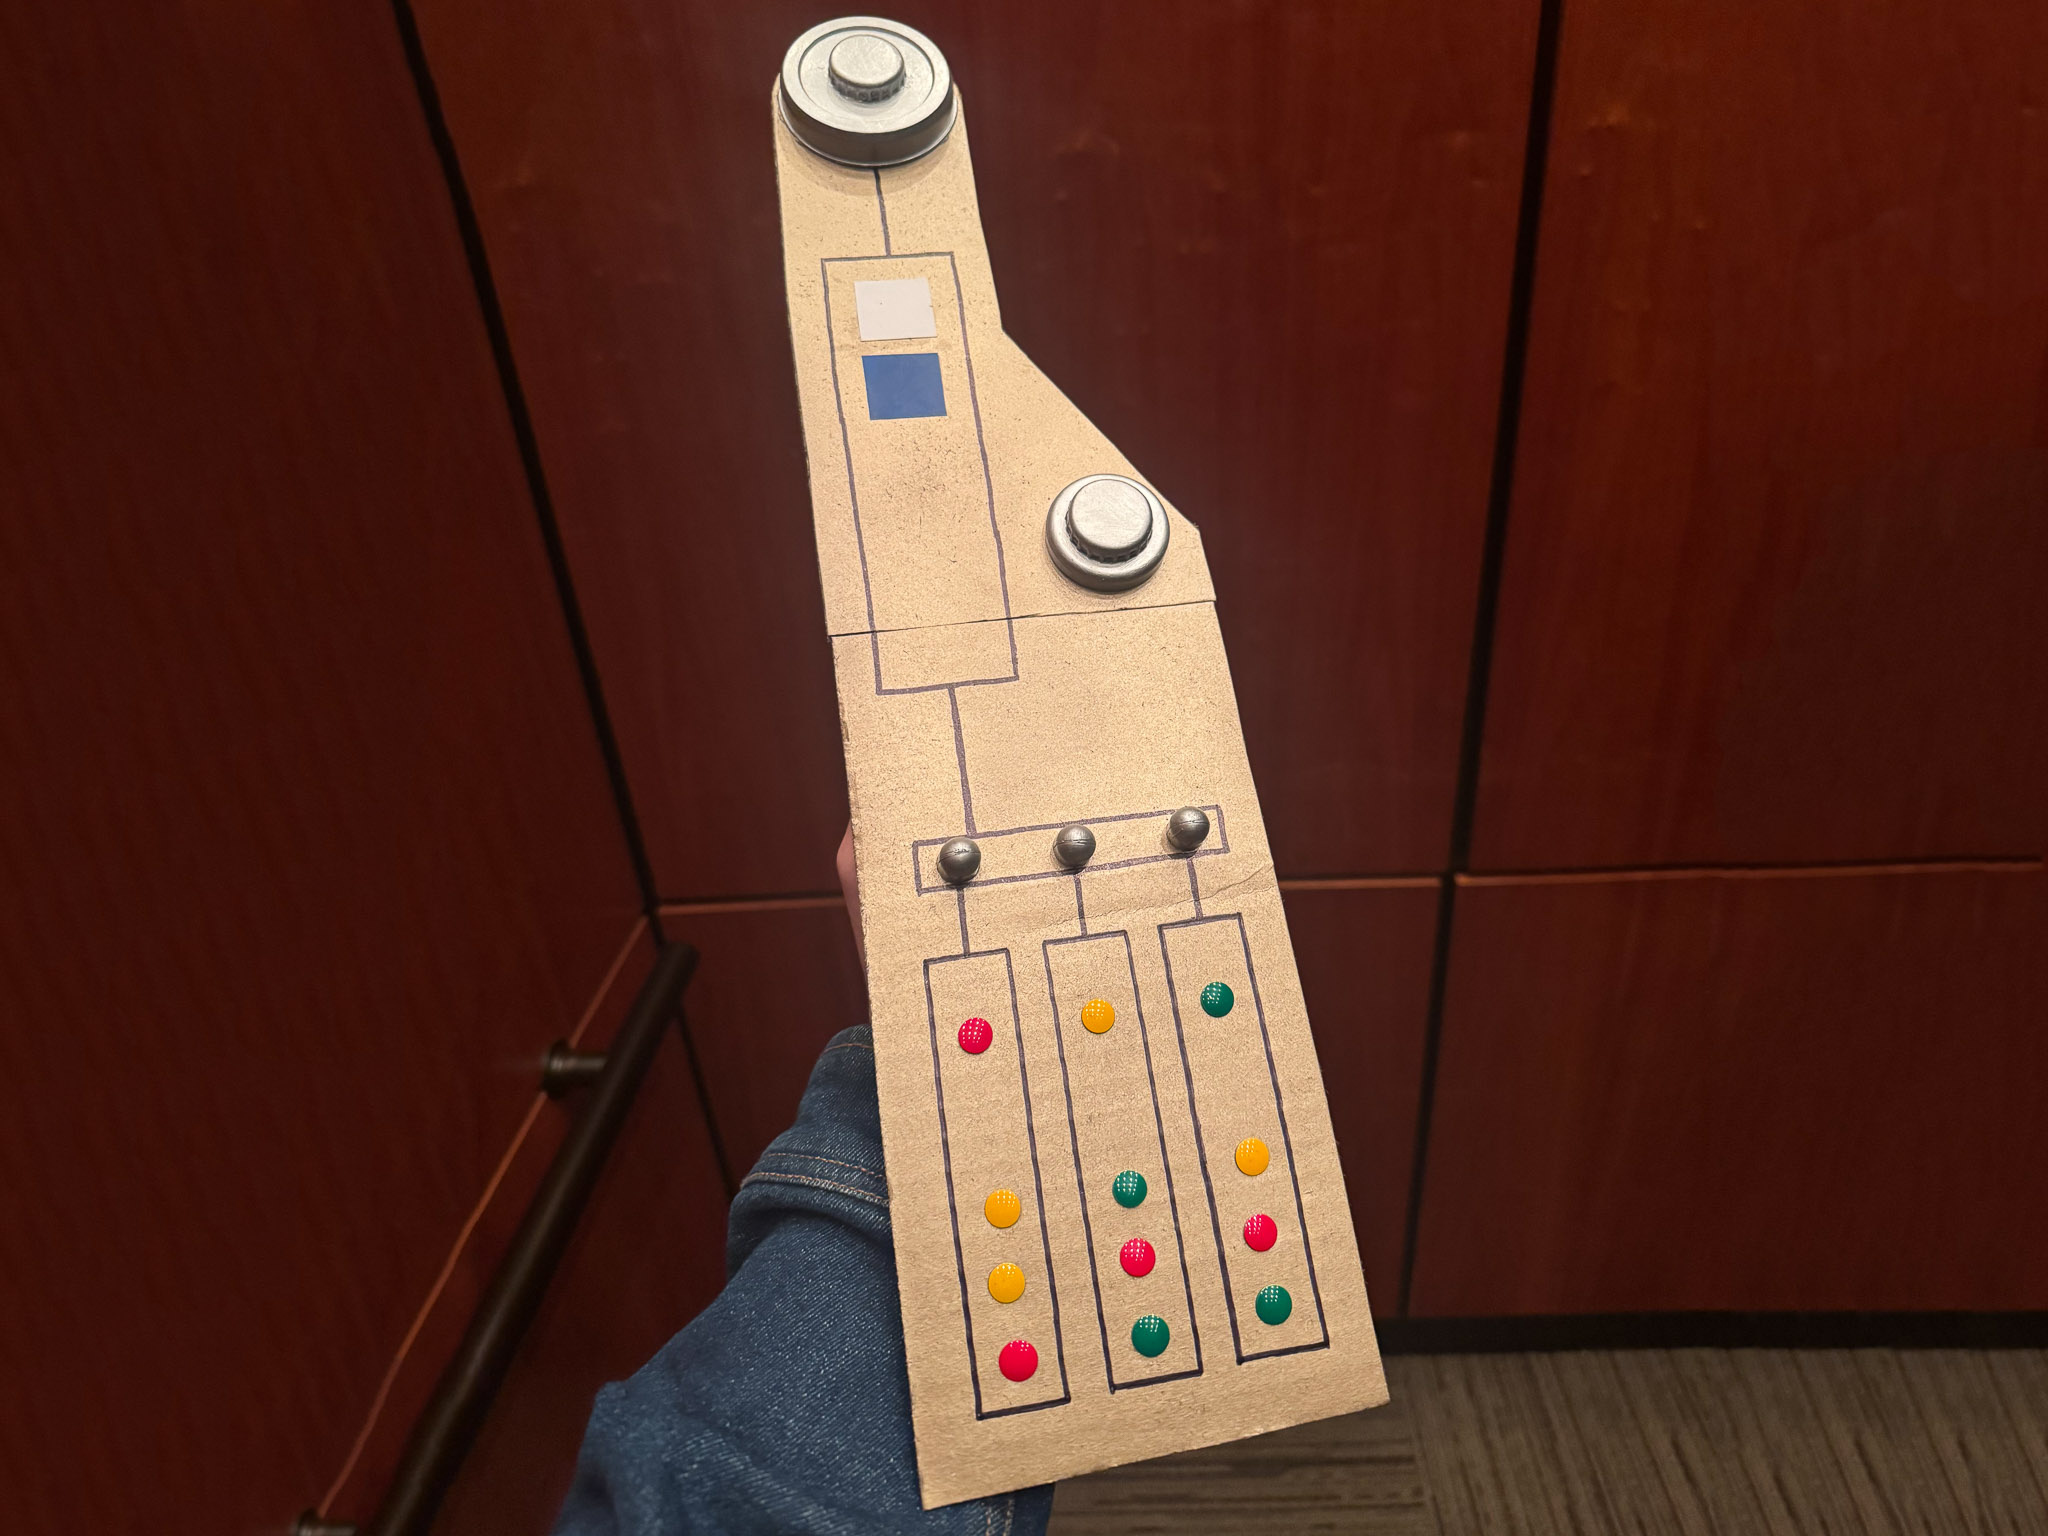
In Make: Volume 99, we showed how to decorate your own Rebel Hideout with a 3D-printed Star Wars set decoration, closely modeled after an actual prop from Luthen Rael’s workshop on Coruscant! Luthen’s gallery in the Andor series, Galactic Antiquities and Objects of Interest, was loaded with Easter eggs from all parts of the Star Wars universe of films, TV, and video games. No 3D printer? No problem! You can “kitbash” this same Star Wars prop from cardboard, caps, and scraps!

Mechanical engineer Crew Parker is Lucasfilm’s asset coordinator, so he knows all about TV and movie props. He created a version of this project you can easily make from stuff at home — cardboard and paper, hot glue and Elmer’s, a Sharpie marker, colorful pushpins, and some bottle caps and lids scrounged from the trash to create your own greeblies — plus a little silver and gold paint. You can even add electronics like LEDs and real pushbuttons if you want!

Photography by Crew Parker

Project Steps

1. Cut Out the Basic Shape

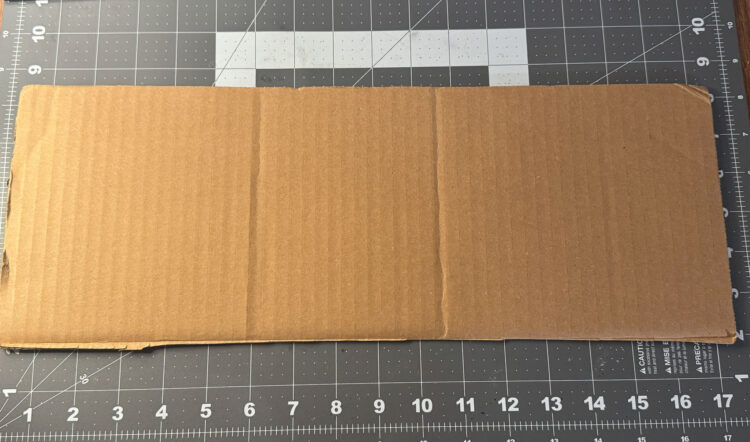
1a. Lay a piece of cardboard on a flat surface that you don’t mind getting scratched up, like a cutting mat.

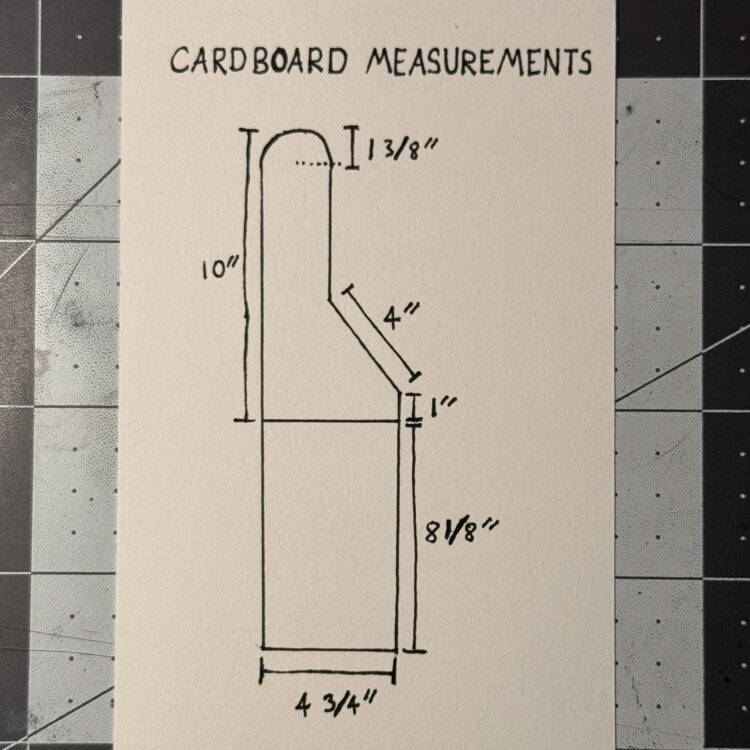
Draw the two basic shapes, using a tape measure, ruler, pencil, and the diagram shown here.

1b. Cut out the shapes using an X-Acto knife or scissors.

2. Assemble the Panel

2a. Cut out a 2"×4¾" rectangle of cardboard.

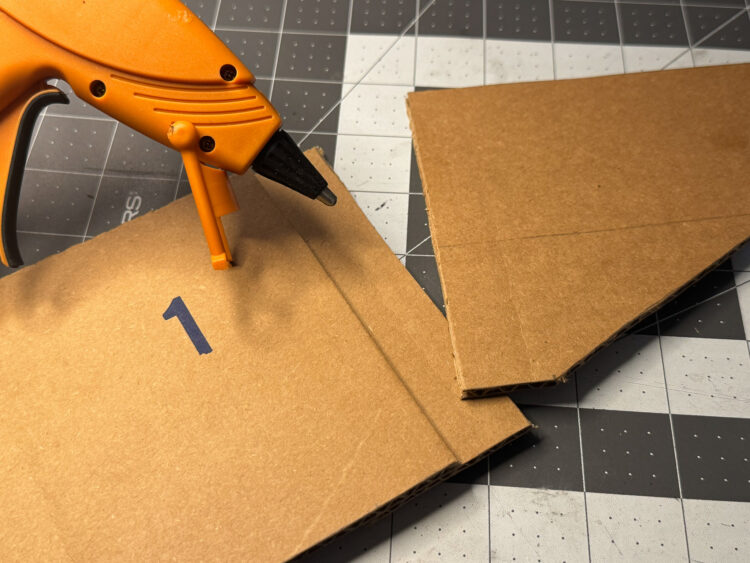
2b. Hot-glue both panel pieces to this 2” strip, overlapping it by 1” on either side. Make sure to get help from an adult before using hot glue gun.

3. Paint the Panel

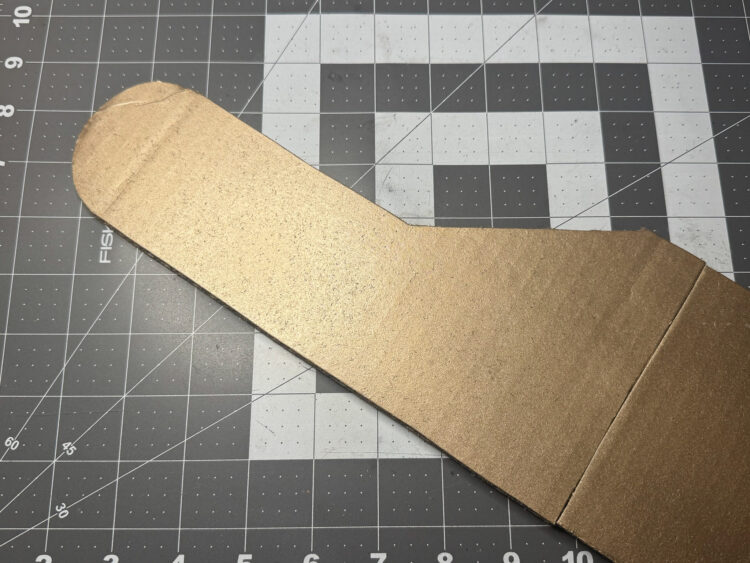
Paint your panel with a gold or bronze craft paint or spray paint. Make sure to get an adult to help if you want to spray-paint the panel.

4. Add the Line Details

Many of our panels include a series of black lines to add visual interest and clarity. Draw these on with a Sharpie, black paint, or other marker, following the main photo here.

TIP: It helps to lay out your greeblies and buttons on the surface of the panel as you draw, to make sure you leave enough space between each detail.

5. Make the Greeblies

The process of taking pieces of old junk, scraps, or model kits and sticking them to the surface of an object to create texture, details, and contrast is called greebling. It’s a technique that ILM has used since it started in 1975, and you can use that same technique to add some detail — some greebles or greeblies — to your control panel!

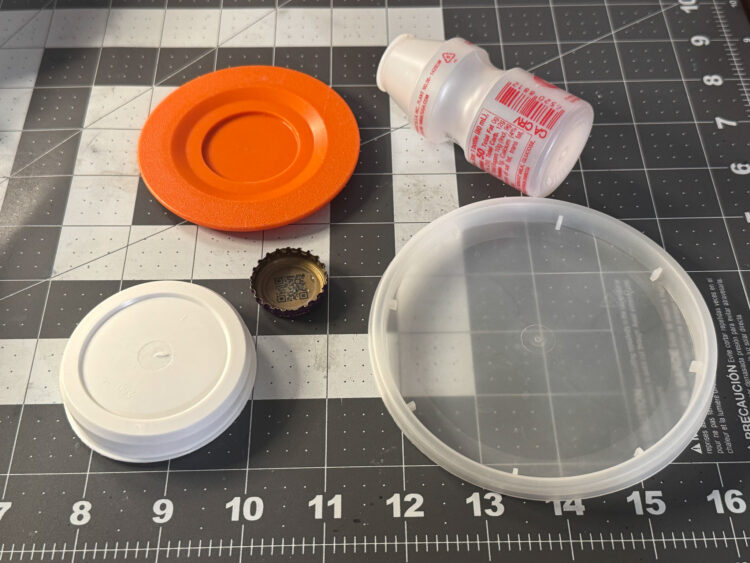
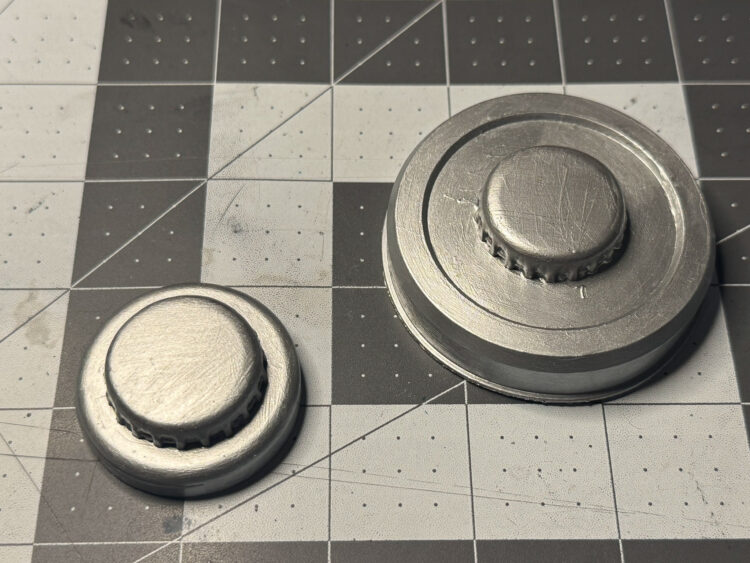
5a. Start by gathering some circular greebles — anything from bottle caps to old or broken parts of toys. I’m using a couple bottle caps, a yogurt bottle, and the cap to a poster tube.


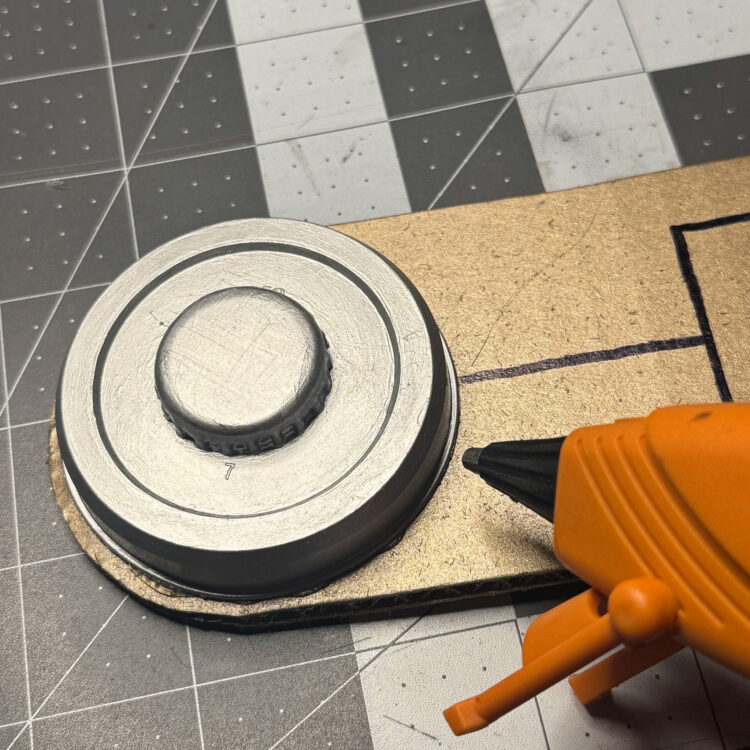
5b. Using hot glue or super glue, stick your parts together to create some tiered circles. These will make up the two large silver details you see on the control panel. Ideally these will be about 2" wide across the largest circle.


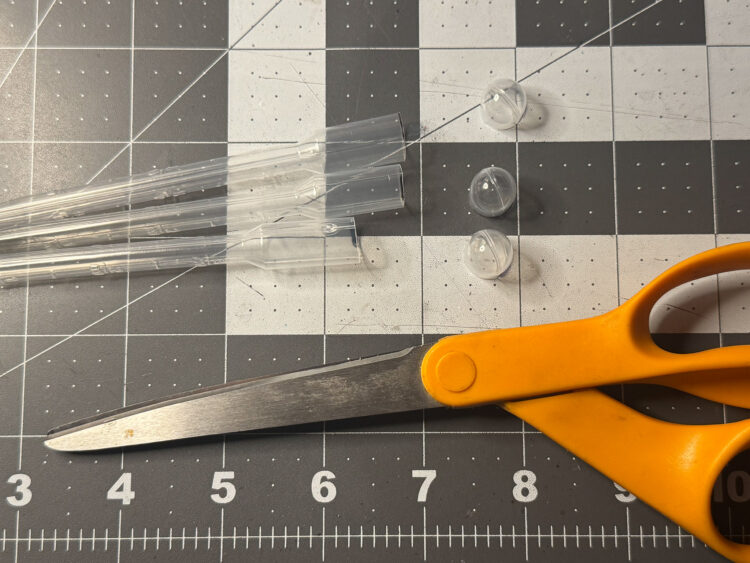
5c. Next, create the three small dials with something like small plastic bottle caps, a boba straw, or any other small, cuttable plastic cylinders. I used plastic pipettes and cut the ends off at about ½".


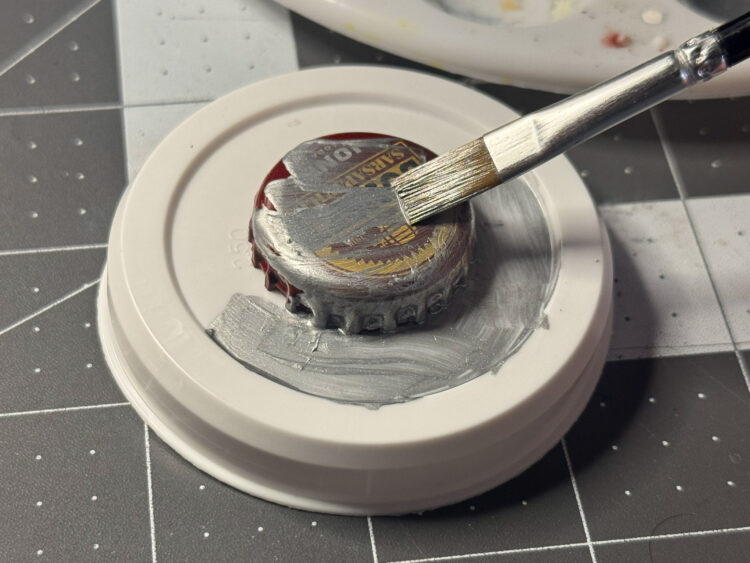
5d. Paint your greebles with silver craft paint and a brush. Make sure to paint over a covered surface so you don’t get paint on your work surface.

6. Make the Buttons

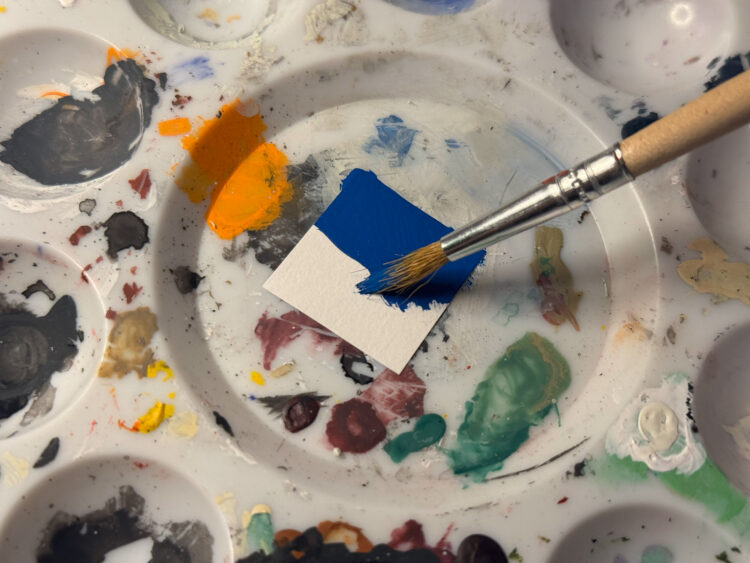
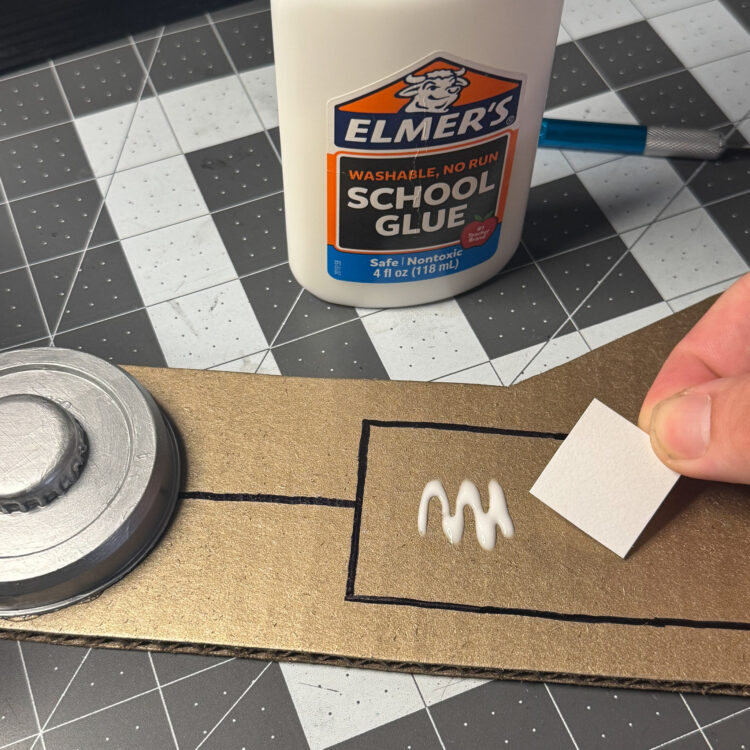
6a. To create the small square buttons, cut out a couple 1"×1" squares of craft paper. If you have colored craft paper, use it!

6b. Otherwise you can use blue paint or a marker to color it in. Our buttons are white and blue, but feel free to add your own flair by customizing the colors of your buttons.

7. Glue on the details

7a. Once you have your layout in mind and your lines drawn on, you can start gluing on your greeblies, buttons, and other details! Use a hot glue gun and PVA glue to stick everything to the surface of the panel.


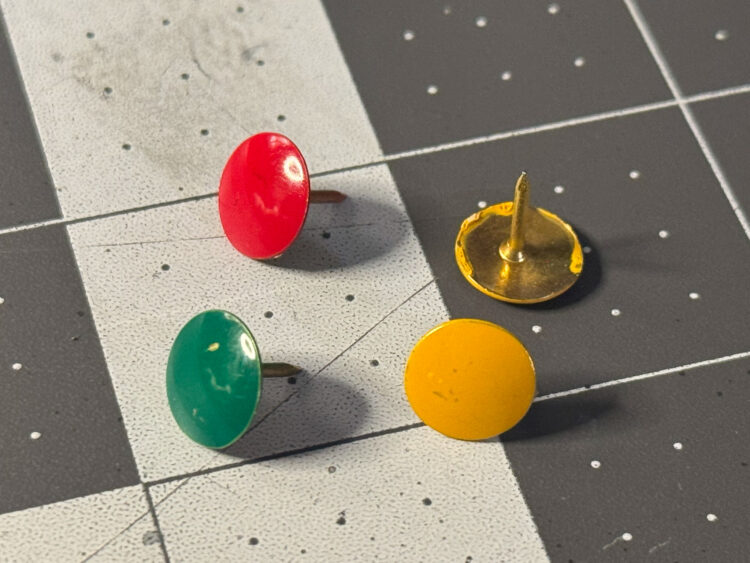
7b. I added some colorful flat thumb tacks to use as buttons in the bottom half, but you can also cut out small shapes in craft paper to make these buttons.

Conclusion


Now you have a finished control panel! Part of the fun of this project is customizing it, and using what you have available to you. If the materials you find are different than mine, that’s no problem at all. Use your imagination and create something awesome!

If you’d like to keep going and enhance your control panel, you can add electronics too:

  • Use a pen tip to punch holes in the cardboard and stick some LEDs through the cardboard to make your panel really light up!
  • Make your paper buttons functional by using an X-Acto blade to carefully cut out the cardboard around the squares, so that those sections can push down on a button component hidden beneath the control panel’s surface.