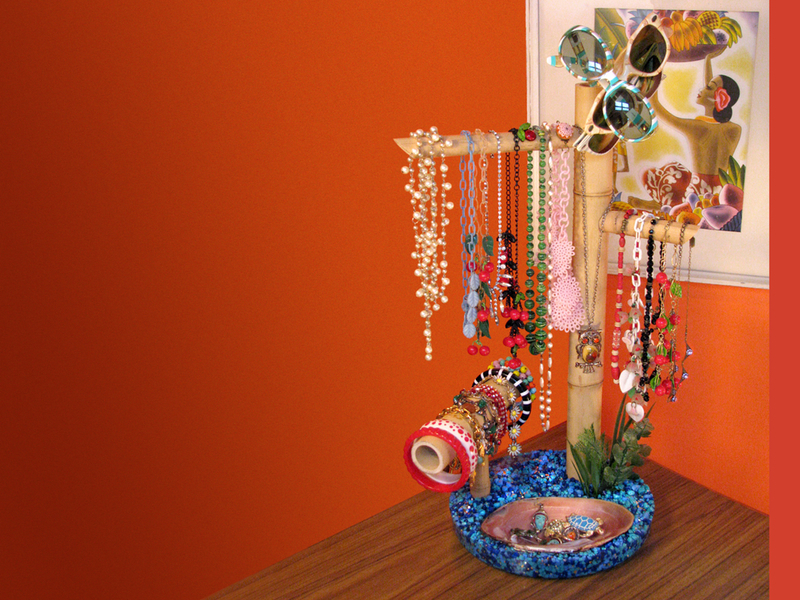
My lovely wife has been collecting vintage jewelry for most of her adult life. Some pieces she considers “too good to wear” and keeps stashed in jewelry boxes, waiting for those special occasions that never seem to come. Others she keeps in rotation, wearing favorites often, then switching them out for other favorites. One of her longtime complaints — the lament that inspired this design — was that she wanted an easy place to park her jewels at the end of the day where she could quickly grab them the following morning, a place where she could see them, but without them getting tangled or piling up into a big mess. Since she has a weakness for low-end Hawaiiana and a love for all things aquatic, I made her a jewelry stand that’s a little bit Mary Ann and a whole lotta Ginger.
Projects from Make: Magazine
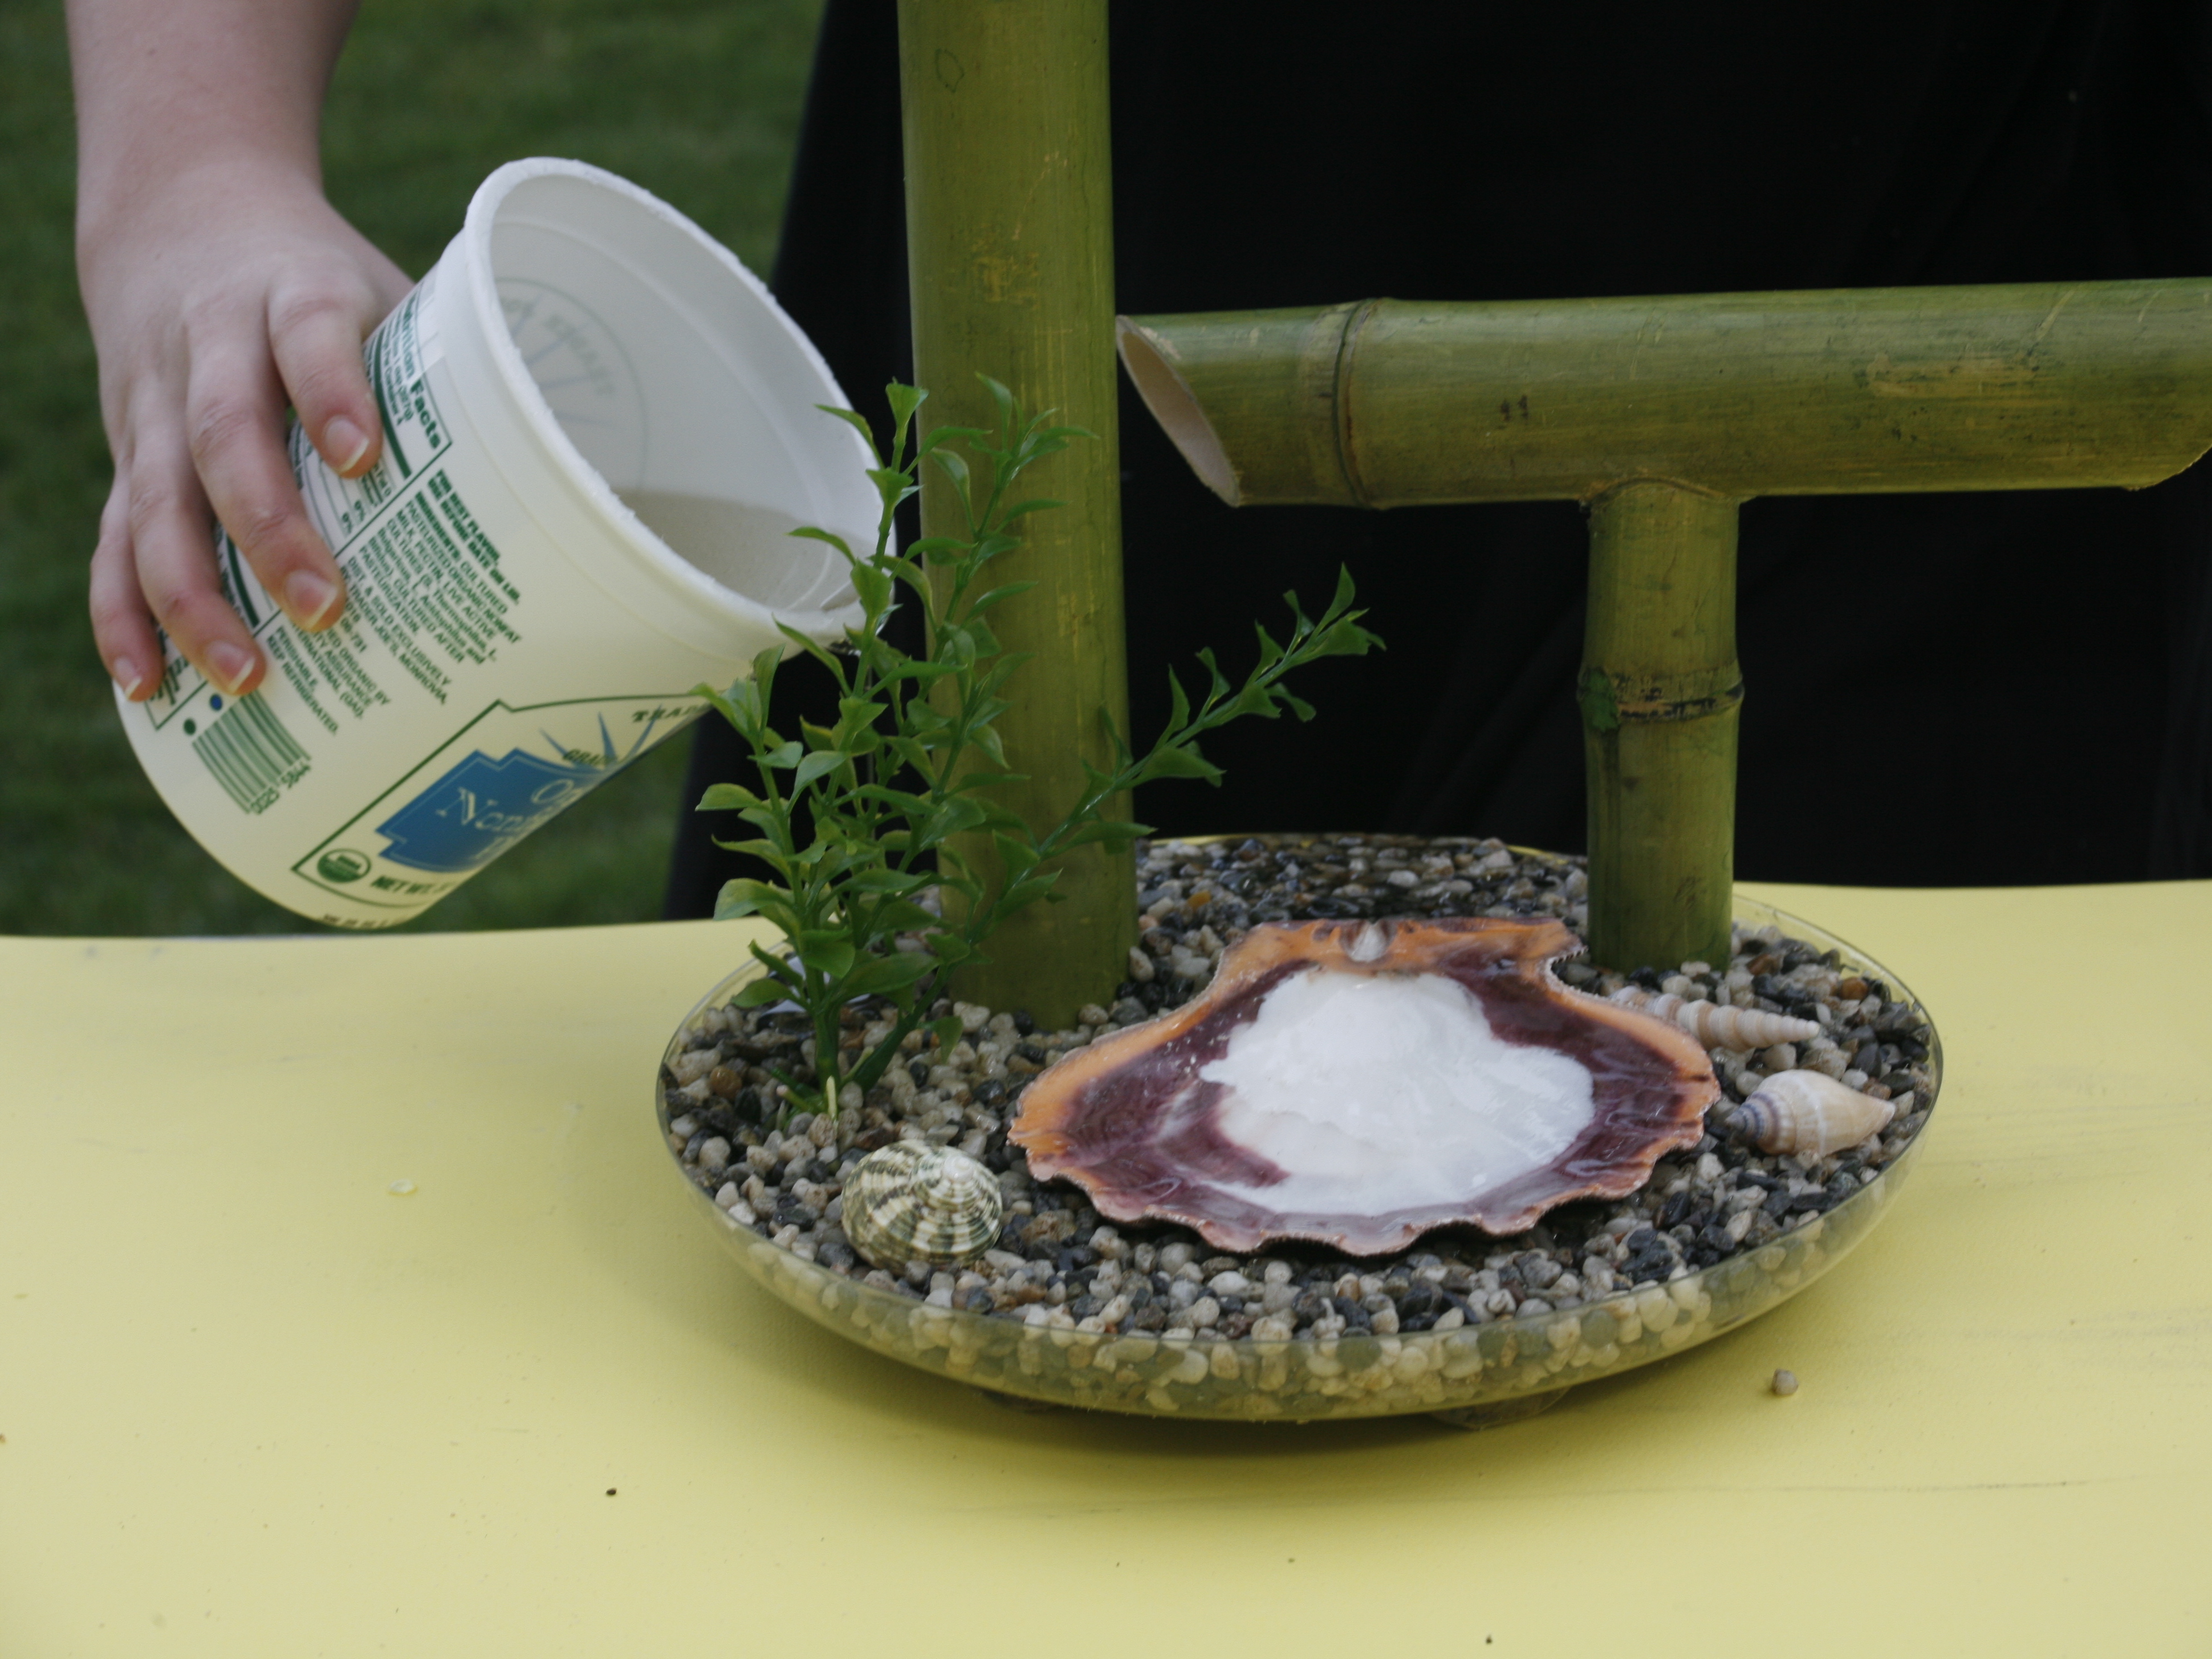
Kona Kai Jewelry Stand
Build an easy-access rack for the jewels you wear most.
- Like
- Digg
- Del
- Tumblr
- VKontakte
- Flattr
- Buffer
- Love This
- Odnoklassniki
- Meneame
- Blogger
- Amazon
- Yahoo Mail
- Gmail
- AOL
- Newsvine
- HackerNews
- Evernote
- MySpace
- Mail.ru
- Viadeo
- Line
- Comments
- Yummly
- SMS
- Viber
- Telegram
- Subscribe
- Skype
- Facebook Messenger
- Kakao
- LiveJournal
- Yammer
- Edgar
- Fintel
- Mix
- Instapaper
- Copy Link
Steps
Advertisement
Step #1: Cut the bamboo.
- Using a miter box, cut the 1 1⁄2" bamboo to lengths of about 20" for the necklace stand base and 9" for the bracelet stand.
- Cut the 1" bamboo to 2 lengths of 6" (1 for the bracelet stand base, 1 for an arm on the necklace stand) and 1 length of 10" (for the second arm of the necklace stand).
- One end of the 6" and 10" lengths may be cut at a diagonal for style’s sake, or all cuts may be straight, it’s up to you. Sand the edges of all the sections smooth of splinters. To keep bamboo from splintering, always sand away from the cut, never against.
Conclusion
This project first appeared in CRAFT Volume 07, pages 112-114.