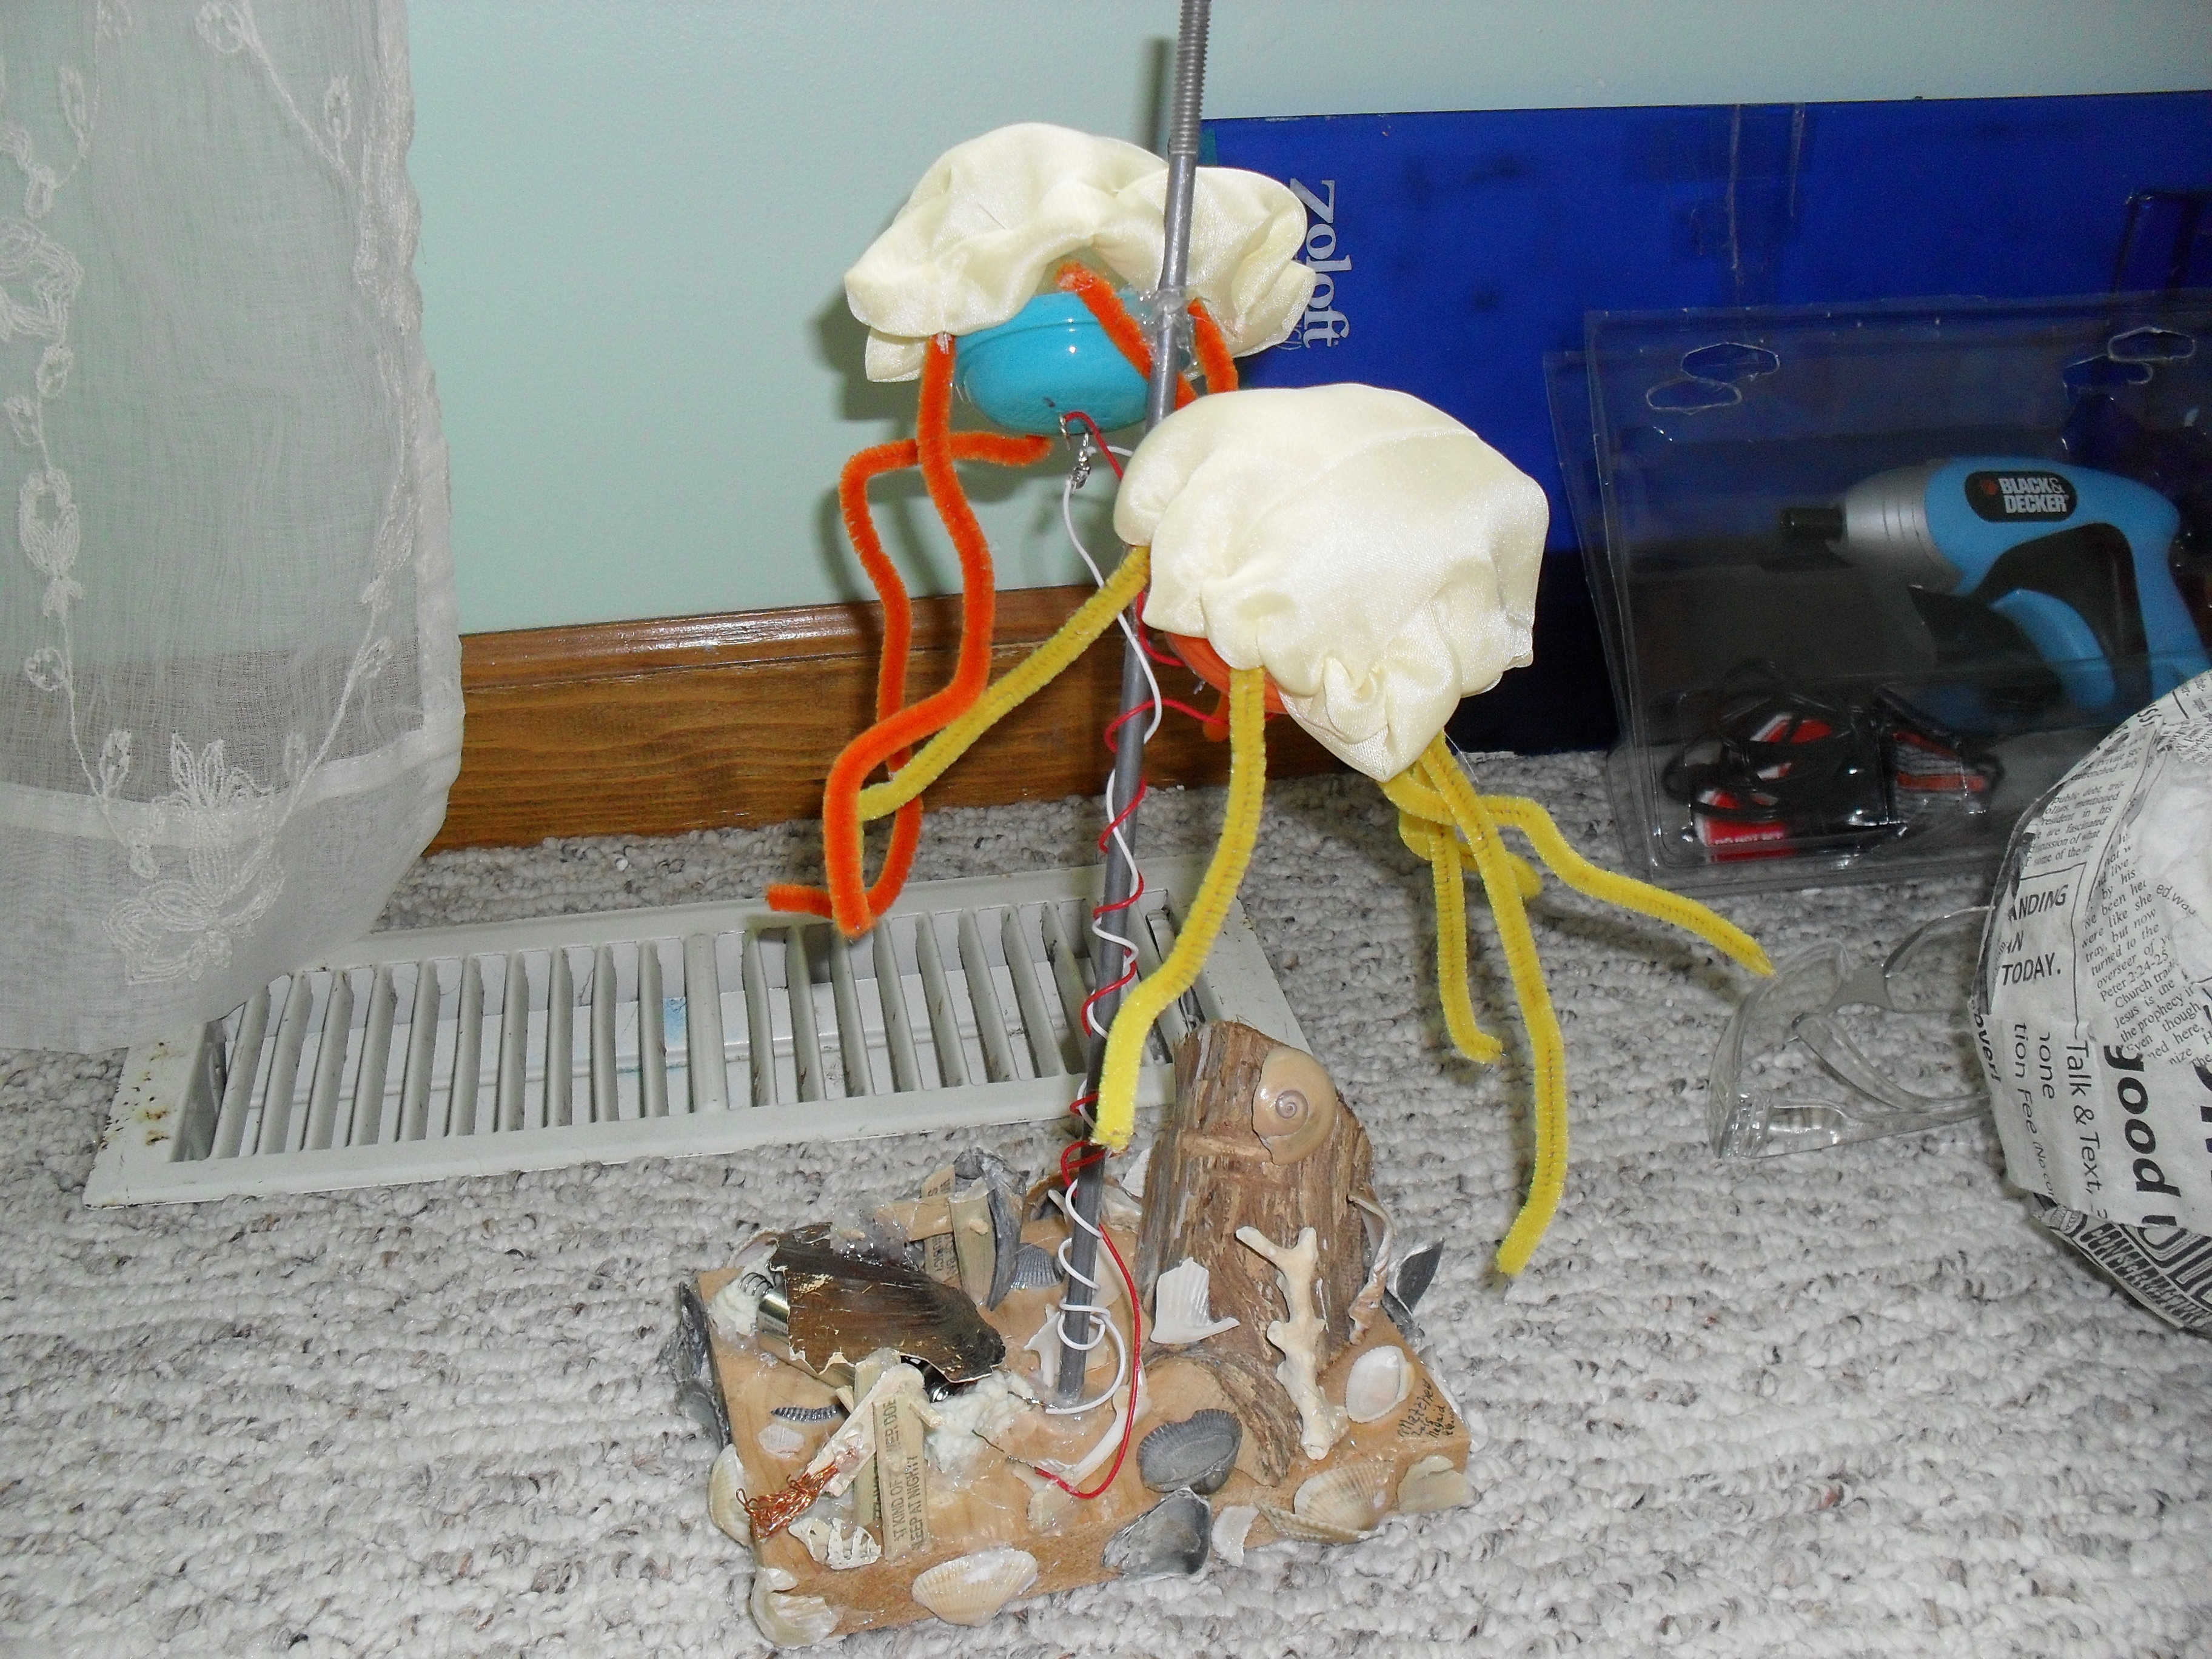
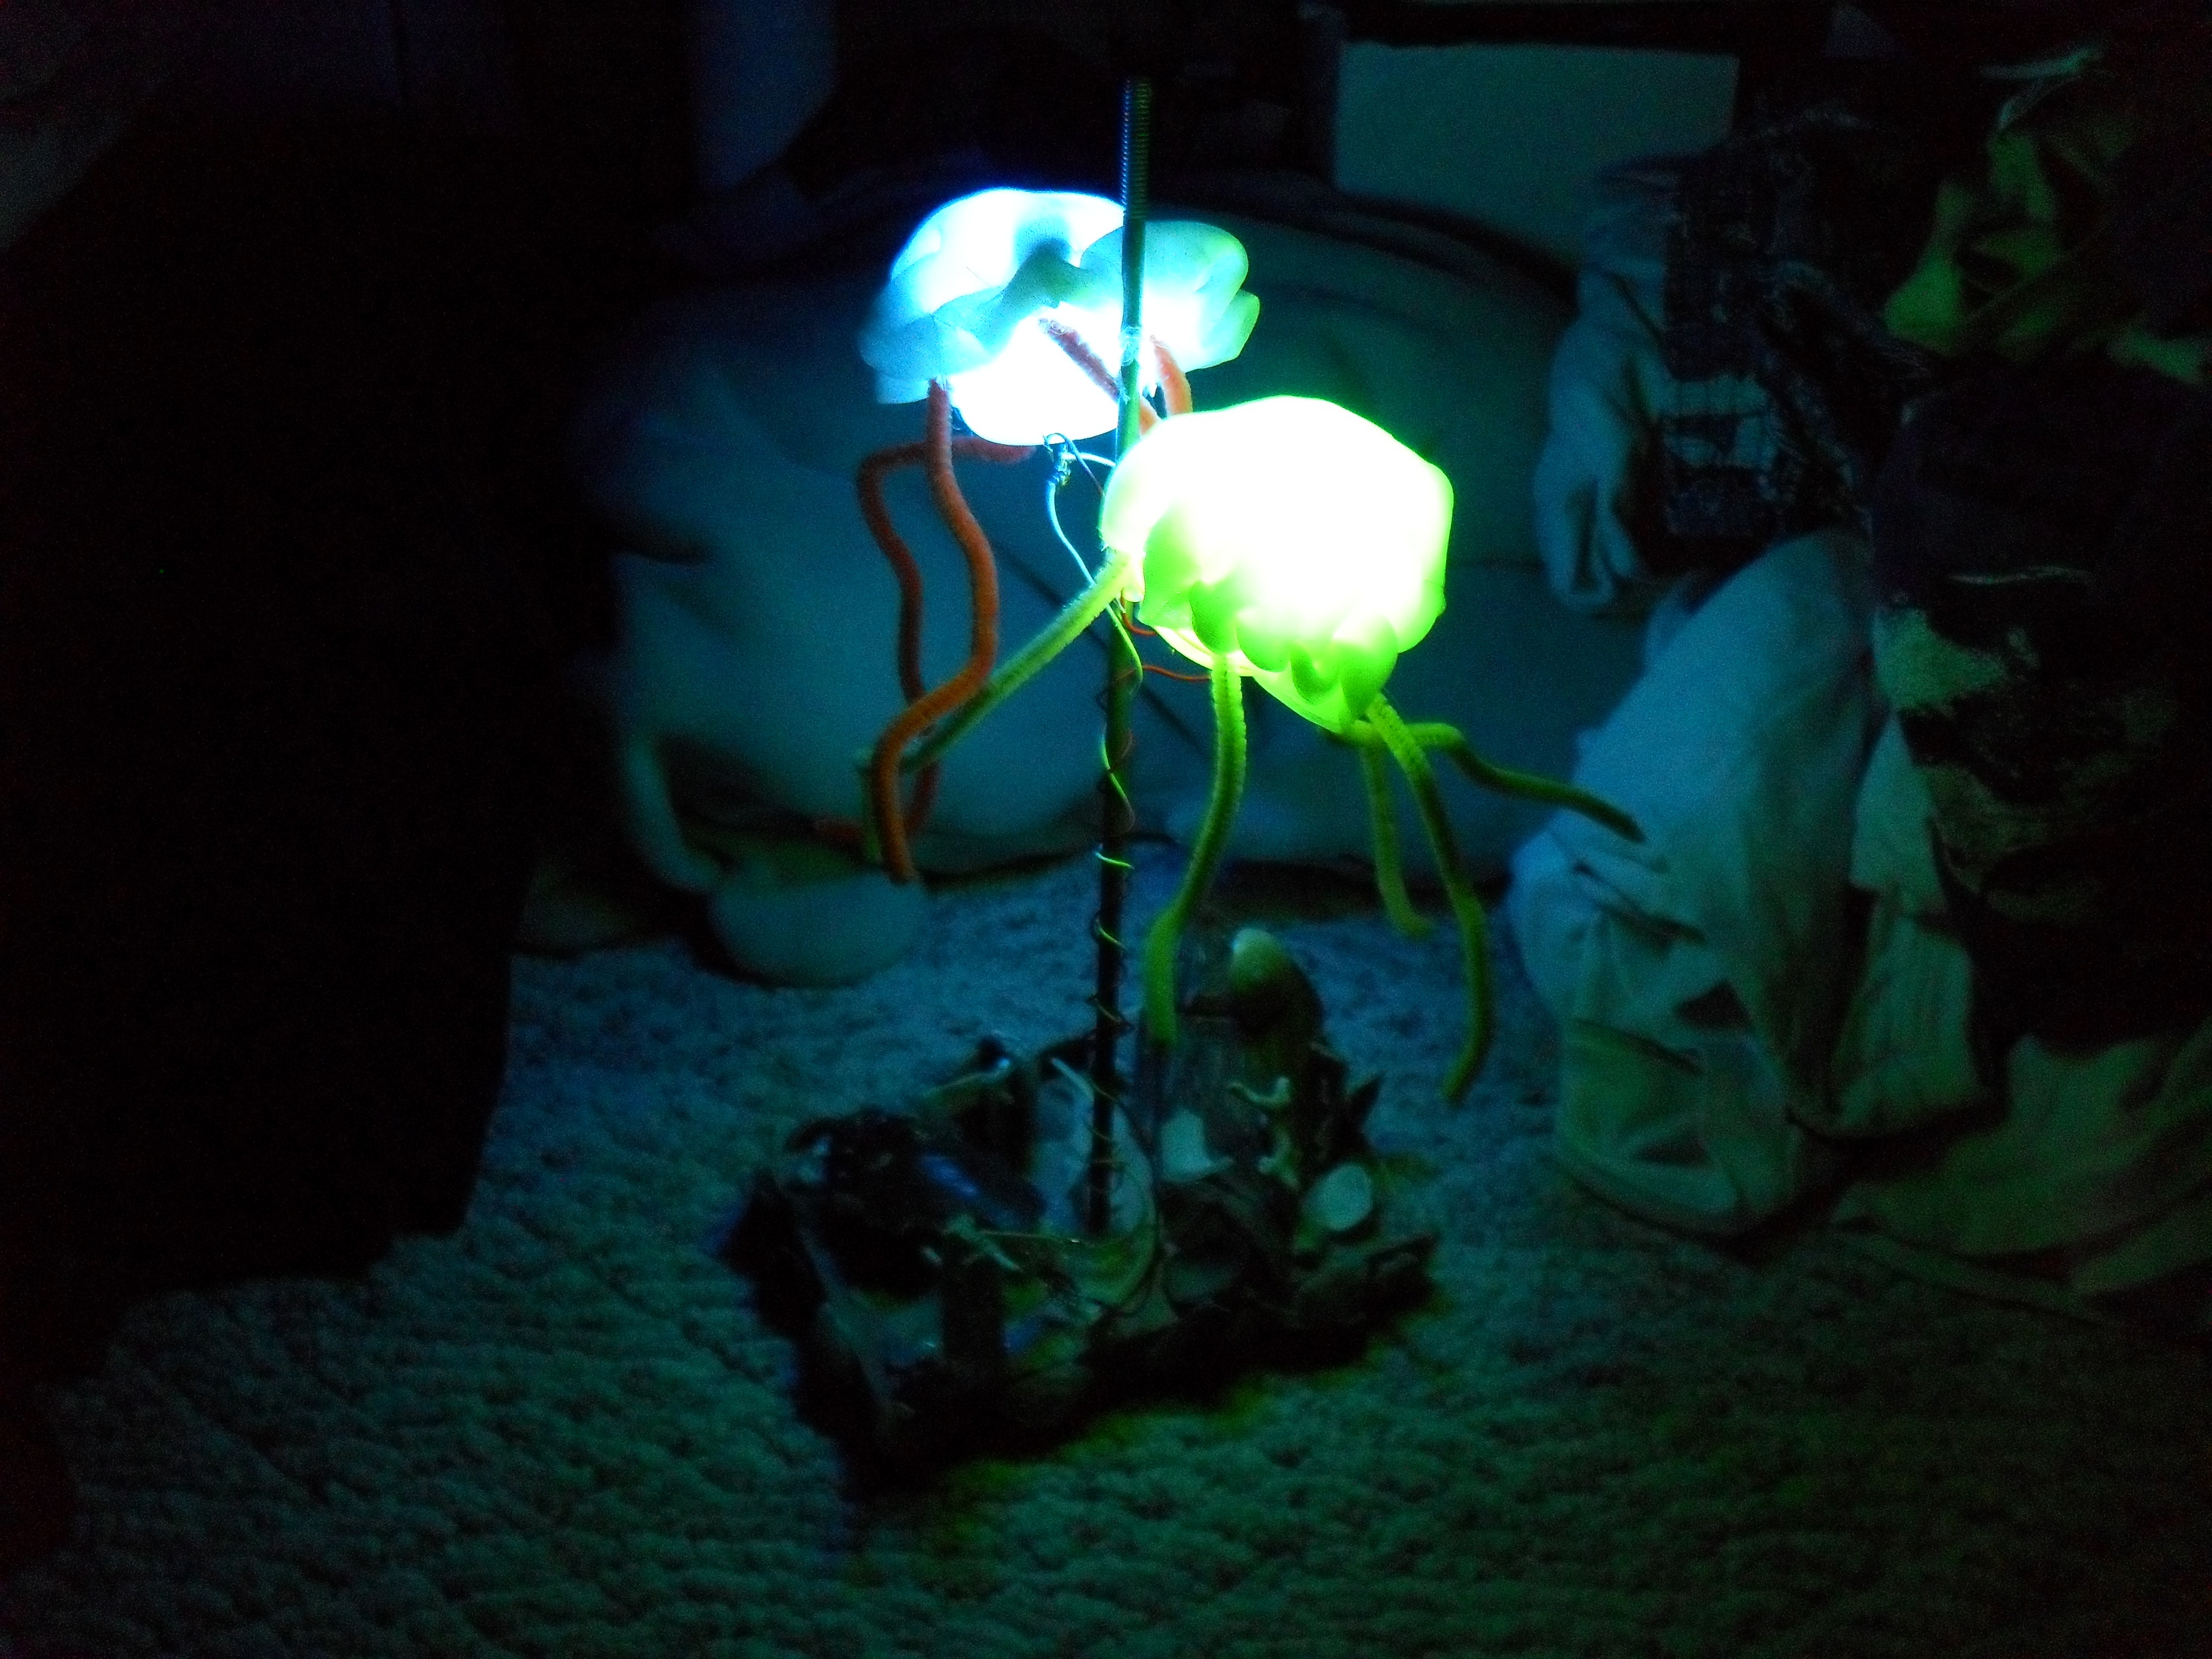
This is a modification of the LED jellies contributed by Angela Sheehan. For design instructions for jellies, check out Angela’s project.

For this project you will need to know how to use a soldering iron, a hot glue gun, and a drill. WARNING: Do not multitask with these tools! They can be very dangerous!

What will the next generation of Make: look like? We’re inviting you to shape the future by investing in Make:. By becoming an investor, you help decide what’s next. The future of Make: is in your hands. Learn More.

Project Steps

Use the thumbtack to poke 2 holes in each of the toy bubbles about 3/4 of a centimeter apart.

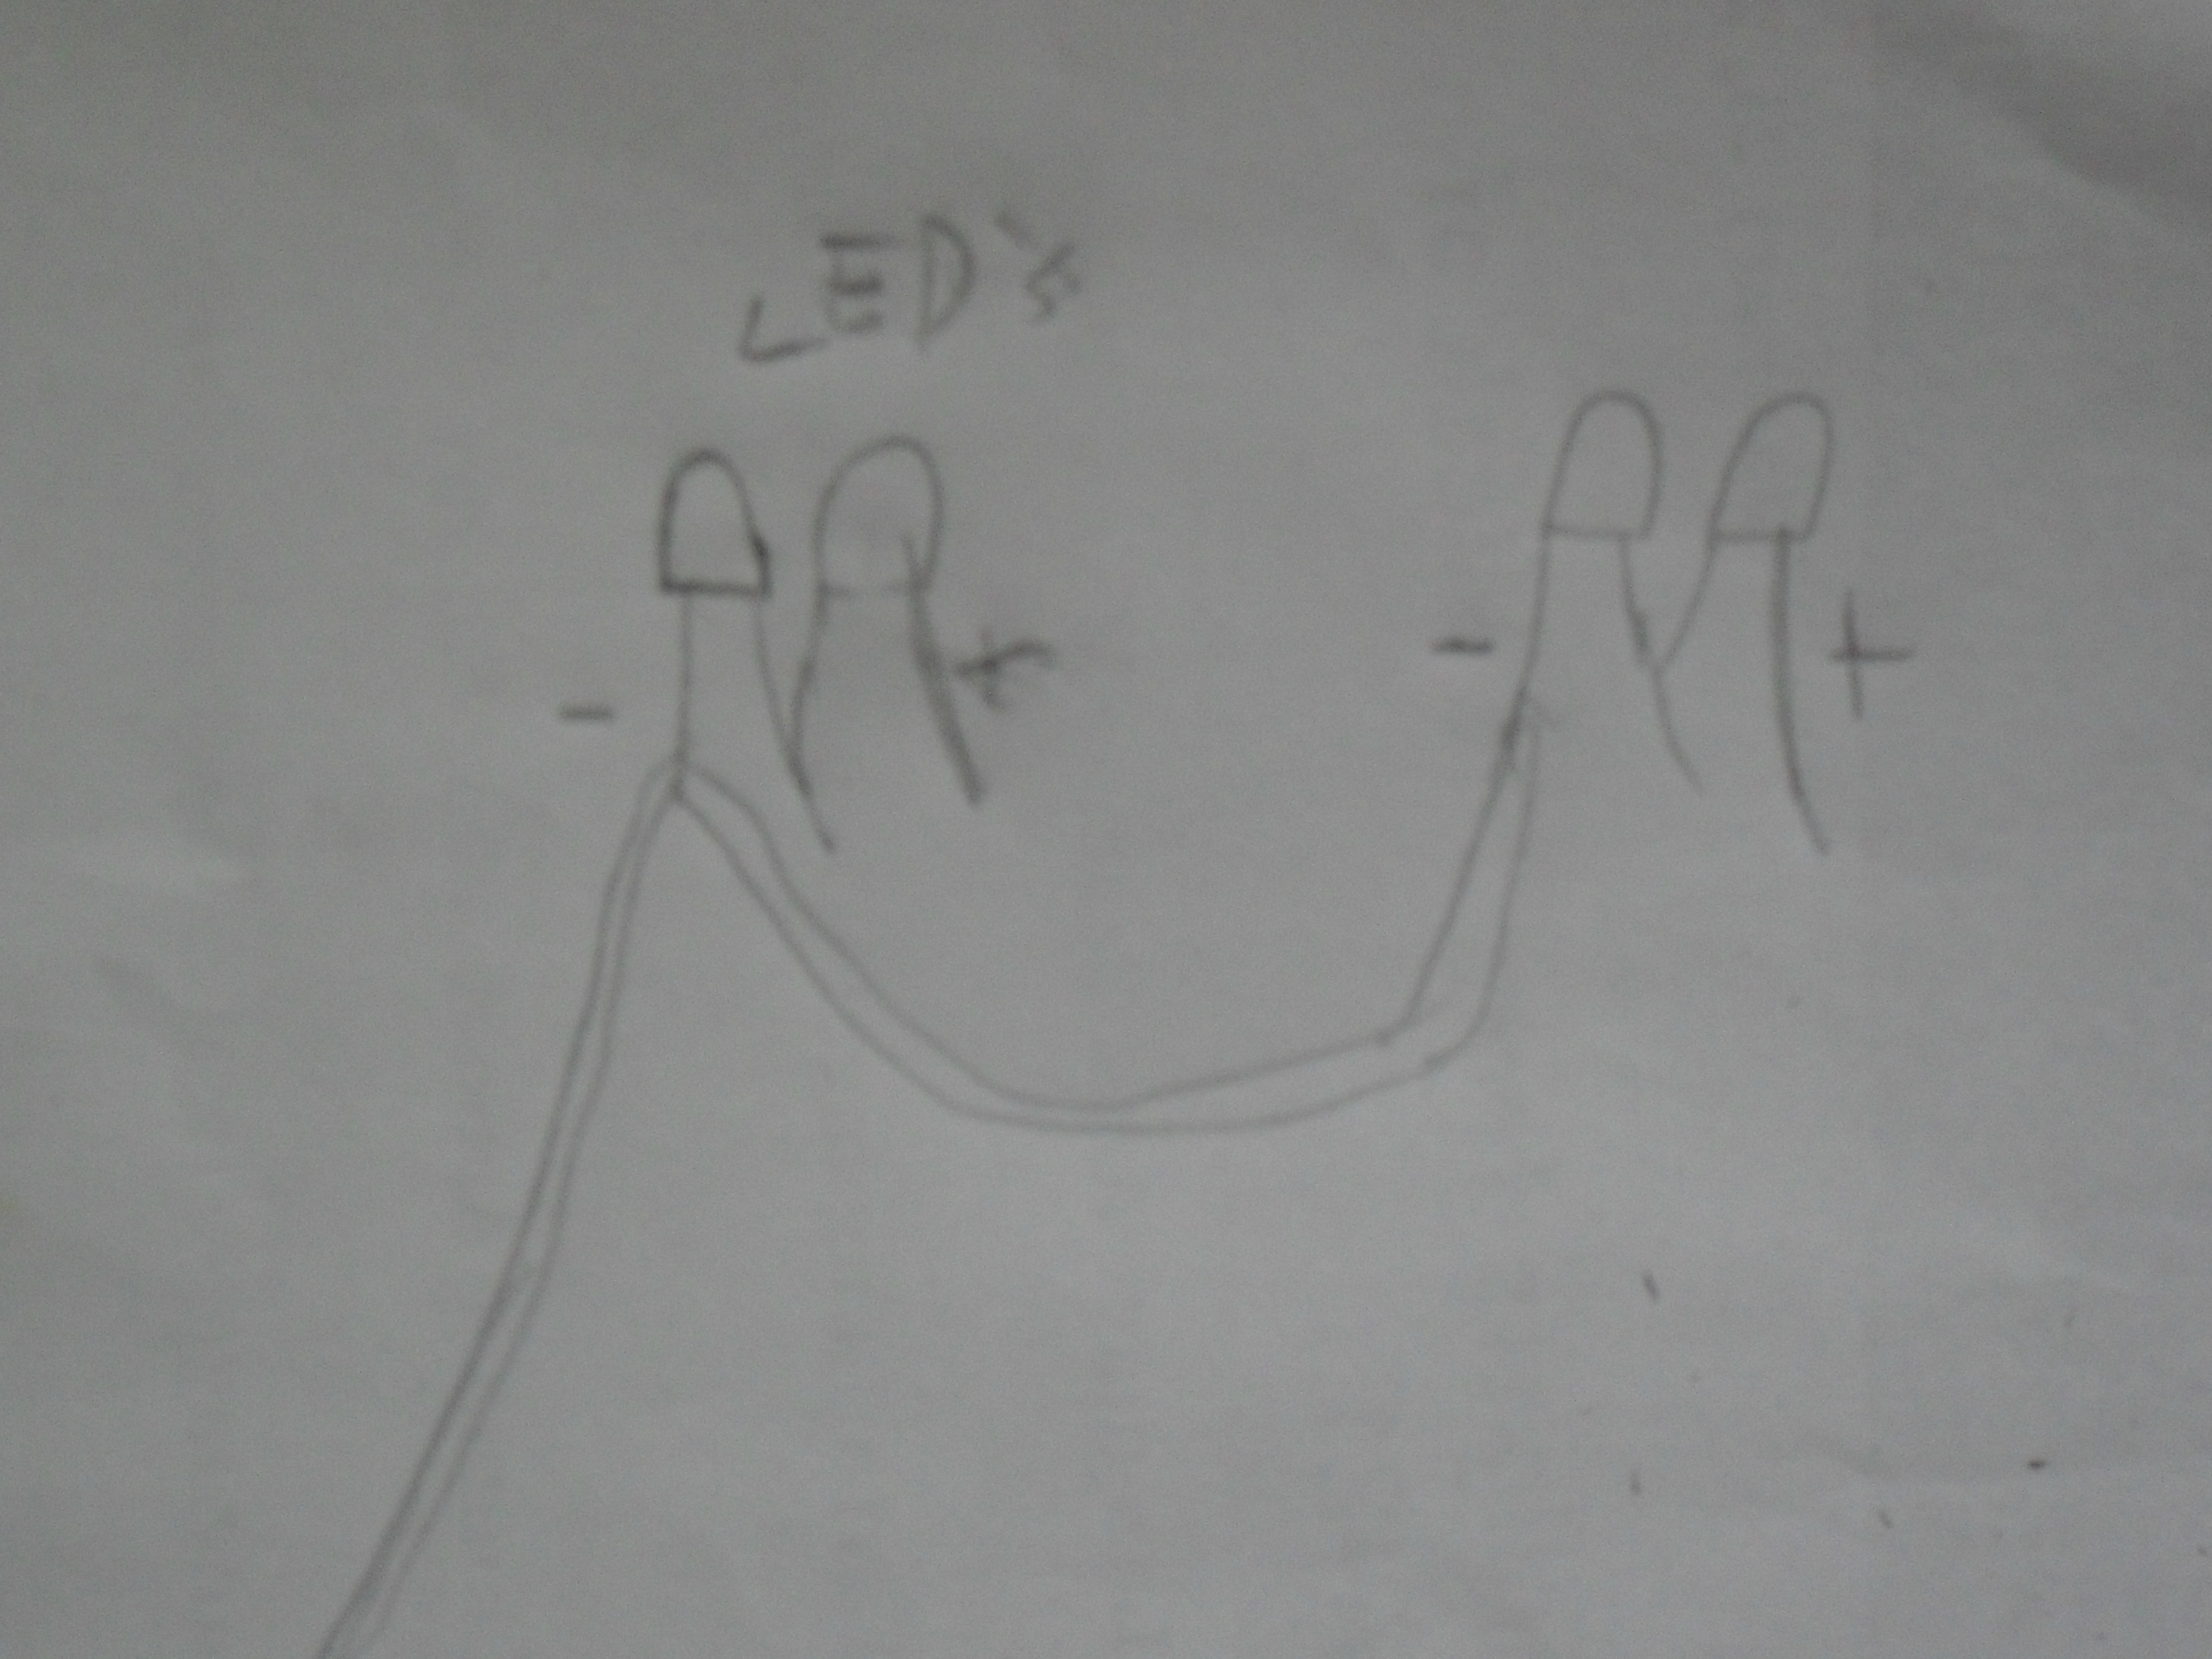
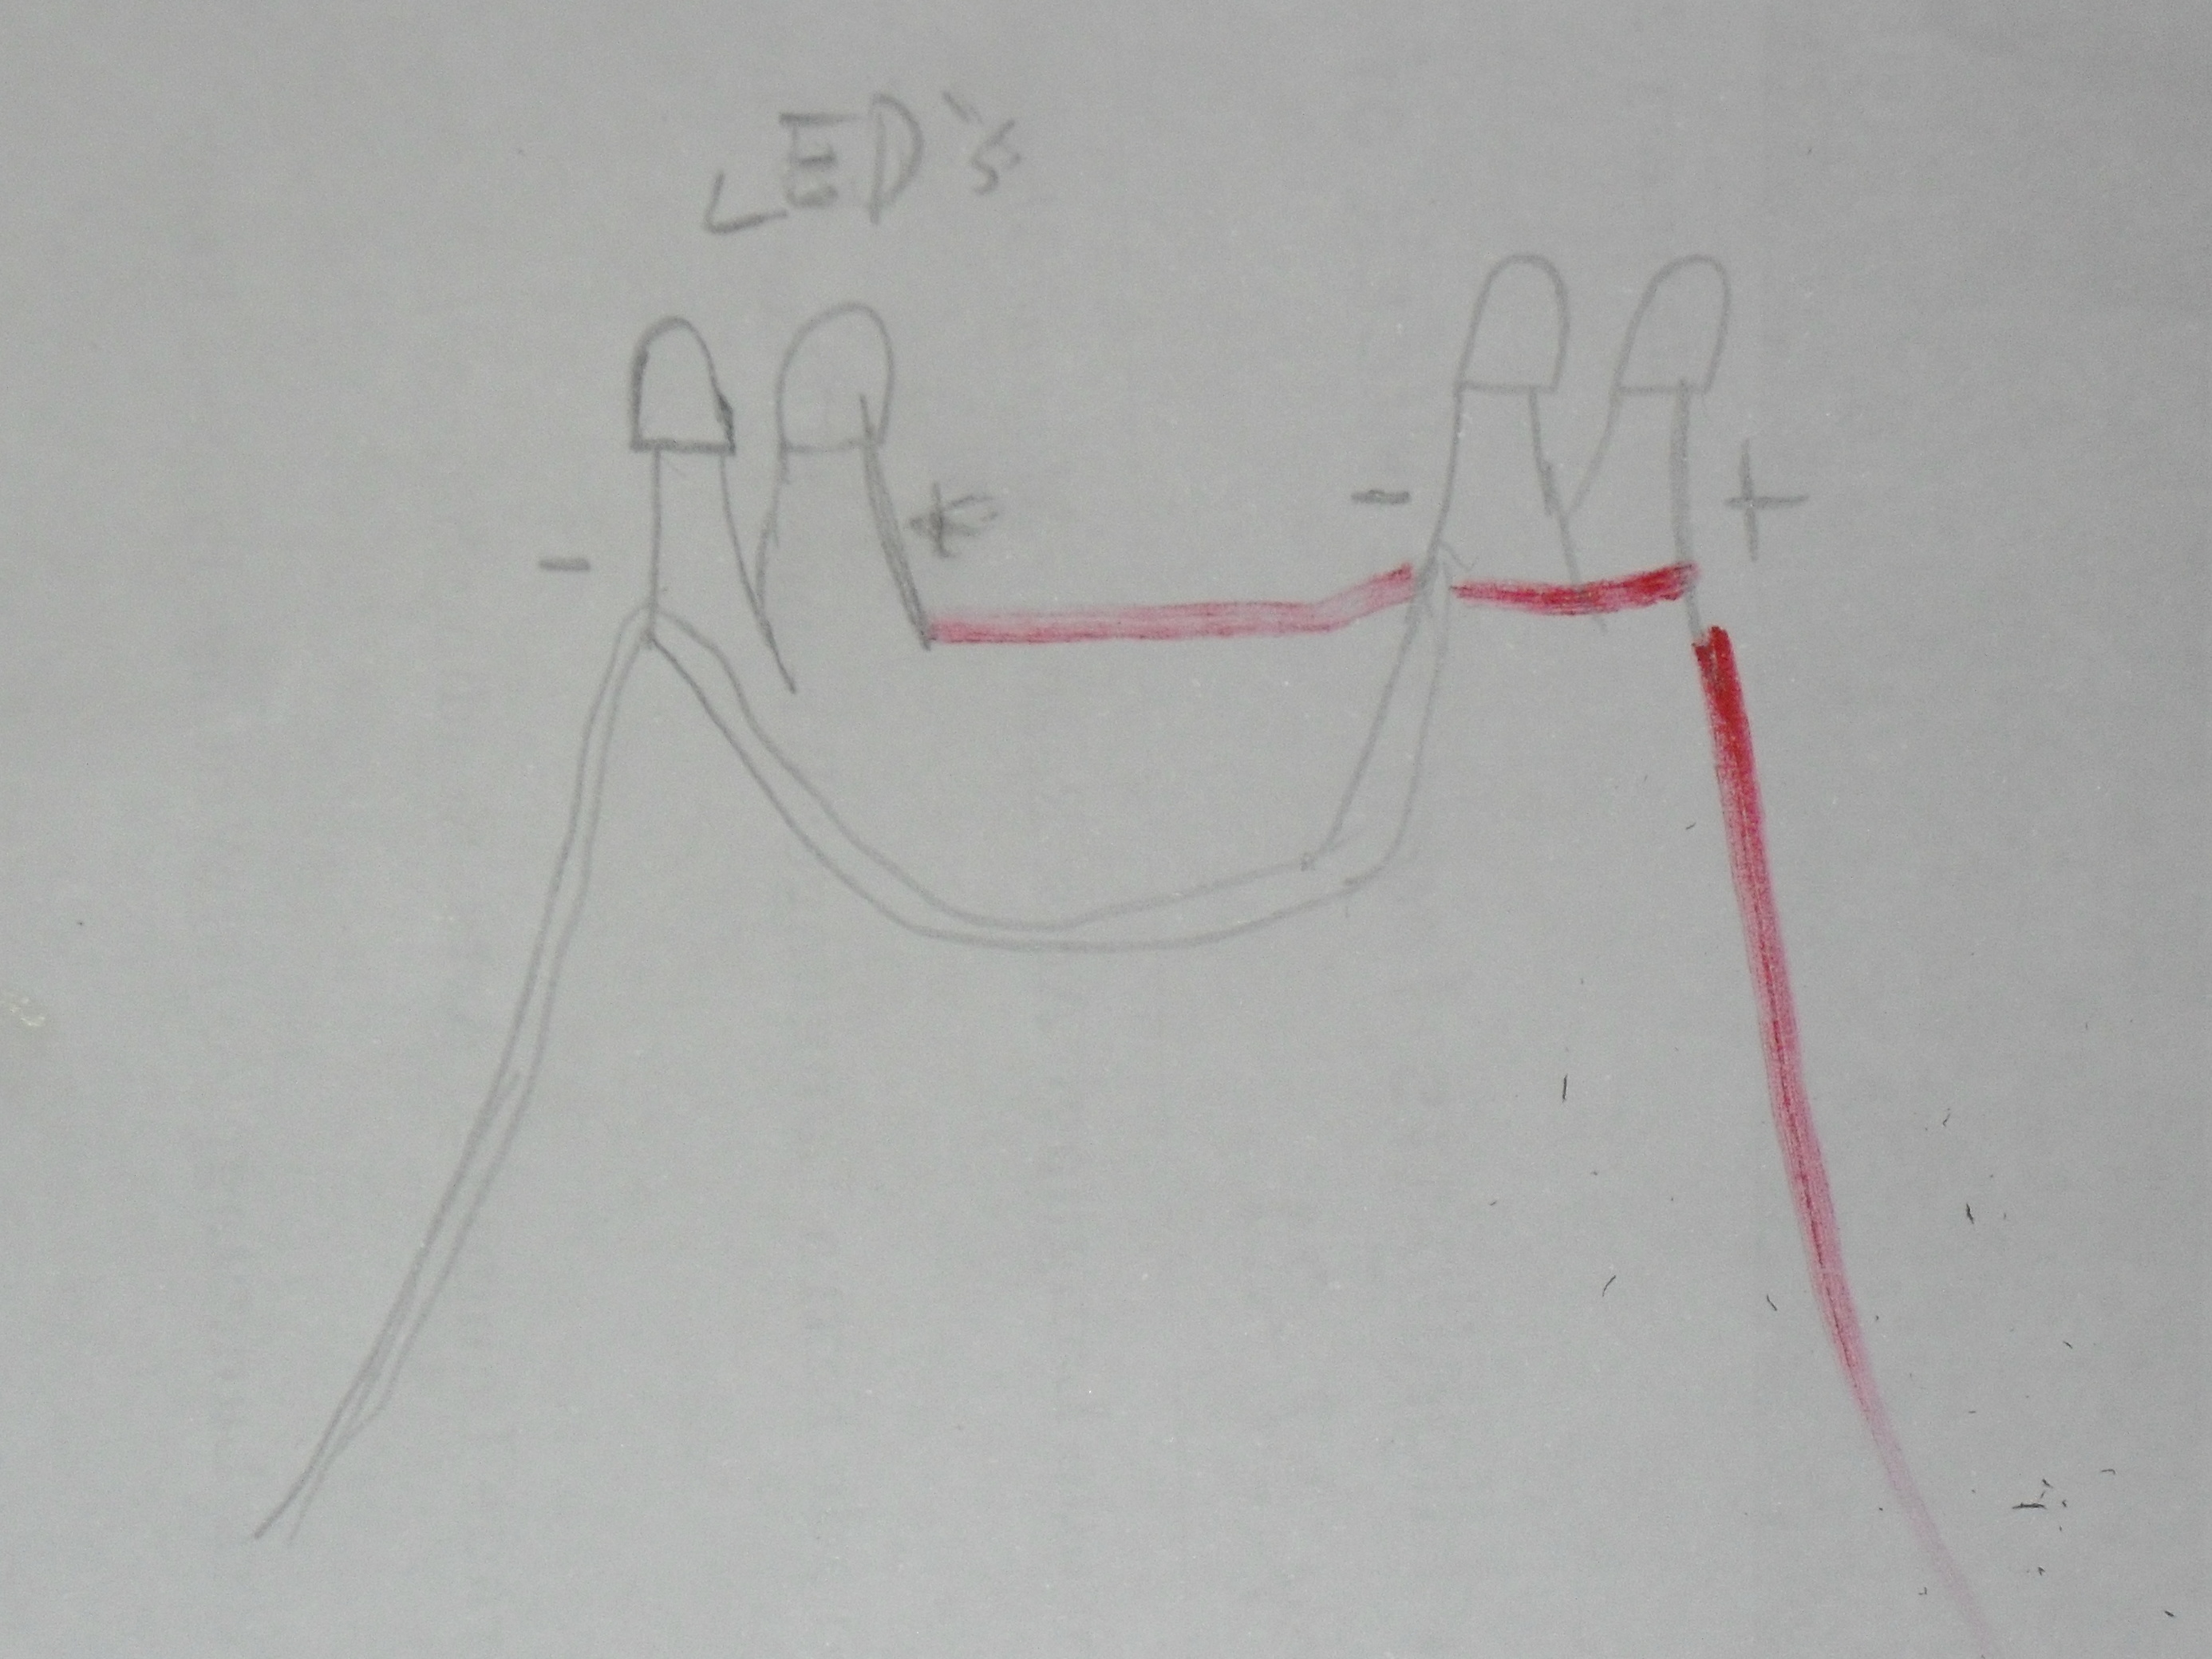
Solder the two LEDs together. Take one of the LED’s negative terminals (shorter leg) and solder it to the other LED’s positive terminal (longer leg).

Repeat using the other two LEDs.

Bend the soldered terminals upward so that the LEDs will be able to fit into the toy bubbles.

Insert the unsoldered terminals into the holes you made in the toy bubbles.

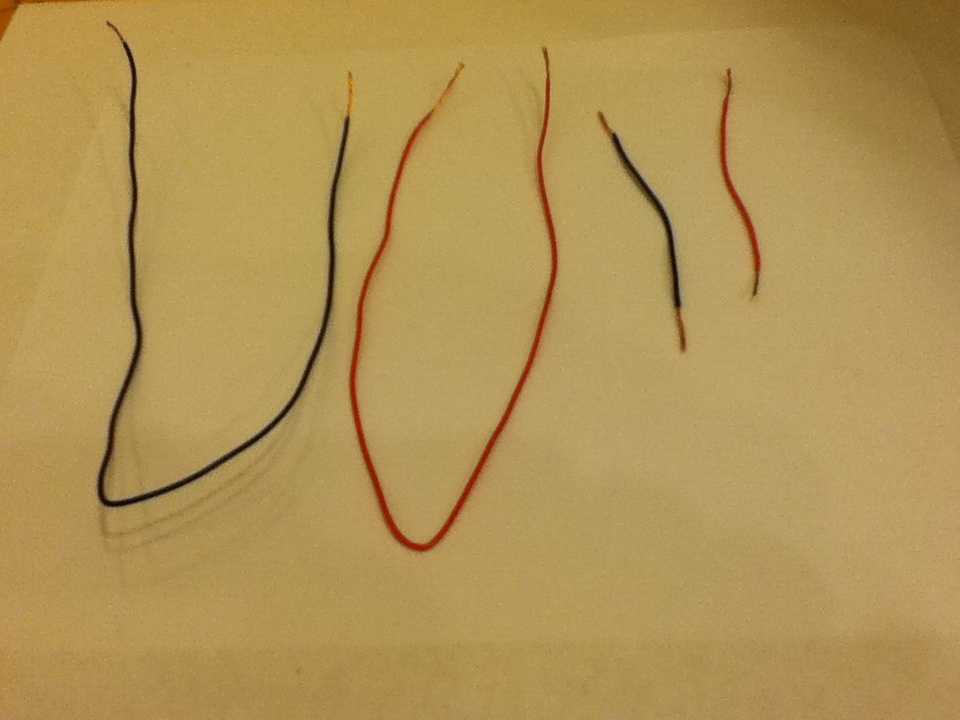
Measure out 1′ of the insulated copper wire and cut it off. Repeat this once more.

Measure out about 3 more inches of the copper wire and cut it off. Repeat this once more.

You now should have two 1′ pieces and two 3″ pieces of insulated copper wire. Make sure you do.

Cut off the insulation at the ends using a wire stripper or a pocket knife.

Solder one of the 1′ wires onto the negative terminal of an LED that was inserted into the toy bubble.

Solder one of the 3″ pieces onto the same negative terminal.

Solder the other end of the 3″ piece onto the negative terminal of another LED in a different toy bubble.

Mark the unsoldered end of the 1′ wire, showing that the wire is attached to the negative terminals (LED’s won’t work if you connect the ends to the wrong battery terminal).

Solder the other 1′ wire onto the positive terminal of an LED that was inserted into the toy bubble.

Solder the other 3″ piece onto the same positive terminal.

Solder the other end of the 3″ piece onto the positive terminal of another LED in a different toy bubble.

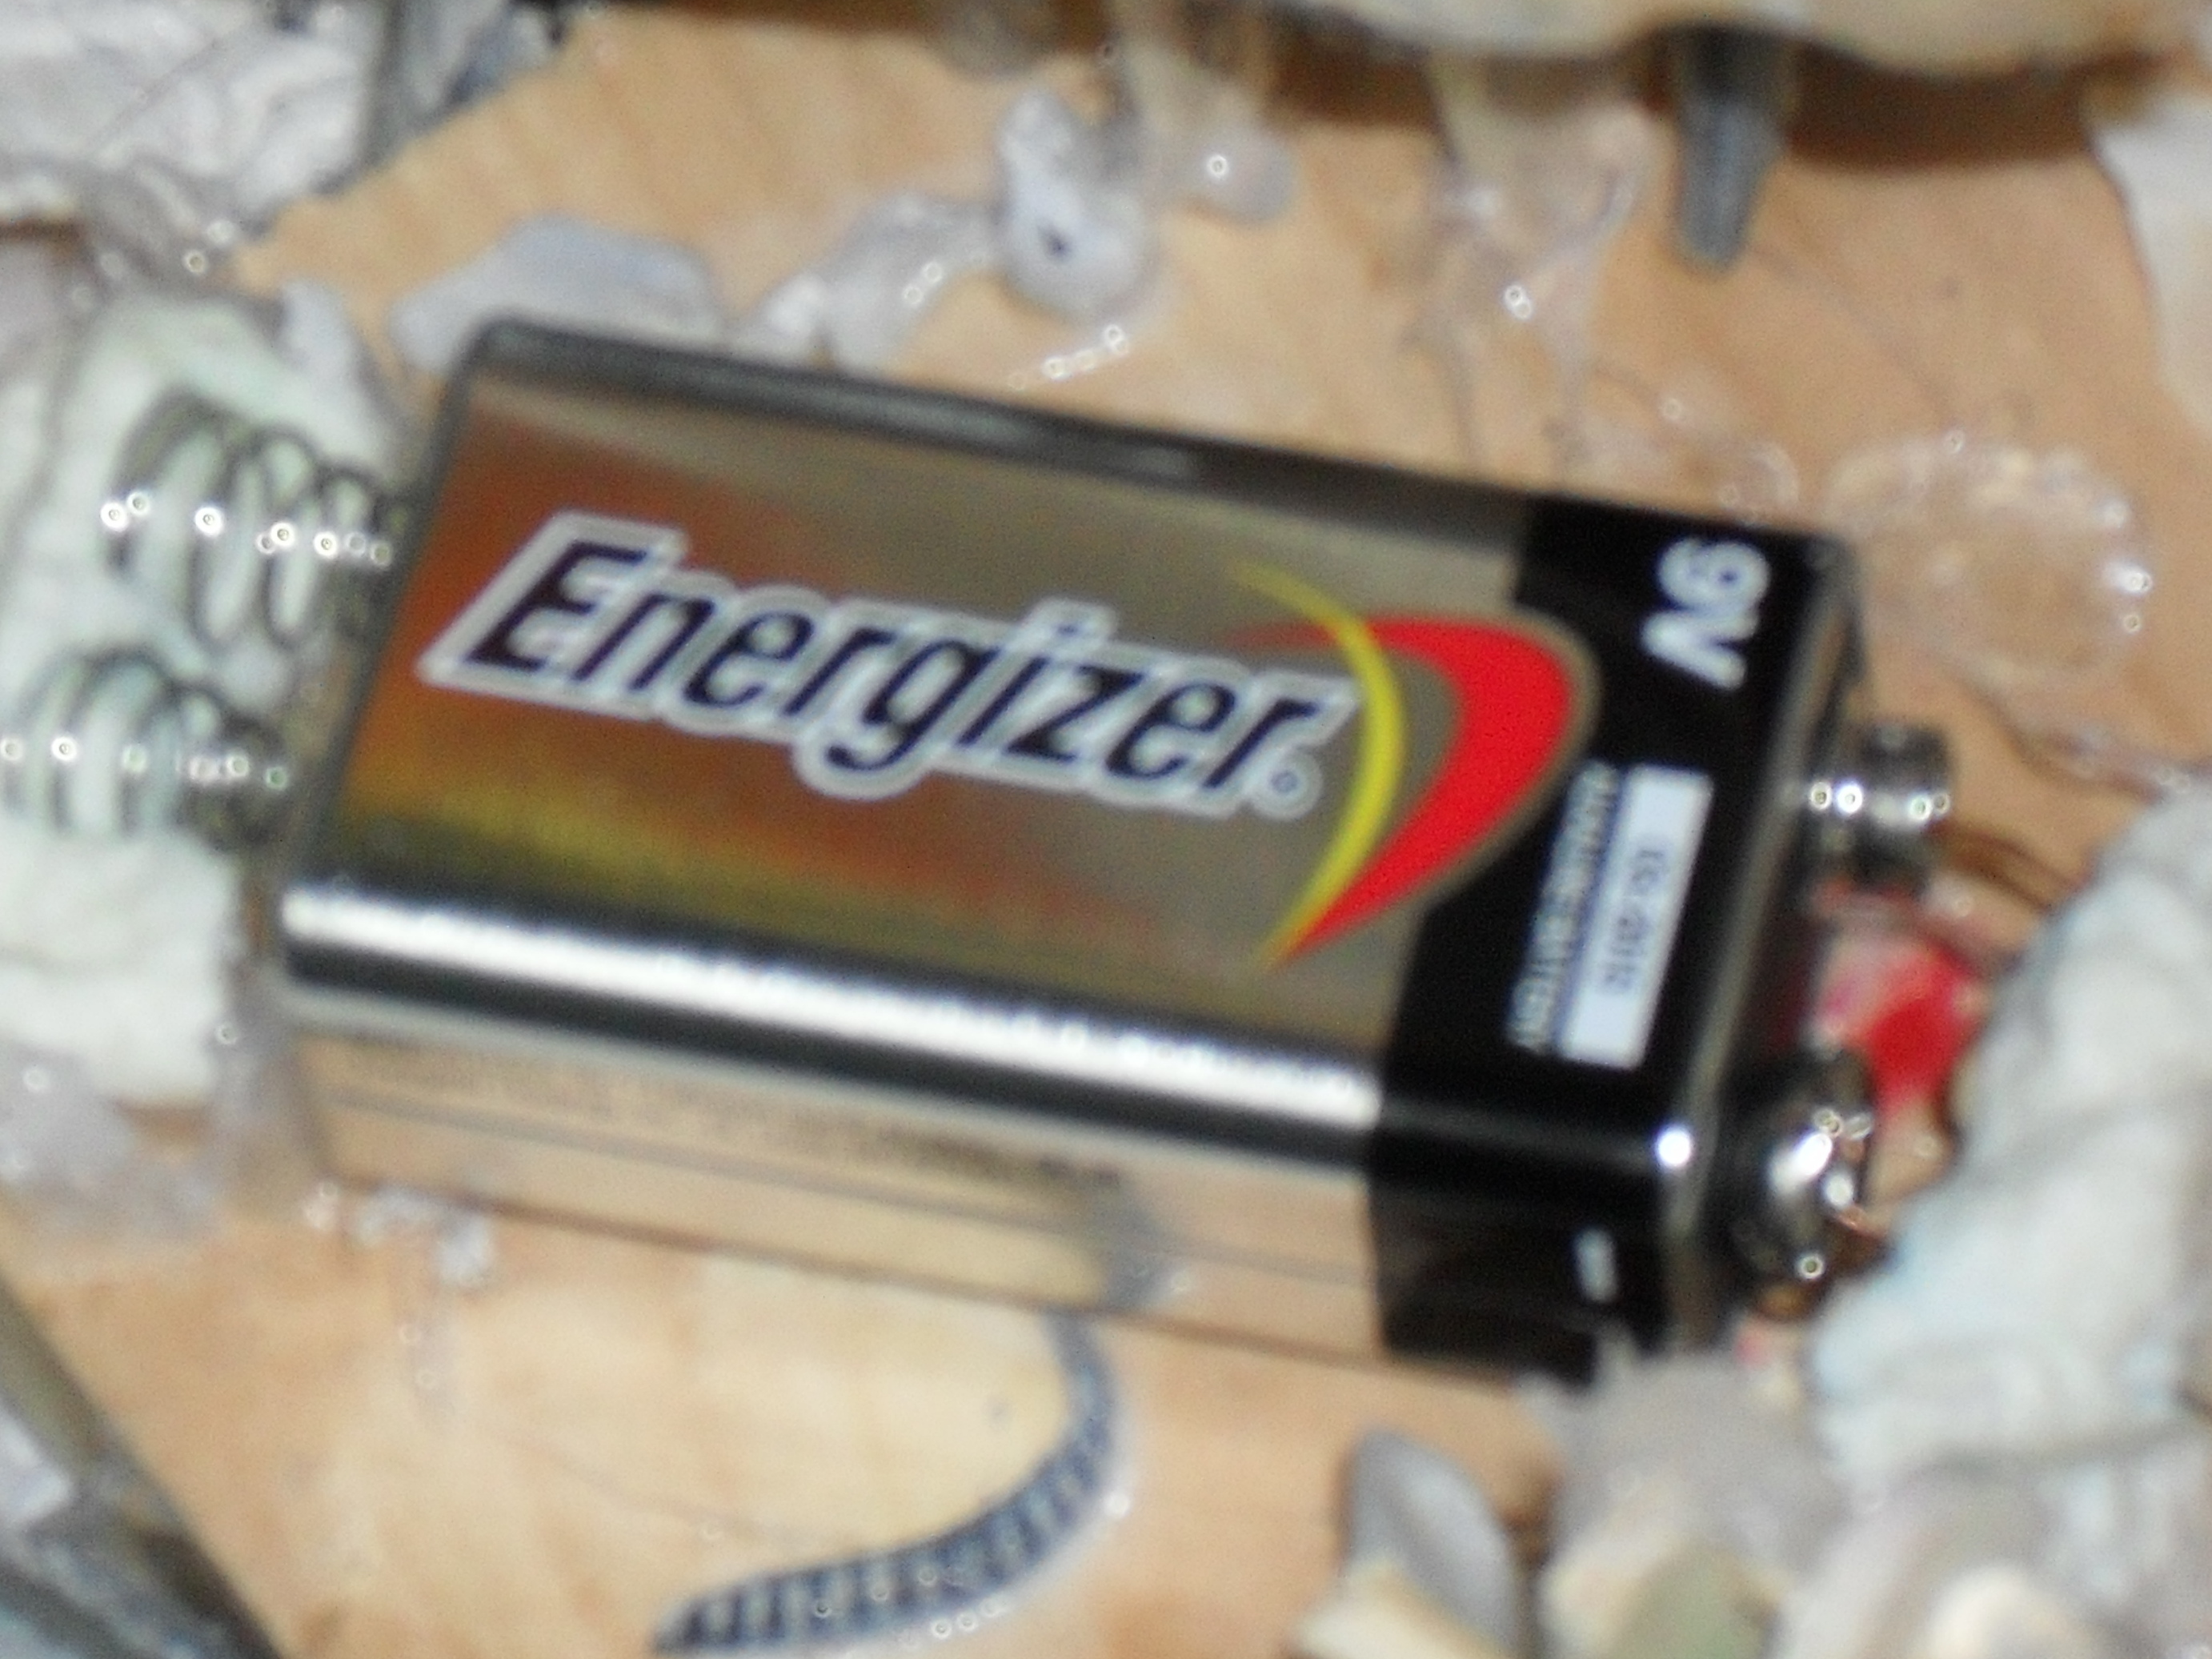
Hook the 9V battery on to the positive and negative 1′ wires to see if the circuitry works. If not, make sure you are inserting the wire connected to the LEDs into the correct battery terminals. If it still doesn’t work, check over these steps to see if you have done something wrong.

Use the casien from the milk-to-plastic experiment to create two small walls about the size of the ends of the 9V battery.

Cut off two 1cm strips of uninsulated copper wire.

Insert the strips into the casein so that they will be able to touch the terminals of a 9V battery. Wait for the casien to dry.

Make the lamp stand by drilling a hole into a block of wood and inserting a sturdy one-foot pole into it, then hot-gluing it into place.

Hot-glue the hardened casein onto the lamp stand, but make sure that a 9V battery can fit from end to end between the 2 pieces.

Hot-glue the 2 LED toy bubbles close to the top of the one-foot pole, making sure the one-foot wires are able to touch the bottom of the lamp stand (you may want to decorate them as jellyfish first, though).

Solder one of the ends of the 1′ wire pieces connected to the LEDs to one of the strips of uninsulated copper wire in the casein.

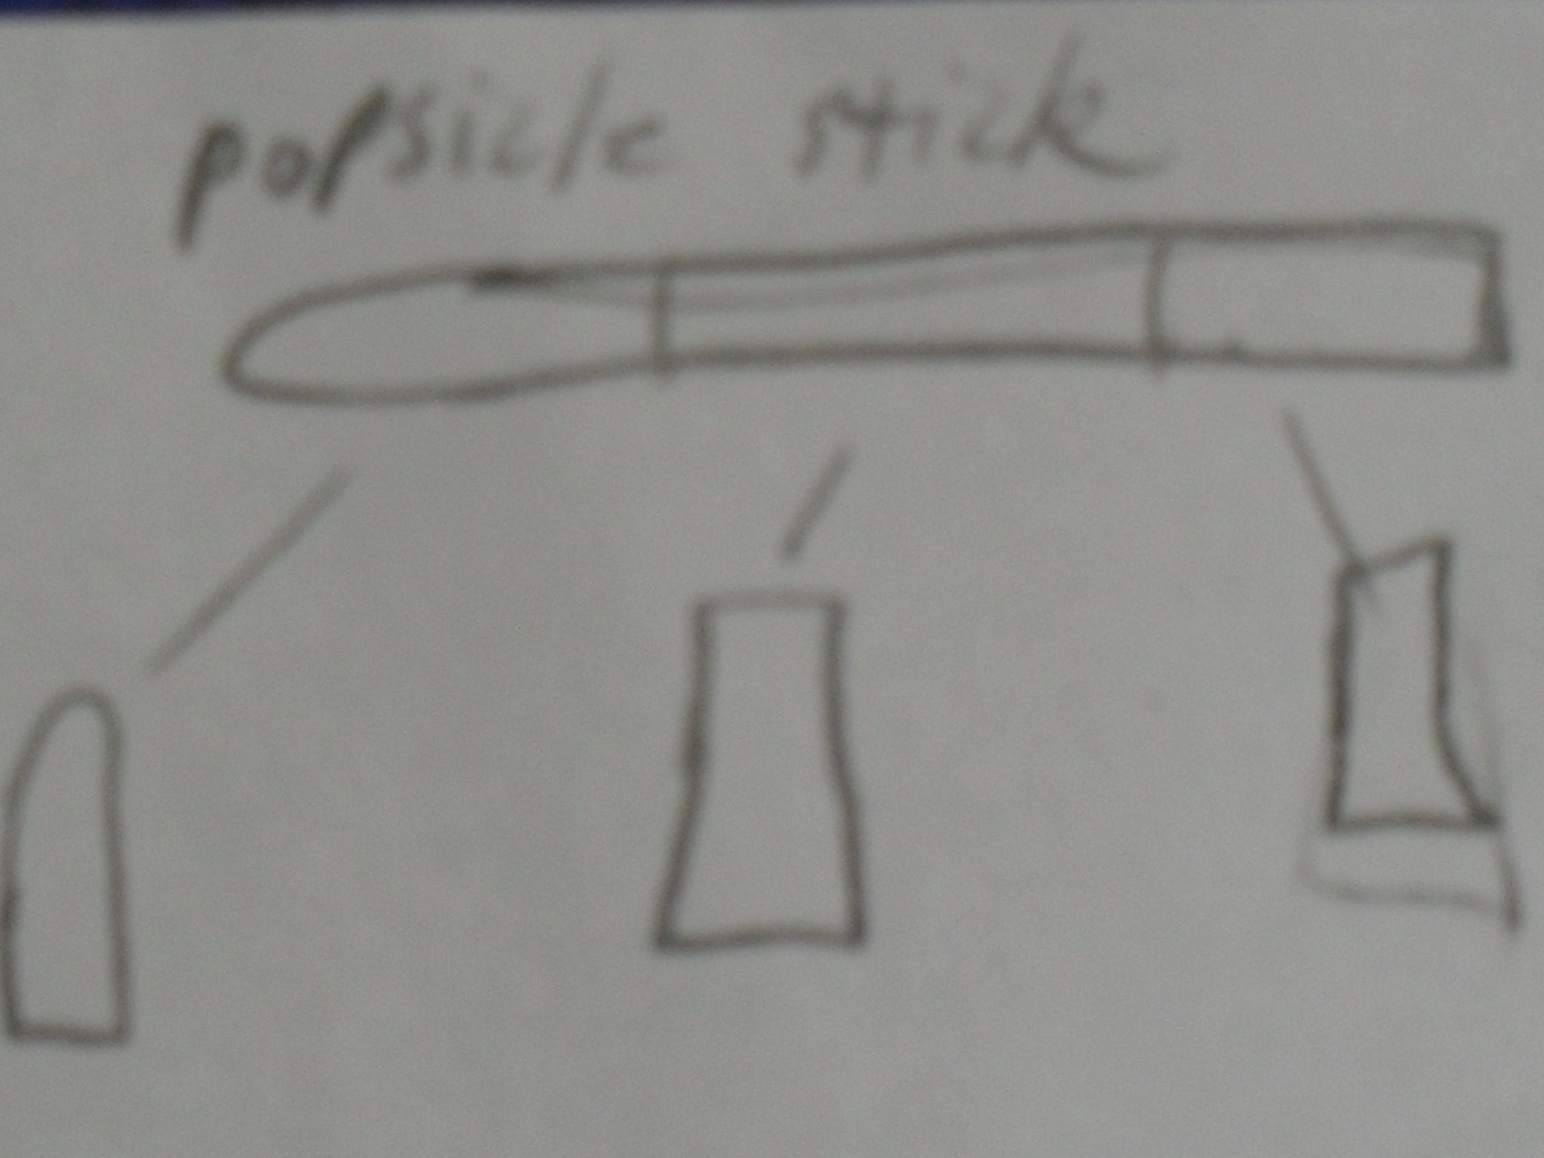
Snap 1/2 of a centimeter off of the popsicle stick and hot-glue it a centimeter away from the unsoldered strip of uninsulated copper wire in the casein.

Hot-glue the remaining end of the 1′ wire piece to the 1/2cm popsicle stick piece while getting the end of the wire as close as possible to the uninsulated copper wire strip without having them touch.

Divide the remainder of the popsicle stick into 3 even pieces.

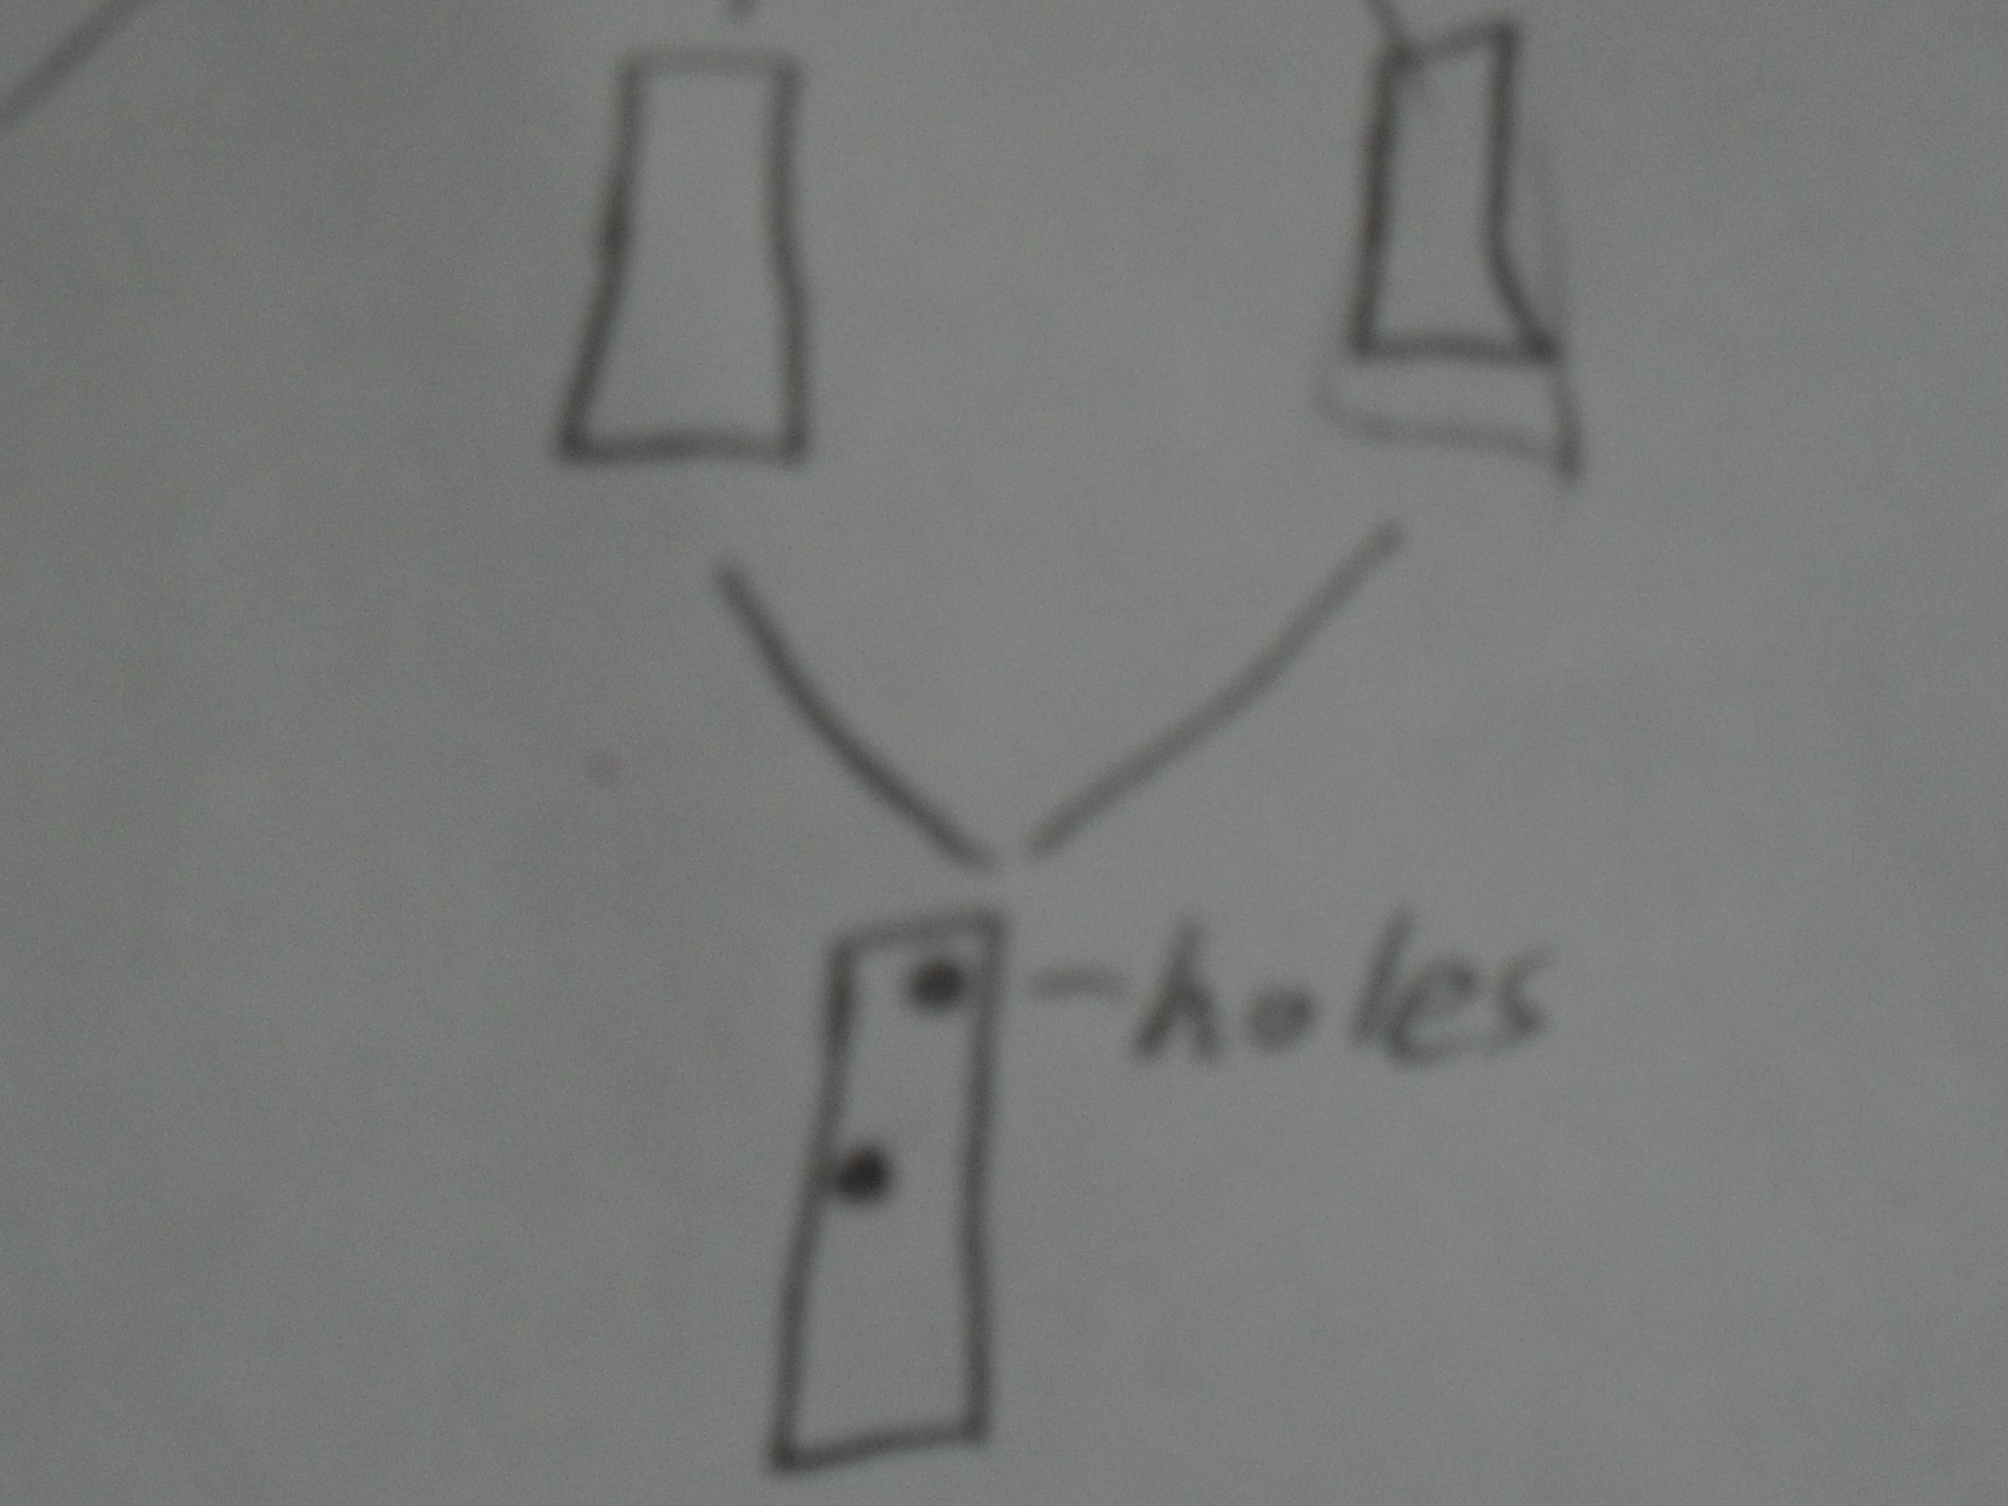
Drill 2 holes into one of the pieces, one in the top right corner and one in the middle-left of the piece. Repeat this on another popsicle stick piece.

Drill a hole in the top of the remaining piece.

Cut two 1cm pieces off the shish kabob stick and insert them into the holes in the identical popsicle stick piece.

The popsicle stick piece with one hole goes with the shish kabob stick piece that was put into the top right corners of the other popsicle stick pieces.

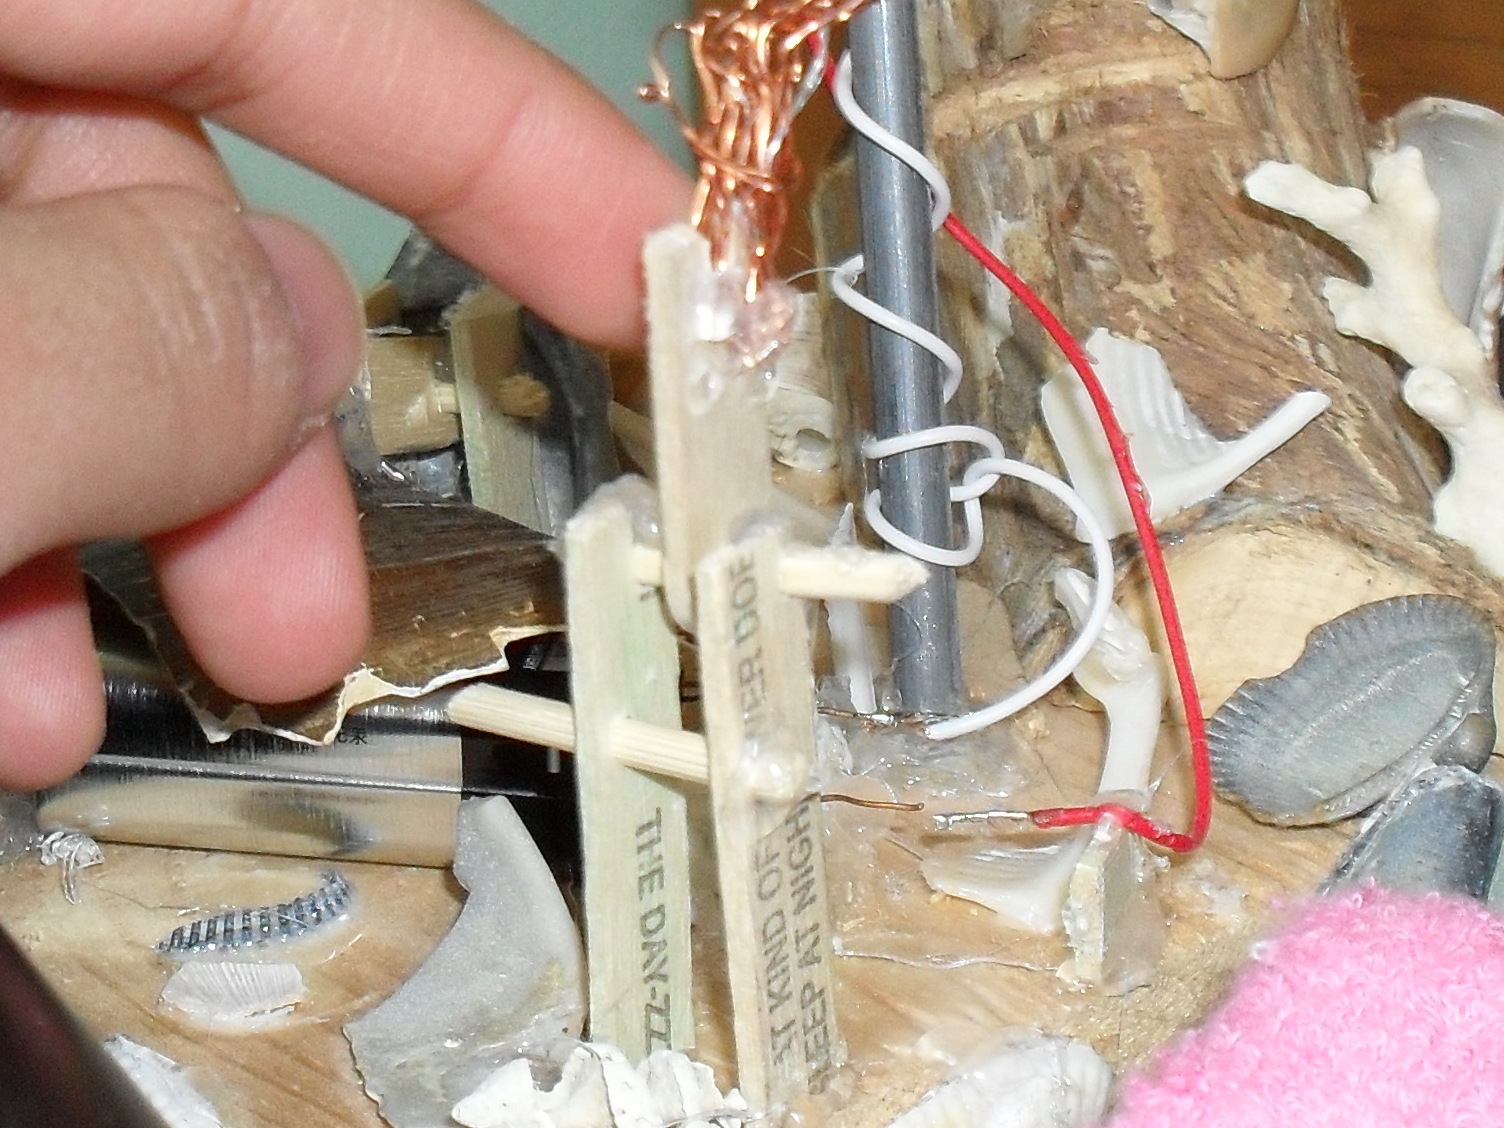
Cut off 3″ of uninsulated copper wire and mash it into an “under-over” pattern so it’s about the size of a fingernail.

Cut a slit into the popsicle stick piece with one hole. Also, hot-glue the mashed up copper wire into the slit.

Hot glue gun the popsicle stick pieces to the lamp stand base so that the mashed up copper wire is able to touch the end of the wire piece and the uninsulated copper wire in the casein at the same time.

Connect the uninsulated copper wire pieces in the casein to the correct terminals on the 9V battery.

Flip the make-shift popsicle switch system on (to do that, make the mashed up copper wire pieces touch the end of the 1′ wire and the uninsulated copper wire in the casein).

Decorate your new jellyfish lamp (see LED jellies contributed by Angela Sheehan).