

Make and toss a bunch of these inexpensive little lights to add color to any ferromagnetic surface in your neighborhood.
Projects from Make: Magazine
LED Throwies
Add color to any ferromagnetic surface in your neighborhood.
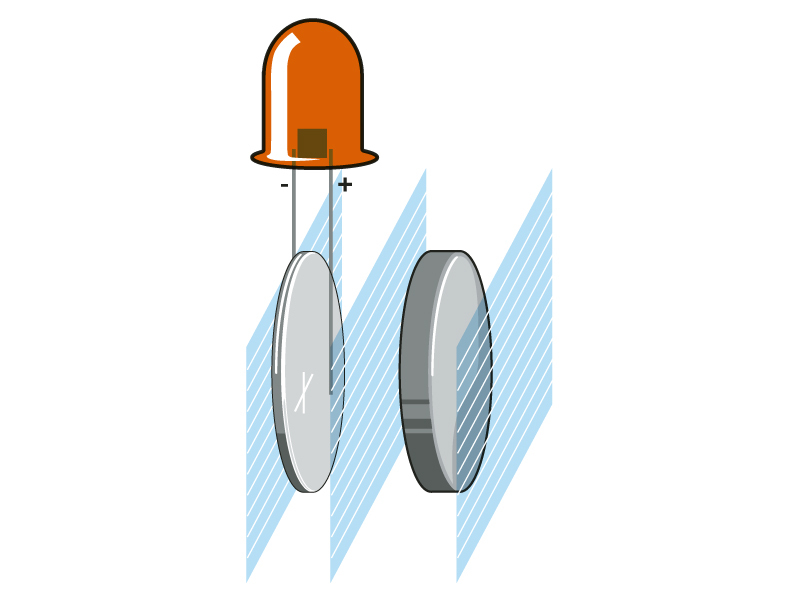
Test the LED.
Pinch the LED’s leads to the battery terminals, with the longer lead (the anode) touching the positive terminal (+) of the battery, and the shorter lead (the cathode) touching negative (-).
Confirm that the LED lights up.
Tape the LED leads to the battery by cutting off a 7″ piece of strapping tape and wrapping it once around both sides of the battery. Keep the tape very tight as you wrap. The LED should not flicker.
Place the magnet on the positive terminal of the battery, and continue to wrap the tape tightly until it’s all done. The magnet should hold firmly to the battery.
The battery’s positive contact surface extends around the sides of the battery. Don’t let the LED’s cathode touch the positive terminal, or you’ll short the circuit.
That’s it — you’re ready to throw (or make a few dozen more). Throw it up high and in quantity to impress your friends and city officials.
A throwie will shine for about 1-2 weeks, depending on the weather and the LED color. To get one off a ferro-magnetic surface, don’t pull it, or it may come apart. Instead, apply a lateral force to the magnet base, and slide it off the surface while lifting it with a fingernail or tool.
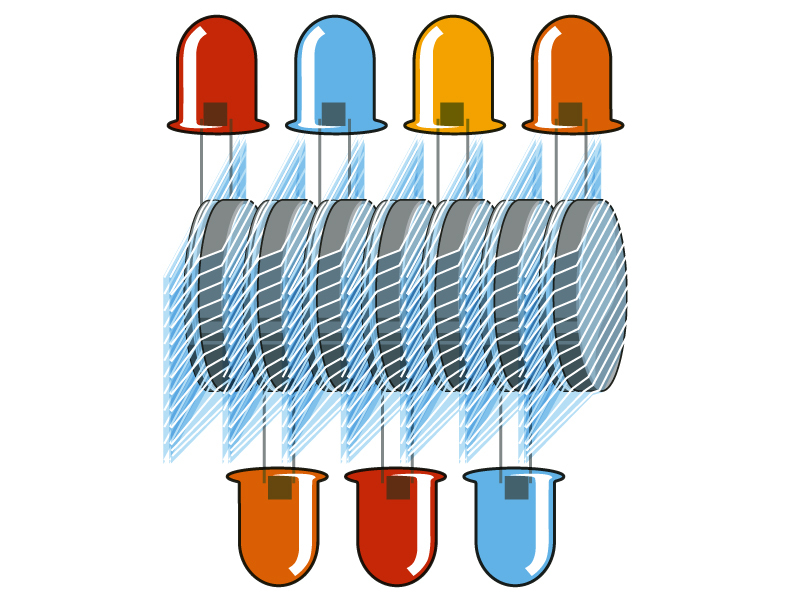
Throwies naturally chain together in your pocket, making multi-segmented throwie bugs, which will also stick to metal surfaces if they aren’t too long.
Conclusion
This project originally appeared in MAKE Volume 6, page 116.


