YouTube player

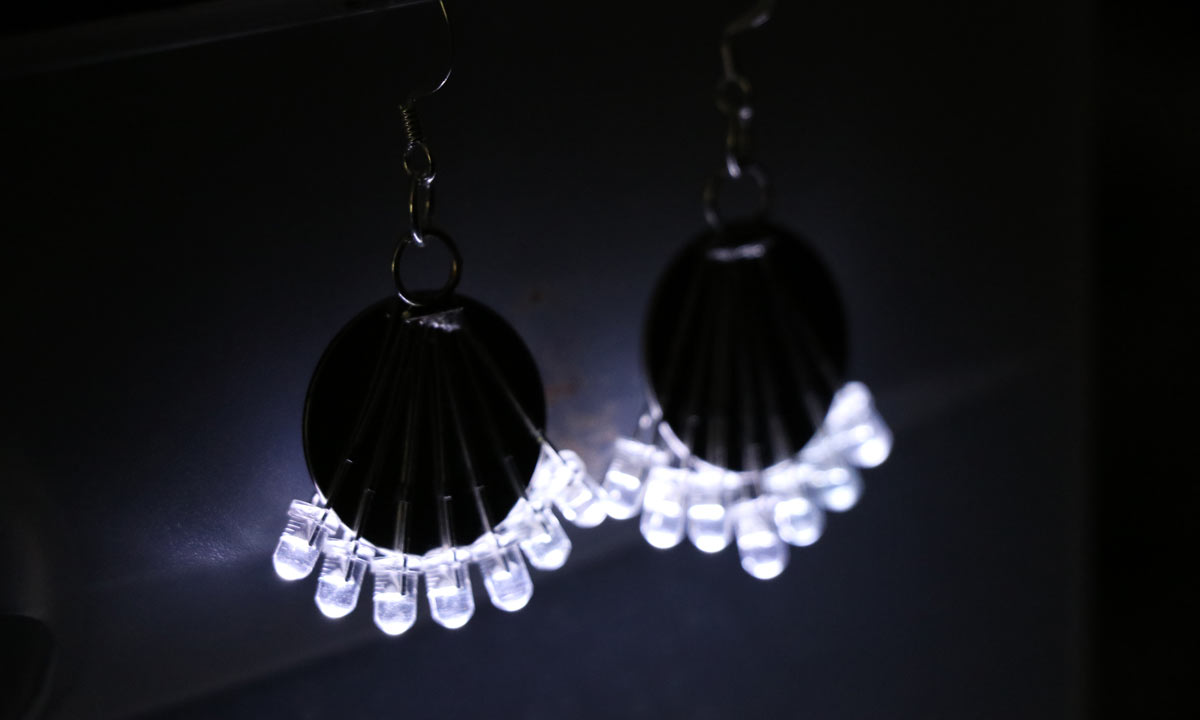
Before attending a fancy event, my friend asked me to create her some earrings that would light up. I needed to design something that would be lightweight, but I also wanted it to be wearable without the battery for everyday use. I started with a small 3V coin cell battery and built it out from there by playing around with the LEDs until they fit. This is the design I came up with.

Since then, I’ve built multiple sets of earrings for different people, each time mixing up the colors and sizes of the LEDs. I also use this project to introduce people to electronics, because it requires minimal soldering, creates a simple circuit, and in the end, you get to take home a pair of beautiful earrings.

Project Steps

MAKE THE TEMPLATE


Trace your battery onto a piece of cardboard with the approximate thickness of your battery and cut it out. This will serve as a template to help hold your LEDs in place while you solder.

ALIGN LEDS


Slide the cardboard template in between the legs of each LED. Arrange them neatly until they make the shape you want for you earring. Make sure to align all the positive legs on one side of the template, and negative legs on the other. If you are unsure of the polarity of your LED, you can always check using your battery.

SOLDER THE LEDS TOGETHER


Starting on the side with the positive legs, solder a length of single stranded wire as close as you can to the top, across the LED legs, connecting them all together. Trim the excess wire.


Solder another length of single stranded wire on the side with the negative legs, this time placing the conductive wire about 3/4 of the way up the legs and soldering it into place. Trim the excess wire.

This V shape will hold the battery in place. Test it out by slipping the battery in to make sure everything is working and the LEDs light up. Bend the LED legs if needed to hold the battery more firmly.

ATTACH EARRING HOOKS


Solder a jump ring to the top of the positive side (above). Next, attach the earring hook by placing the other jump ring into the soldered one, and then attaching the earring hook to the second ring (below).


Slip the battery in, and your earring is ready! Complete this process a second time to create two matching earrings. Wear these earrings with or without batteries. You will look great either way!

More or fewer LEDs may be used depending on their size and your personal preference. Feel free to play around with varying sizes and colors to fit your personal style!